
Halloween decorations outdoor displays succeed or fail in the first five seconds a trick-or-treater sees your home. As professional interior designers consistently find, a display built around one clear focal point and controlled lighting outperforms a yard crowded with random props.
Research consistently shows that 51% of Halloween celebrants decorate their homes or yards (National Retail Federation, 2025) — which is why getting your layout and lighting right from the start makes every other decision easier.
This guide gives you 21 steps in the exact order to do them. You start with measurements and power, build lighting, dress the porch, stage the yard, add finishing effects, and protect everything from weather.
Before You Begin: 3 Foundation Steps for Halloween Decorations Outdoor
1. Measure Your Yard and Porch Before Buying Anything
Buying props first is the most common outdoor Halloween mistake. Oversized pieces overwhelm small porches, and undersized pieces vanish on large lawns. Measuring first prevents wasted money and a lopsided display.
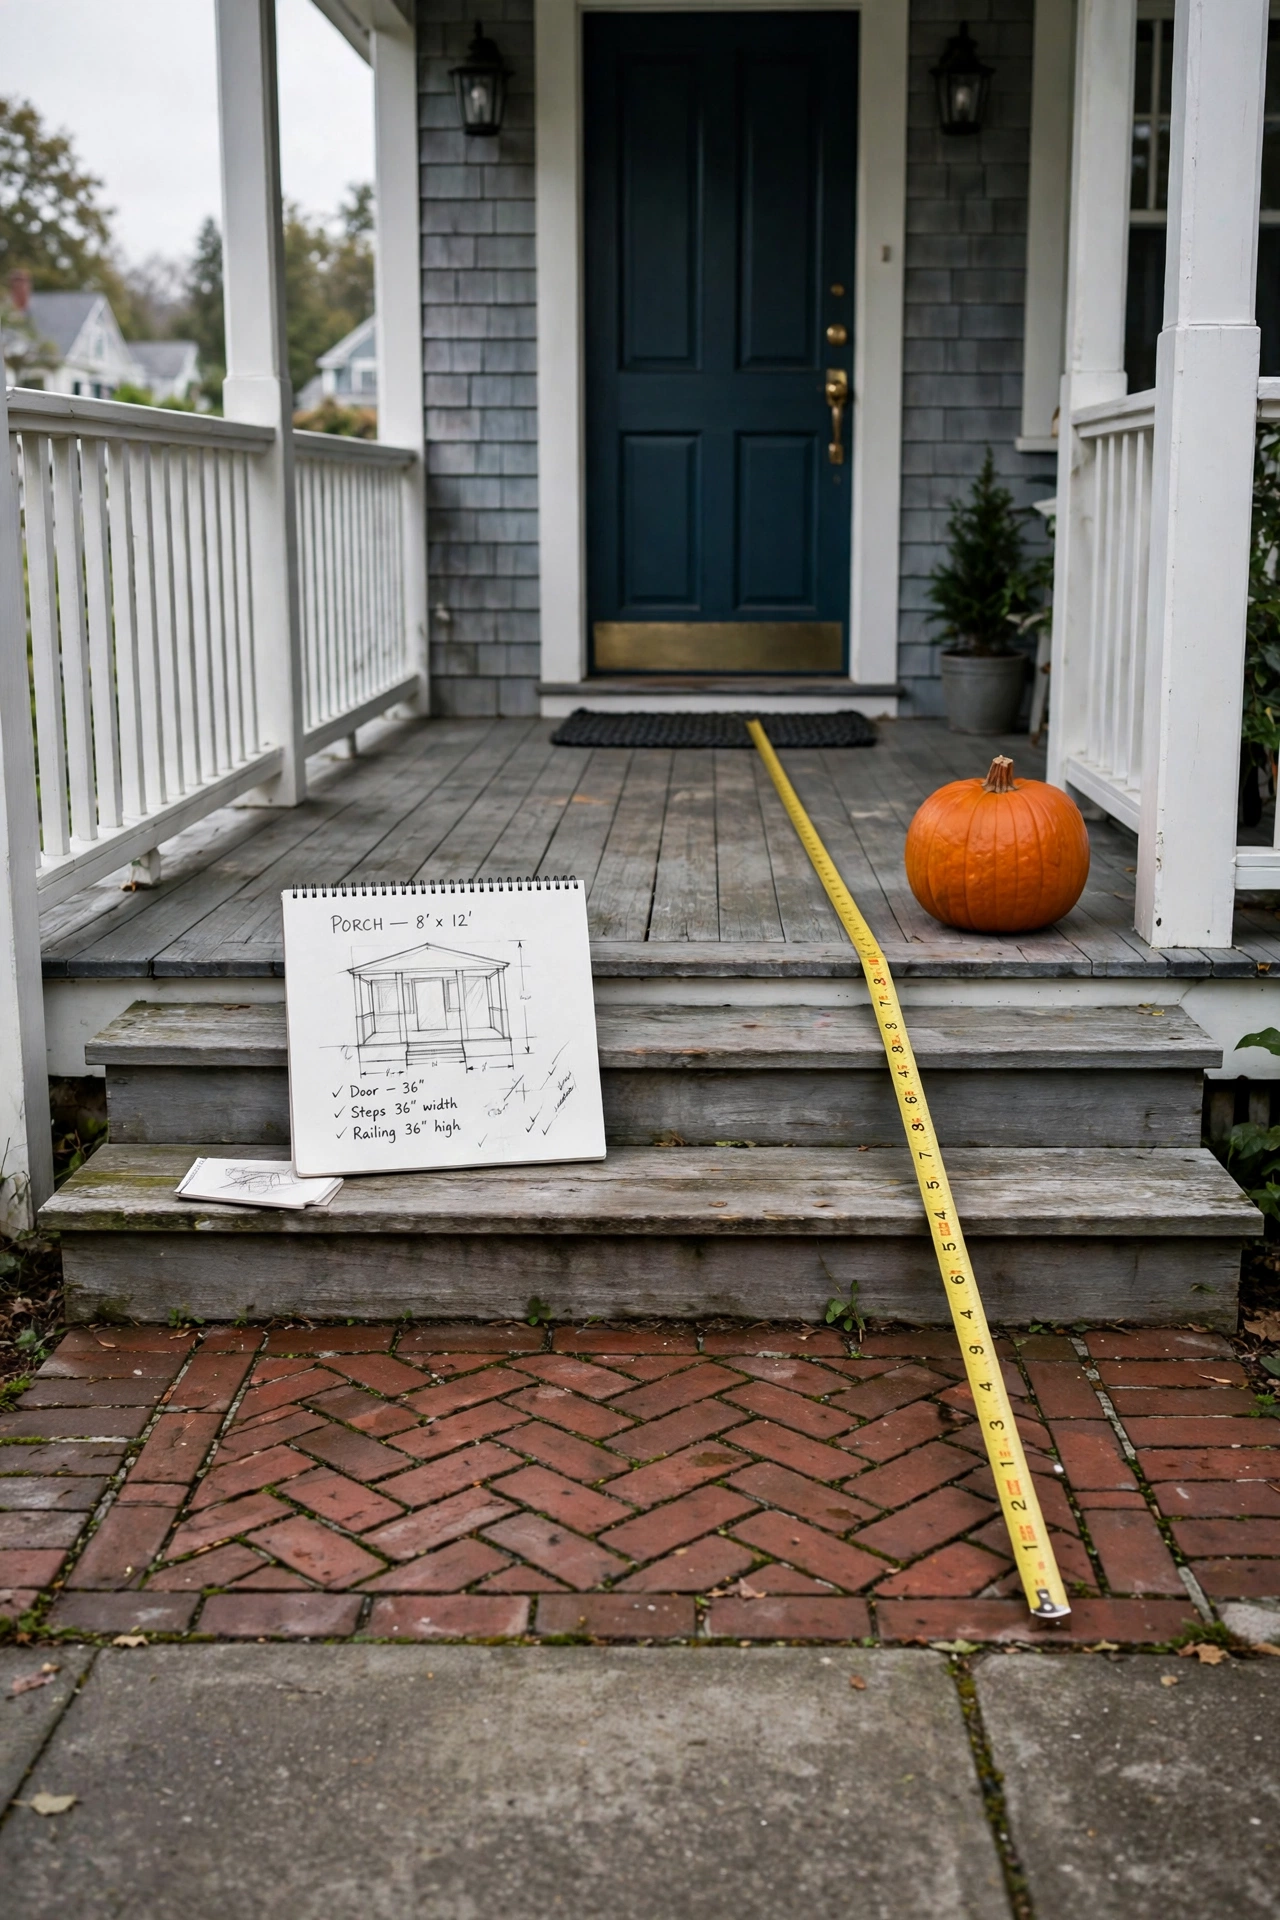
Walk the space with a tape measure and record the porch width, step count, and the distance from the door to the sidewalk. Mark a sketch with a 3-foot clear zone on each side of the walkway, because visitors need that room to walk safely. Your sketch also tells you exactly how many props fit before the display turns cluttered.
2. Map Your Power Outlets and Extension Cord Routes
Lighting and animated props fail without power access. Running cords across walkways creates trip hazards and ruins the clean look of your display. Planning routes first keeps cords hidden and safe.
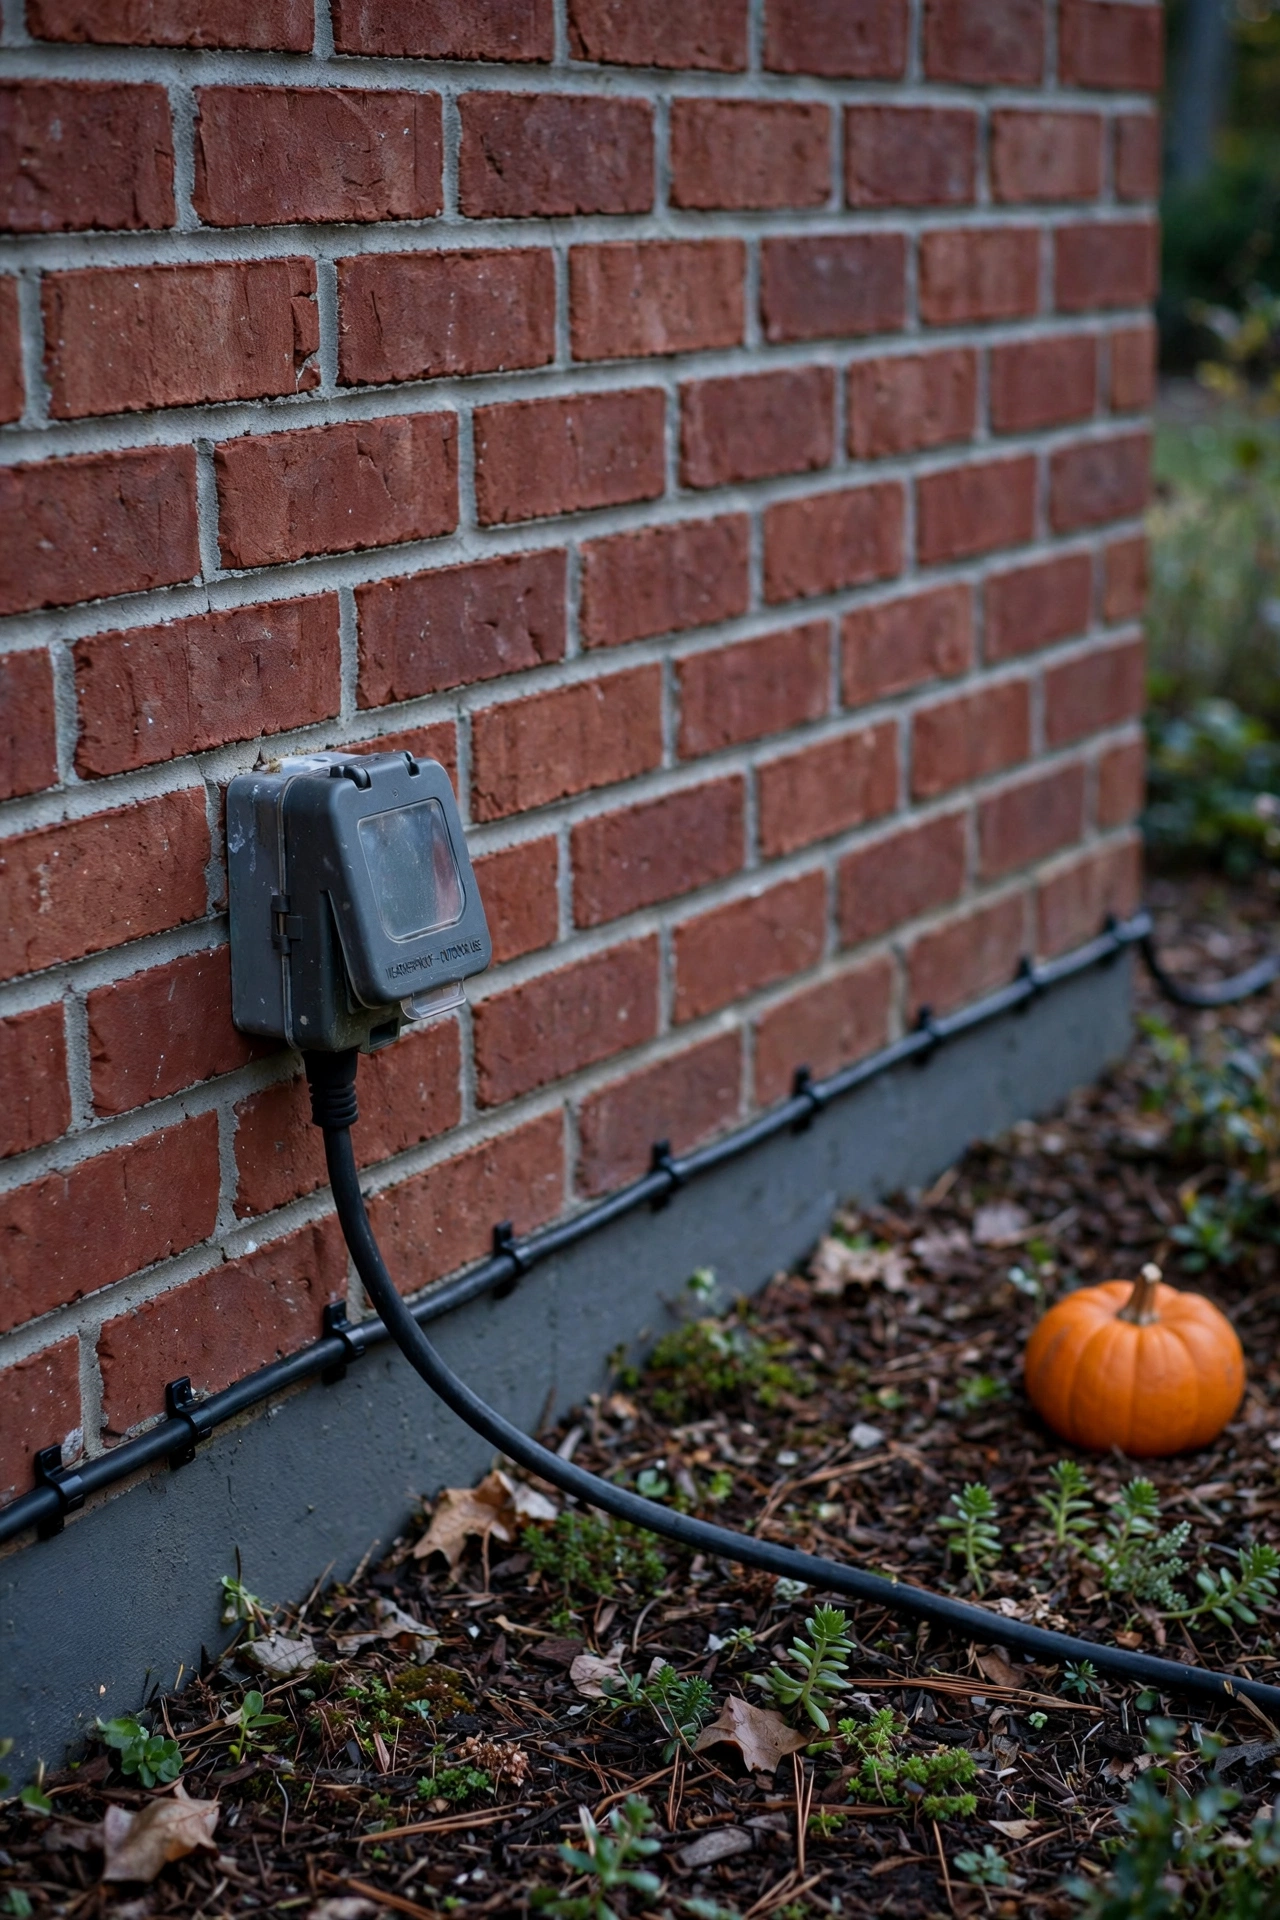
Locate every exterior outlet and note which props sit within 25 feet of each one. Use a three-outlet outdoor extension cord rated for exterior use and run it along the foundation, not across the lawn. Cord clips or landscape staples hold the line flat and keep it out of sight.
3. Choose One Color Palette and Stick to It
Random colors read as clutter, while a limited palette reads as designed. Three colors is the sweet spot for any outdoor Halloween display. Everything else fades into the background.
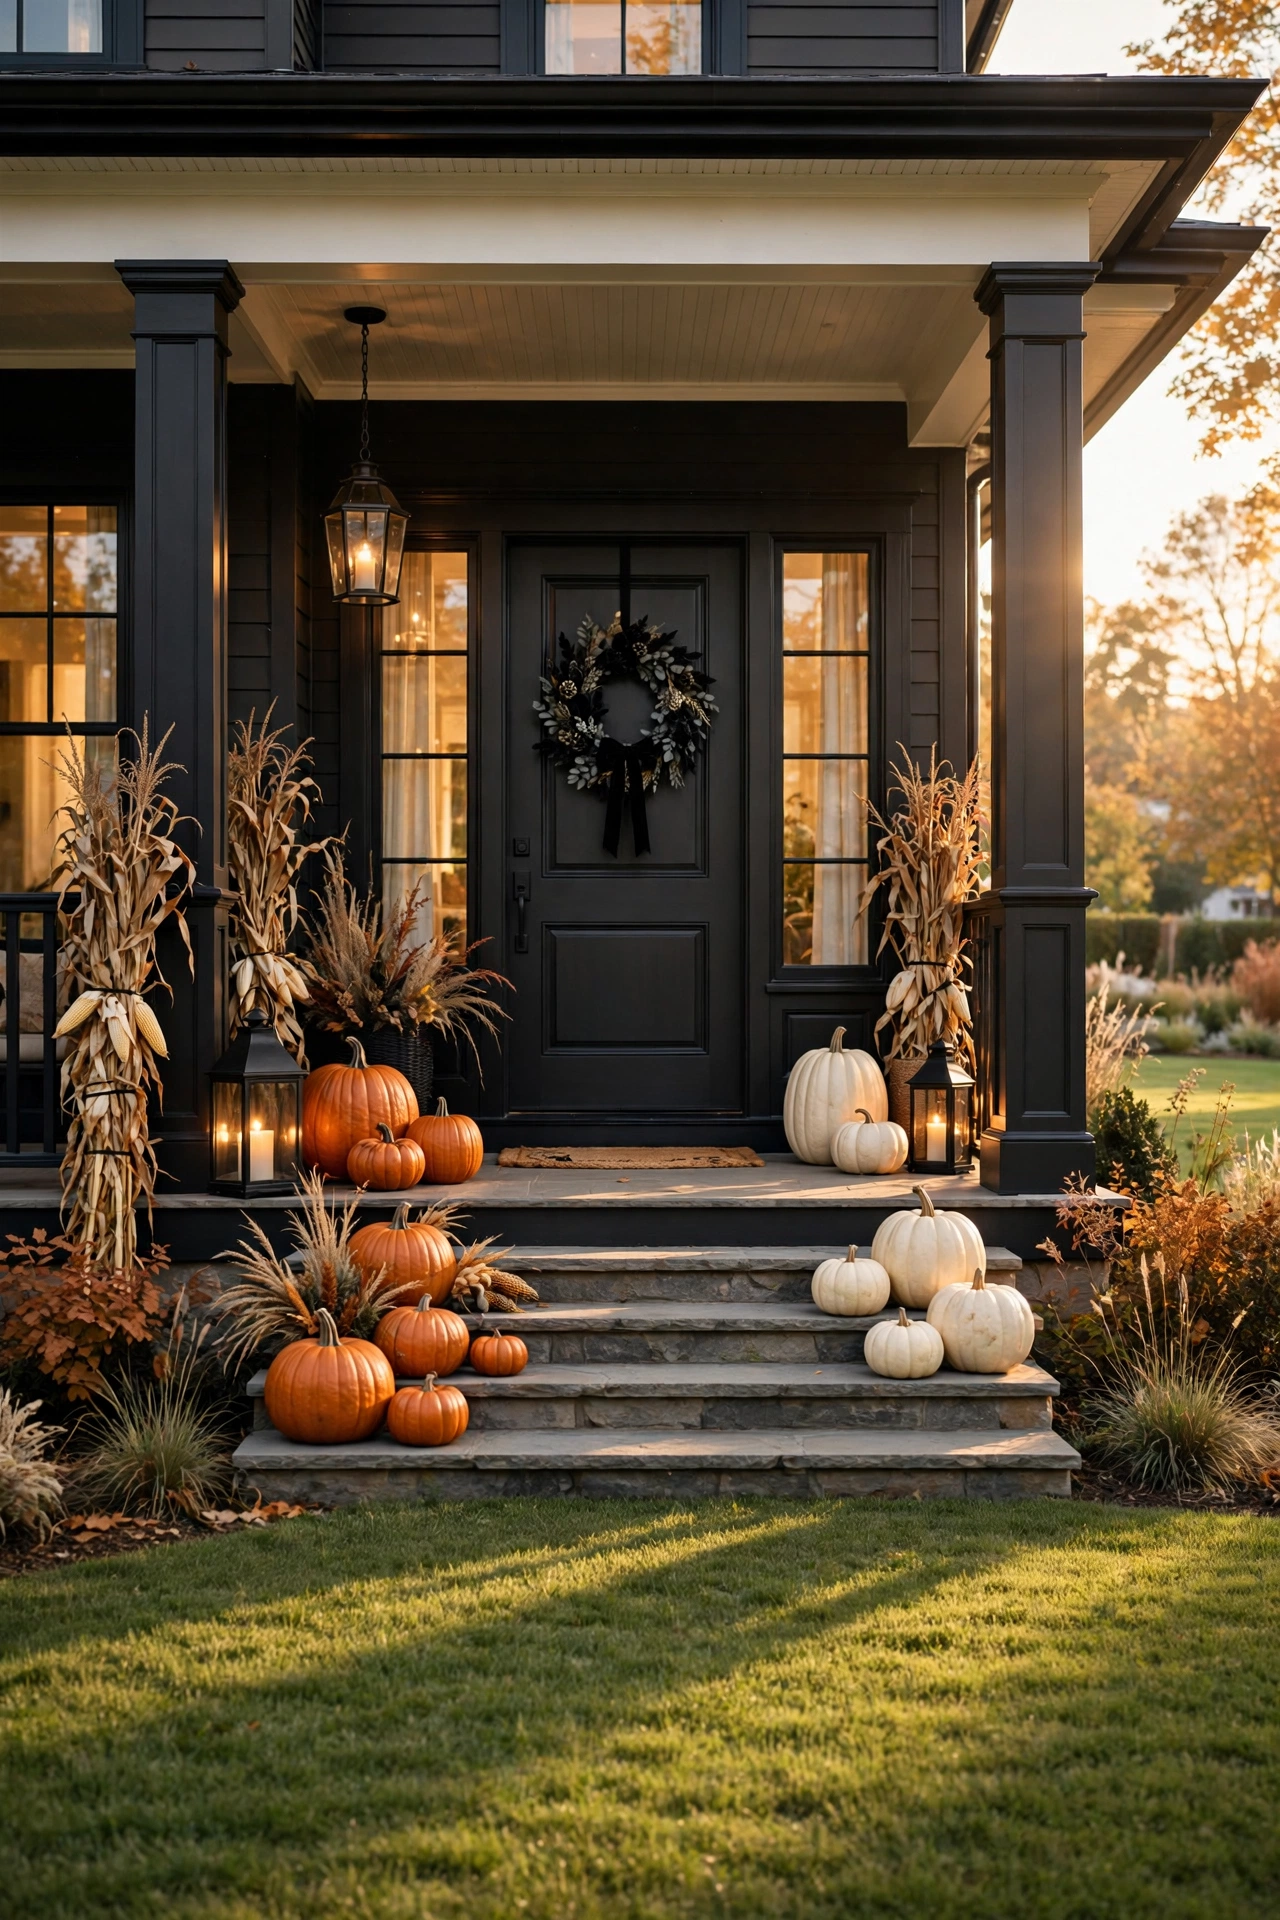
Pick two main colors and one accent, then reject any prop that falls outside them. Instead of buying every color of string light, commit to one base shade and one accent. A restrained palette makes inexpensive props look intentional and expensive.
Outdoor Halloween Lighting Ideas That Set the Mood
4. Install Spotlights Low and Angled Upward
Overhead light flattens every prop. Light from below creates long, dramatic shadows that make a house look haunted. This single change transforms a plain facade.
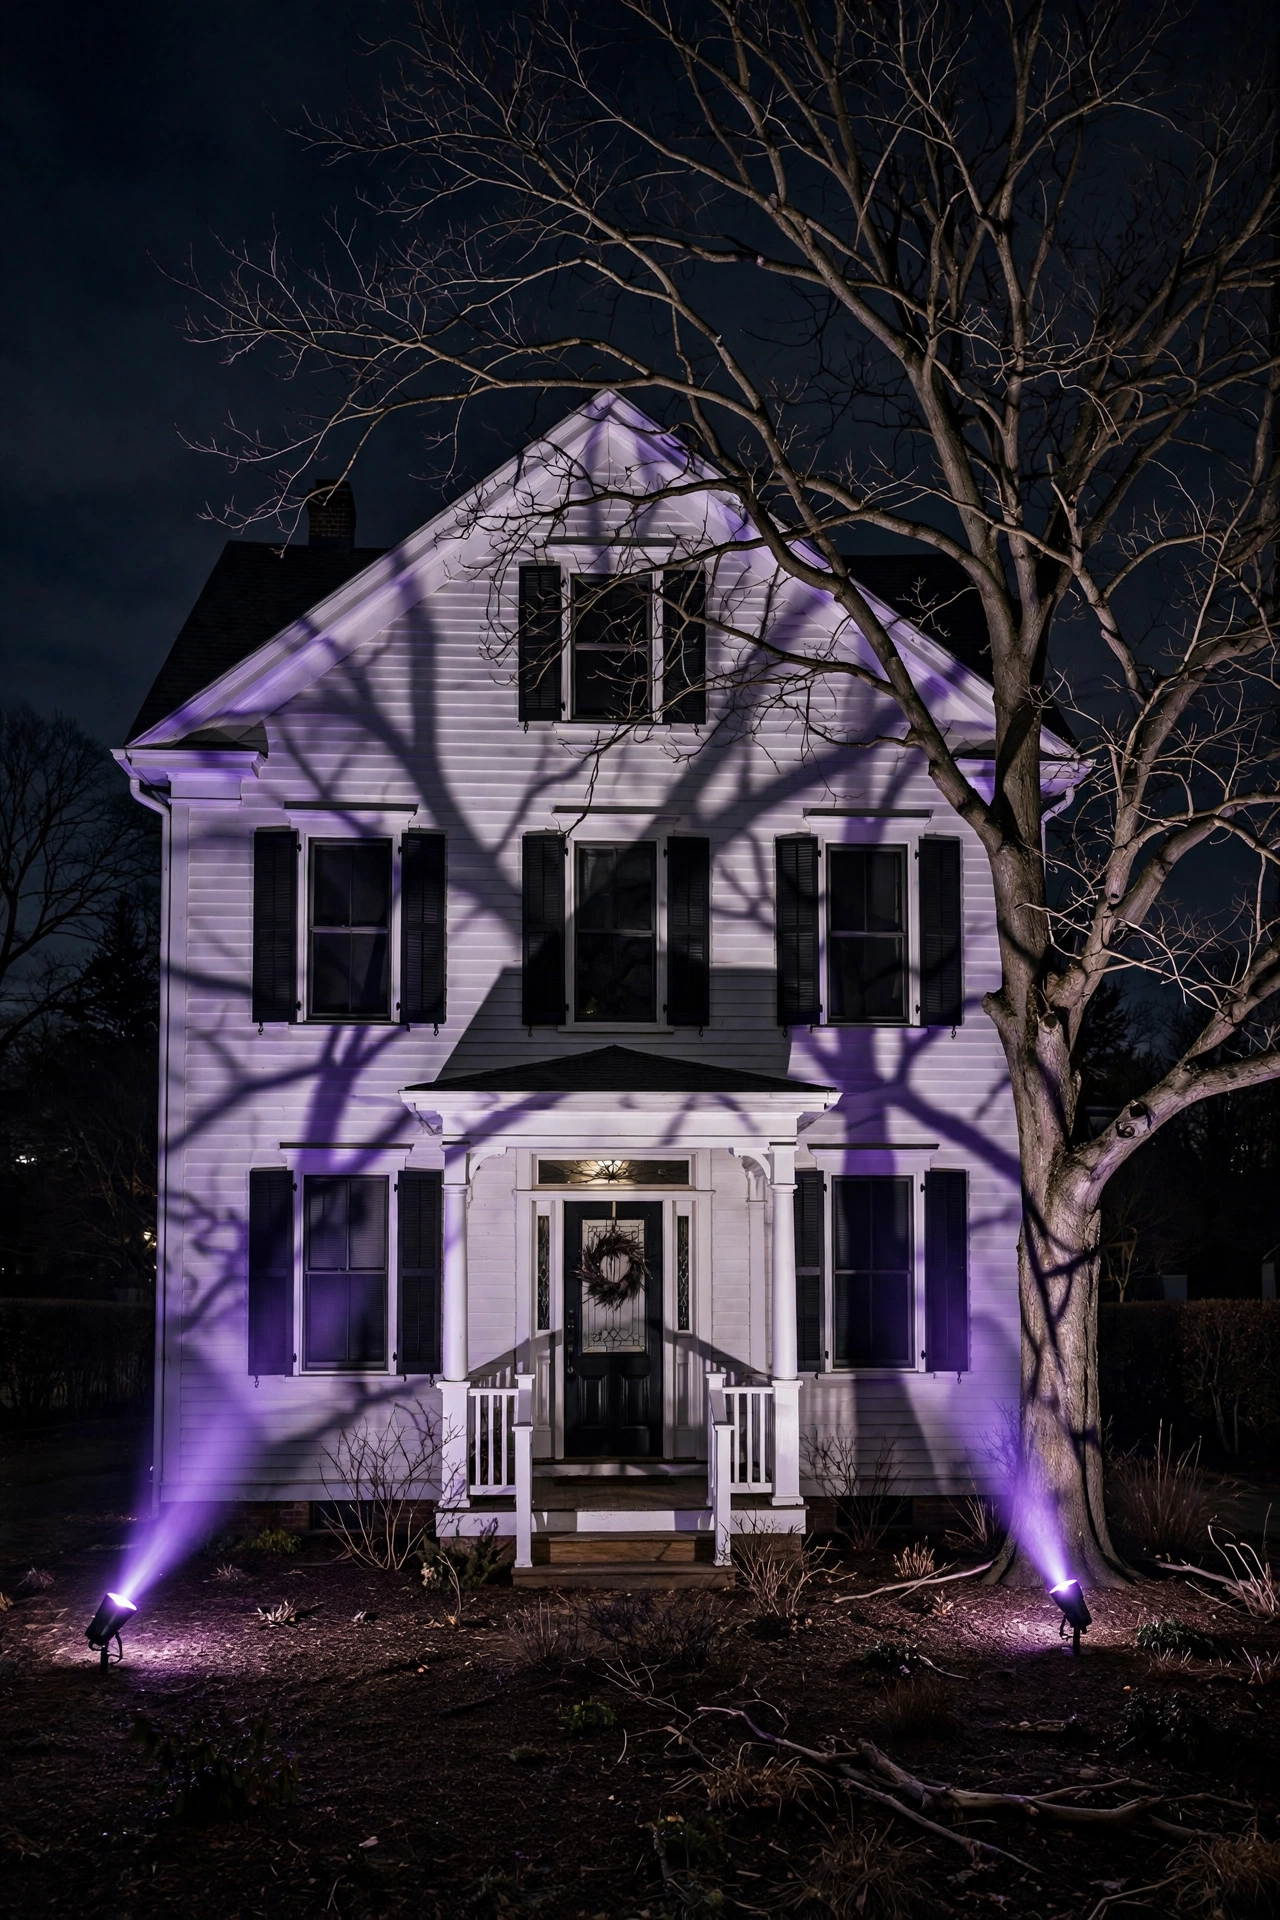
Place a spotlight 2–3 feet from the base of a tree, porch column, or wall and aim it upward at a 45-degree angle. Use LED spotlights rated for outdoor use at 300–500 lumens each. The shadows they throw across siding add depth no prop can match.
5. Layer String Lights Along Rooflines and Railings
Bare rooflines disappear after dark. String lights define the shape of your home and make the display visible from the street. They are the foundation of outdoor Halloween lighting ideas.
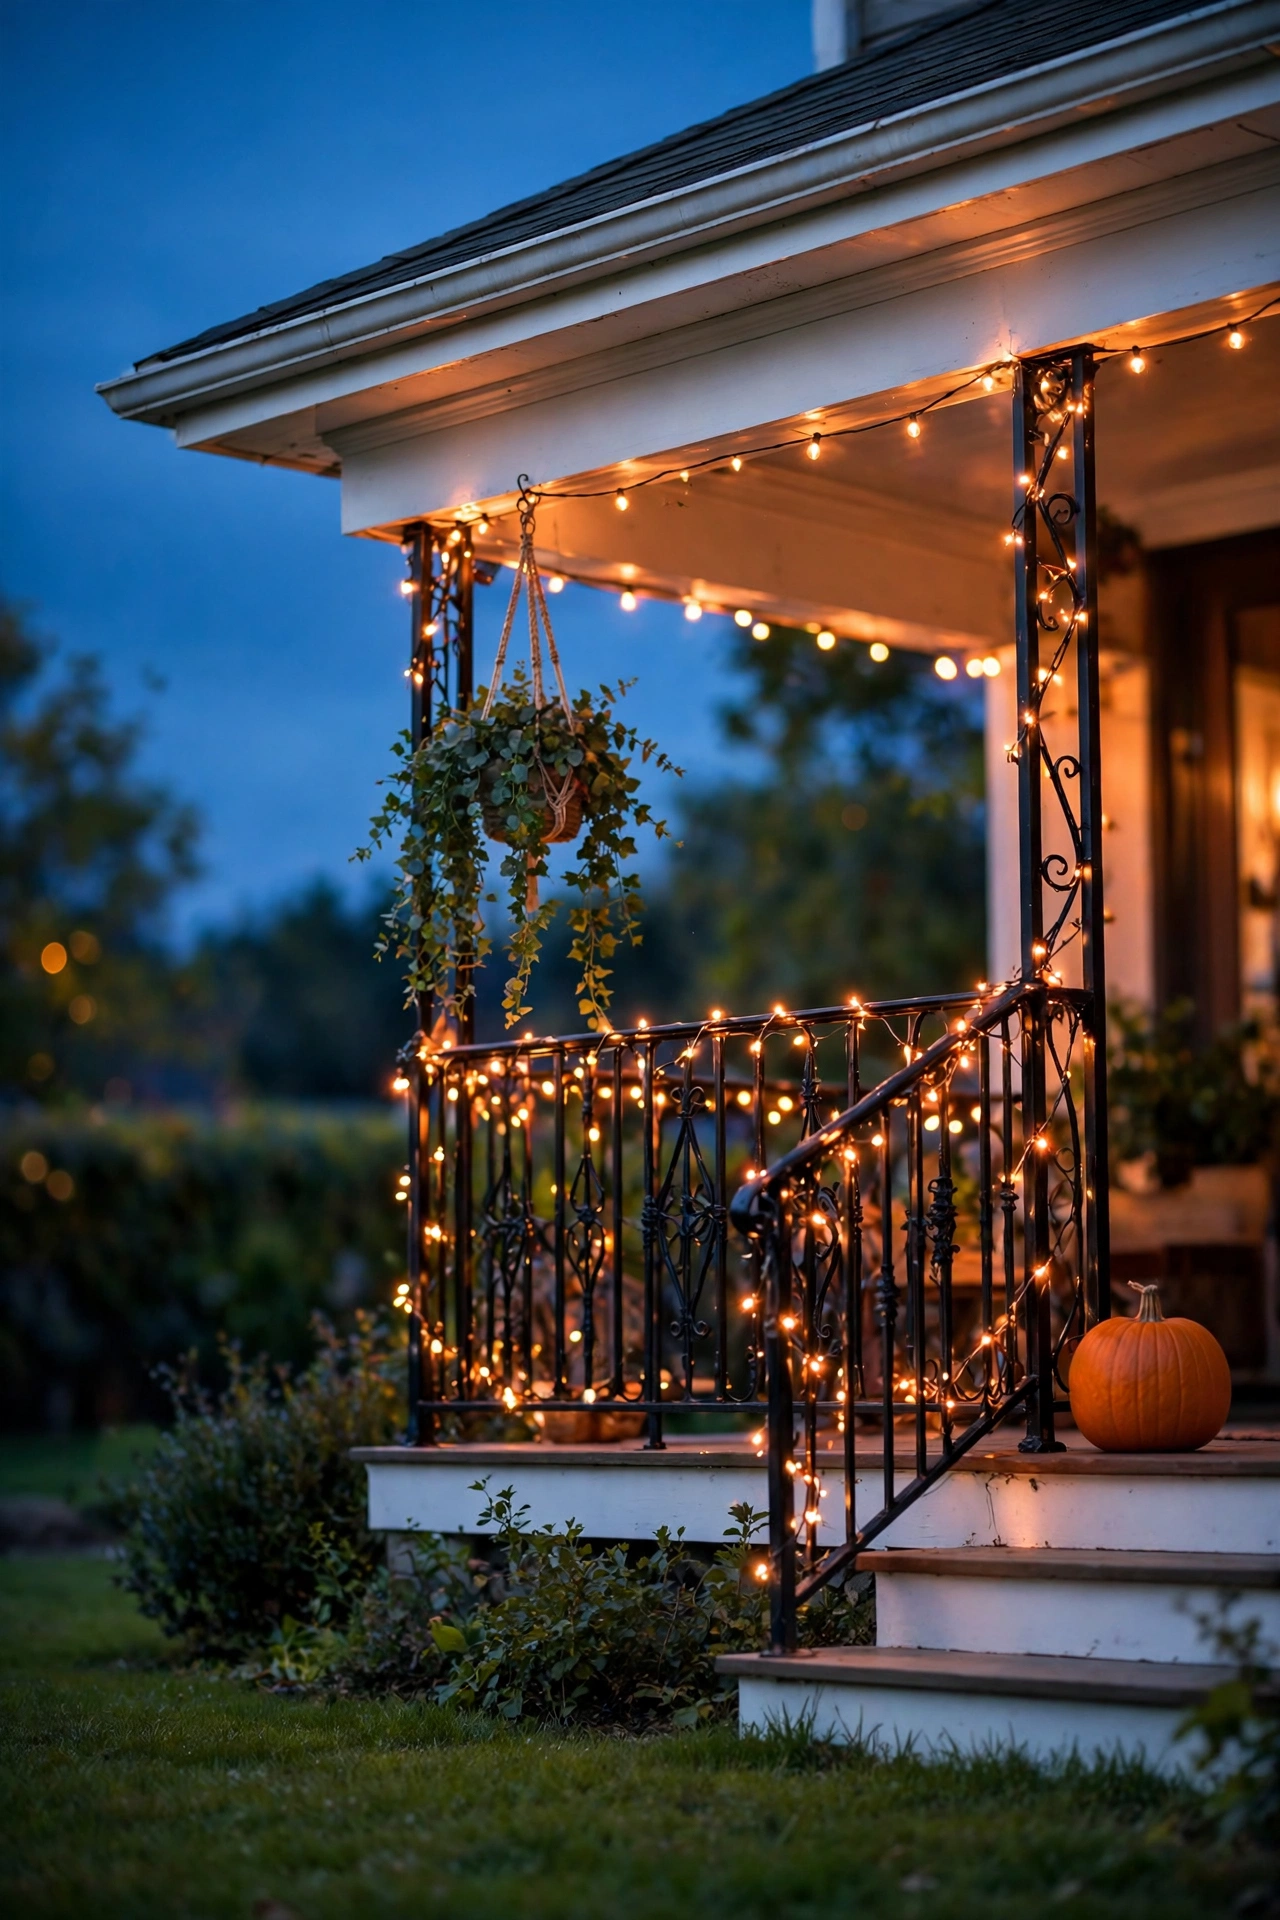
Clip lights along the roof edge every 12 inches using gutter clips, never staples or nails. Wrap railings in a tight spiral with 3 inches between each loop. A continuous line of light makes the whole house look purposely framed.
6. Choose Colored Bulbs for Zones, Not Everything
Washing the entire yard in one color creates a flat, theme-park look. Assigning colors to zones gives each area its own character. The contrast keeps visitors looking.
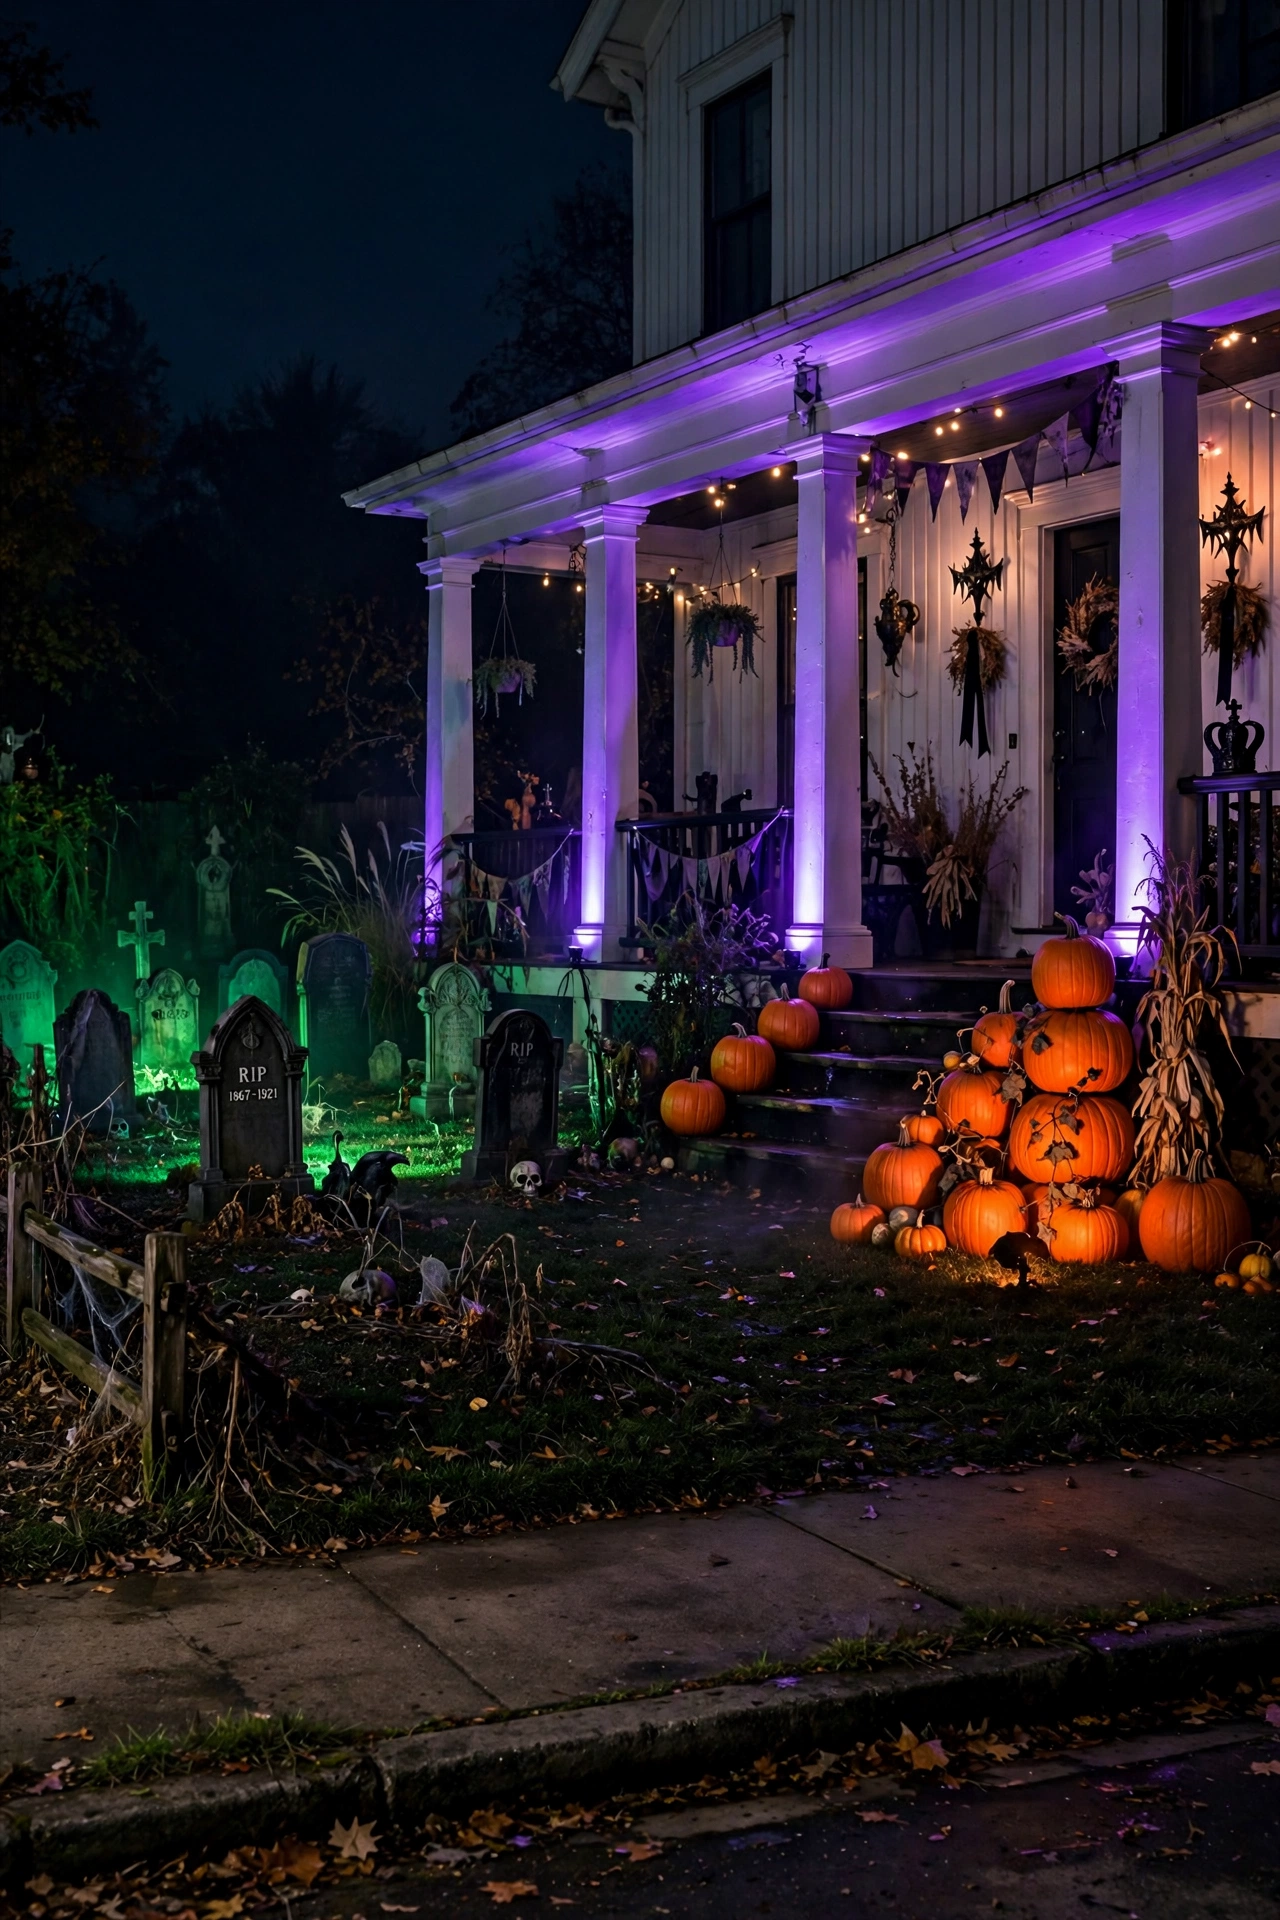
Assign purple to the house, green to the graveyard or creature scene, and orange to the walkway. Keep each zone to one color so the transitions look deliberate. Your yard now reads as three distinct scenes instead of one blur.
7. Hang Flickering Lanterns at Varied Heights
Lanterns set at one height look like a row of fence posts. Staggering them creates movement and depth. Flicker mimics real flame without fire risk.
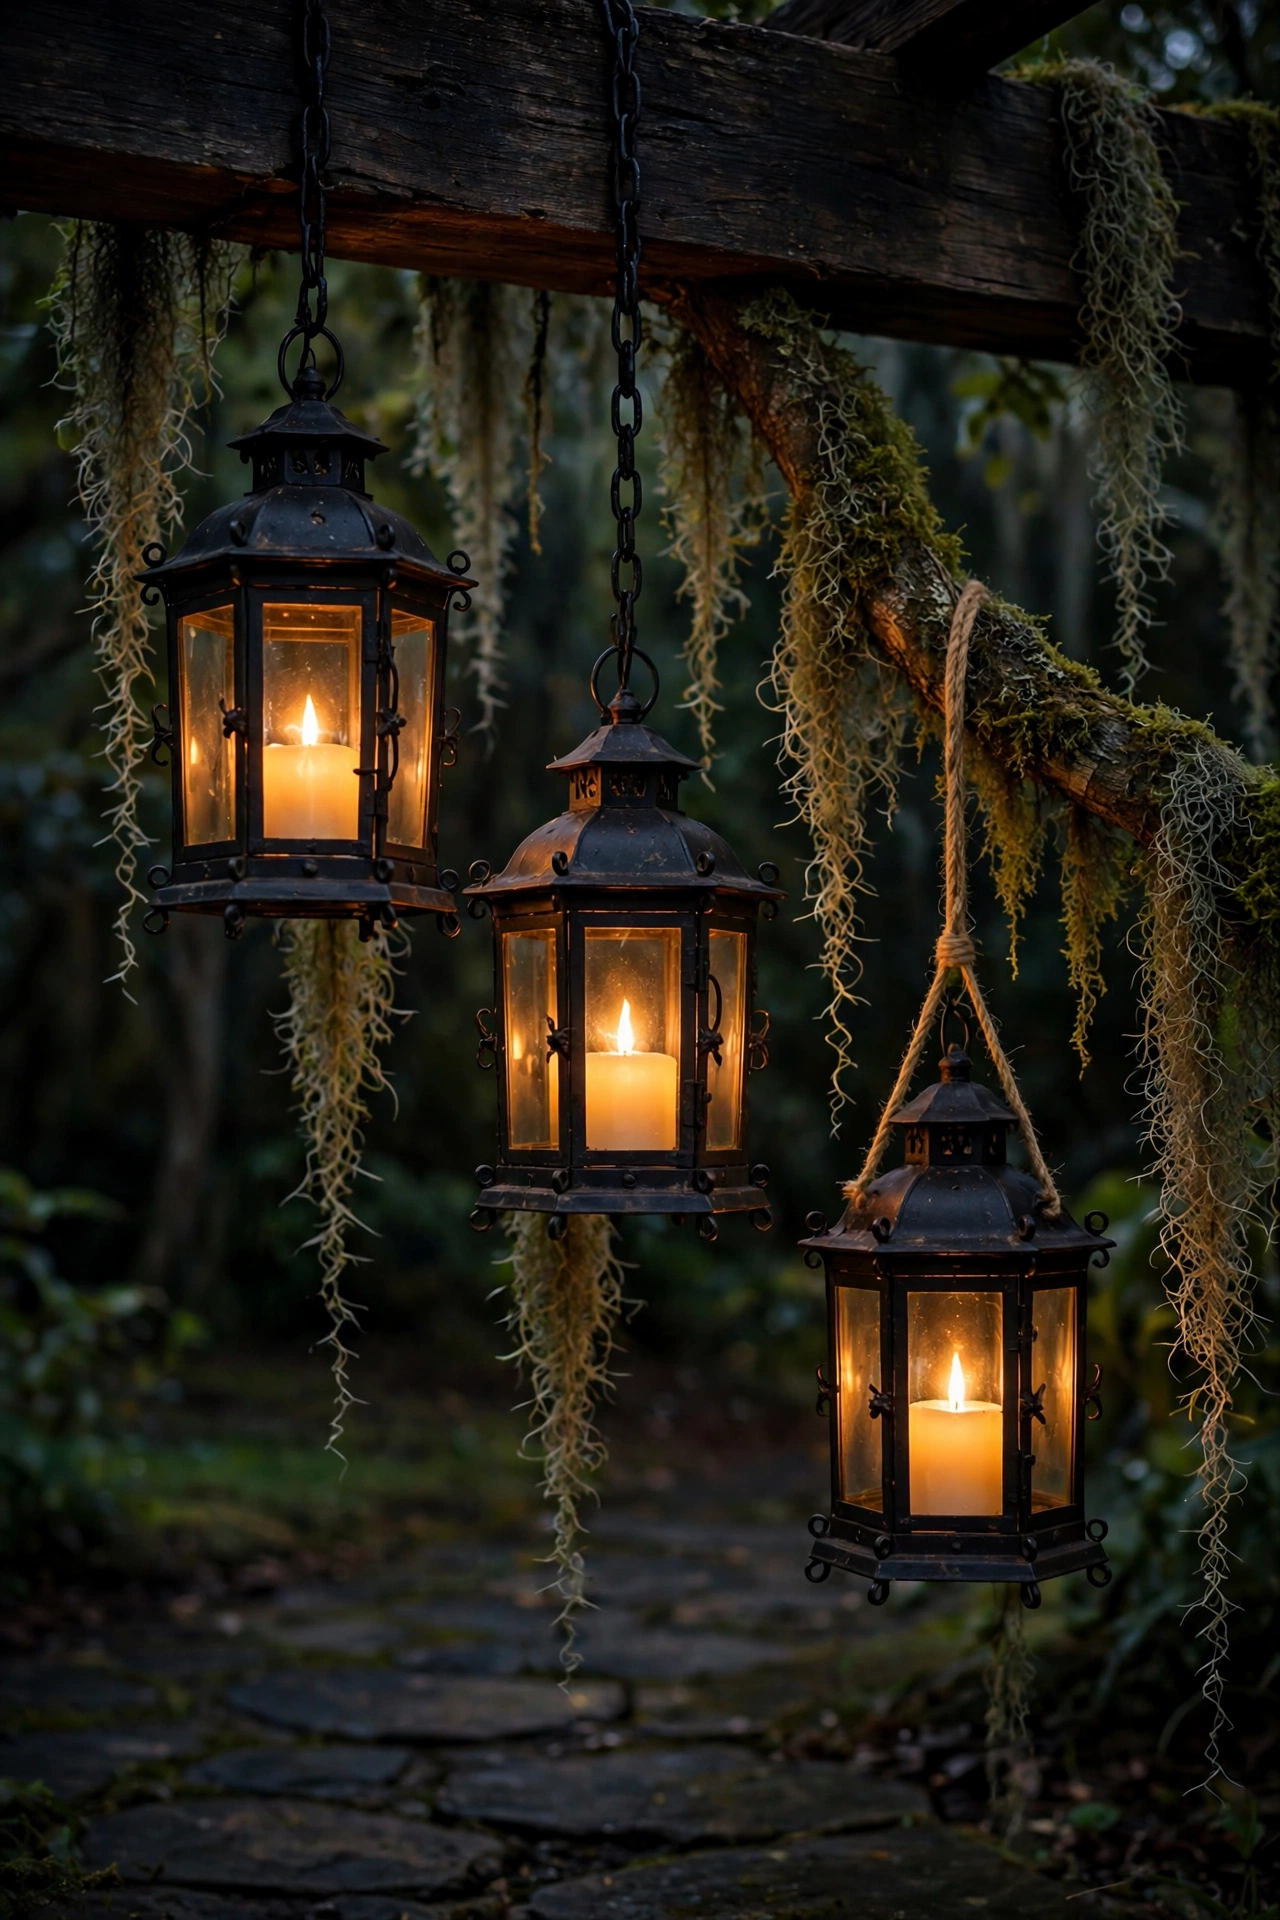
Hang three lanterns at 4, 5.5, and 7 feet from the ground. Use battery-powered flameless LED candles so you eliminate fire risk and avoid cord clutter. The varied heights draw the eye up and down and make the porch feel layered.
Spooky Front Porch Halloween Decor Ideas
8. Build a Pumpkin Staircase Along Your Porch Steps
Pumpkins scattered at random look like leftovers. Stacking them in descending sizes creates a staircase that leads the eye to your door. This is the single most effective spooky front porch Halloween decor move.
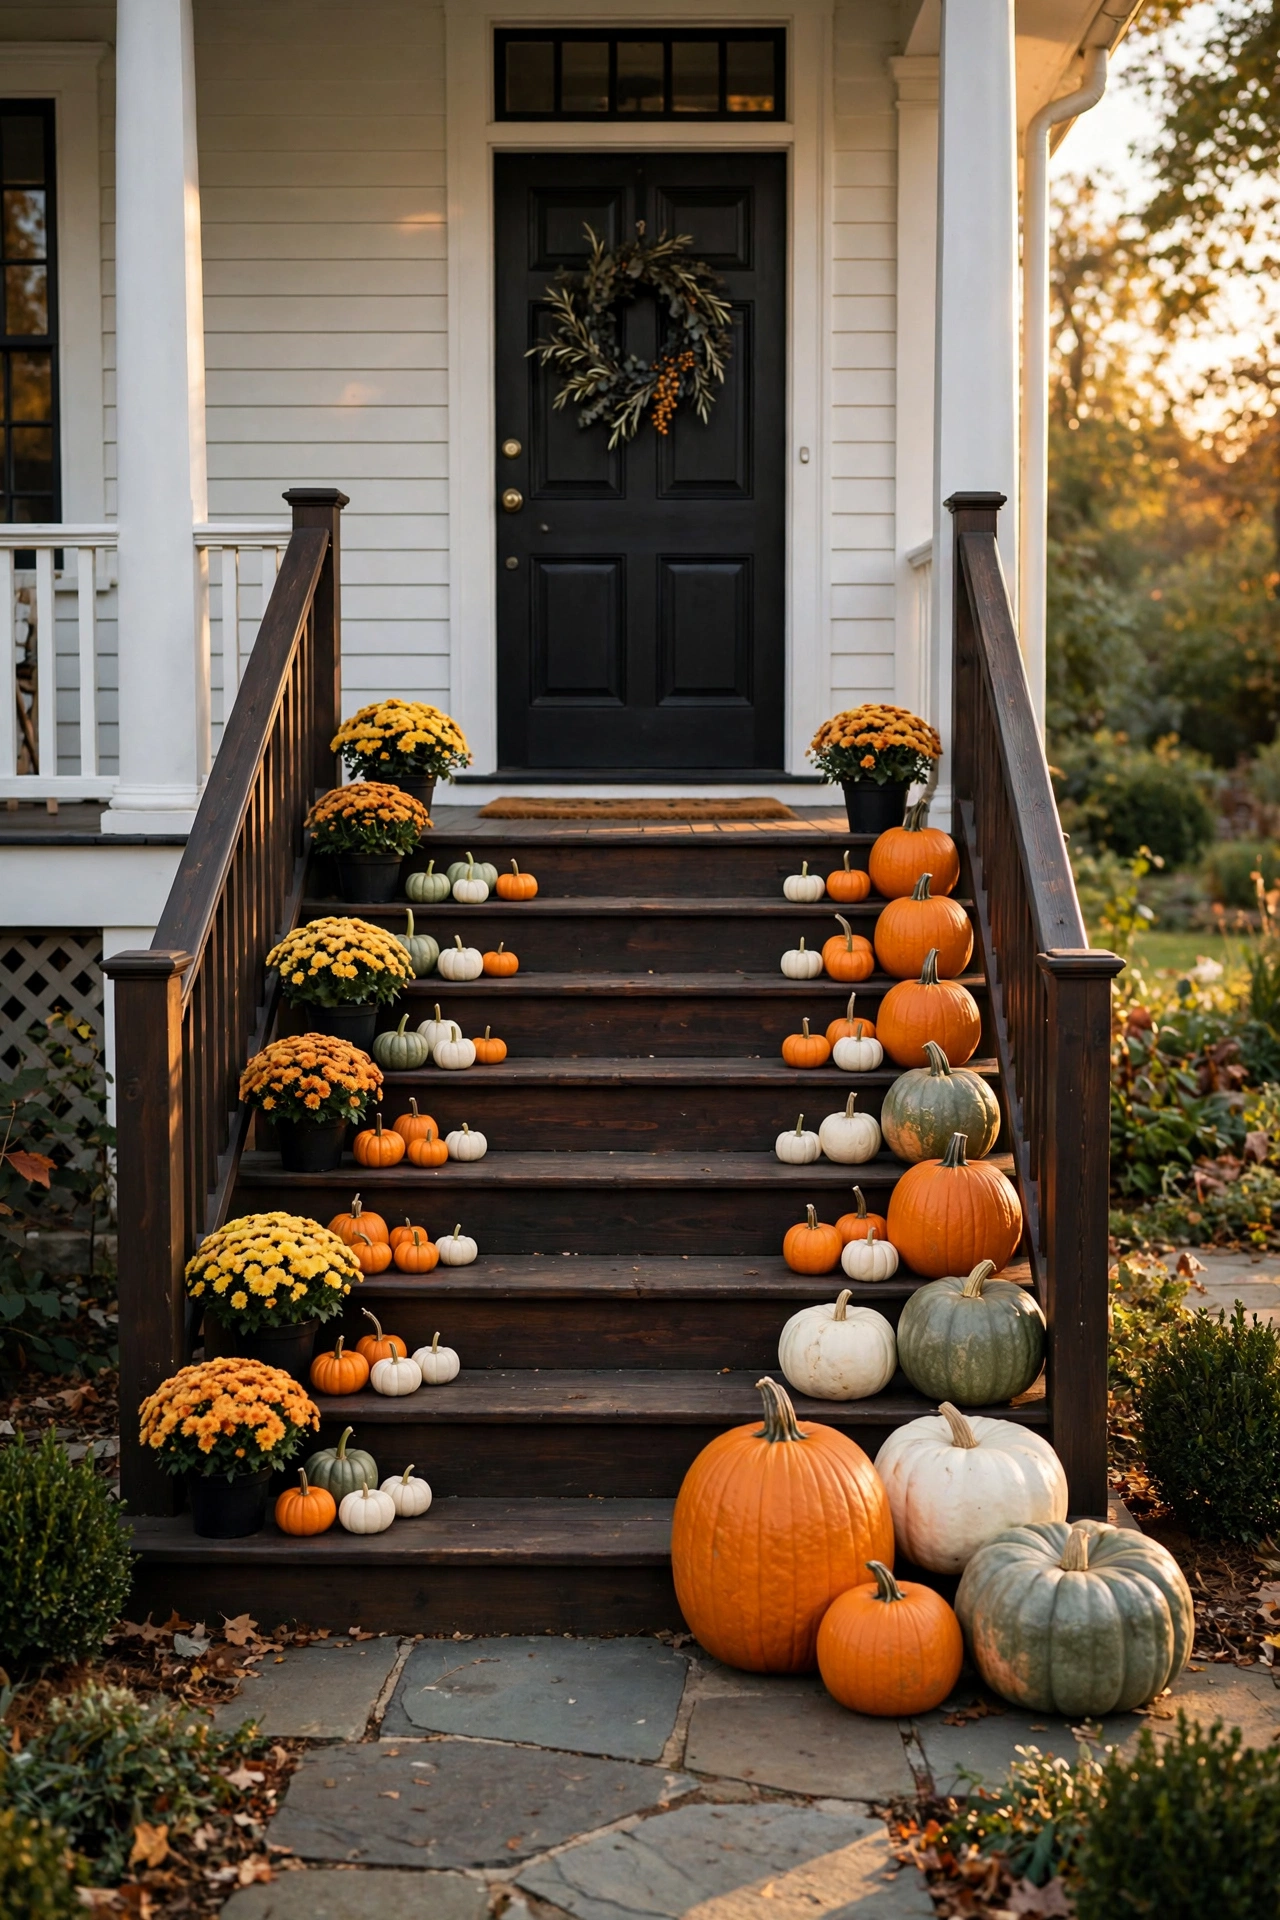
Place the largest pumpkins, 14–18 inches wide, on the bottom step and shrink the sizes as you climb. Use odd-numbered groups of 3 or 5 per step and leave 12 inches of clear tread for walking. The staircase gives every visitor a path to follow straight to your door.
9. Arrange a Door Focal Point With Layered Elements
A bare door wastes your strongest focal point. Layering a wreath, a hanging element, and ground-level props creates visual depth. The door becomes the destination of the whole display.
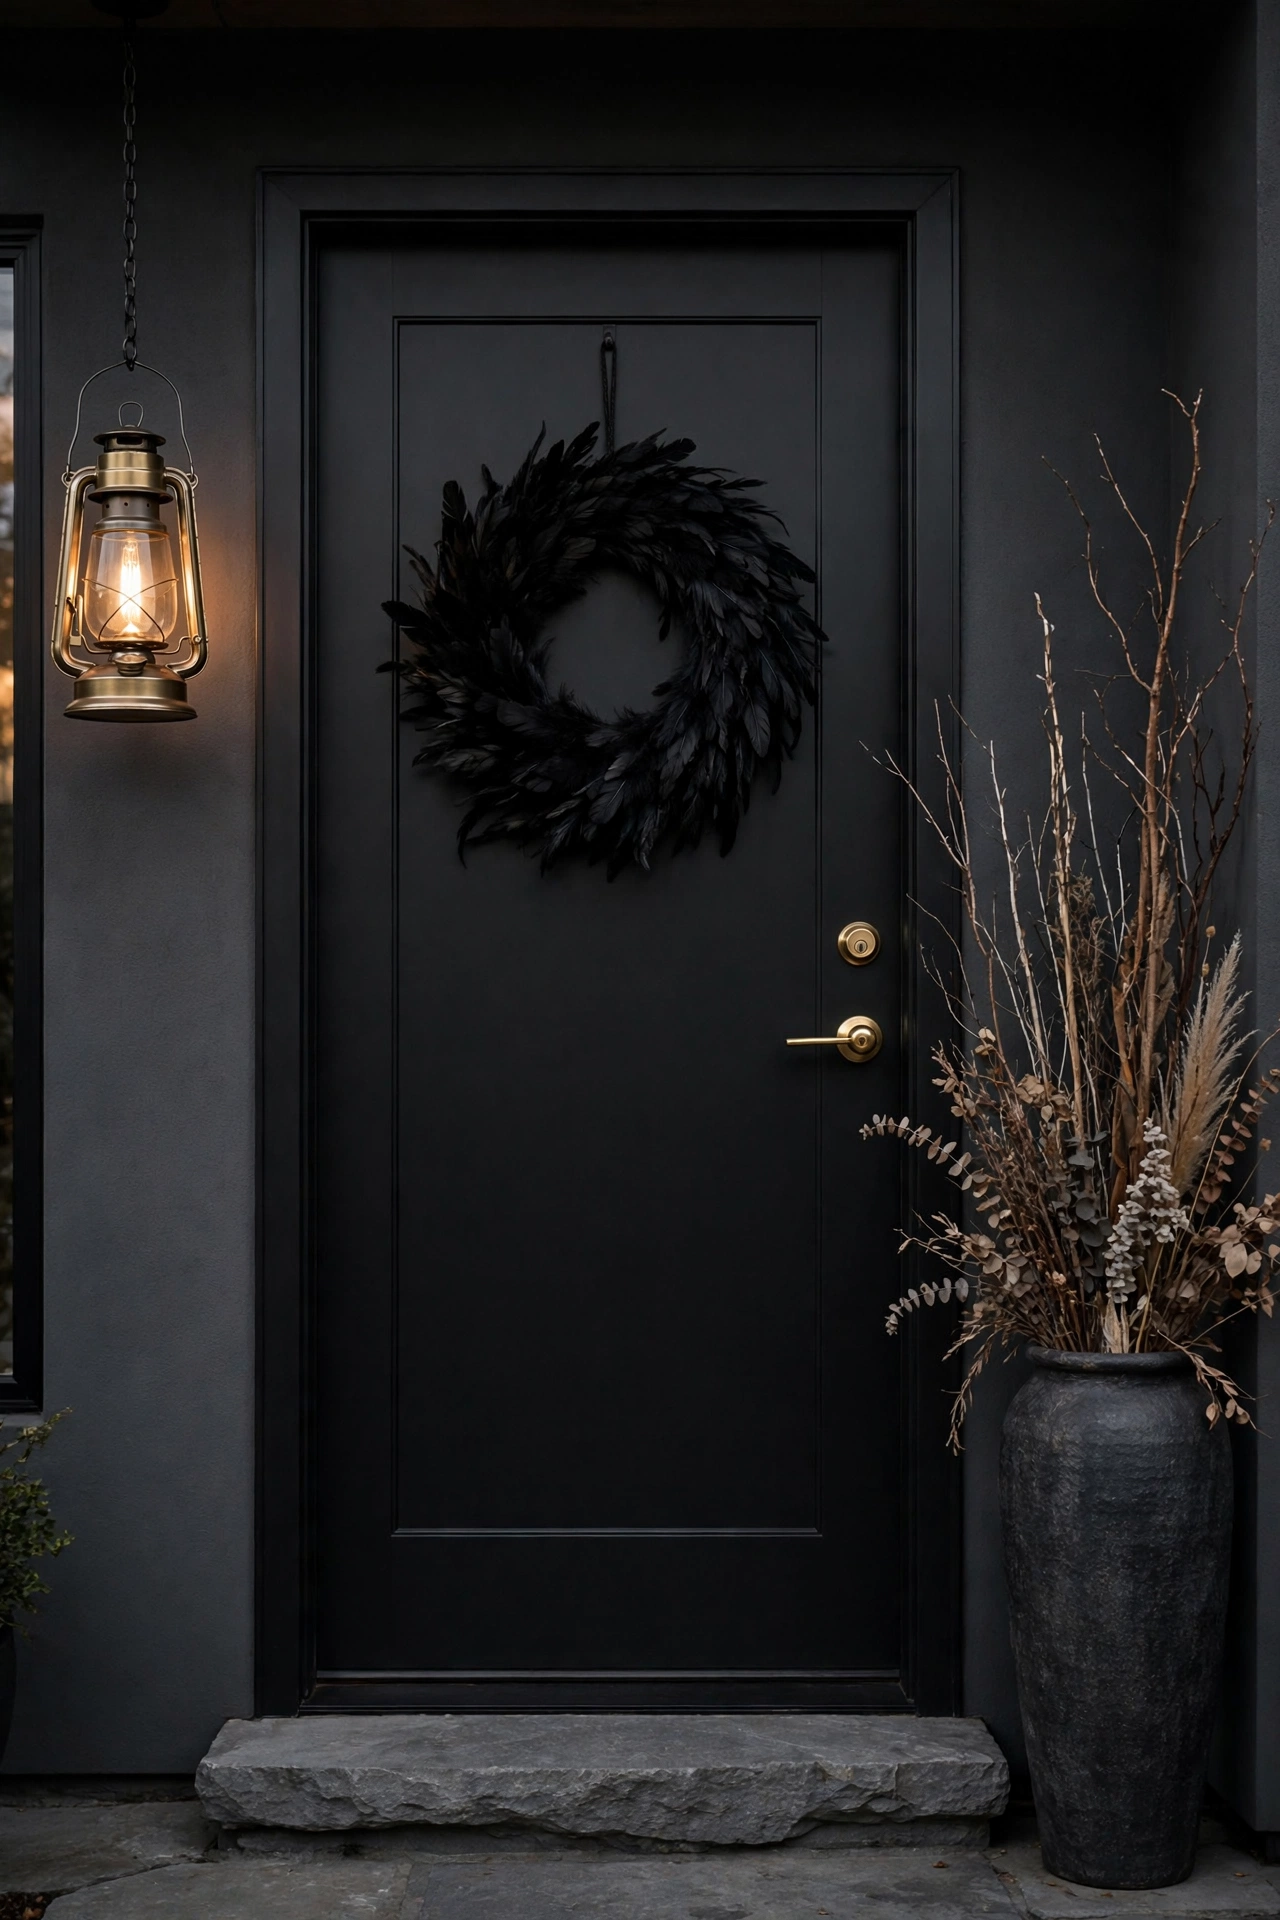
Hang a 22–26 inch wreath at eye level, about 60 inches from the ground. Flank the door with a tall element on one side and a wide, low element on the other so the grouping feels balanced but not identical. Layered heights pull the eye directly to your entrance.
10. Place Oversized Props Where Visitors Look First
Large props buried in a corner waste their impact. Eyes land on the center of the viewing area first. Oversized pieces belong in that line of sight.
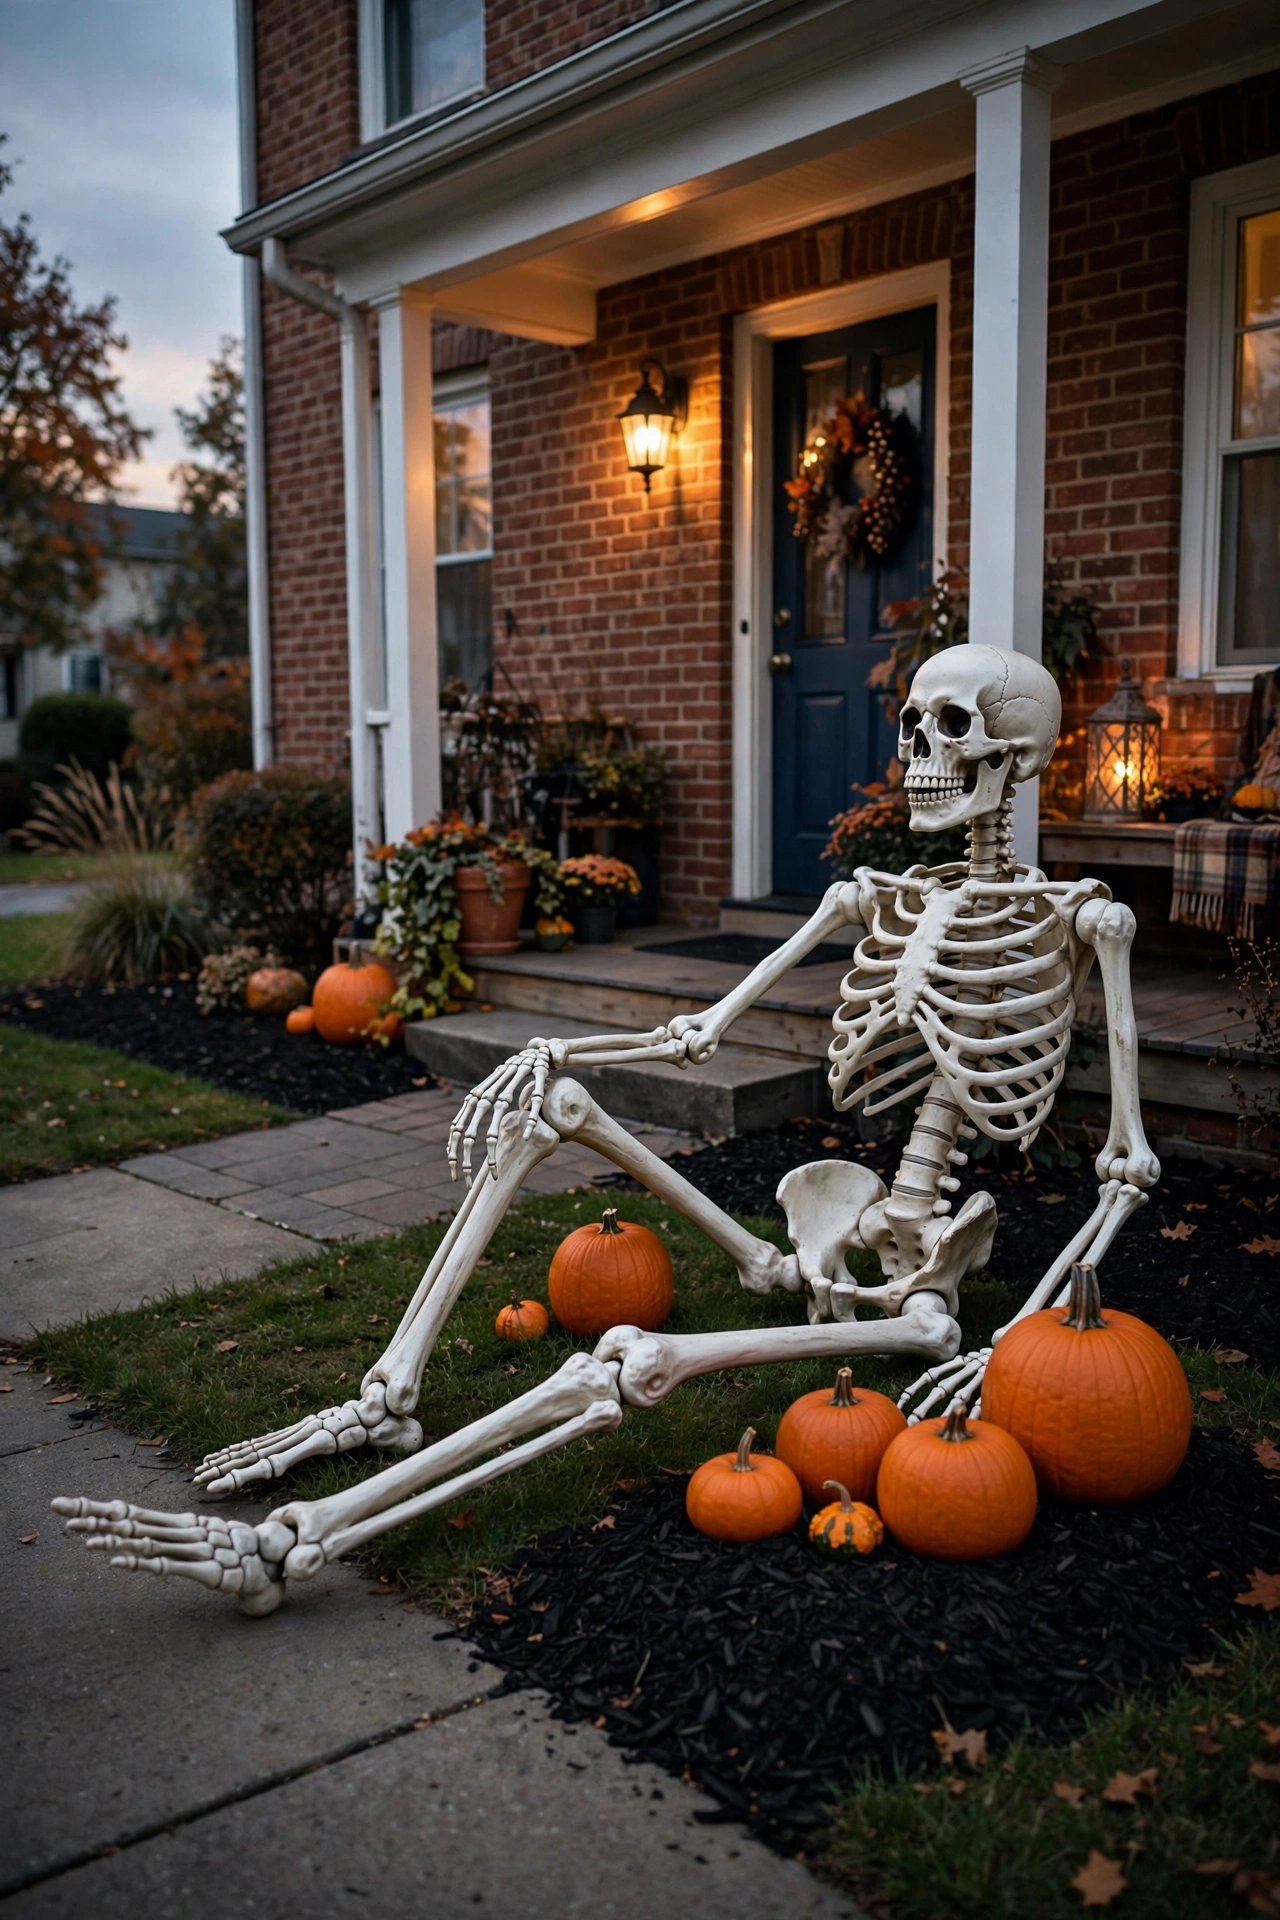
Stand at the sidewalk and note the point where your sightline meets the yard. Place any prop over 6 feet tall within 10 feet of that line. Position it slightly off-center so it frames the entry instead of blocking it.
11. Style Planters and Urns With Dark Seasonal Foliage
Summer flowers in October break the Halloween mood. Dark foliage and dried stems keep planters on theme and last through the whole season. Containers become part of the display.
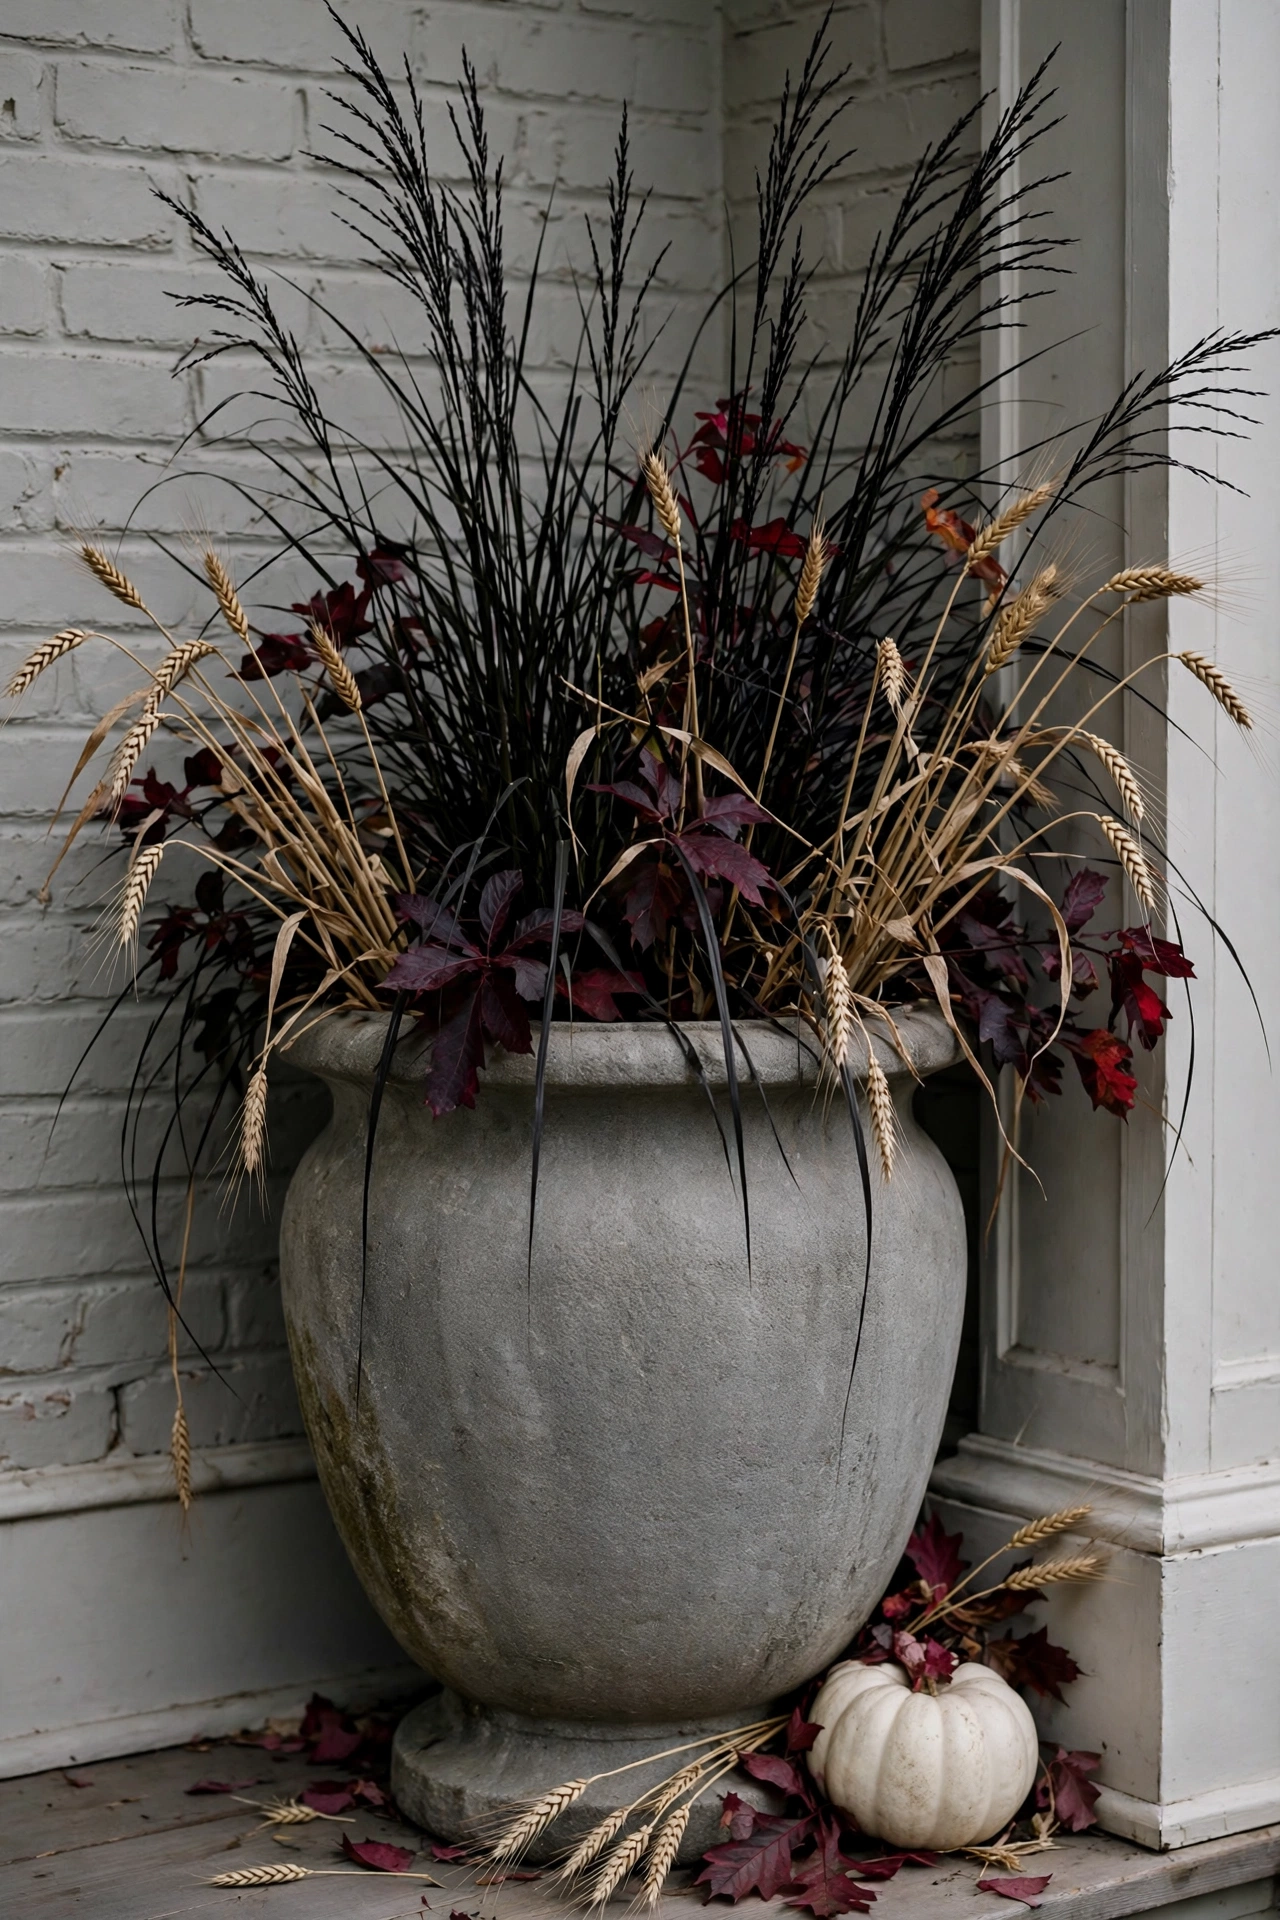
Use the thriller, filler, spiller formula: one tall dark stem such as black millet, a mid-height burgundy filler like coral bells, and a trailing element such as black sweet potato vine. Choose a container at least 14 inches wide so the arrangement holds its shape. Dark foliage lasts four to six weeks, far longer than cut flowers.
Halloween Yard Decorations: Props, Graveyards, and Scenes
12. Create a Graveyard Using Staggered Tombstone Heights
Tombstones lined up in a straight row look like a parking lot. Staggered heights and angles read as an old, forgotten cemetery. The tilt is what sells the scene.
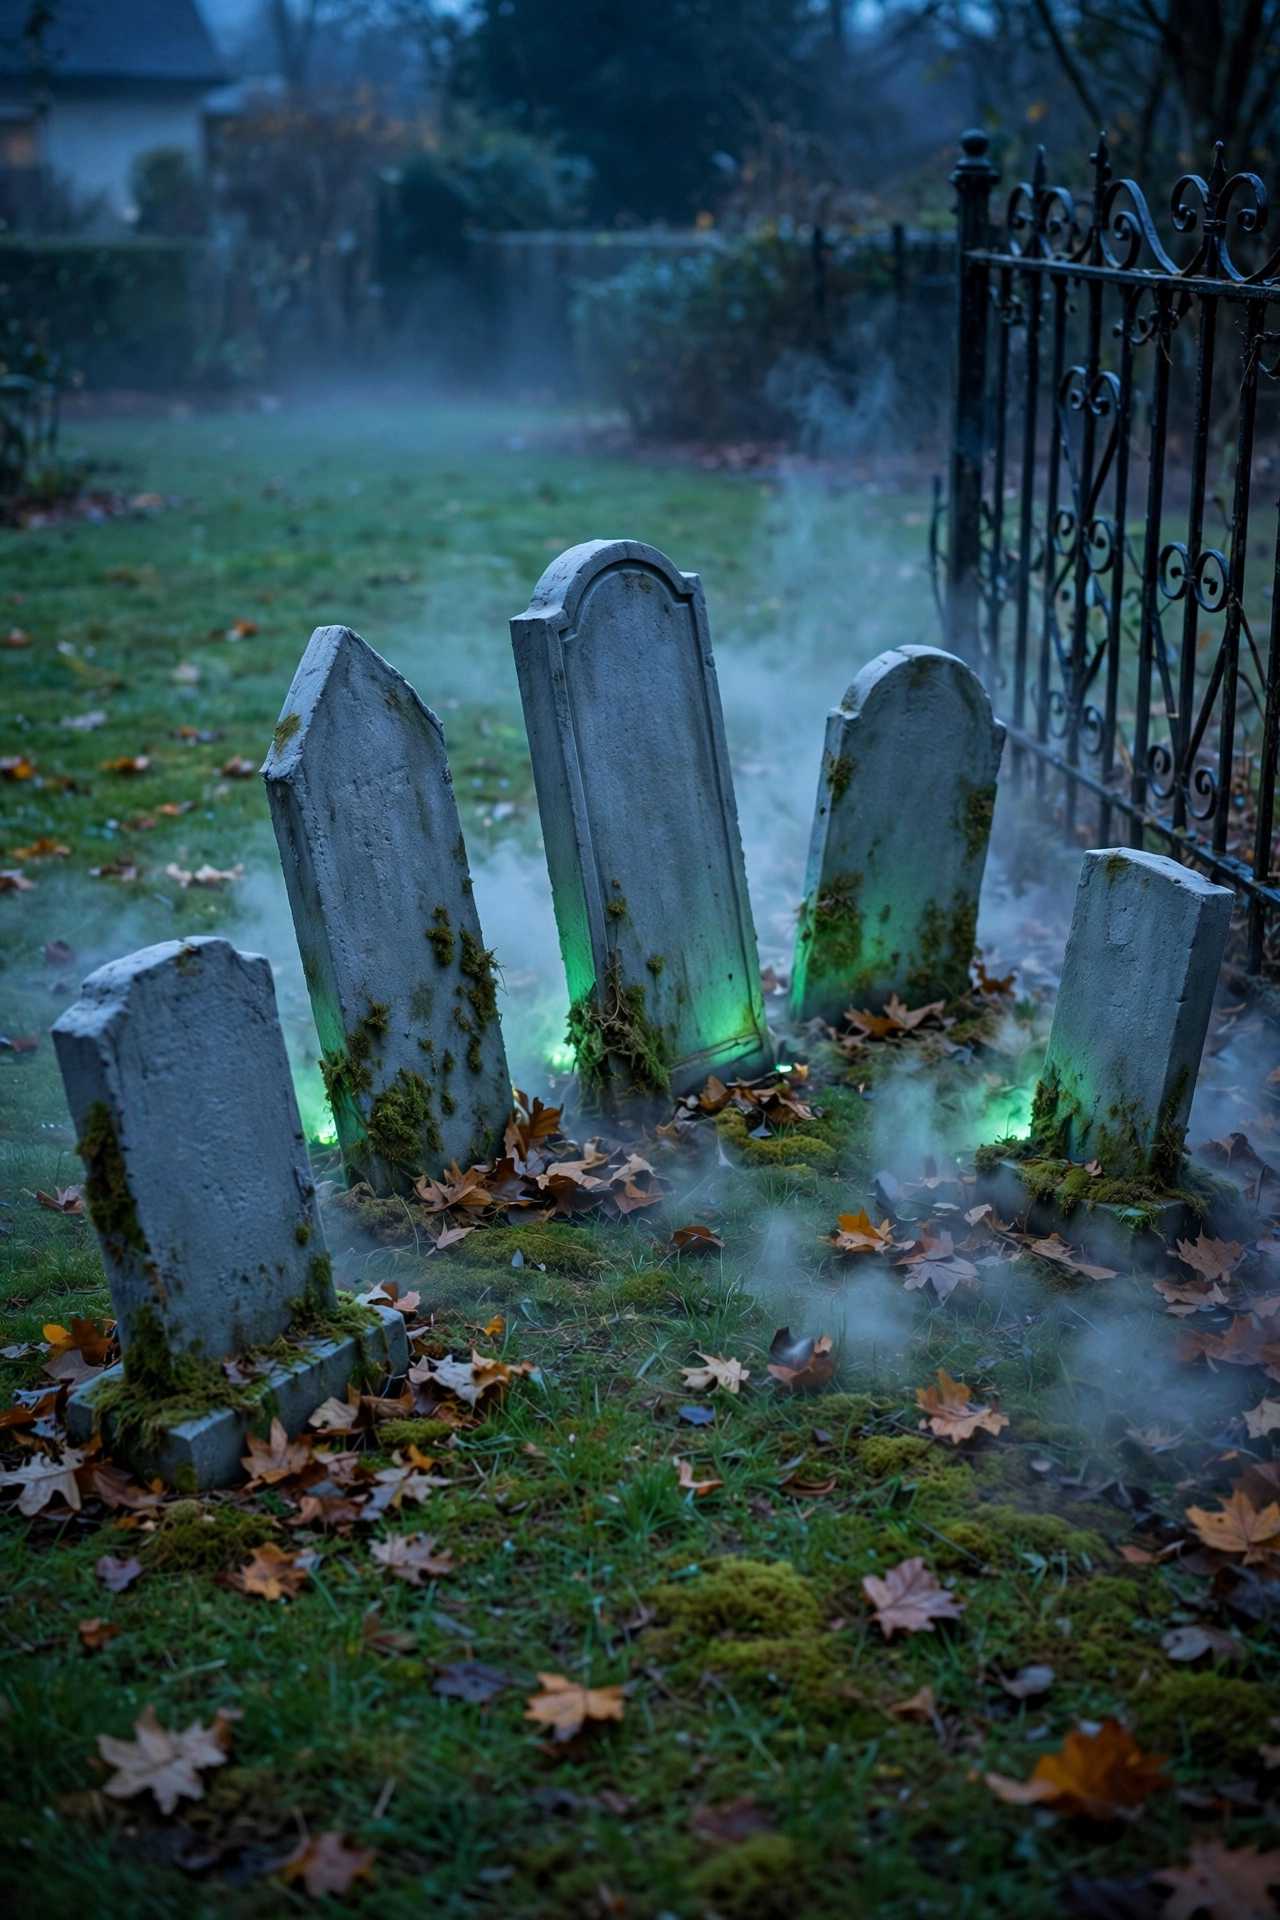
Mix three heights: 18, 28, and 36 inches. Tilt two stones 5–10 degrees and push the stakes deep so they hold in wind. Add a cheap iron fence section behind the stones to create instant depth.
13. Anchor Each Scene With One Large Centerpiece Prop
Scenes without a focal point feel scattered. One strong centerpiece tells viewers where to look and organizes everything around it. Smaller props then support instead of compete.
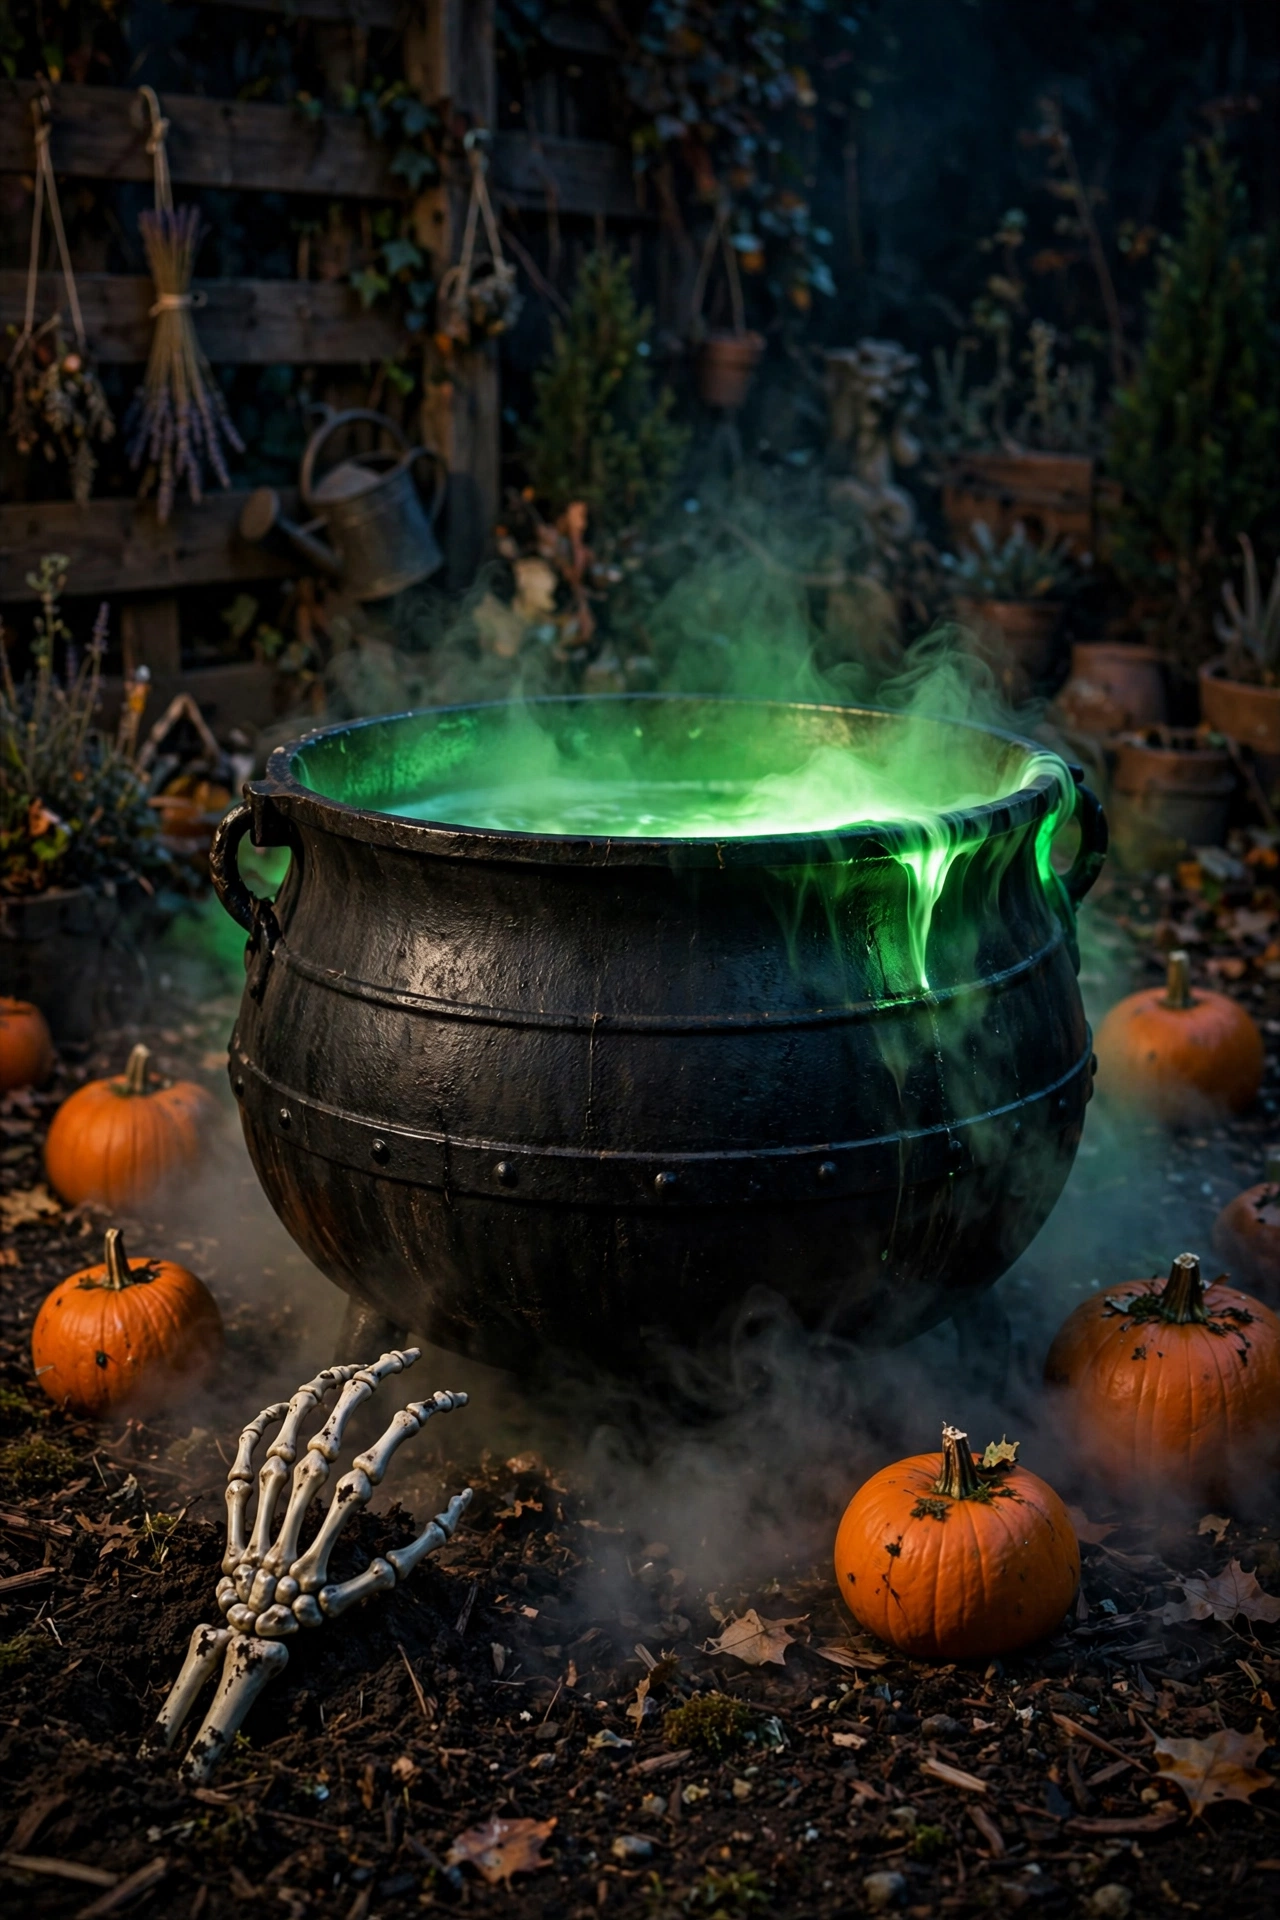
Choose one prop at least 3 feet tall or wide for each scene, such as a cauldron, coffin, or giant spider. Group smaller props within 4 feet of it in clusters of 3. The scene reads as one story instead of a pile of items.
14. Group Skeletons and Figures in Odd-Numbered Clusters
Evenly spaced figures look like a lineup. Clusters of 3 or 5 look like they were caught mid-action. Odd numbers read as collected while even numbers read as staged.
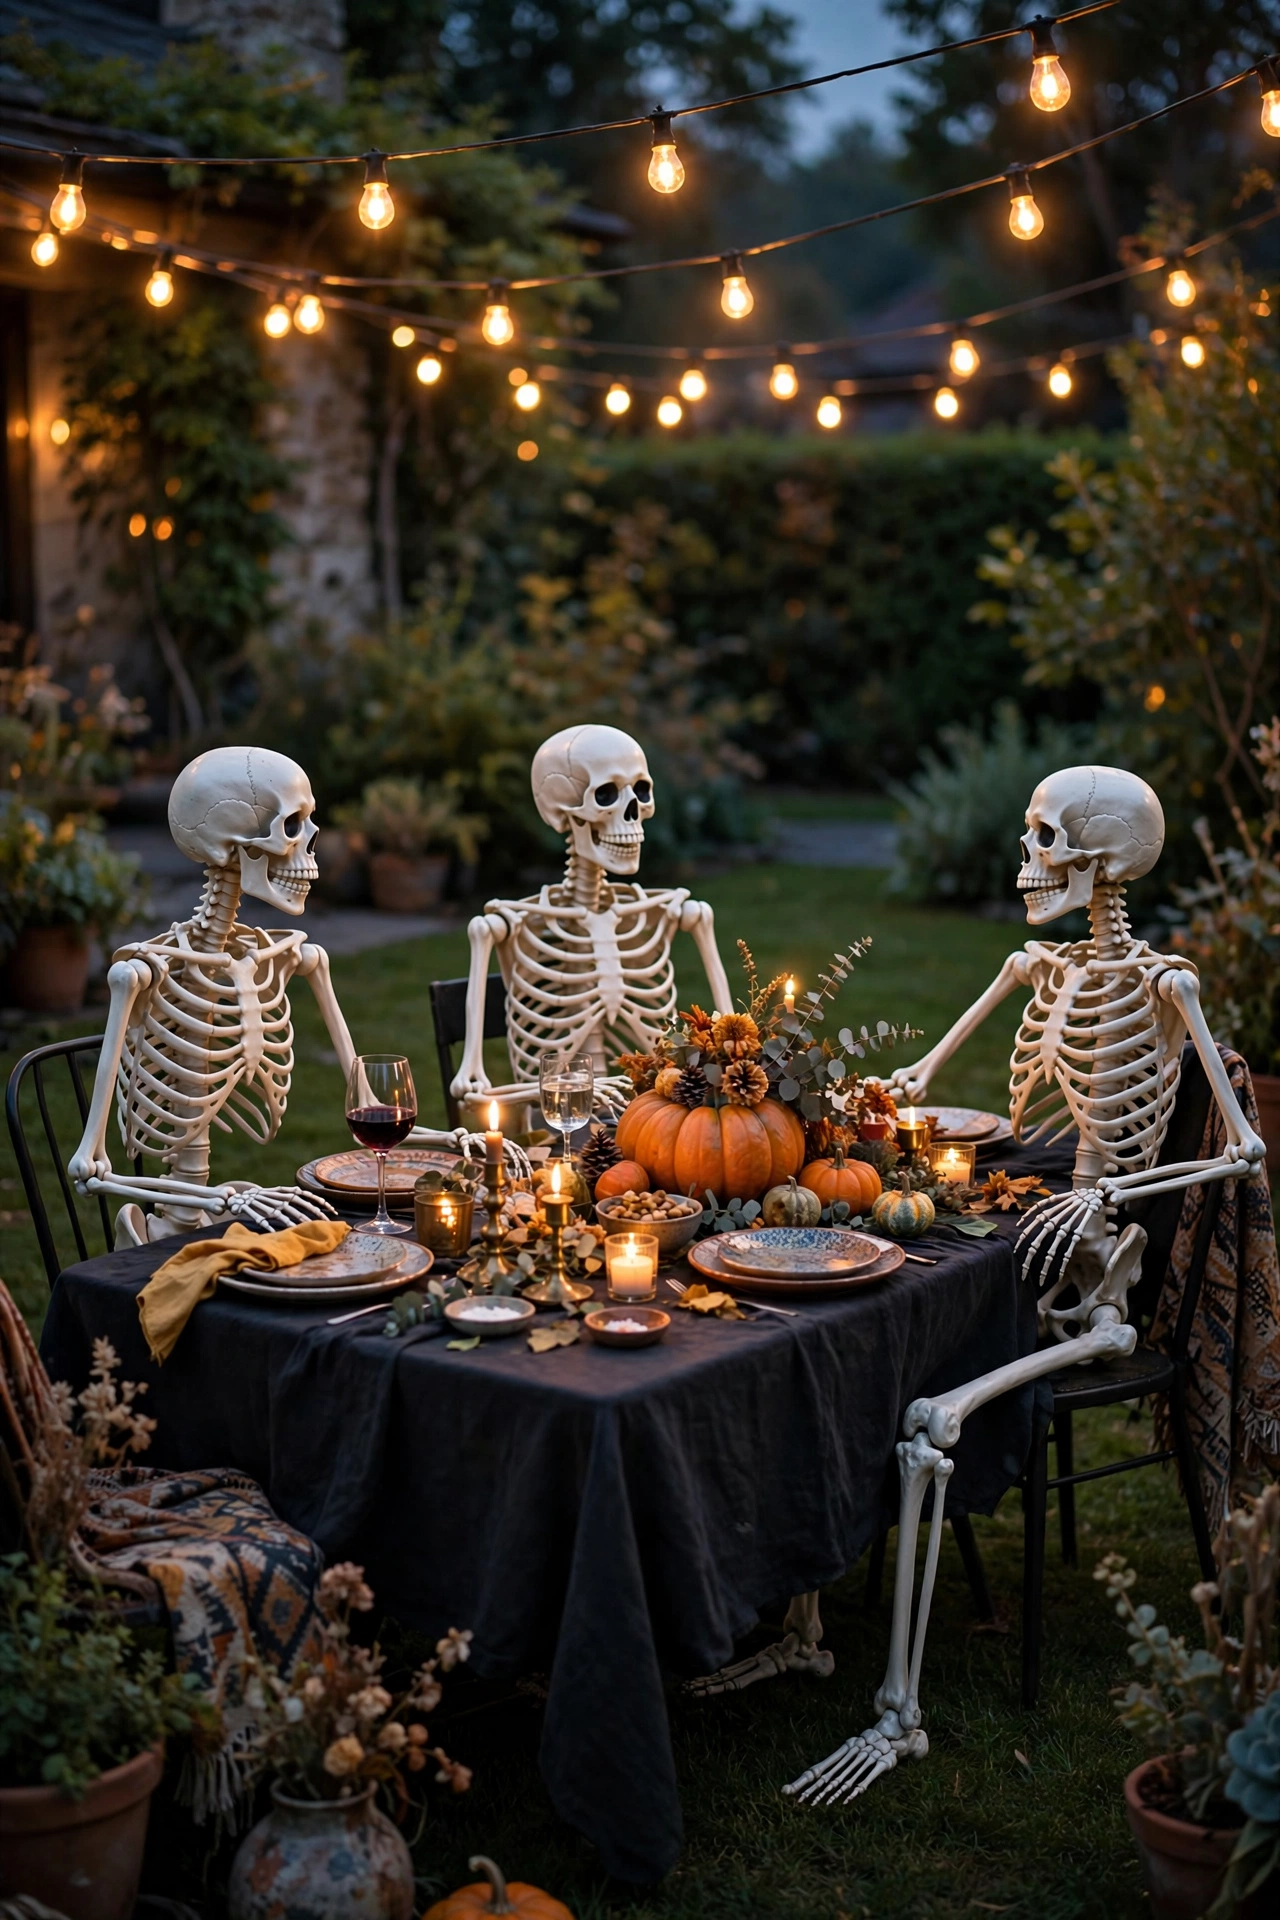
Pose figures in a story: sitting at a table, climbing the porch rail, or reaching from a bush. Space them 18–30 inches apart and vary their heights. Wire the joints to a stake so wind never topples the group.
15. Add Moving or Sound Elements Near the Walkway
Static displays get ignored after the first glance. Motion and sound trigger a reaction and give visitors a story to repeat. Keep the effects close to the path where they land.
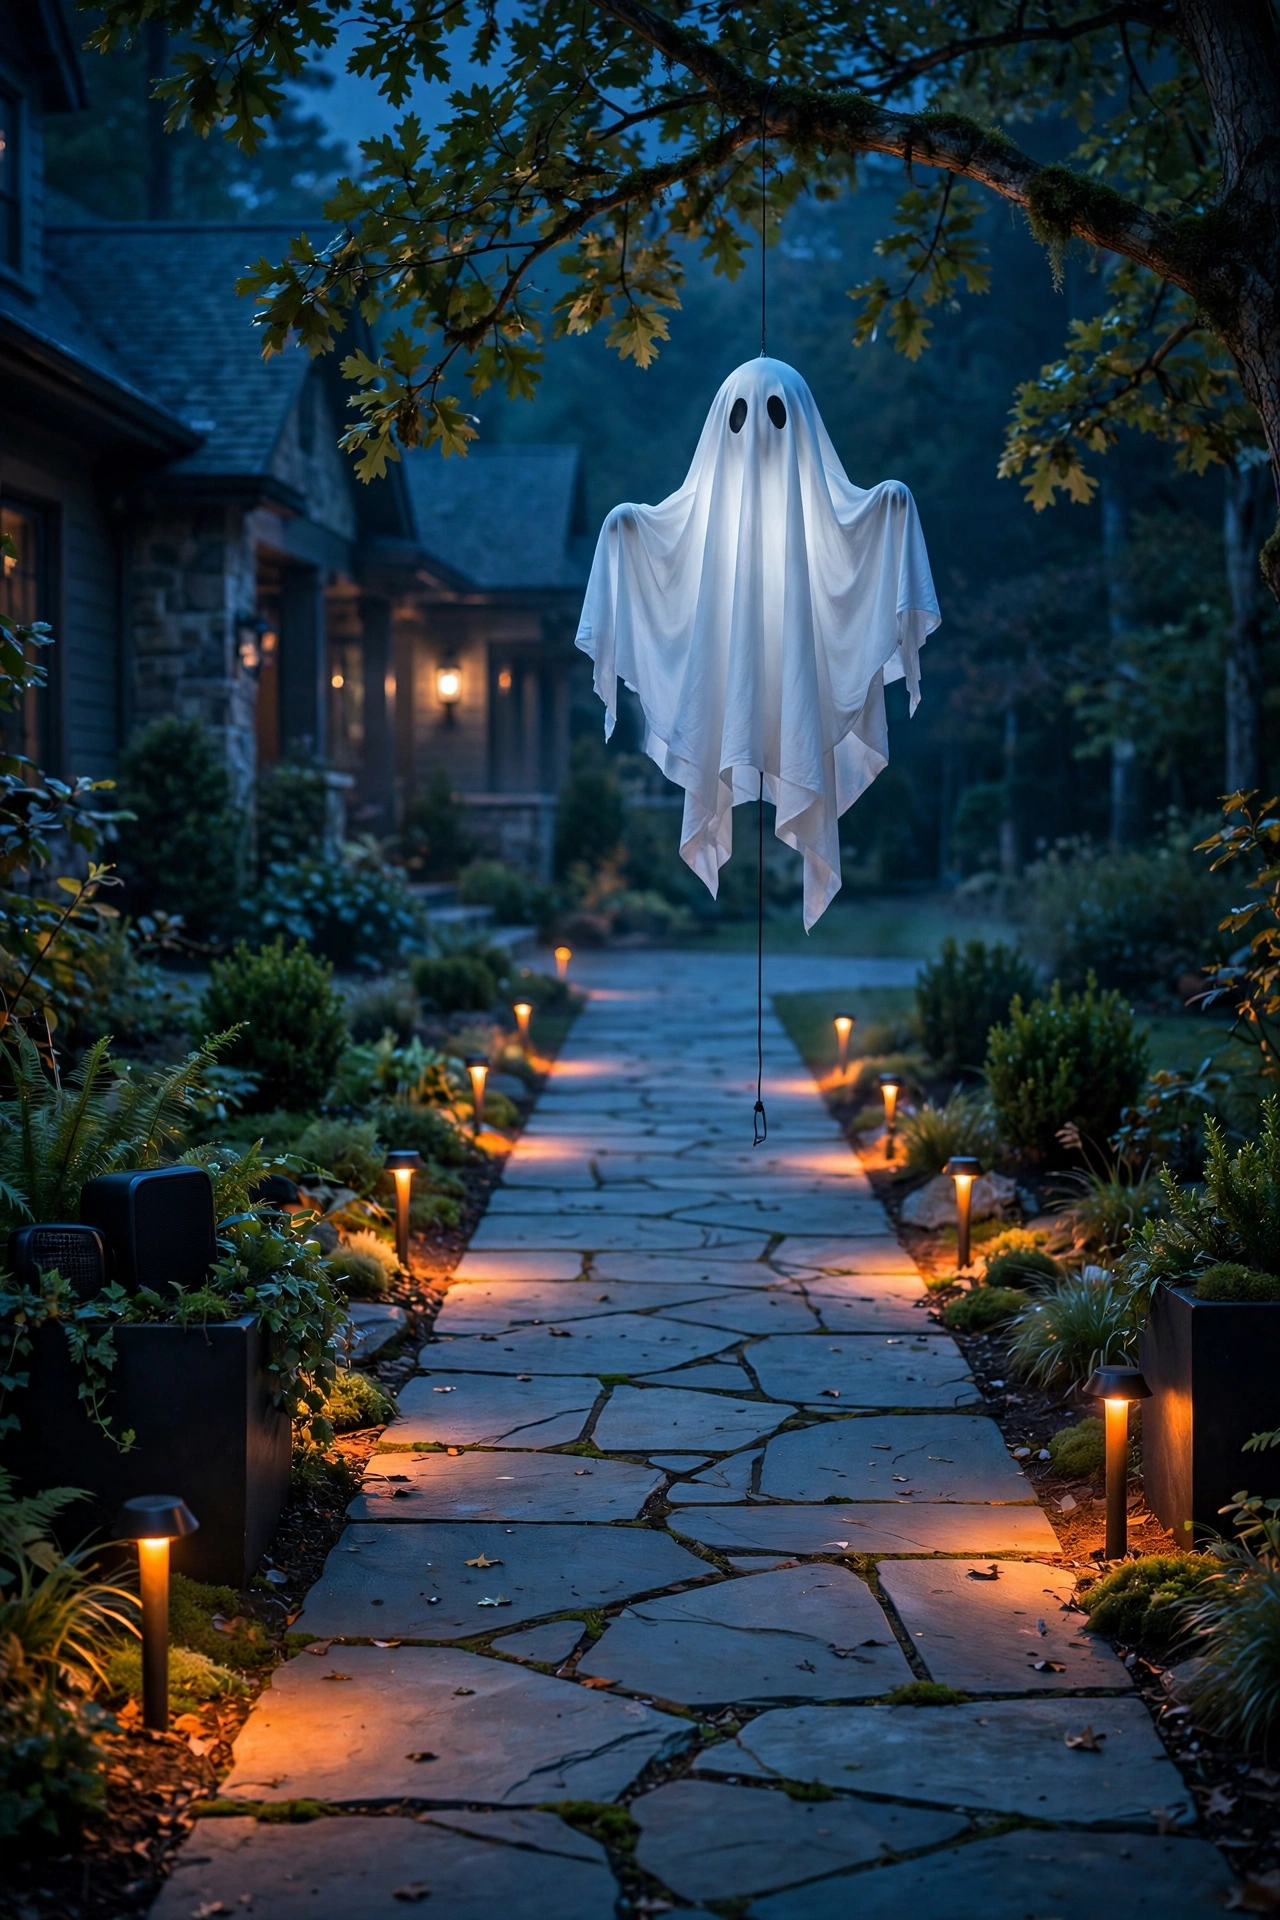
Place motion-sensor props 6–10 feet from where visitors first step onto the path. Hide small Bluetooth speakers in planters and set the volume low enough that neighbors stay comfortable. A single well-timed effect creates a bigger reaction than five constant ones.
Finishing Touches for Your Outdoor Halloween Display
16. Use Fog Machines Low to the Ground
Fog drifting at head height blocks your display. Low-lying fog hugs the ground, covers cords, and makes tombstones appear to rise from mist. Cold fog is the key.
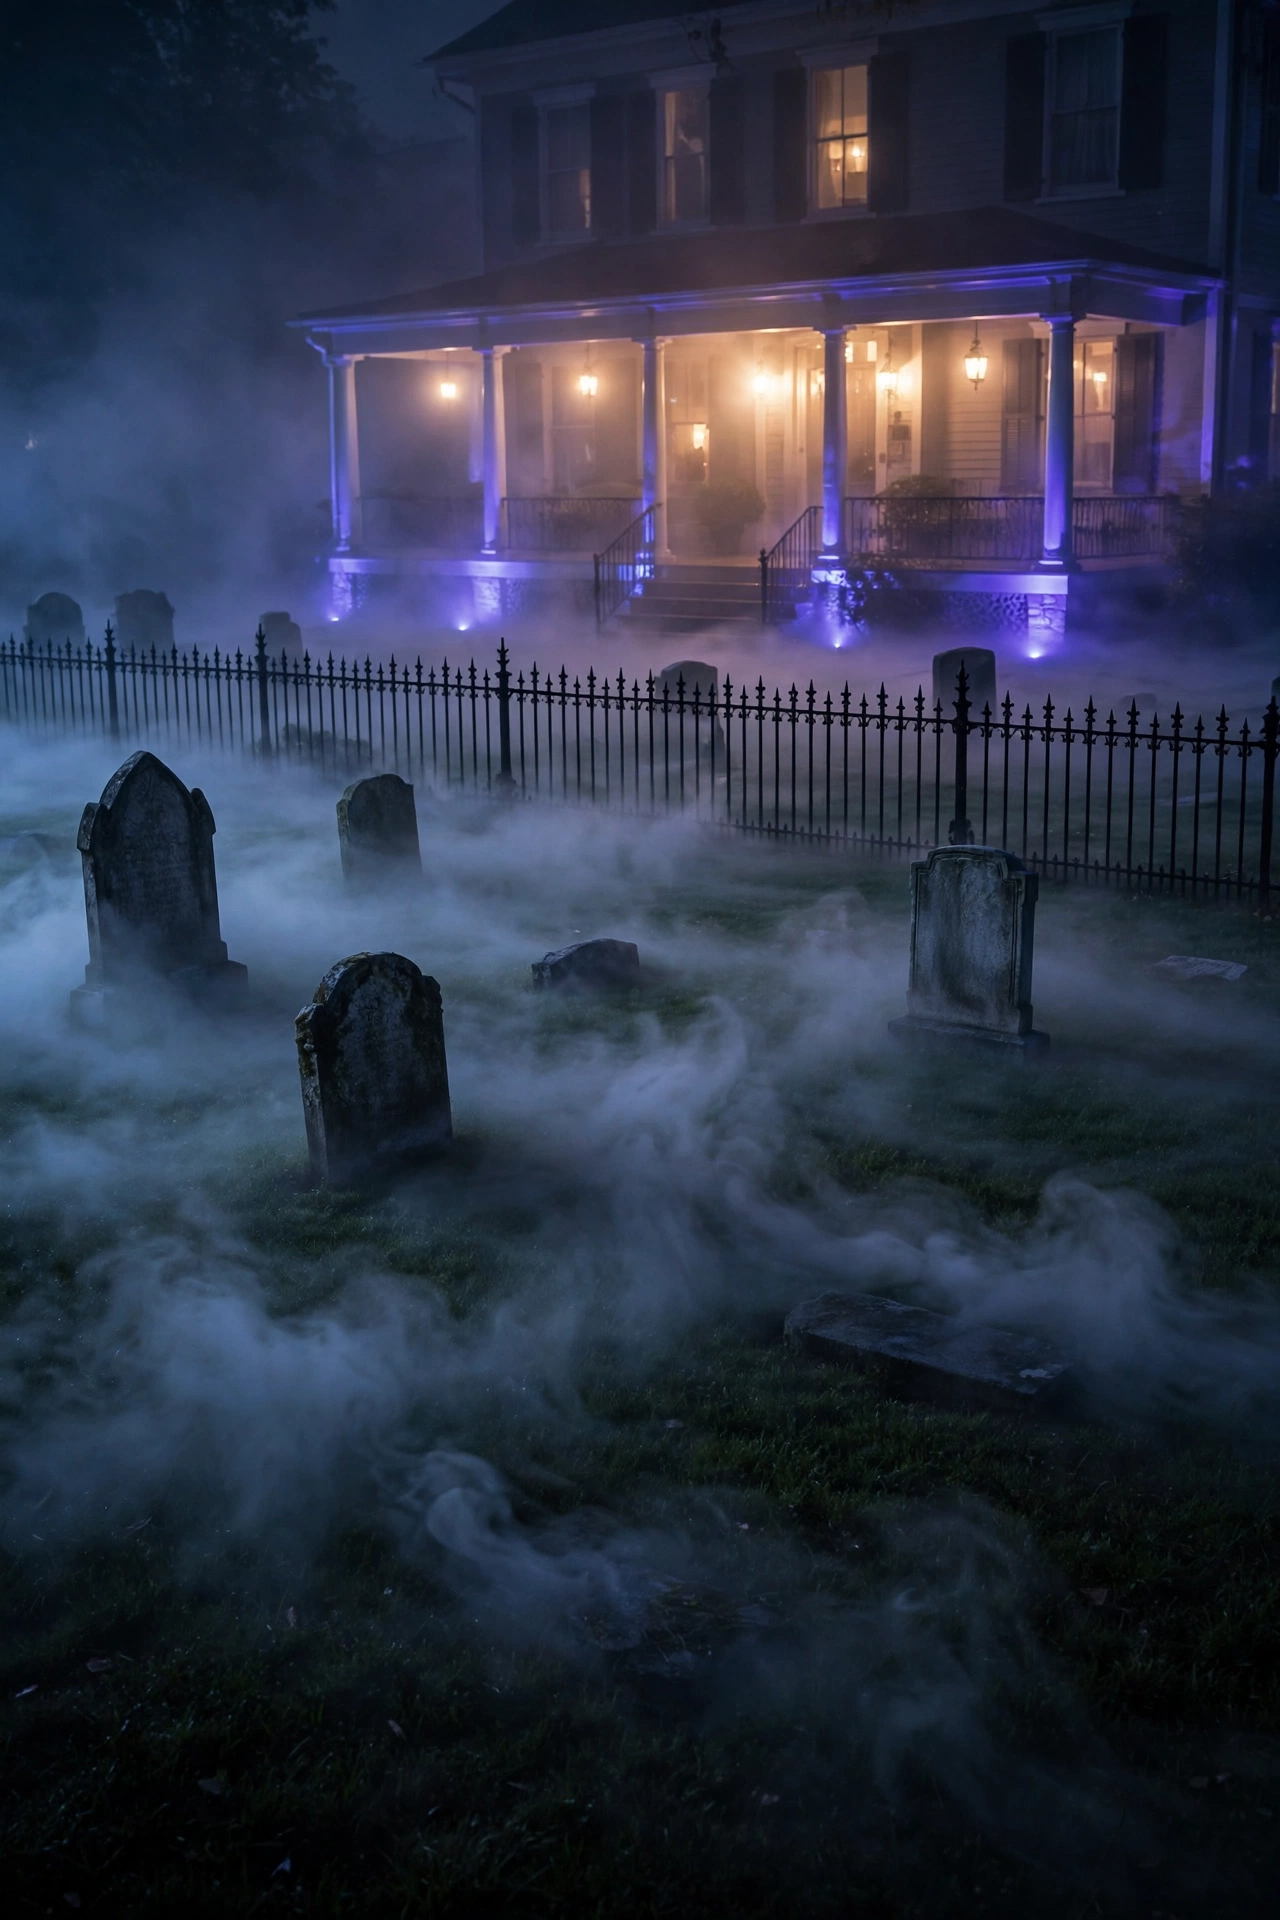
Run the machine through a chiller or a tube of ice-filled cooler so the fog stays under 18 inches. Place the machine behind a prop and aim the output across the display, not at the porch. Fog fades in 20 minutes, so use a timer for bursts rather than continuous output.
17. Switch Plain Walkway Lights to Themed Path Markers
Standard walkway lights say “everyday.” Themed markers like skull stakes or glowing pumpkins tell visitors the display begins at the sidewalk. They also guide foot traffic safely.
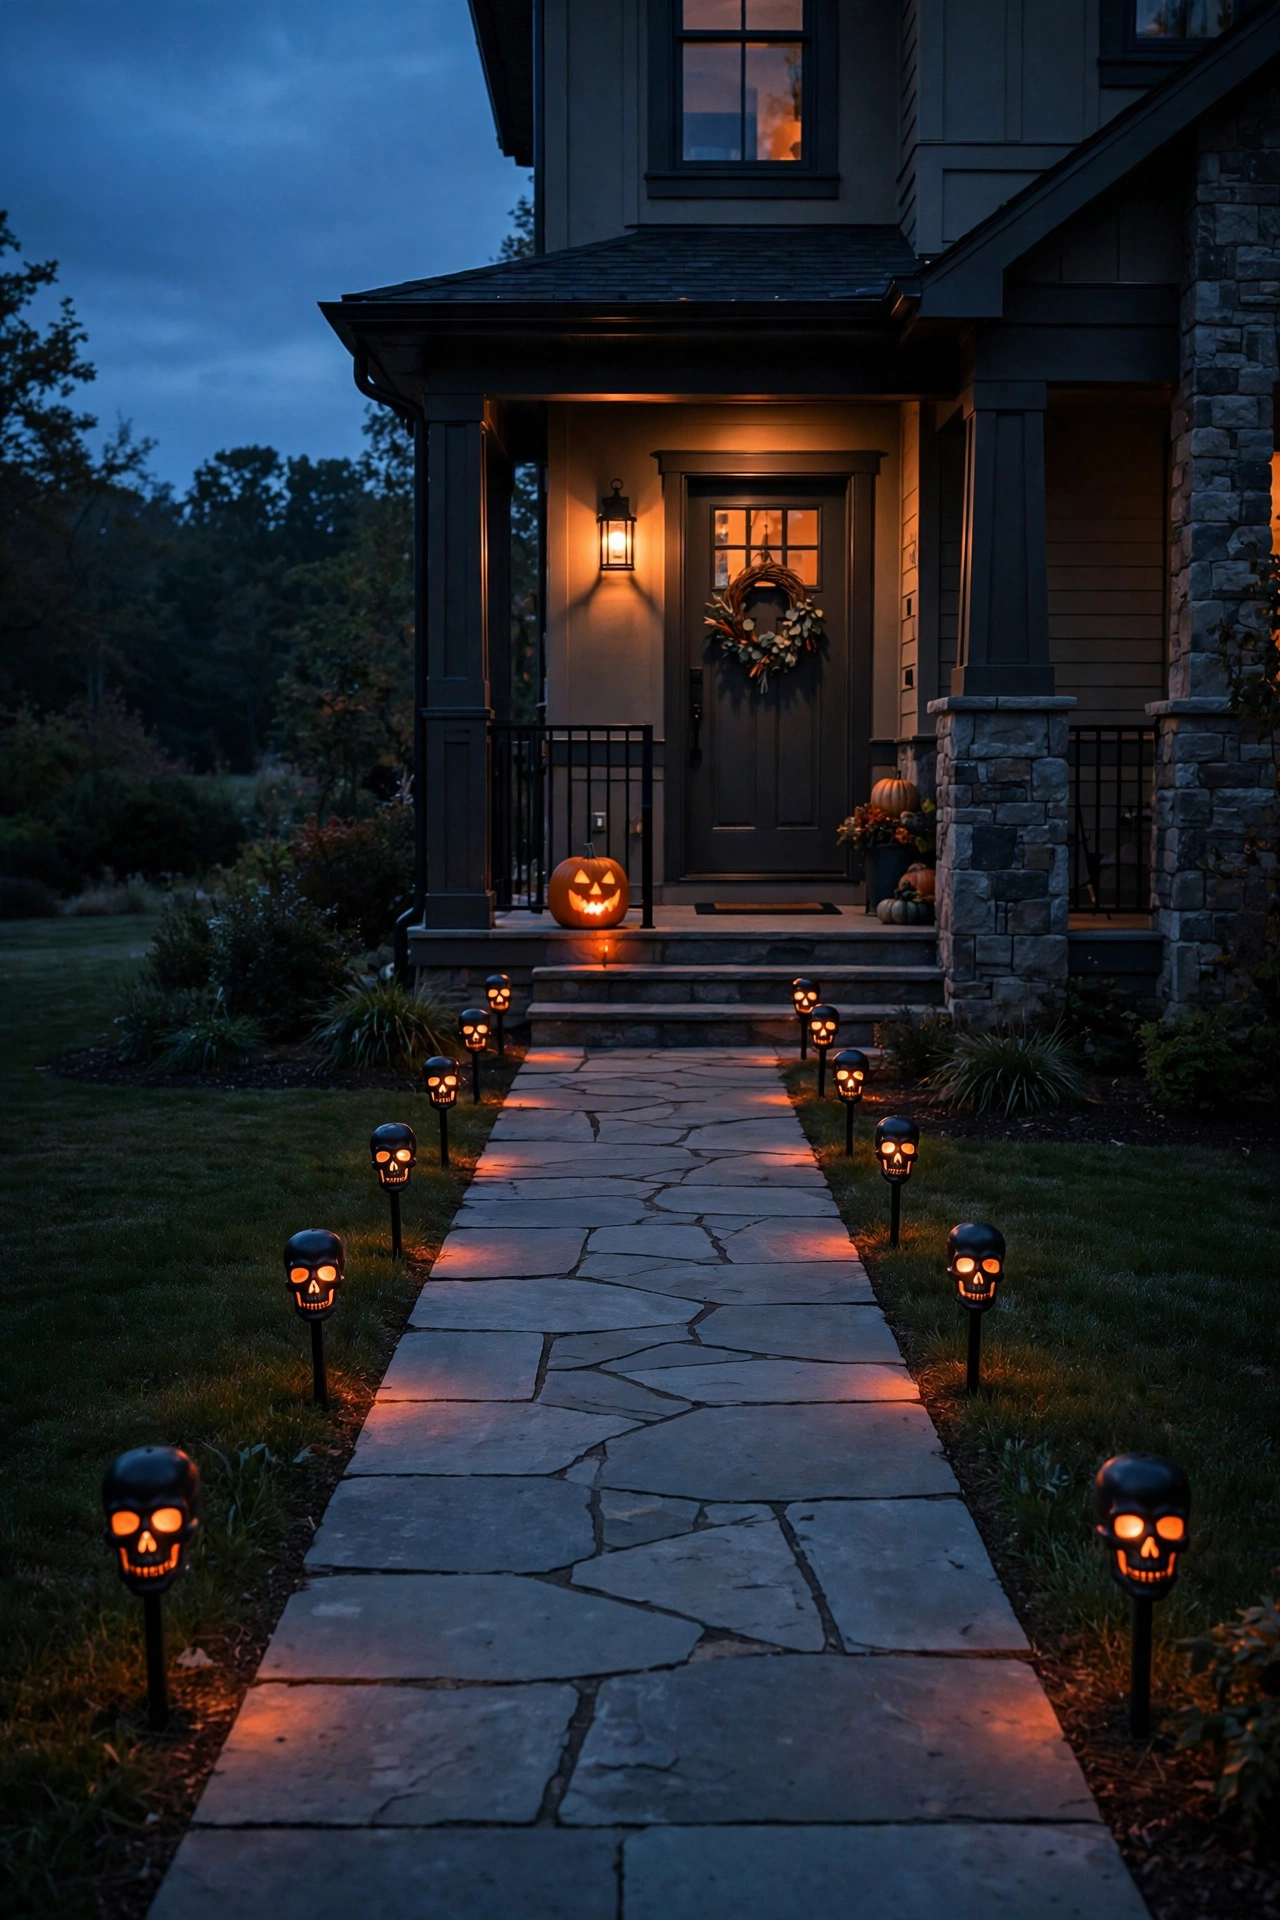
Space markers 4–6 feet apart on both sides of the path, 12 inches from the edge. Use solar or low-voltage LED models and stake them at least 4 inches deep. Every visitor now follows a lit, clearly marked route to your door.
18. Hang Fabric, Cobwebs, and Garlands With Intentional Spacing
Cobwebs thrown over everything look like neglect. Placed deliberately, they frame doorways and corners and add texture. Restraint is what makes them work.
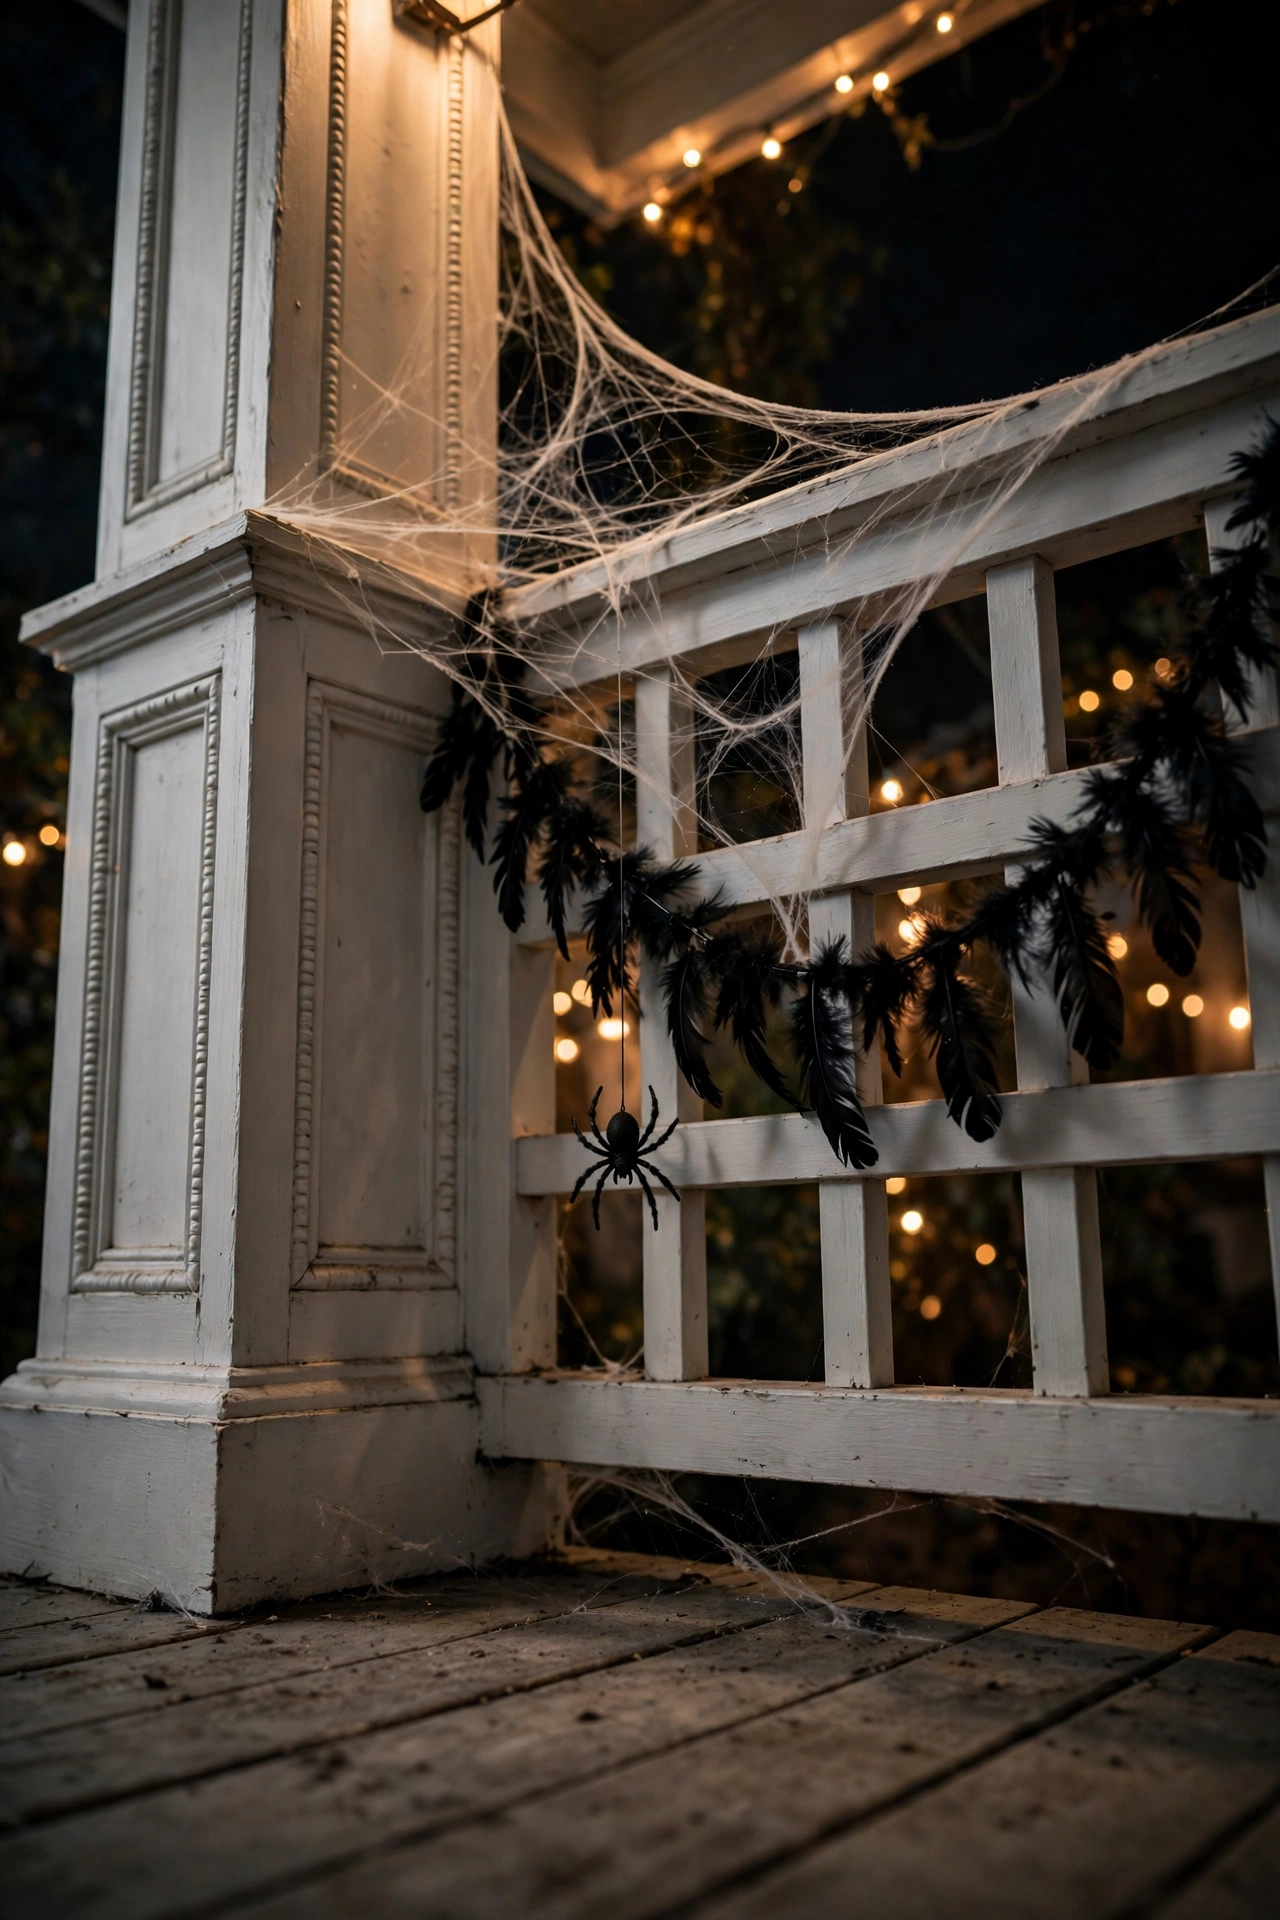
Pull cobweb stretch material until it is nearly transparent and anchor it in corners and between railings. Drape garlands in 3-foot swags with a 6-inch dip. Cover no more than a third of any surface so the structure of your home stays visible.
Keeping Outdoor Halloween Decorations Weatherproof and Safe
19. Apply Waterproof Sealant to Paper and Foam Props
Rain destroys unsealed foam and cardboard props in a single night. A coat of sealant keeps them intact through the whole season. Prevention costs a fraction of replacement.
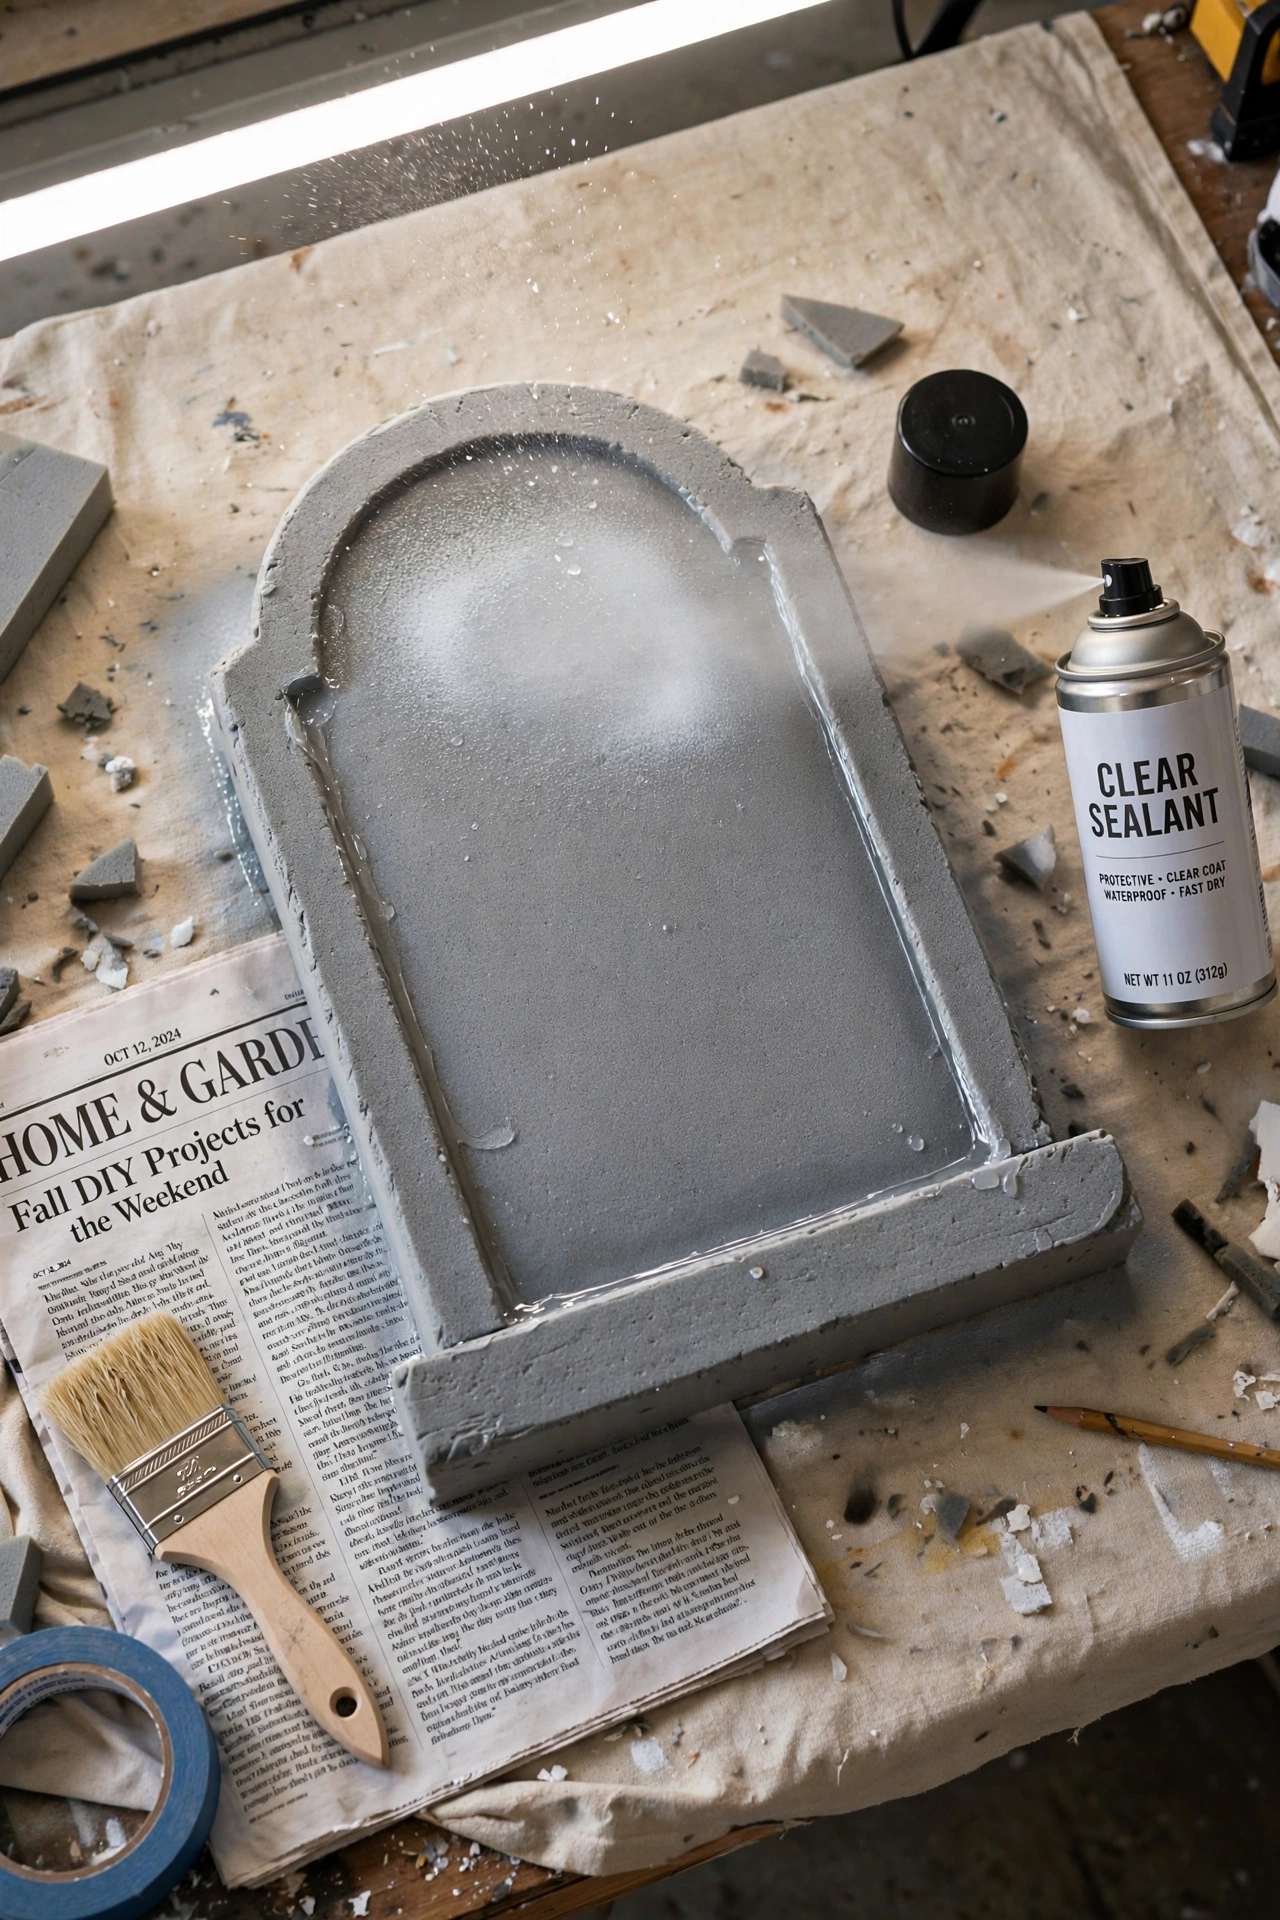
Apply two thin coats of clear acrylic sealant, letting each dry for 30 minutes. Seal the cut edges and the bottom, where moisture enters first. Sealed props survive heavy rain, while unsealed ones warp within 24 hours.
20. Replace Light Cords With Outdoor-Rated Versions
Indoor cords overheat and short in wet conditions. Outdoor-rated cords carry a jacket designed for moisture. This is a safety issue, not a style choice.
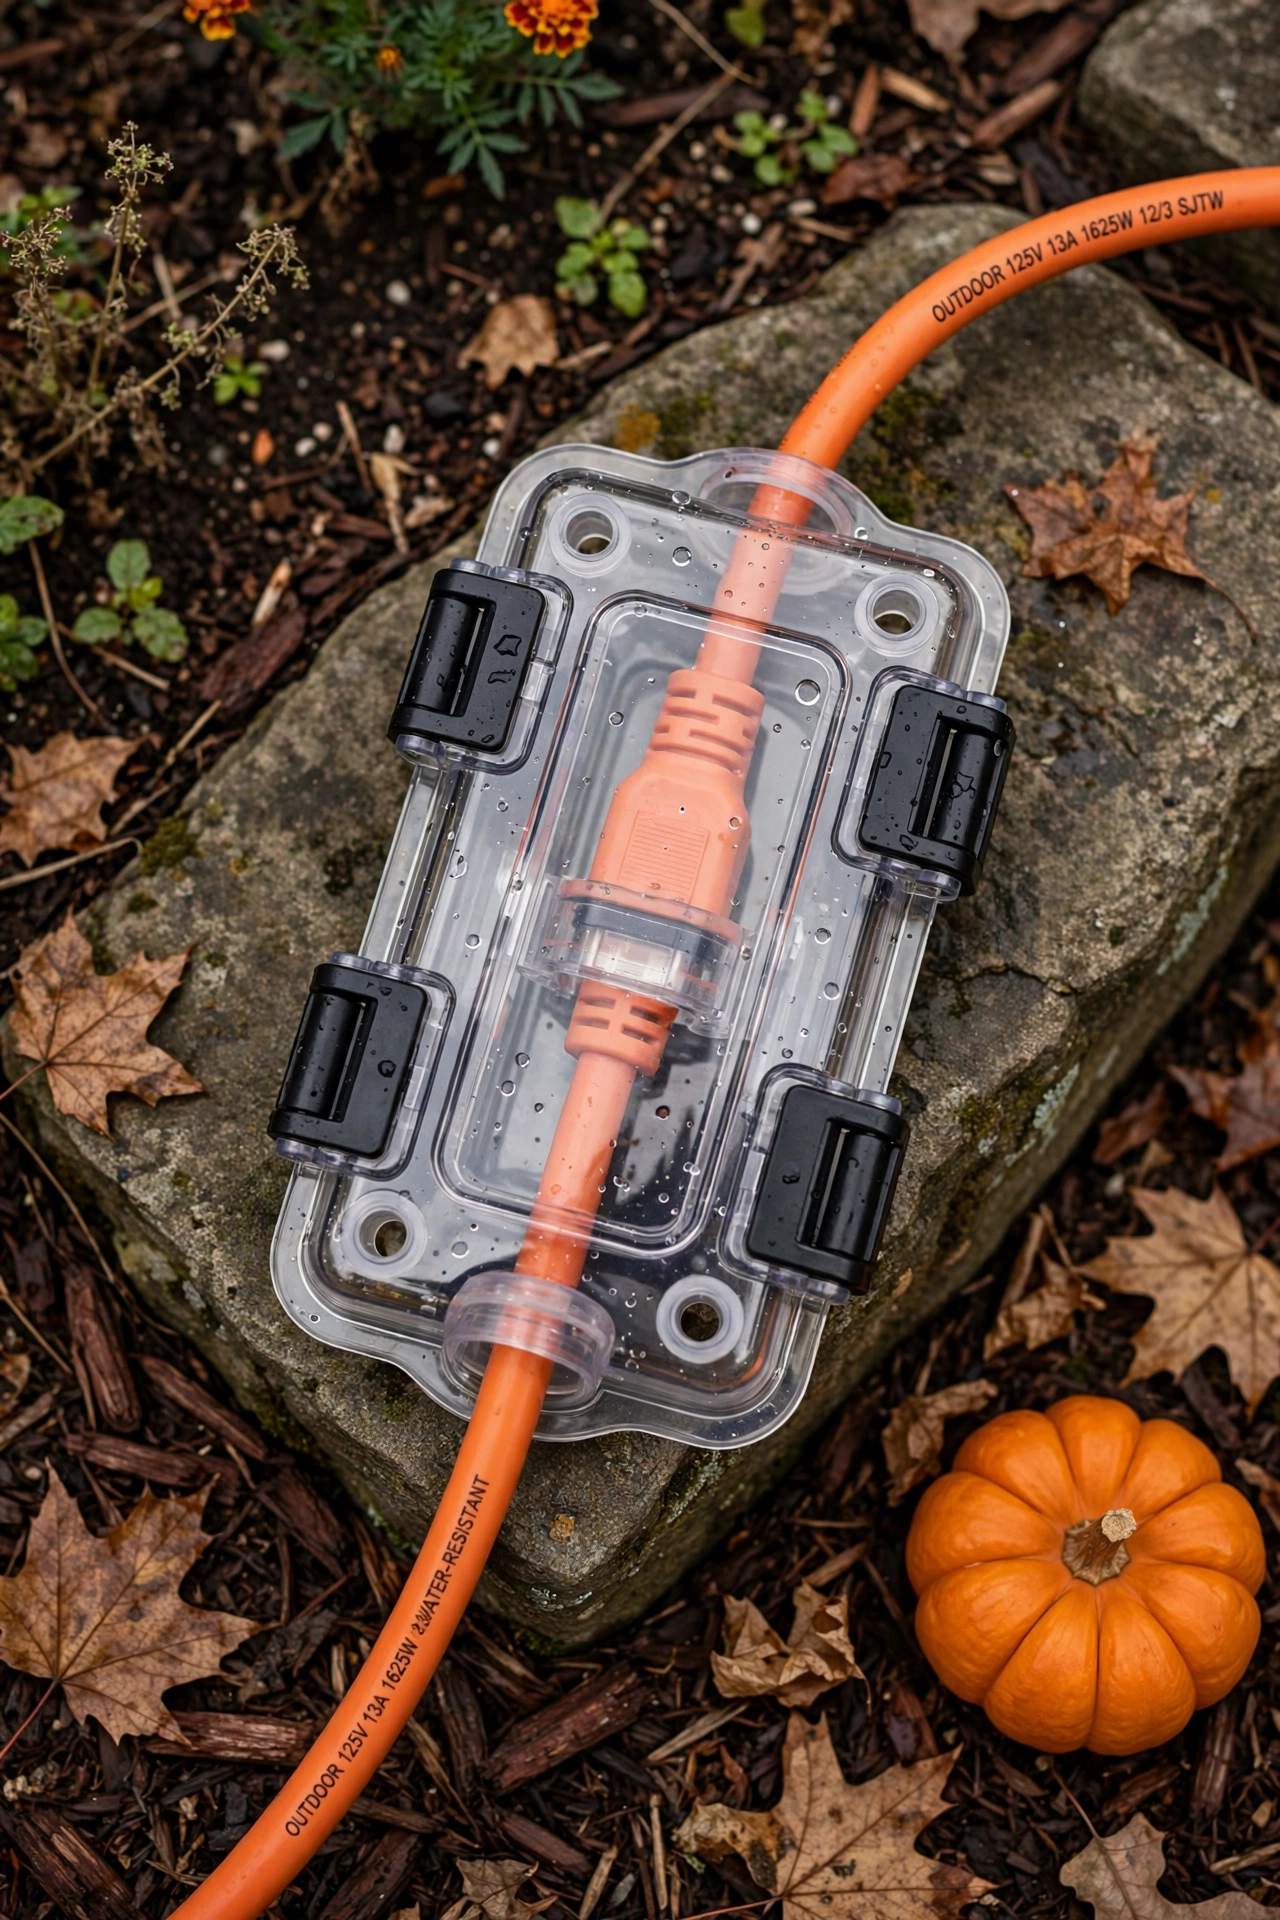
Check every cord for a rating label reading “W” or “suitable for outdoor use.” Cover each plug connection with a waterproof connection box and raise it off the ground on a brick. Plug everything into a GFCI outlet so any fault cuts power immediately.
21. Remove and Store Props Within 48 Hours of Halloween
Leaving decorations up into November invites weather damage and looks neglected. Quick removal protects your investment and your curb appeal. Props stored dry last for years.
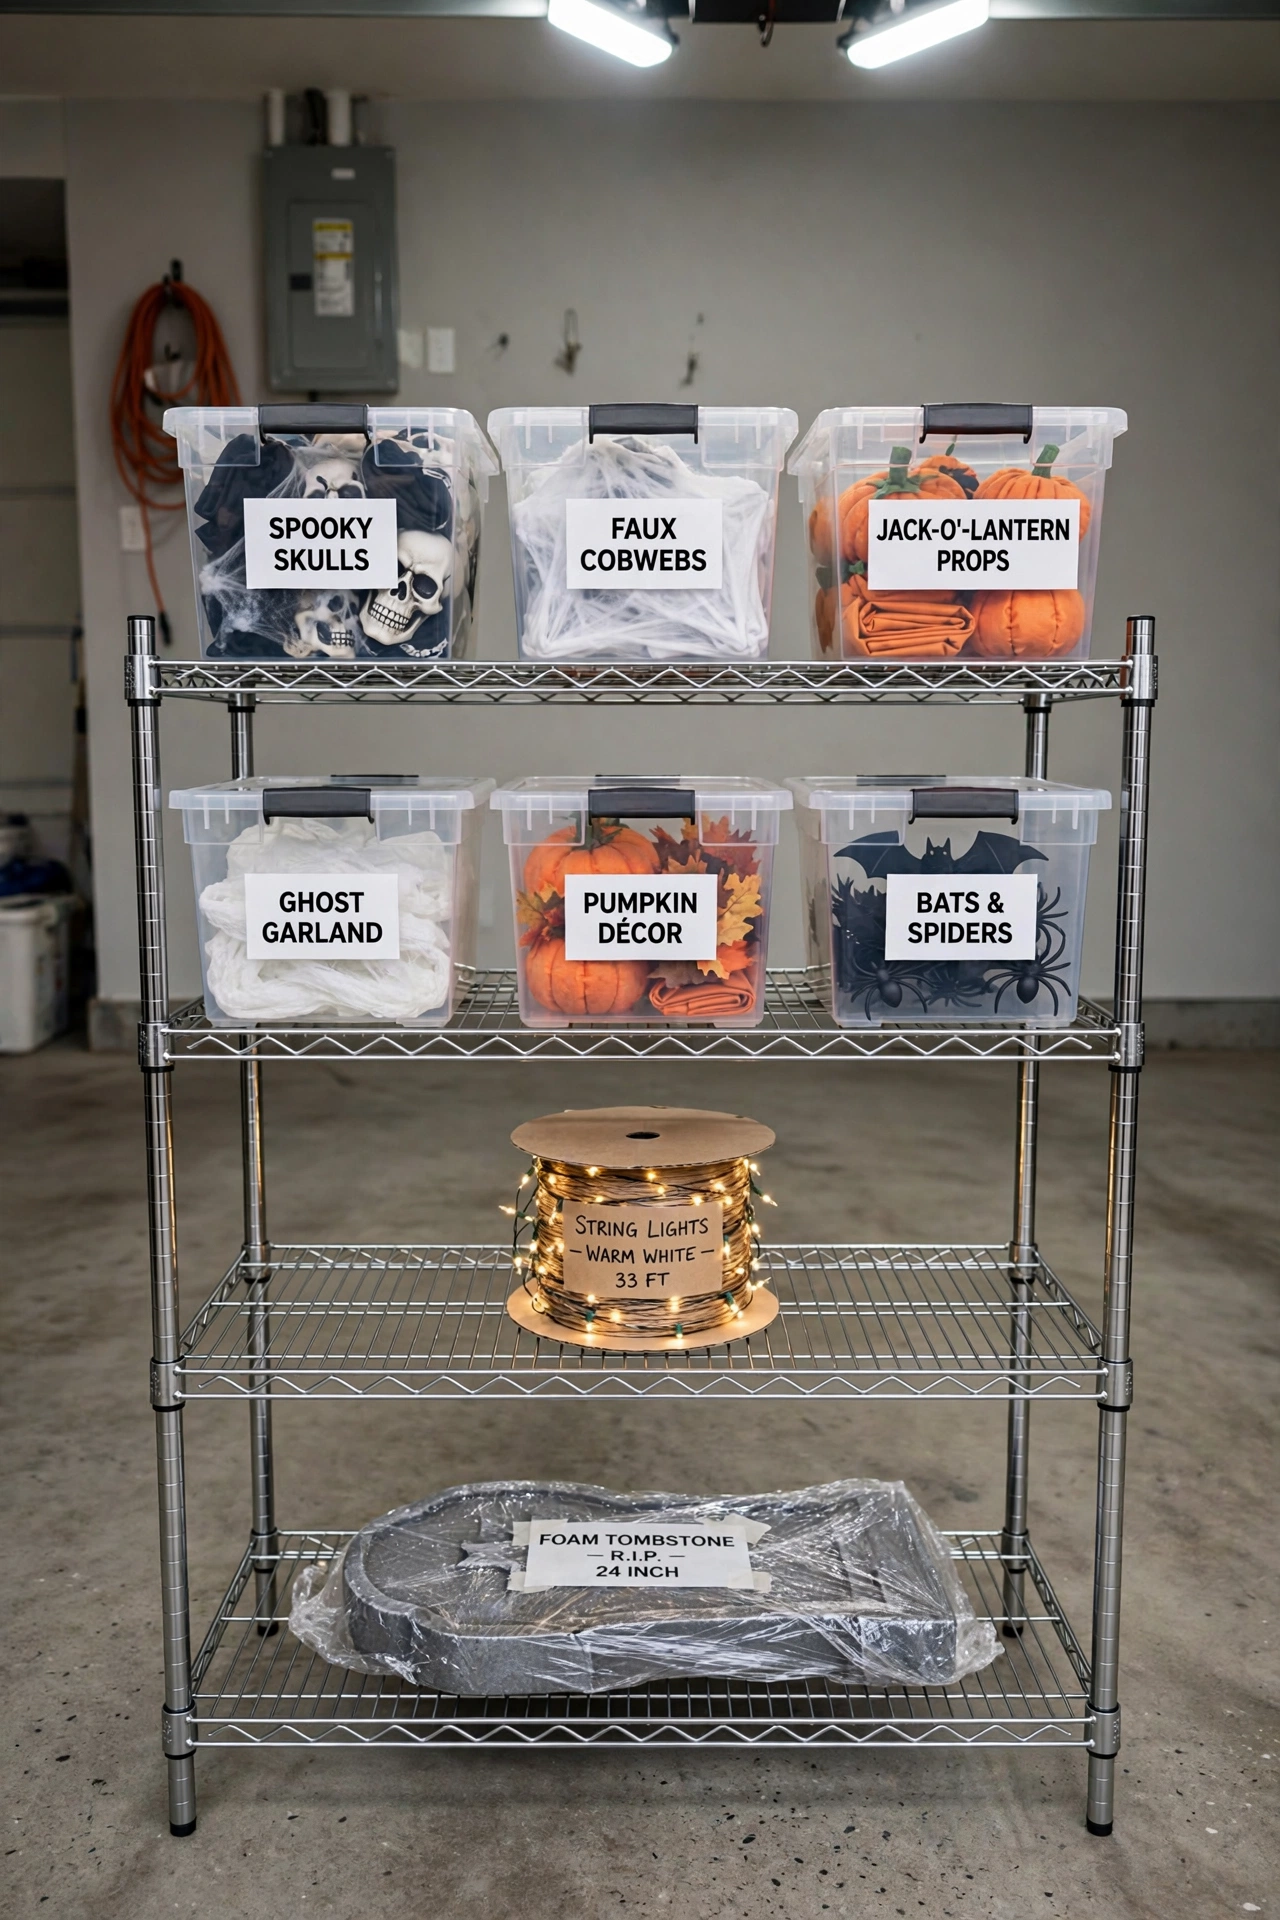
Wipe every prop dry, wind lights around a cardboard spool, and label each bin by zone. Store foam and plastic away from heat, since temperatures above 100°F warp them. Next October you unpack a ready-to-place set.
Common Outdoor Halloween Decor Mistakes That Ruin the Display
Halloween Decorations Outdoor by Home Type and Budget
Renters and Apartment Balconies
Skip anything that needs drilling or stakes. Use removable adhesive hooks rated for outdoor use, tension rods for hanging fabric, and battery-powered lights. Limit the display to the railing, the door, and 3 floor pieces. A tidy, restrained setup makes a small balcony look curated.
Large Suburban Front Yards
Large lawns need scale. Divide the yard into 3 zones, one per color, and give each a centerpiece prop at least 4 feet tall. Run all cords on one circuit with a GFCI outlet. Wide yards also support a 12-foot skeleton or a full graveyard with 5–7 stones.
Family-Friendly Displays for Young Kids
Replace gore with friendly and funny props: smiling ghosts, glowing pumpkins, and cute bats. Keep lighting warm orange and avoid sudden sound effects near the path. Set a clear route 36 inches wide so small children never feel trapped. Young visitors enjoy the display without fear.
Budget Setups Under $50
Spend $20 on a string of orange LED lights, $15 on a bag of cobweb stretch and black fabric, and the rest on pumpkins. Group 5 pumpkins on the steps and light them from below with a $10 spotlight. Build ghosts from white sheets and cheesecloth. Discipline and layout beat a large budget.
Frequently Asked Questions
How do you decorate outside for Halloween?
Start with a measured layout, one color palette, and a power plan. Then add lighting first, porch styling second, yard scenes third, and weatherproofing last. This order prevents rework and keeps the display cohesive.
What not to do when decorating outside for Halloween?
Never use indoor cords outdoors, never block walkways with props, and never use nails or staples on siding. Avoid spreading props evenly across the yard, because clustering creates stronger visual impact.
How to decorate outside for Halloween on a budget?
Focus spending on lighting and pumpkins, then make the rest. Cheesecloth ghosts, painted cardboard tombstones, and cobweb stretch cost under $15 combined. A single spotlight aimed upward adds more drama than any expensive prop.
How to decorate an apartment balcony for Halloween without damage?
Use removable adhesive hooks, tension rods, and battery-powered lights. Hang sheer black fabric from the railing with clips, not tape. Everything removes cleanly when the season ends.
Should I use orange or purple lights for outdoor Halloween decorations?
Use both, in separate zones. Orange works on walkways and pumpkins because it feels welcoming, while purple works on the house facade because it feels mysterious. Mixing them in the same spot muddies both.
When should I put up Halloween decorations outside?
Start in the first week of October for lighting and porch pieces. Add larger props and fog effects in the final 7 days. Remove everything within 48 hours after October 31.
Do outdoor Halloween decorations work in the rain?
Only when they are rated for it. Seal foam and paper props with acrylic sealant, use outdoor-rated cords, and plug into a GFCI outlet. Remove or cover electronics during storms.
How much does it cost to decorate outside for Halloween?
A strong basic display costs $80 using lights, pumpkins, and cobwebs. A full yard with a graveyard, fog machine, and large prop typically runs $400, depending on the props you choose. Americans spent $4.2 billion on Halloween decorations in 2025, part of a record $114.45 average per-person Halloween spend (National Retail Federation, 2025)
How do you store outdoor Halloween decorations so they last?
Wipe every item dry, remove batteries, and wind lights on a cardboard spool. Store foam and plastic flat in labeled bins in a cool, dry space. Proper storage extends prop life by multiple seasons.
Conclusion
Halloween decorations outdoor displays reward planning over spending. You now have 21 steps in sequence: measure, plan power, set a palette, build lighting, dress the porch, stage the yard, add fog and motion, and protect everything from weather.
Start tonight with steps 1 through 3, then install your lighting this weekend. The result is a display that looks designed, stays safe, and draws every trick-or-treater straight to your door.