
A witch party succeeds or fails on atmosphere, not on the number of props you buy. Most hosts scatter plastic spiders and orange streamers across every surface, and the room reads as a clearance aisle instead of a coven. This guide gives you 22 specific moves, in order, that turn an ordinary living room or dining room into a cohesive witch’s lair. Every tip names a measurement, a material, or a rule you can apply today.
As professional interior designers consistently find, a single committed color palette does more for a themed room than any quantity of props. Research consistently shows that more than half of Halloween celebrants decorate their homes or yards, and Americans spent $4.2 billion on Halloween decorations alone (National Retail Federation, 2025) — which is why locking your palette first makes every other decision easier. Work through the tips in order, because each step builds directly on the one before it.
Before You Begin: 3 Foundation Steps for Witch Party Decor
Three decisions made before you buy anything determine whether the finished room looks designed or assembled. Complete all three before you open a single prop box.
1. Choose One Three-Shade Color Palette Before Buying Anything
Random colors destroy a witch party theme faster than any other mistake. Every extra shade you add splits attention and makes the room read as cluttered instead of enchanted. Limit yourself to three shades and the space looks deliberately designed, which guests register within seconds of walking through the door.
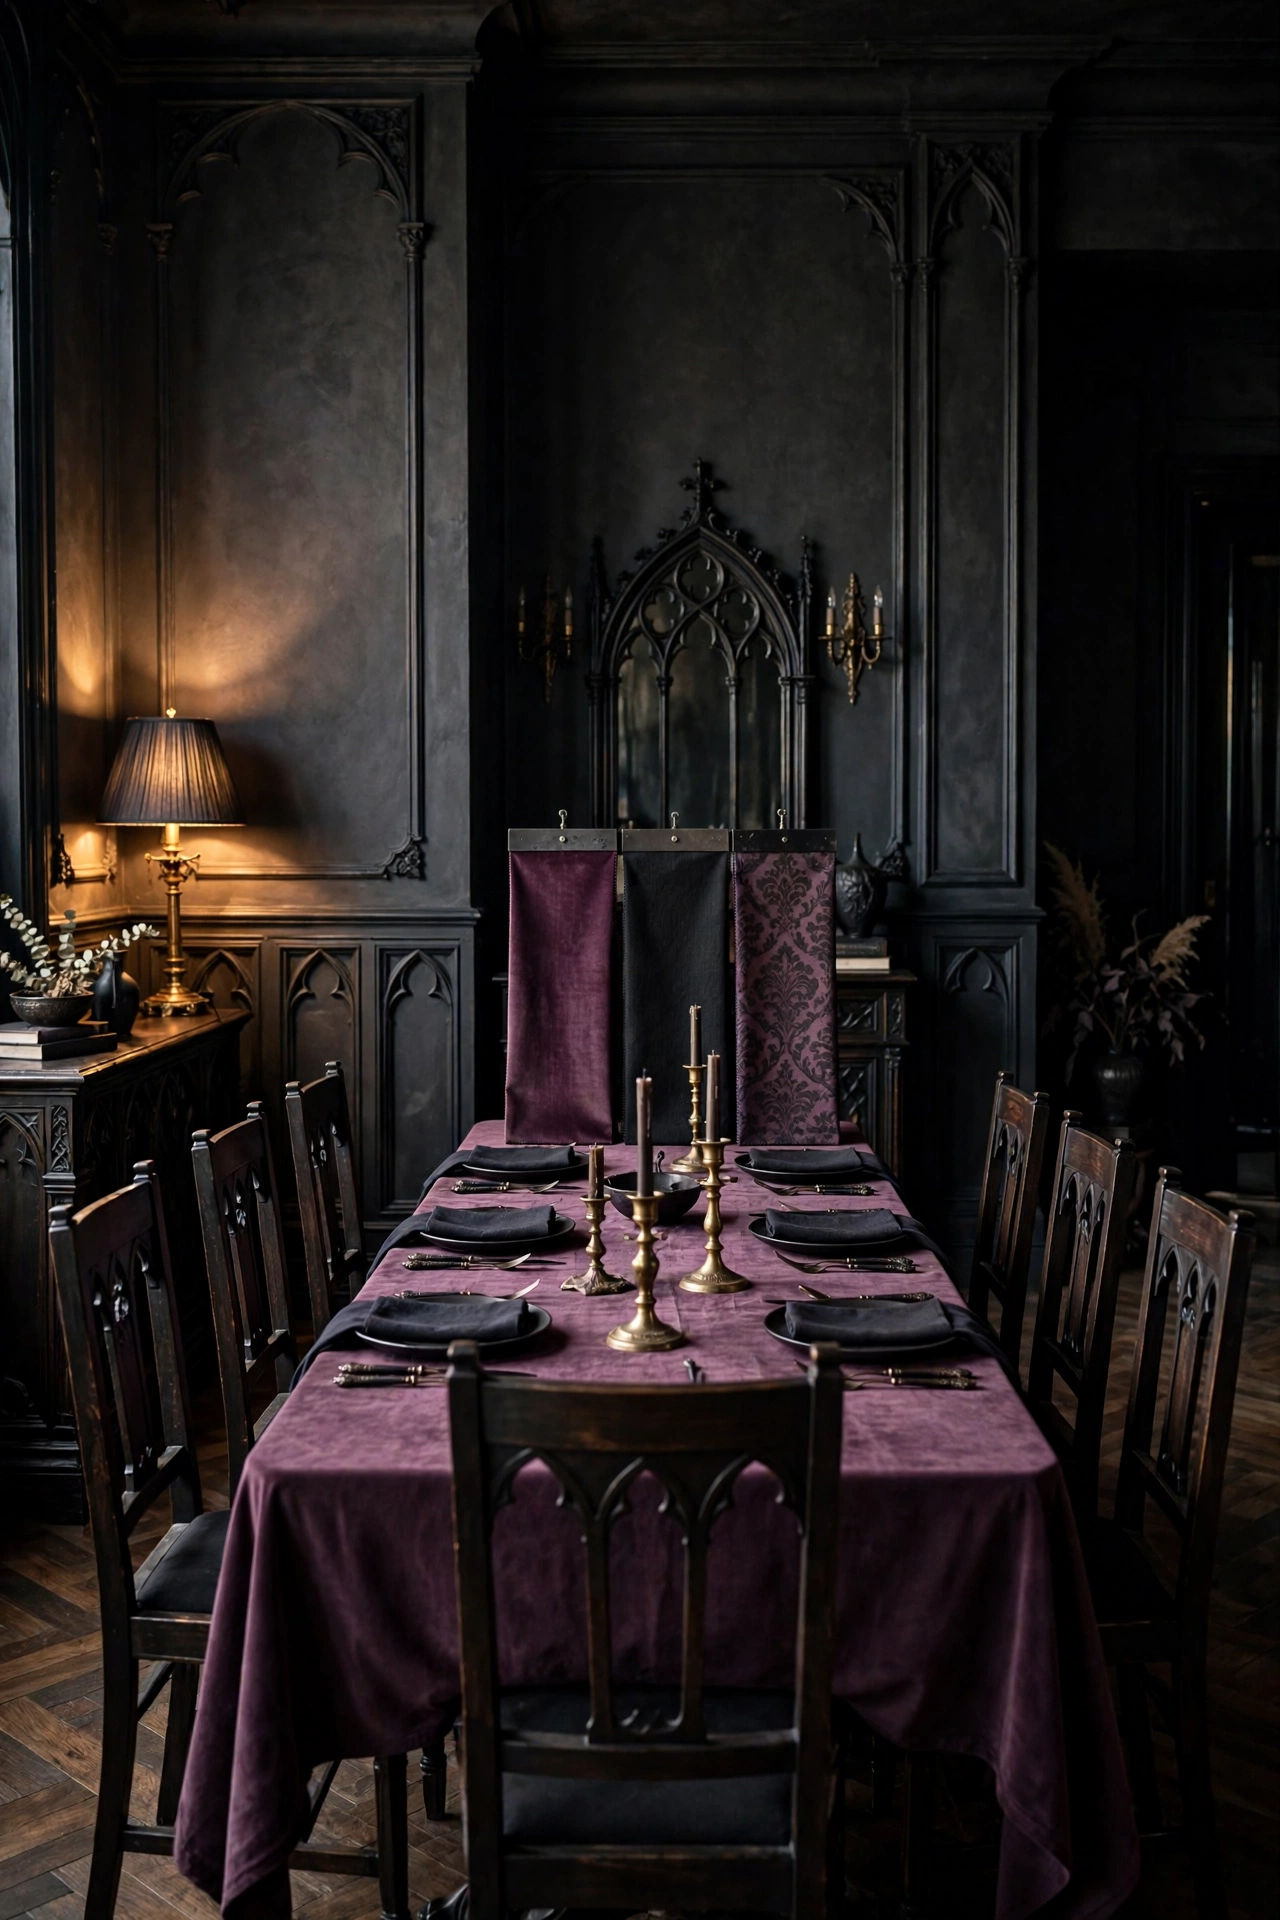
Pull three paint swatches or fabric samples and tape them to the wall where the party happens. Pick one dominant shade for roughly 60 percent of the space, a second for 30 percent, and a metallic or bright accent for the final 10 percent. This 60-30-10 split also makes every later purchase easy, because anything outside the three shades stays in the store.
2. Measure Your Party Space and Map Guest Traffic
Crowded rooms kill party flow before the first guest sits down. Guests clustered around a blocked doorway or a cramped drink station leave early and remember the discomfort. Mapping traffic before you place a single prop keeps every zone usable.
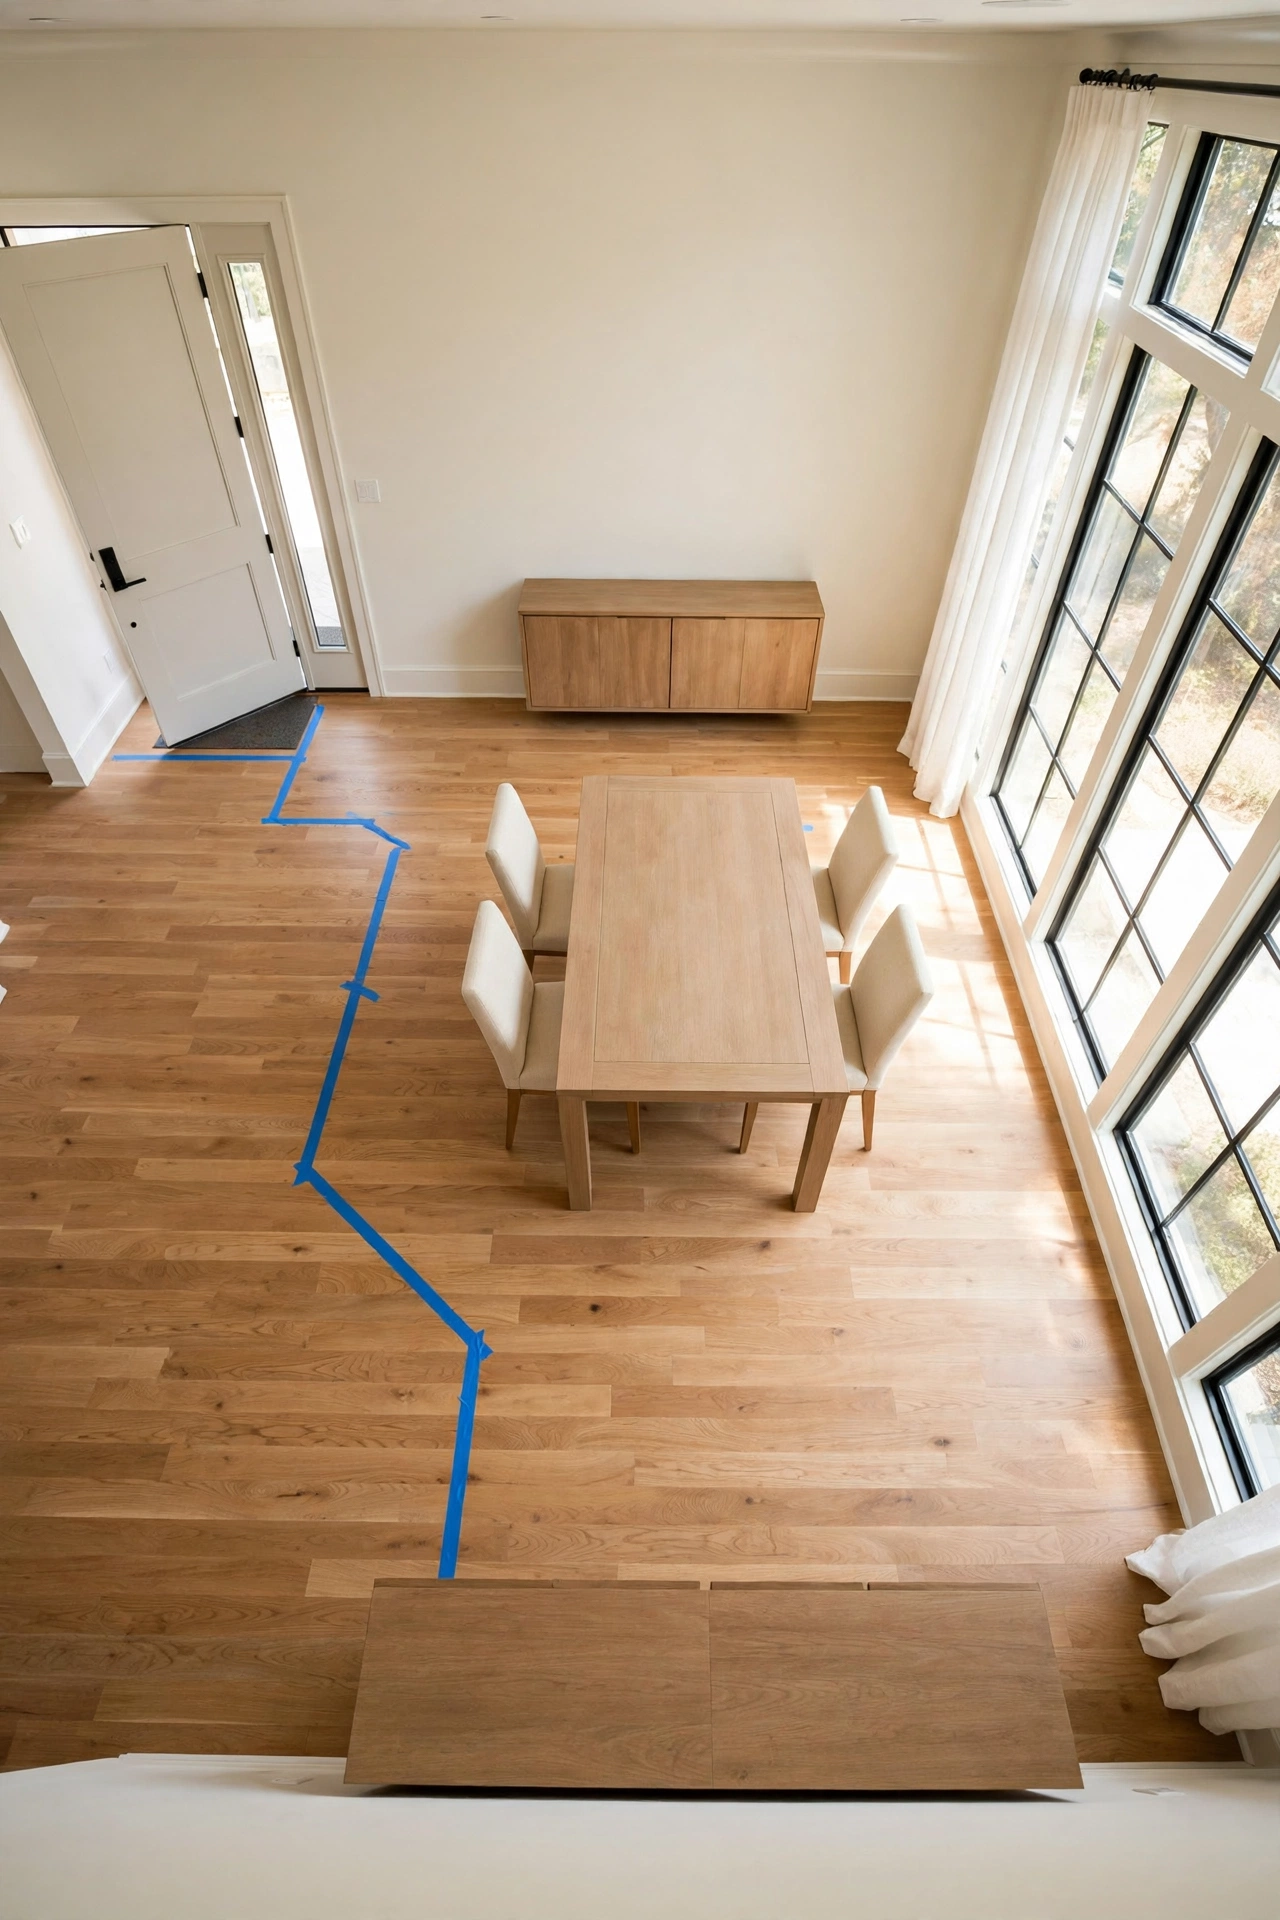
Measure the room and mark a 36-inch clear walking path from the entry to the drink station with painter’s tape. Allow 24 inches of standing room per guest at the potion bar and 30 inches per seat at the table. Taping the path first also reveals dead corners that become ideal spots for a tall prop like a hanging cauldron.
3. Establish Three Decor Zones for Guest Flow
Scattered decor reads as clutter. When props spread evenly across a room, no area feels like a destination, and guests drift without direction. Three defined zones give the party a structure that guests understand instantly.
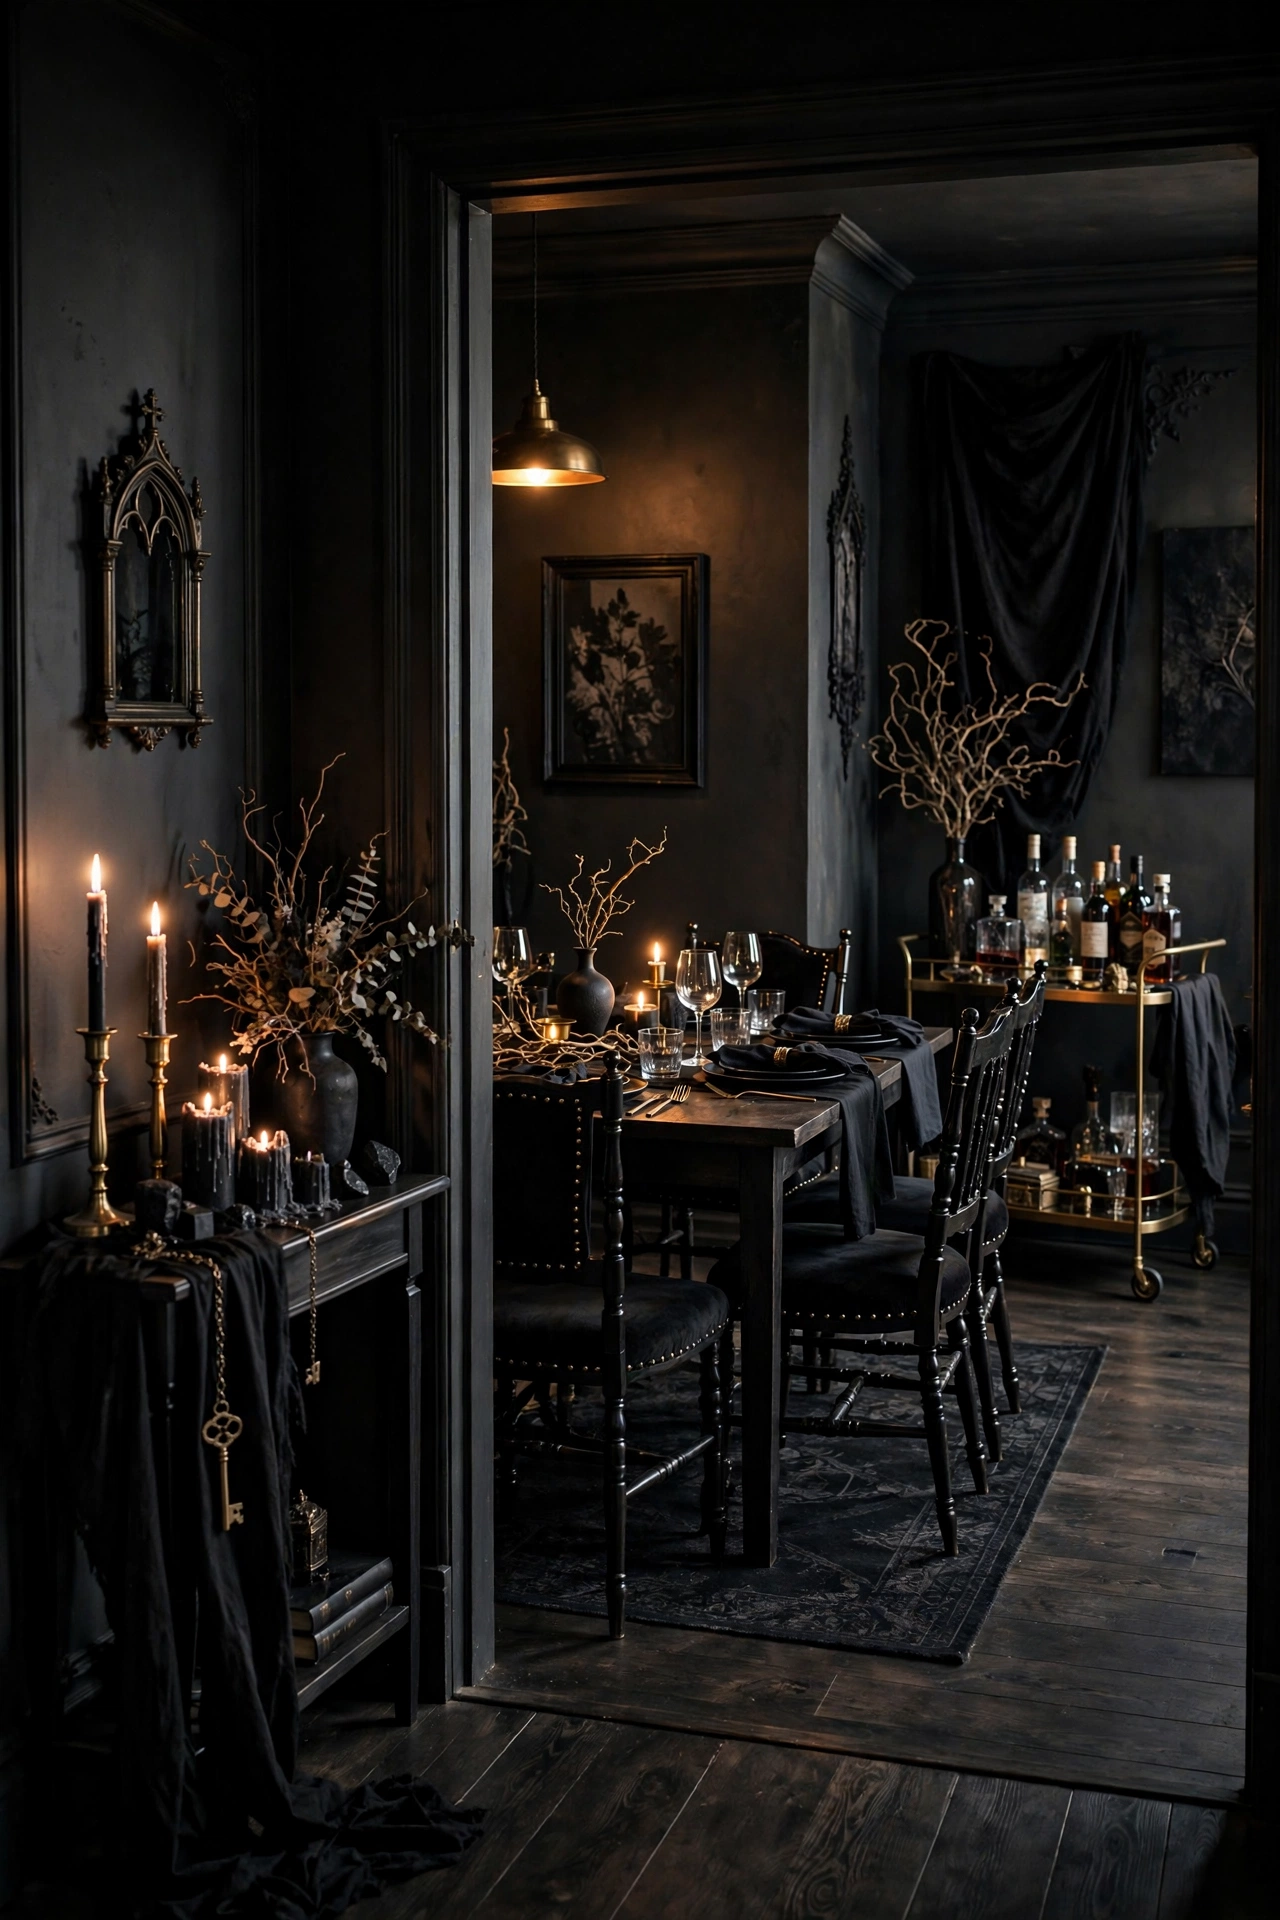
Designate an arrival zone at the door, a table zone for dining, and a potion bar zone for drinks. Concentrate your best props in these three areas and leave the rest of the room with minimal decor. Negative space between the zones gives the eye a place to rest, which makes each zone look more dramatic.
Witch Party Table Decor and Centerpiece Ideas
The dining table holds guests the longest, so it earns the most detailed styling. These four tips build the table from the surface upward.
4. Layer a Black Runner Over a Dark Tablecloth
Bare tables make a witch party feel unfinished. A single flat tablecloth leaves the surface without depth, so every plate and candle looks like it floats. Layering two fabrics adds visible texture that photographs as rich, aged, and intentional.
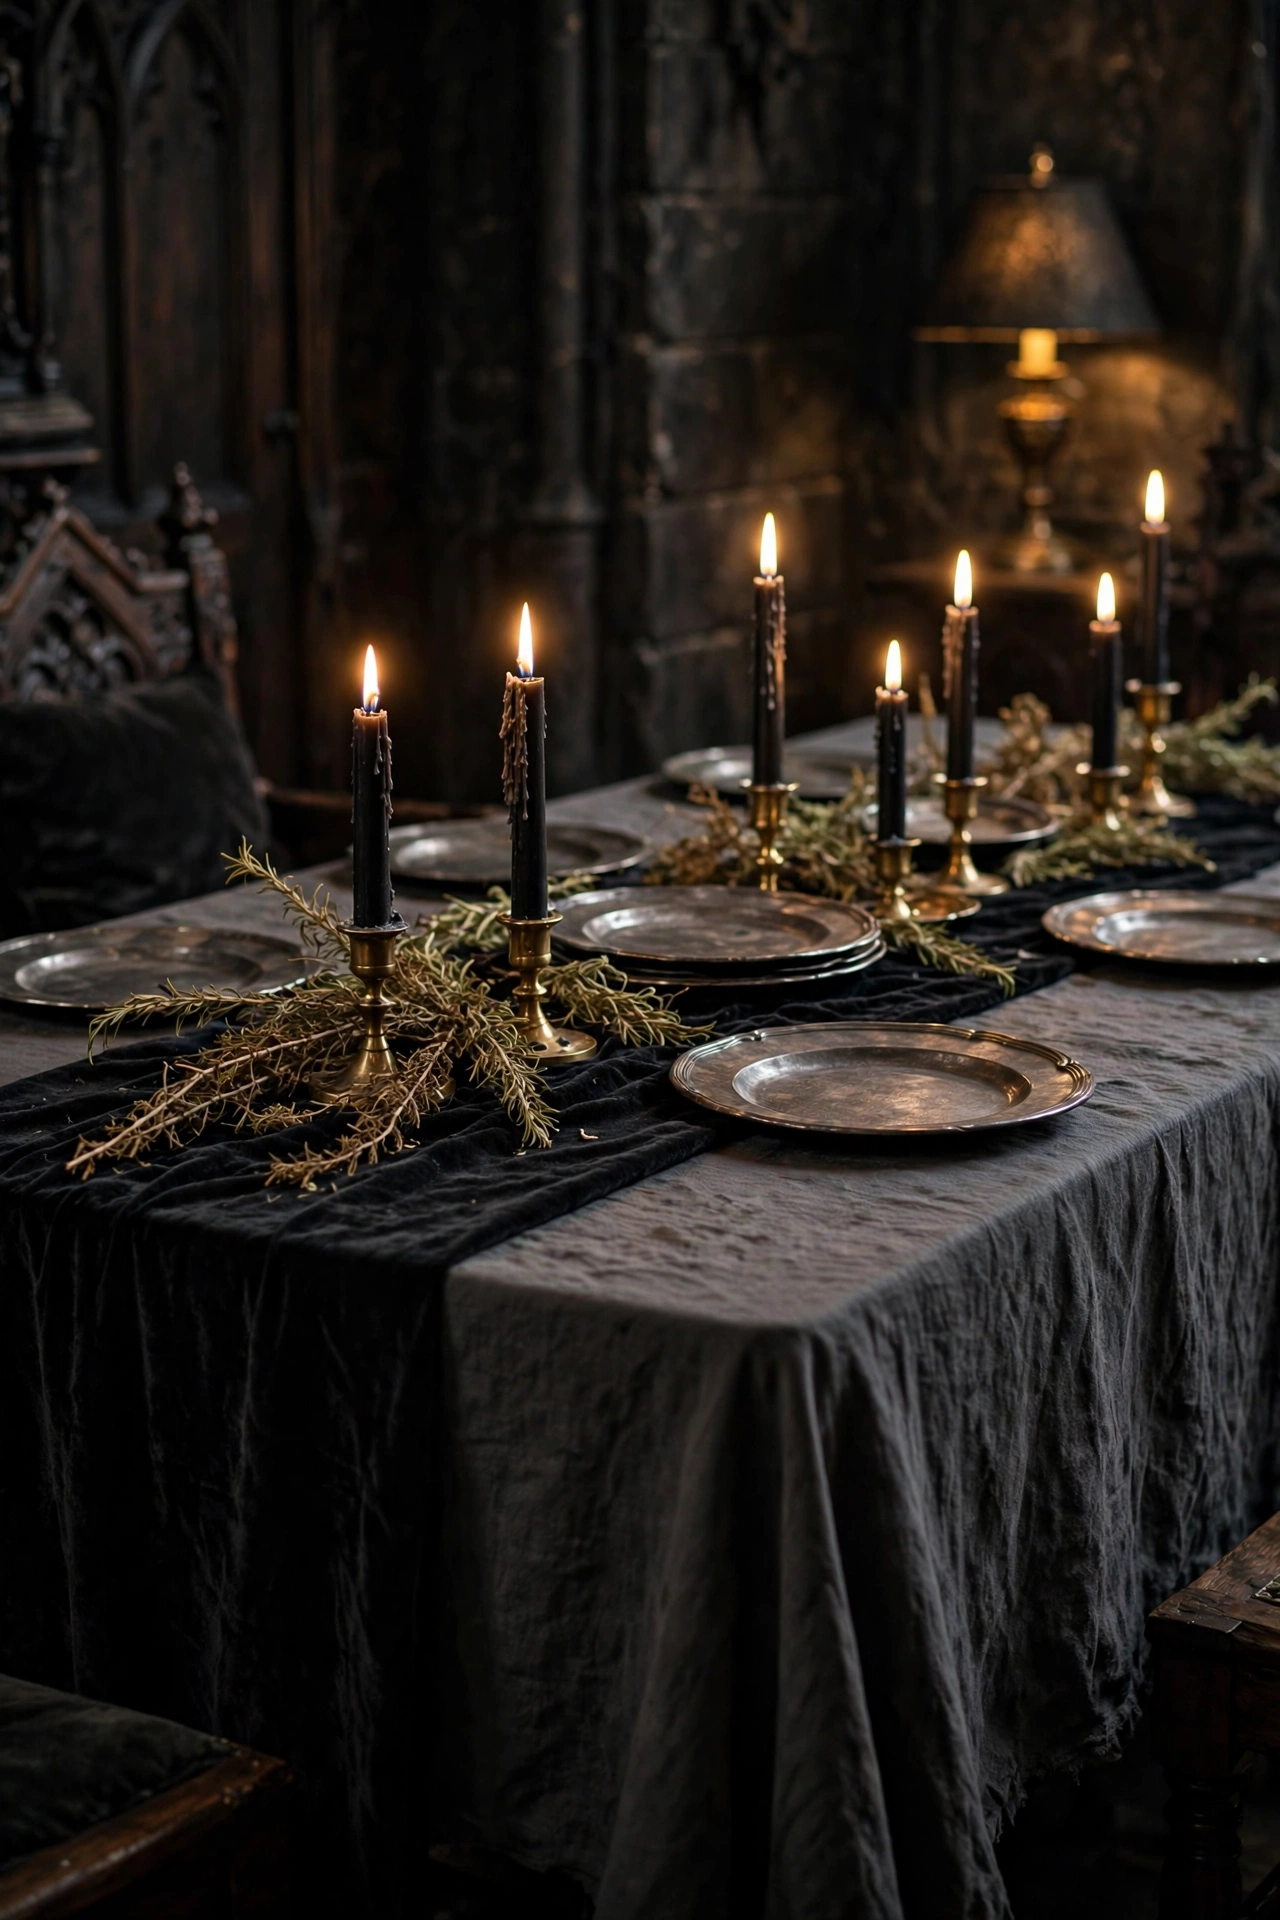
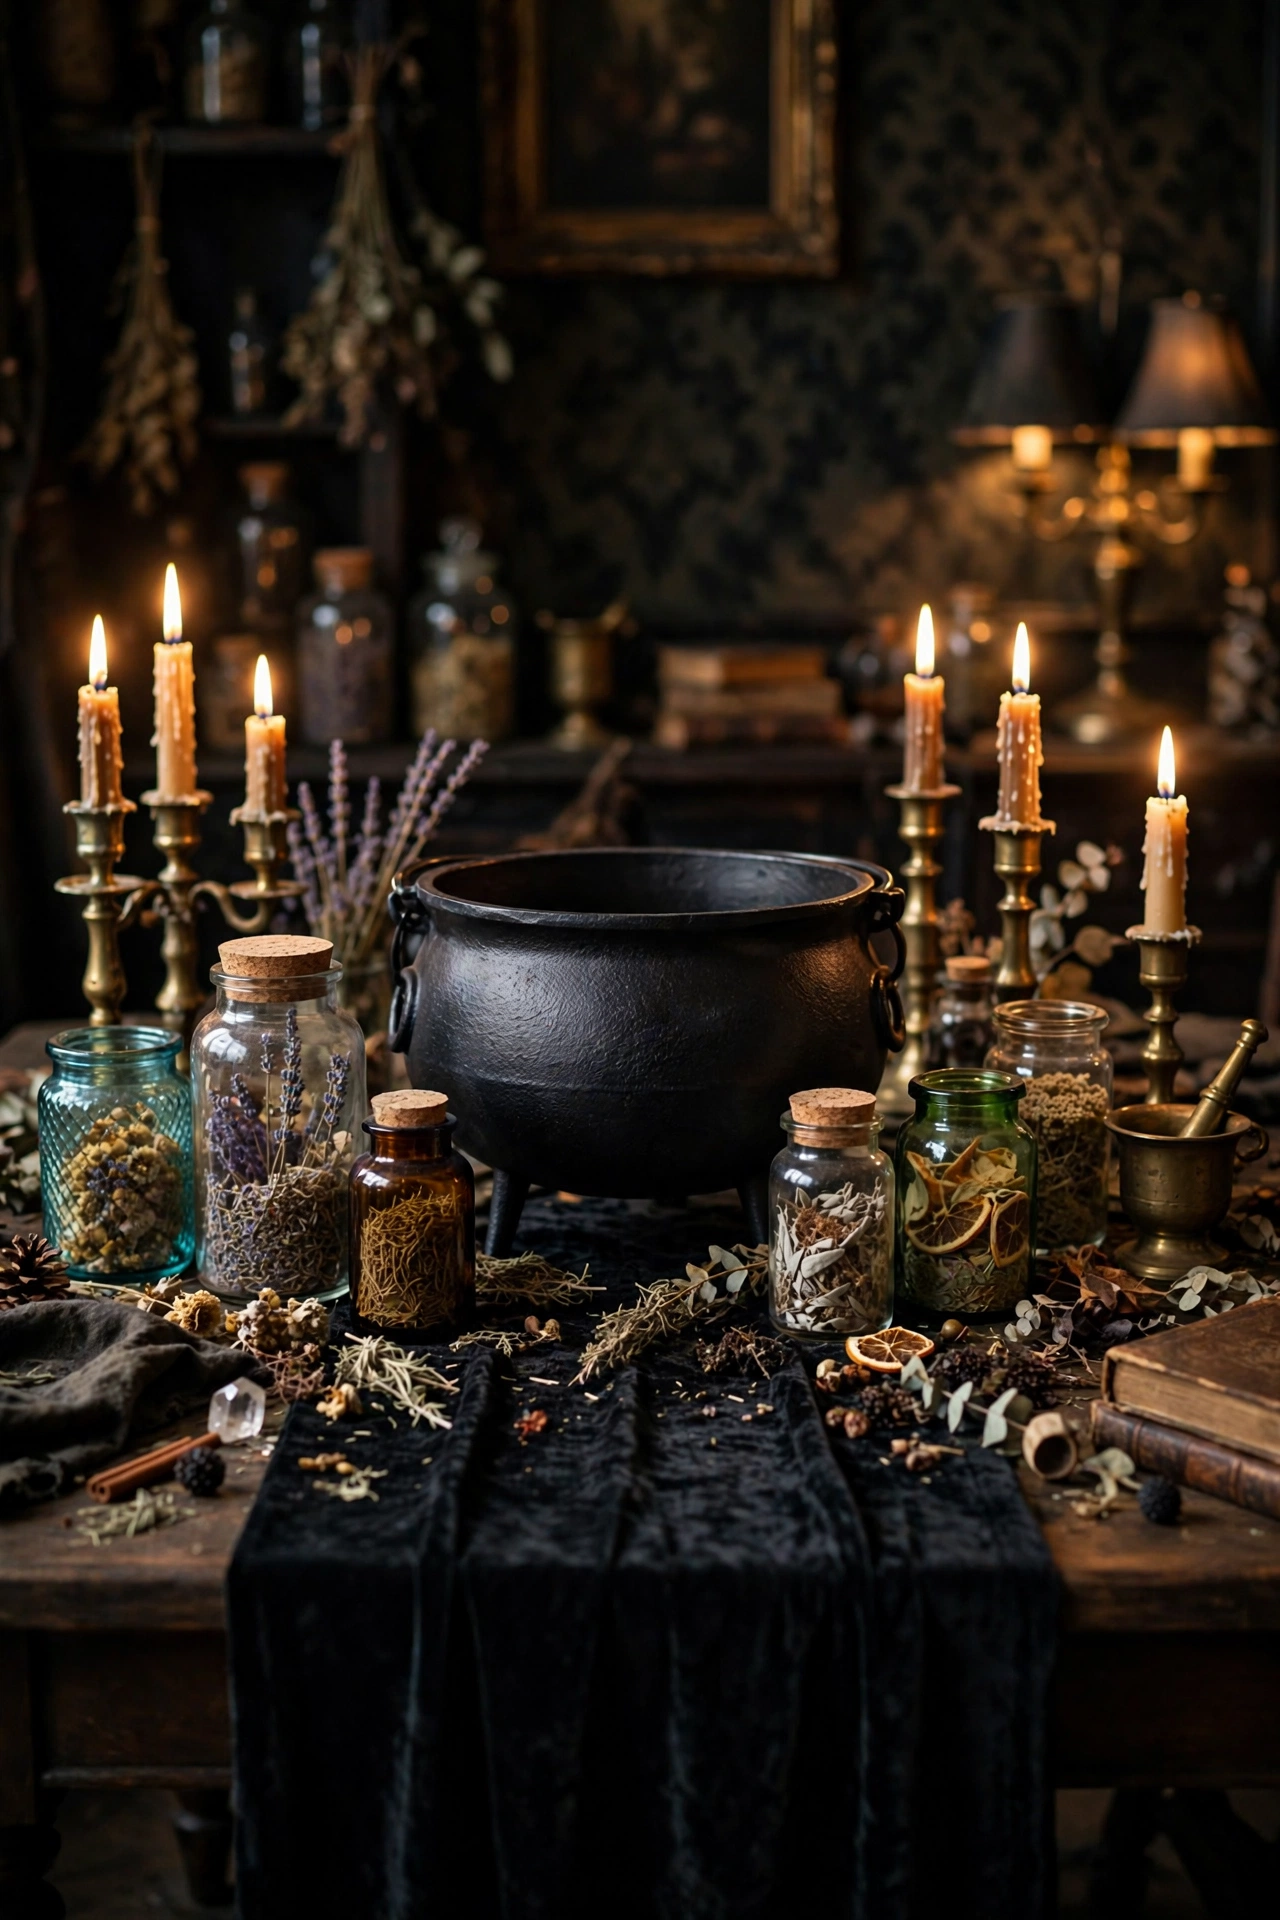
Drape a floor-length charcoal or deep plum cloth, then lay a black lace or velvet runner down the center. Cut the runner to hang 12 inches past each table end and keep its width at one-third of the tabletop. The overhang also hides table legs, which gives the whole setup a heavier, banquet-style presence.
5. Build Centerpieces From Mismatched Apothecary Jars
Matching centerpieces look like a hotel lobby, not a coven. Identical sets flatten the table and remove the collected, antique feel that defines witch decor. Mismatched jars in varied heights create a layered, aged landscape that holds attention across the whole table.
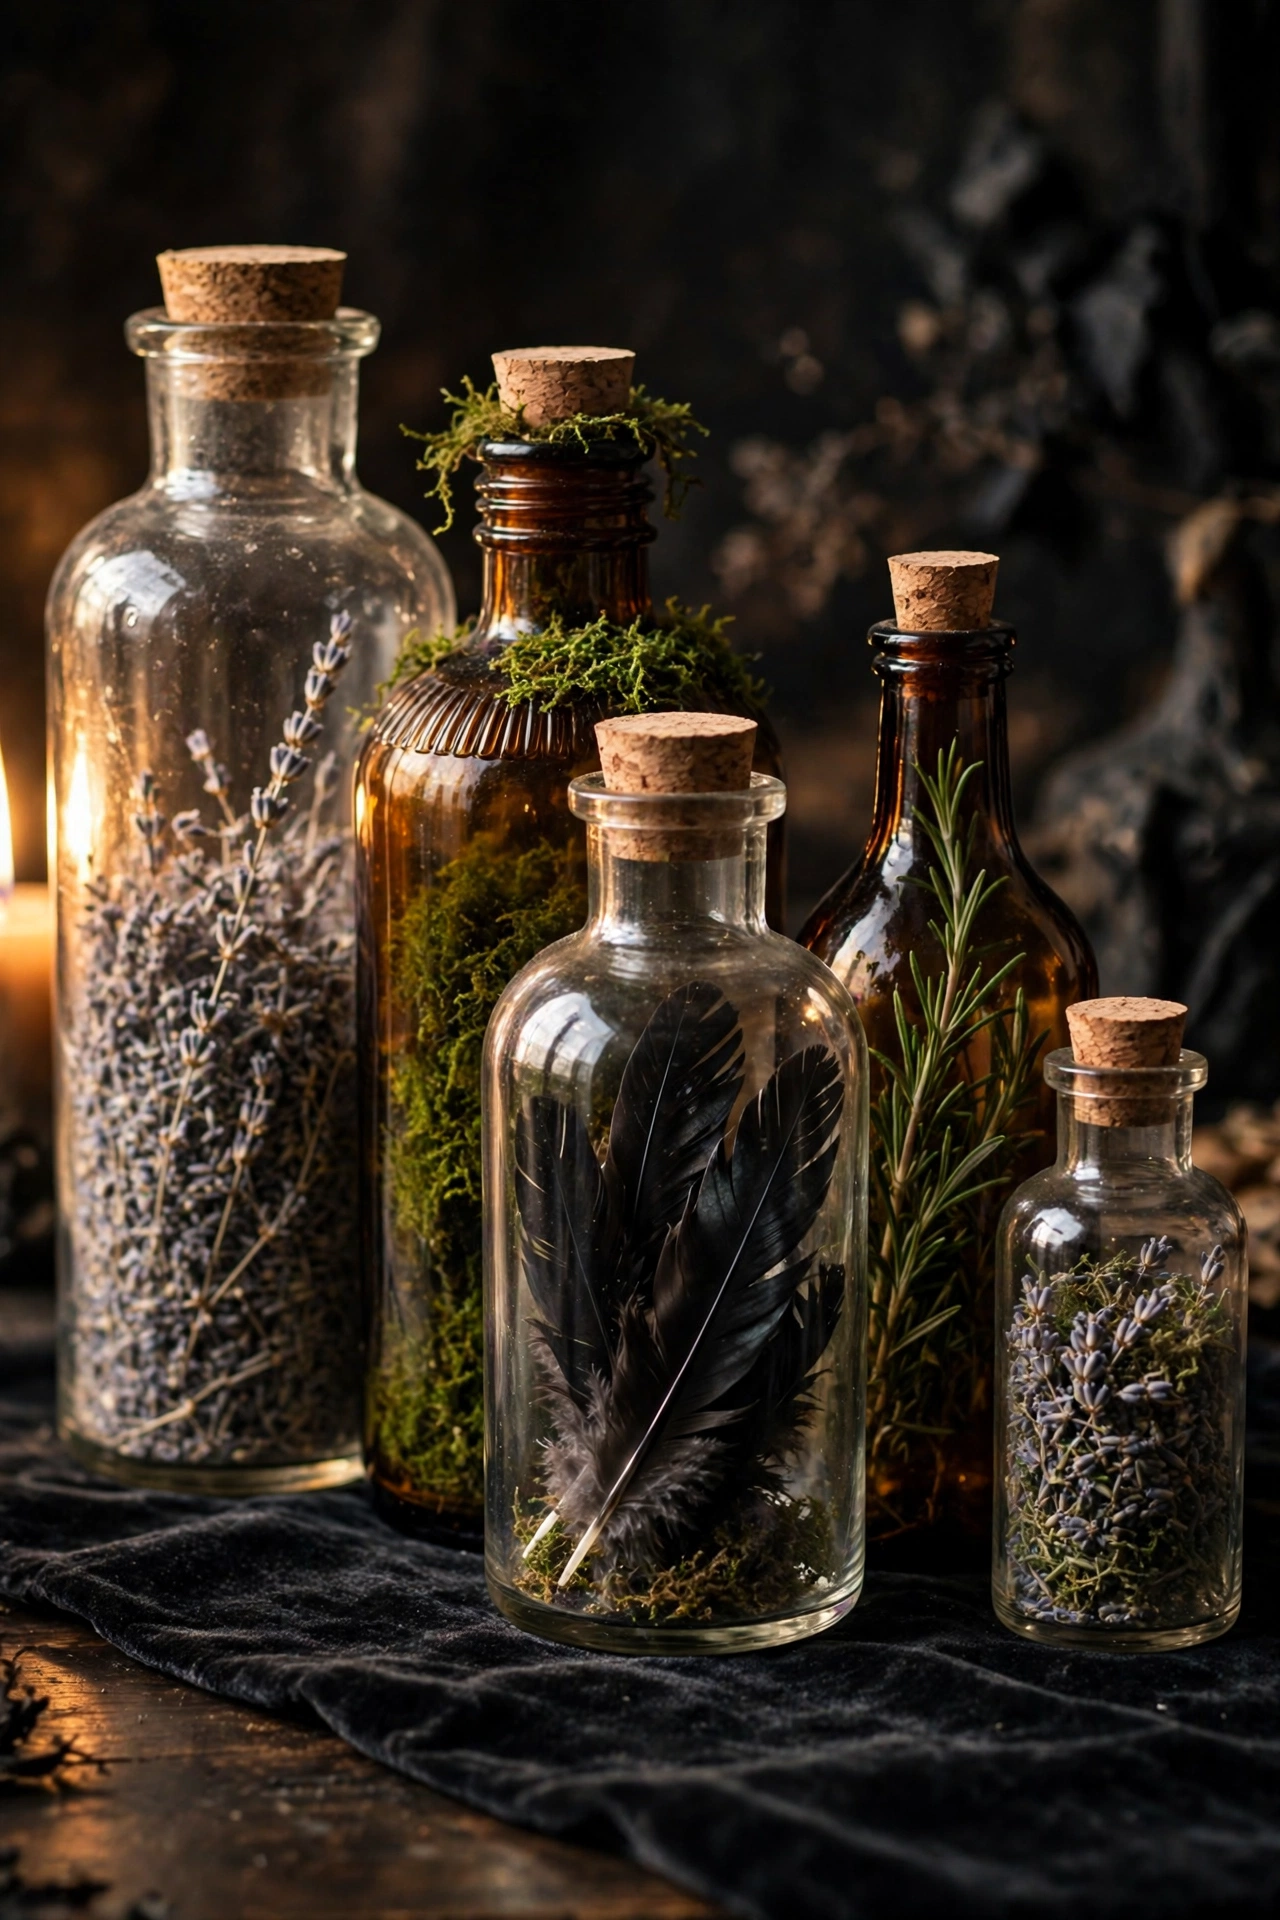
Gather five to seven glass jars, bottles, and cloches between 4 and 14 inches tall from thrift stores. Fill them with dried lavender, moss, black feathers, and sprigs of rosemary, and group them down the table’s center line. Thrifted jars cost a fraction of retail and carry natural variation that no new matching set copies.
Leave 6 inches between plates and jars so guests keep dinner space.
6. Arrange Candles in Groups of Three or Five
Single candles look lost on a witch party table. Scattered one-offs read as accidental rather than ritual. Clusters of three or five create the glowing focal points that define witch party table decor.
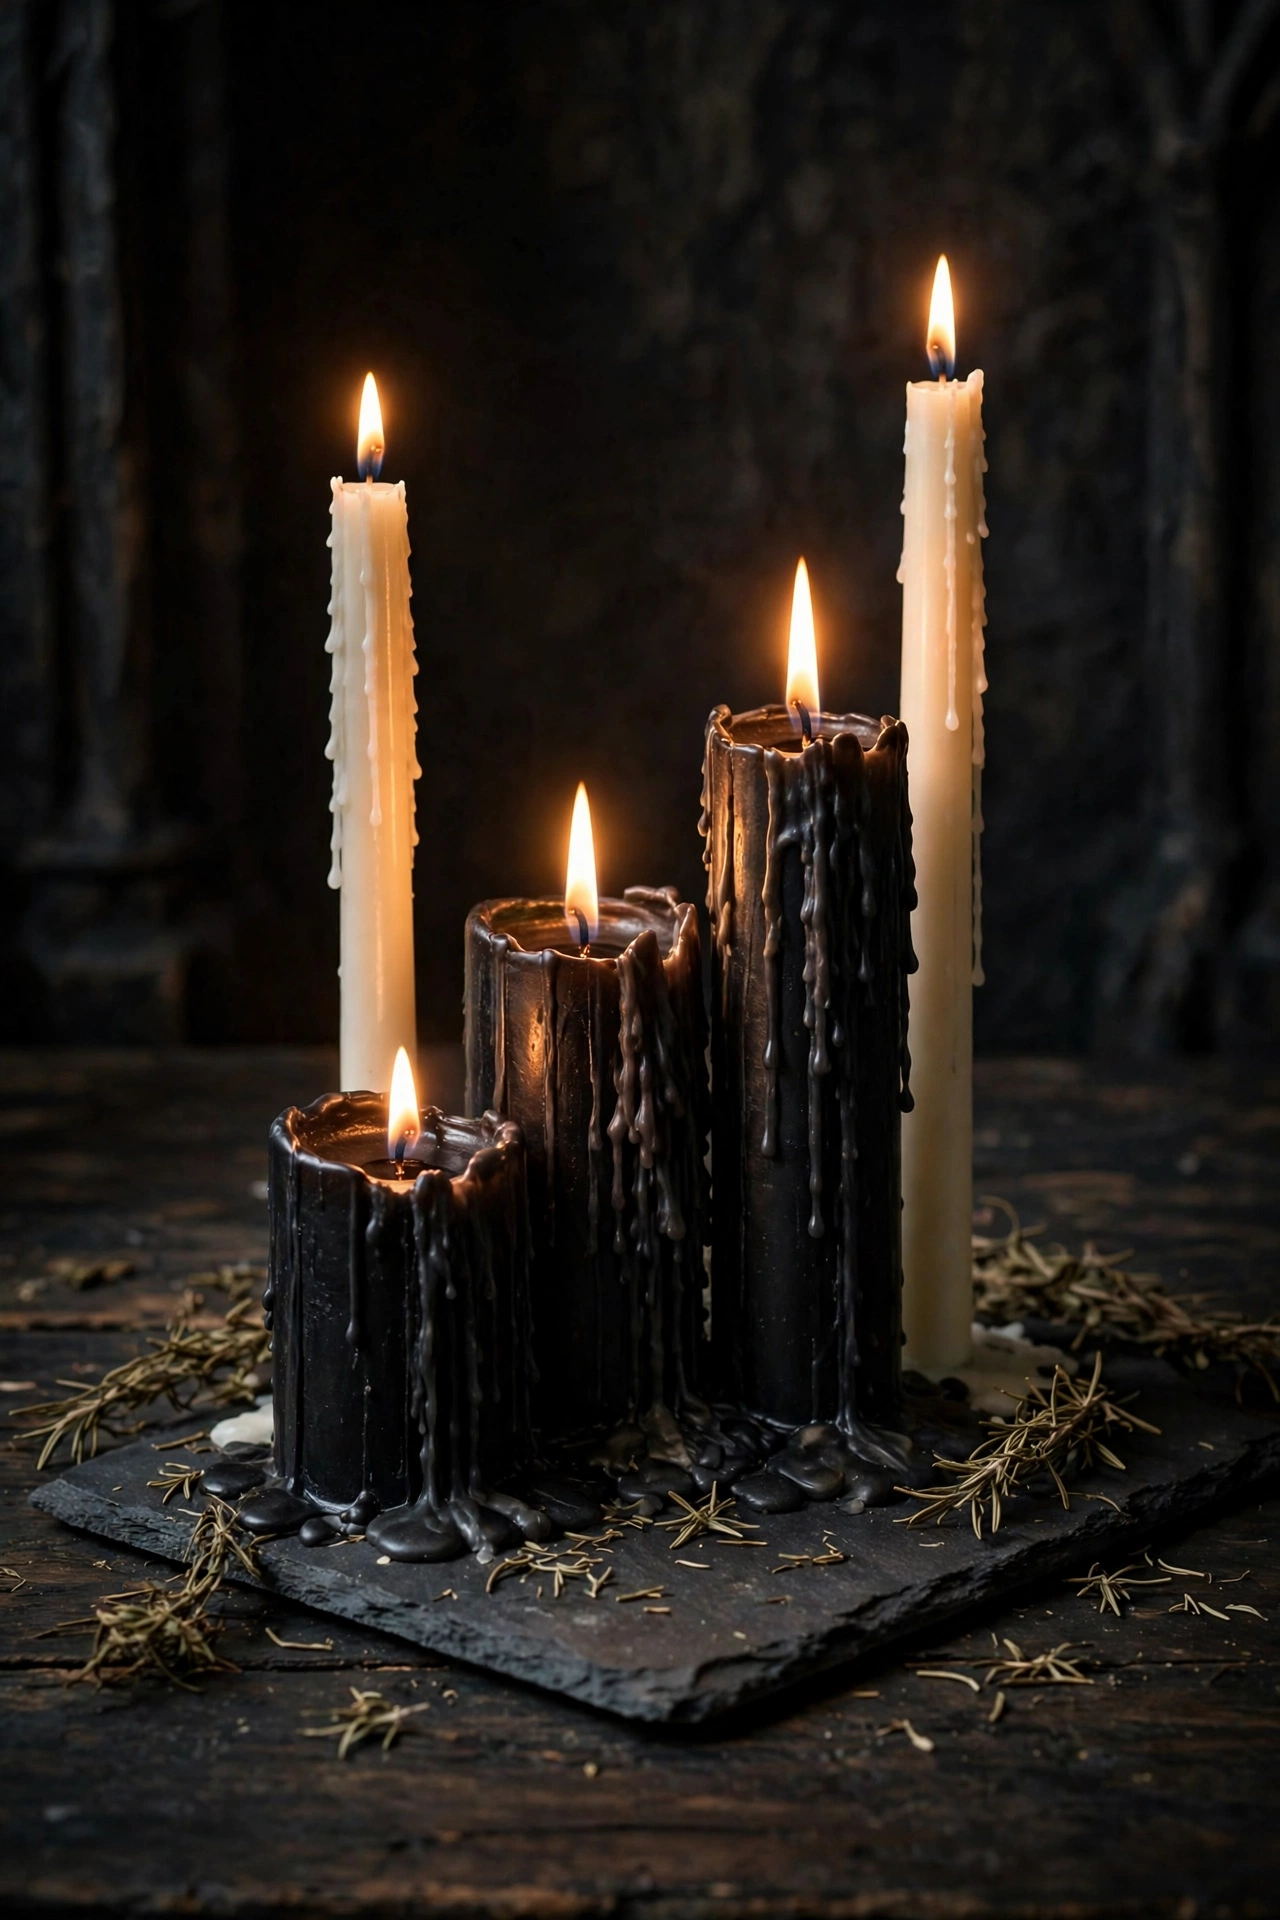
Cluster pillar and taper candles in sets of three or five, varying heights by at least 3 inches. Set each cluster on a tray, cake stand, or slate tile to catch wax and anchor the group. Odd-numbered clusters read as collected rather than staged, which makes the display look long established.
Keep open flames at least 12 inches from dried herbs, paper, and fabric.
7. Hang Dried Herb Bundles Above the Table
Empty air above the table wastes your best decor space. Vertical decor pulls the eye upward, and a flat tabletop without overhead layers looks smaller and less immersive. Hanging bundles add scent, texture, and the unmistakable look of a working witch’s kitchen.
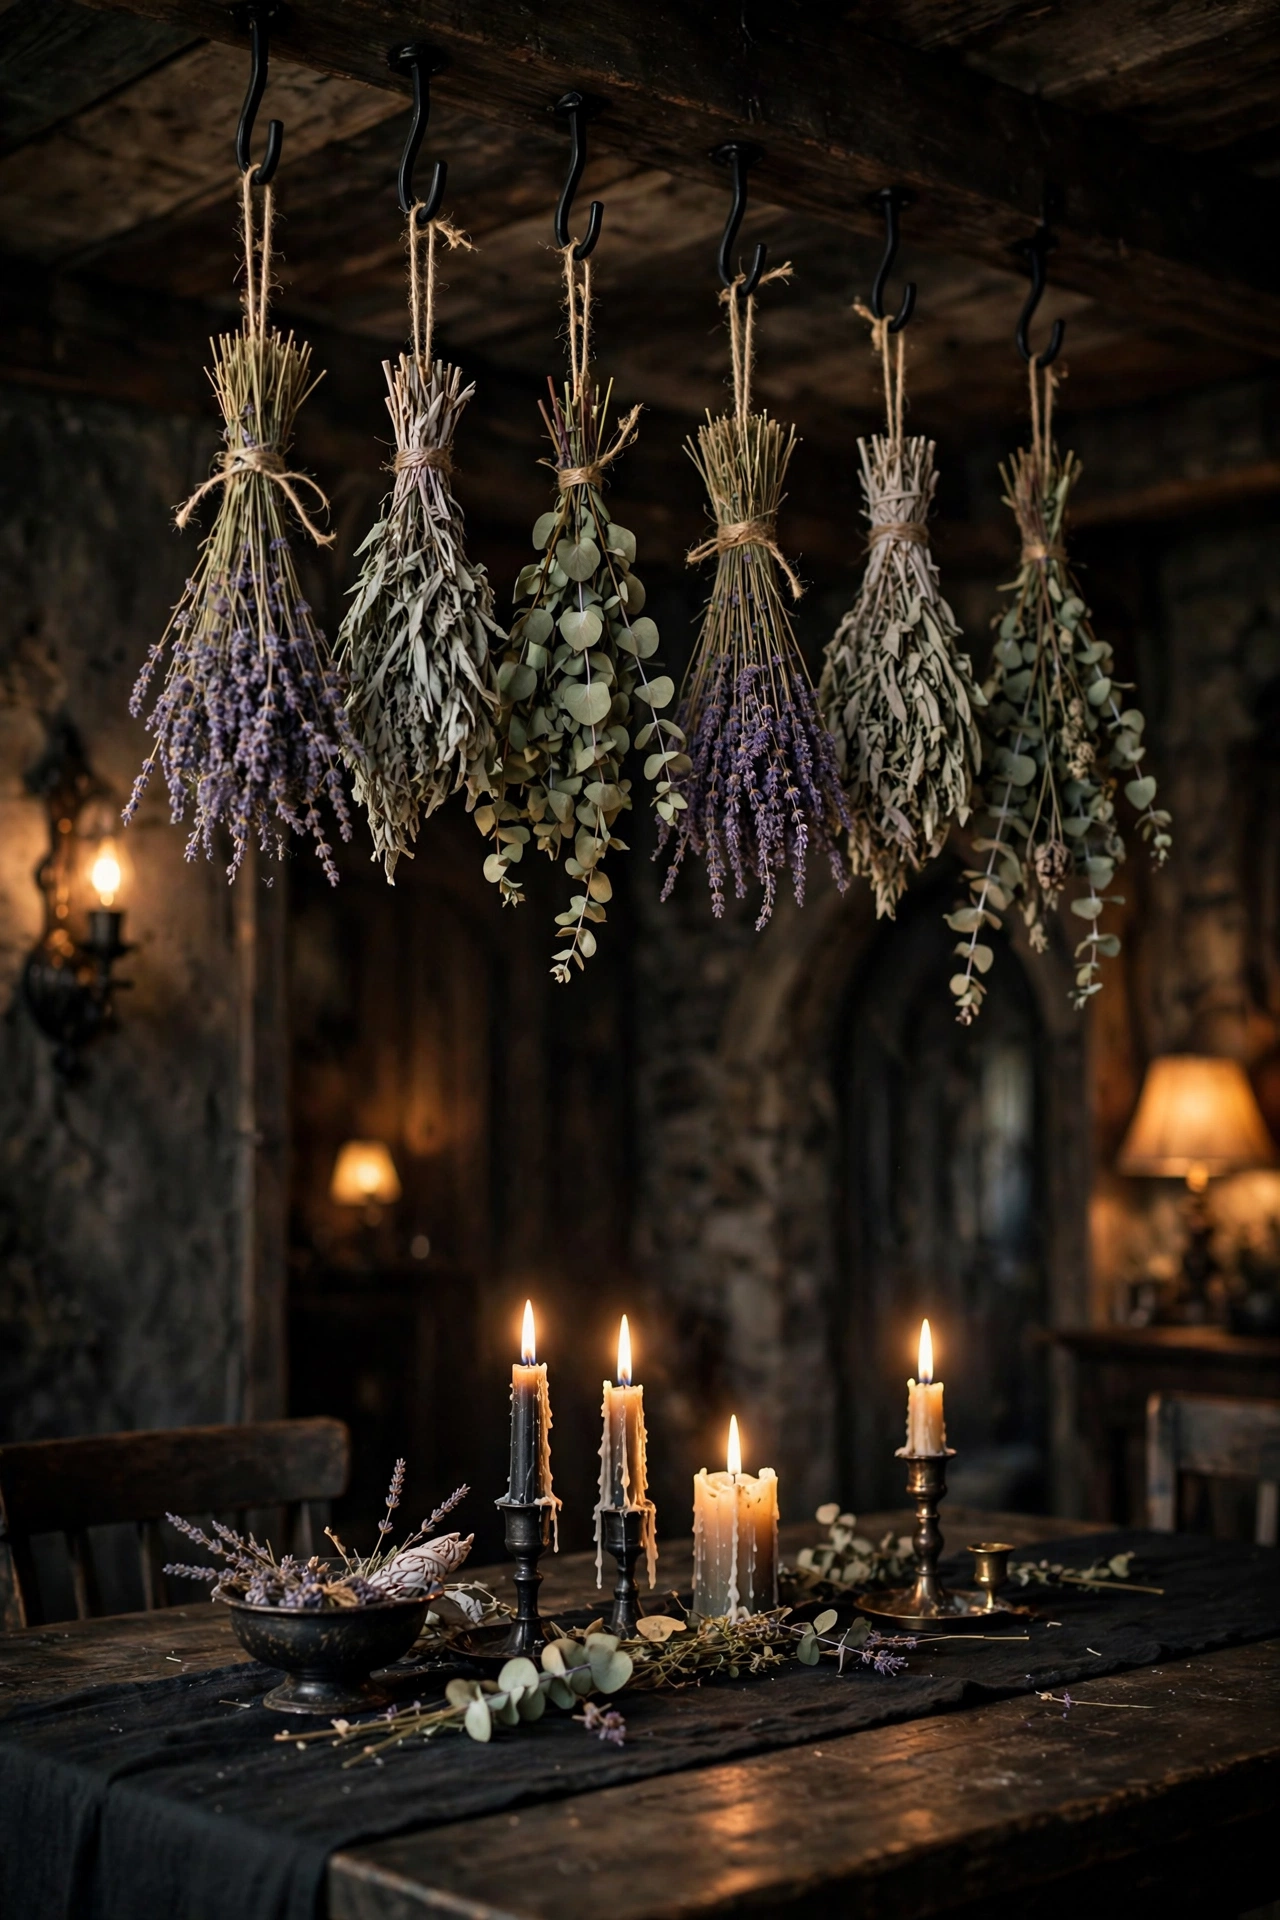
Bundle 8 to 10 stems of dried lavender, sage, or eucalyptus with twine and hang them from ceiling hooks. Space bundles 12 inches apart and hang them at least 24 inches above the table surface so no guest bumps one. Real dried herbs also release a faint scent as warm air circulates, which deepens the atmosphere without any candle.
Witch Party Lighting and Atmosphere Ideas
Lighting does more work than any prop. These four tips replace harsh room light with layered, low, warm pools of glow.
8. Switch Off Overhead Lights and Run Low Lamps
Bright overhead lighting destroys every witch party instantly. Overhead light flattens shadows, exposes plastic props, and removes the mystery that dark, layered decor depends on. Low lamps at table height create pools of glow with deep shadows between, which is exactly the look you want.
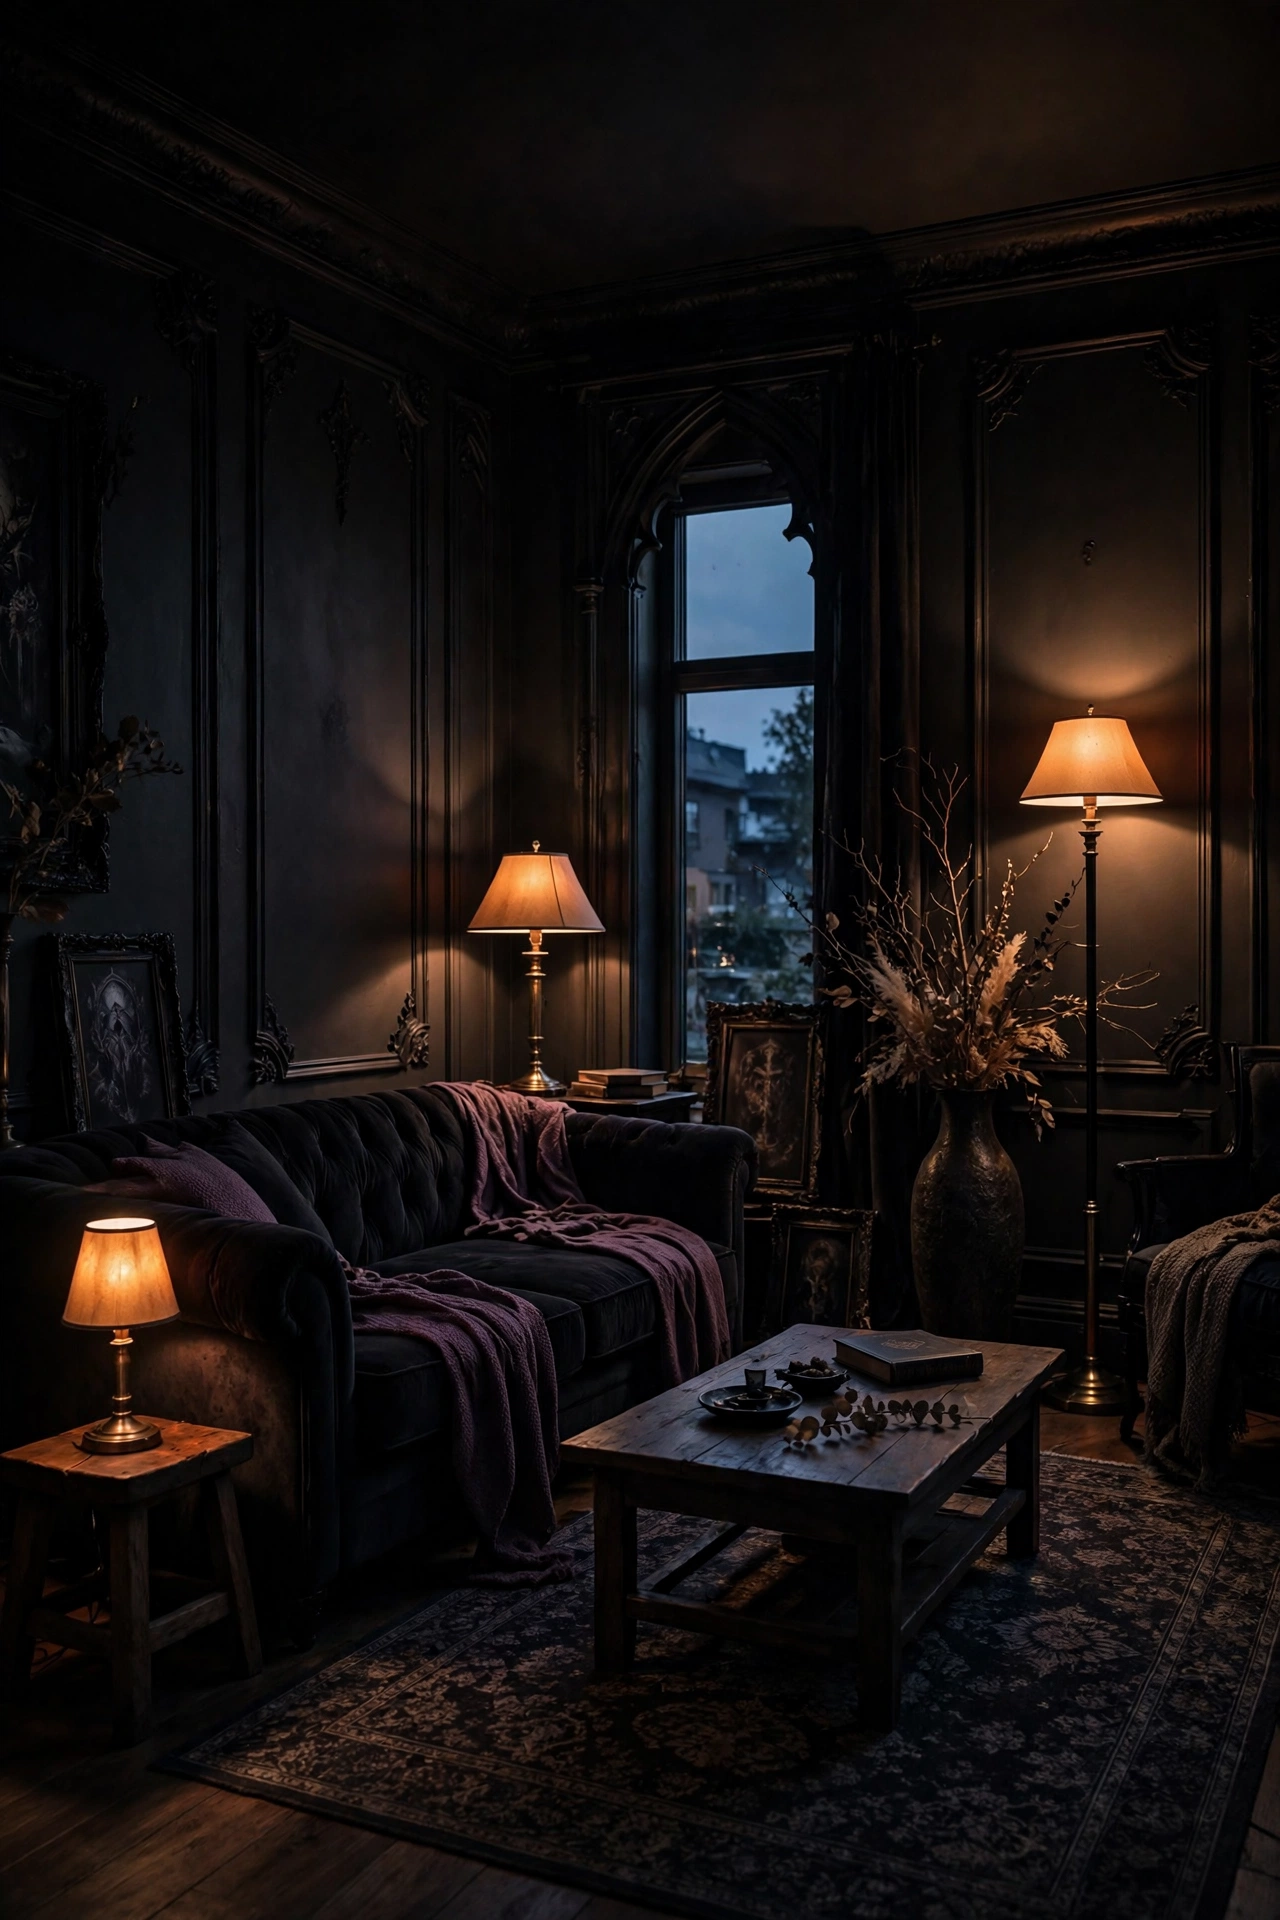
Turn off ceiling fixtures and place three to five lamps at different heights around the room. Keep lamp light between 25 and 40 watts equivalent and place at least one lamp below eye level, on the floor or a low stool. Uneven pools of light also hide scuffed walls and imperfect props, making budget decor read as expensive.
9. Install 2200K Warm Bulbs in Every Lamp
Cool bulbs wash out every dark, moody decor choice. Bulbs at 4000K and above push a blue cast that turns plum and black into flat gray. Warm amber bulbs deepen dark shades and give every surface a candlelit glow even in rooms without candles.
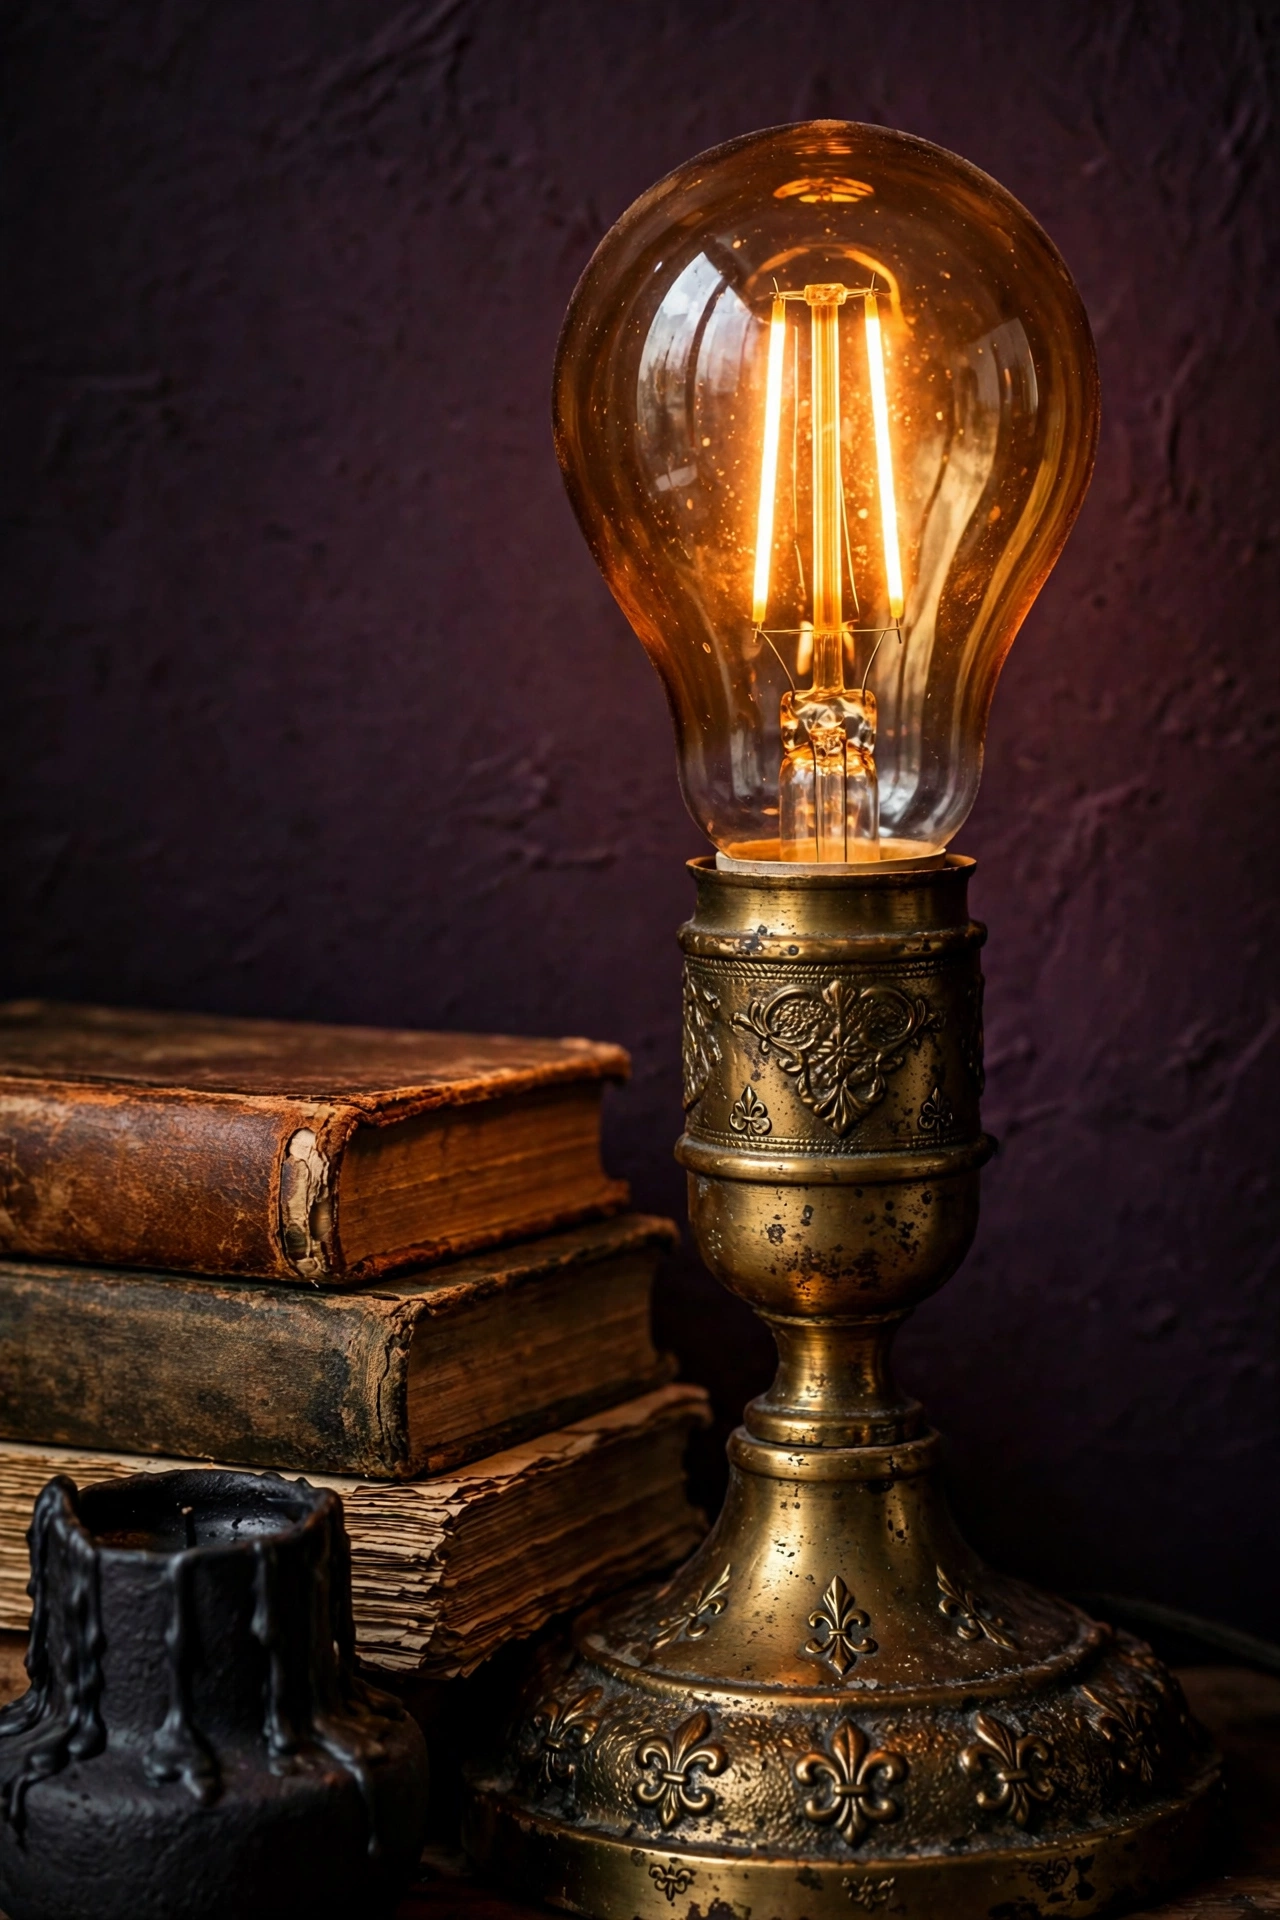
Swap every bulb in party-facing lamps for 2200K filament-style LED bulbs rated at 40 watt equivalent. Check the box for the Kelvin number, because the word “warm” alone covers bulbs ranging from 2200K to 3000K. A 2200K bulb costs a few dollars and instantly changes the room without moving a single prop.
10. Add Flameless Taper Candles at Varying Heights
Candles at one height make a room look flat. Even rows of identical candles read as a dinner display rather than a spell circle. Varied heights draw the eye across the room in a rhythm that feels ritualistic and intentional.
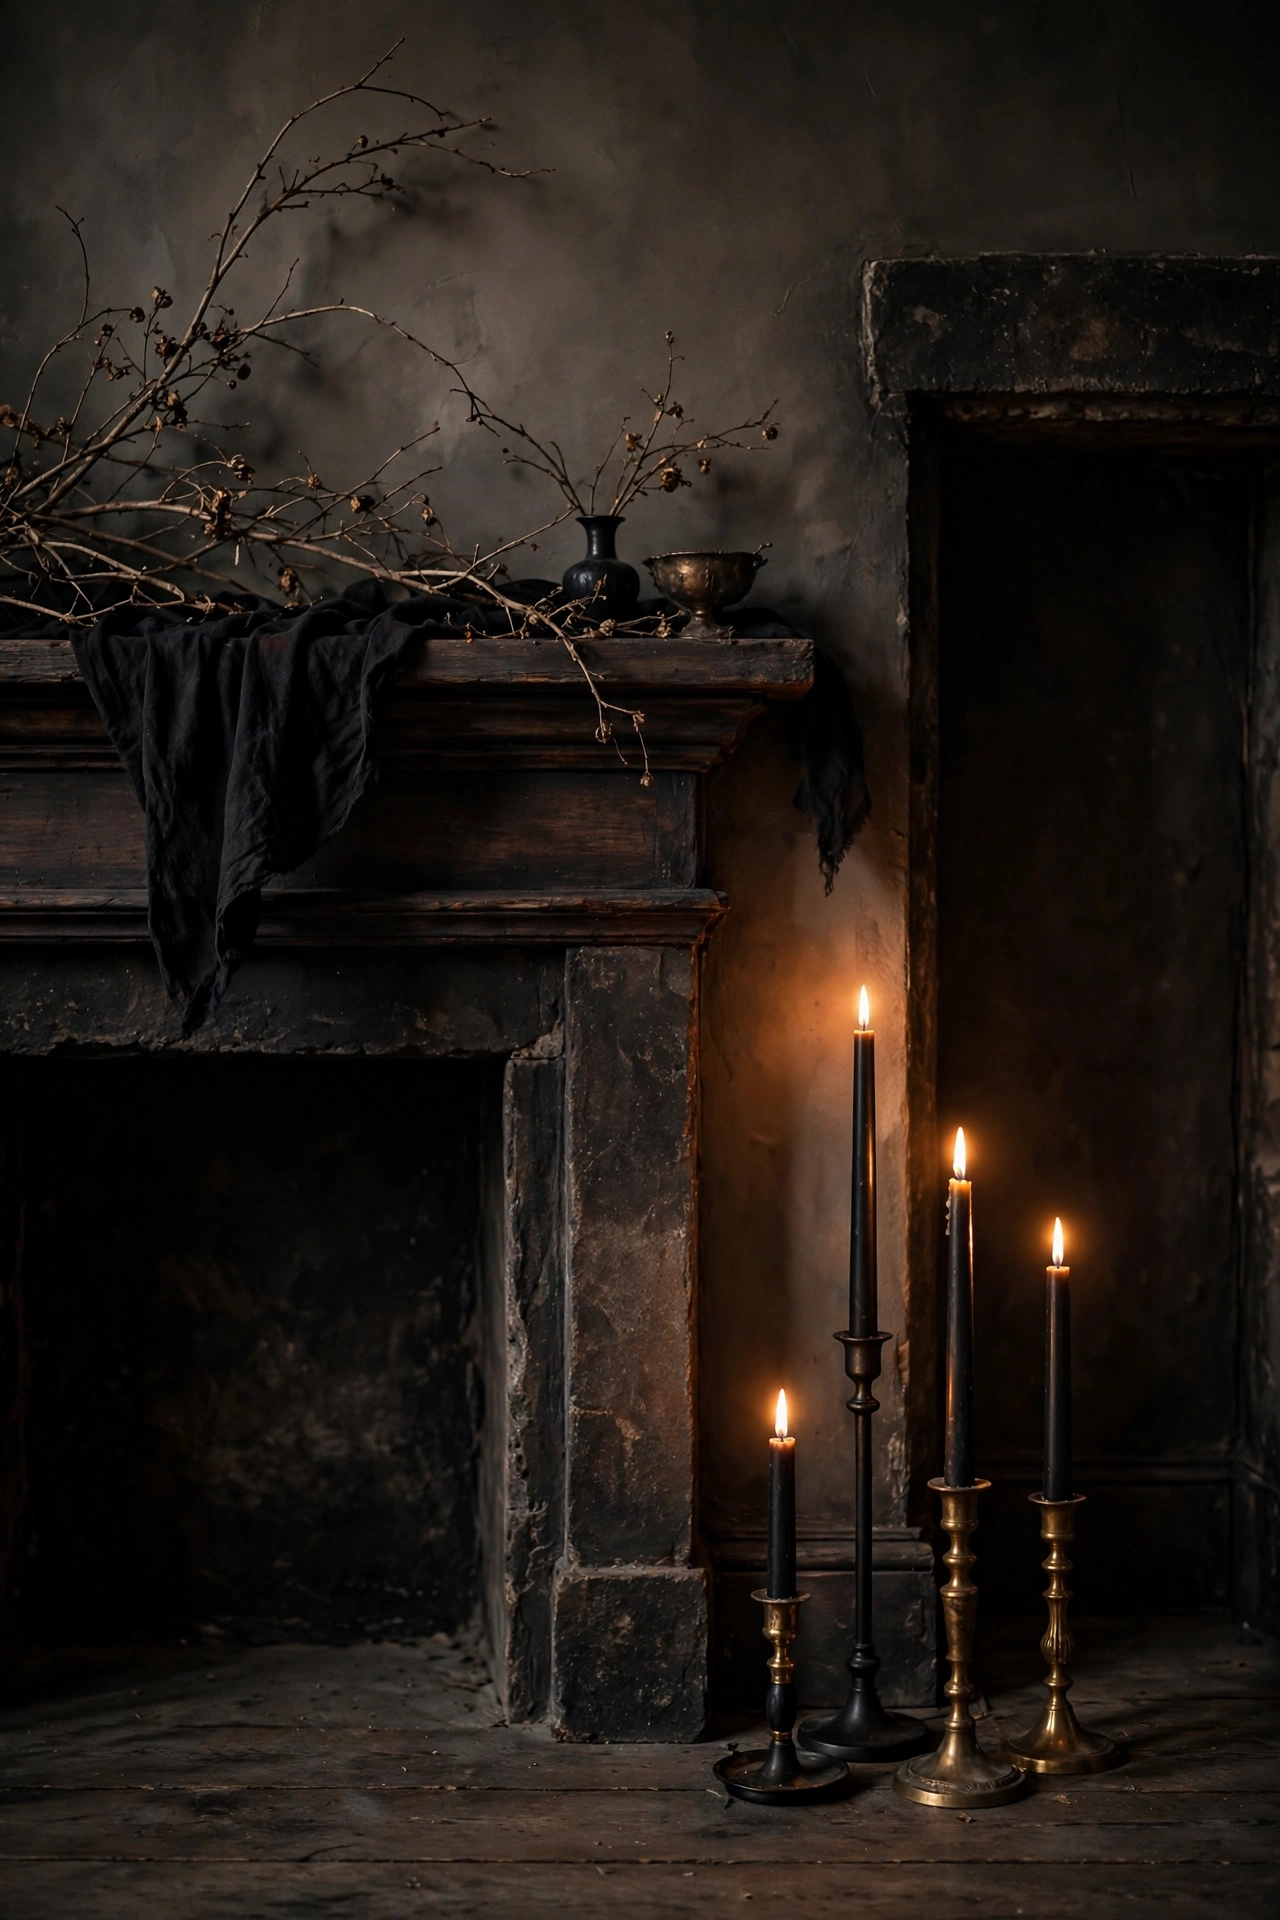
Place flameless LED tapers in 6, 9, 12, and 18 inch lengths in candlesticks of different heights. Choose tapers with flickering amber bulbs and a remote or timer so they switch on together. Flameless candles also let you place light on fabric, herbs, and shelves where real flames create a fire hazard.
11. Mount Green LED Uplights Behind Cauldron Props
Colored light creates the single strongest witchy effect. Plain white light shows props as props, while color-washed shadows push the eye into the scene. A subtle green glow behind a cauldron makes it look like it is actively brewing.
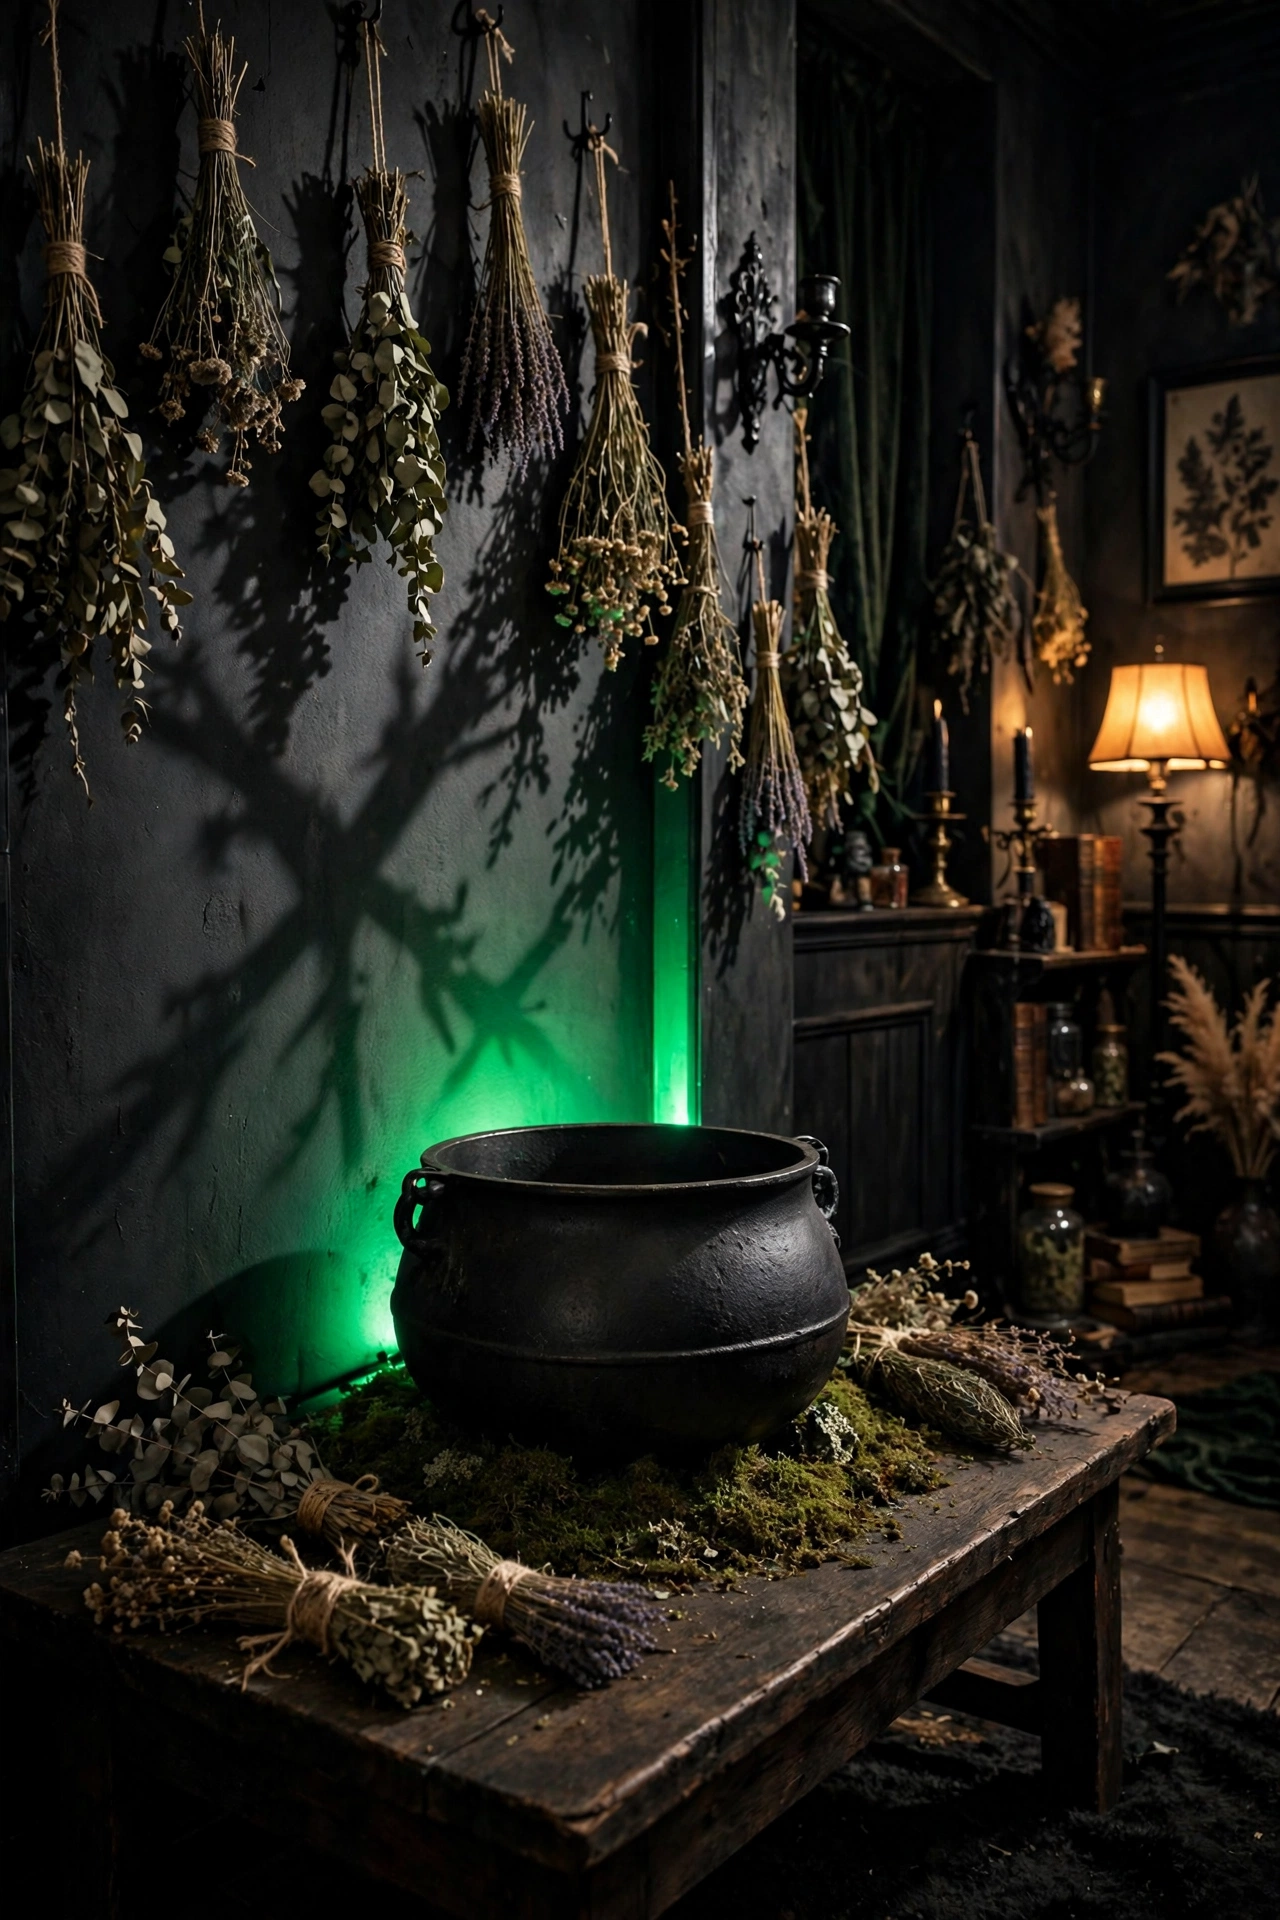
Place a battery-powered green LED puck light inside or behind each cauldron, pointing upward at the wall. Limit colored light to two sources in the room and keep every other lamp warm white, because three colors overwhelm the palette. The upward green light also casts dramatic shadows of any hanging herbs or broomsticks onto the wall behind them.
Witch Party Entryway and Wall Decorations
Guests judge the party before they take off their coats. These four tips make the entry and the walls carry the theme.
12. Hang Floating Broomsticks Above the Front Door
A blank front door wastes your first impression. Guests decide the mood of the evening in the first five seconds, long before they reach the table. A floating broomstick arrangement above the door signals the theme before anyone speaks.
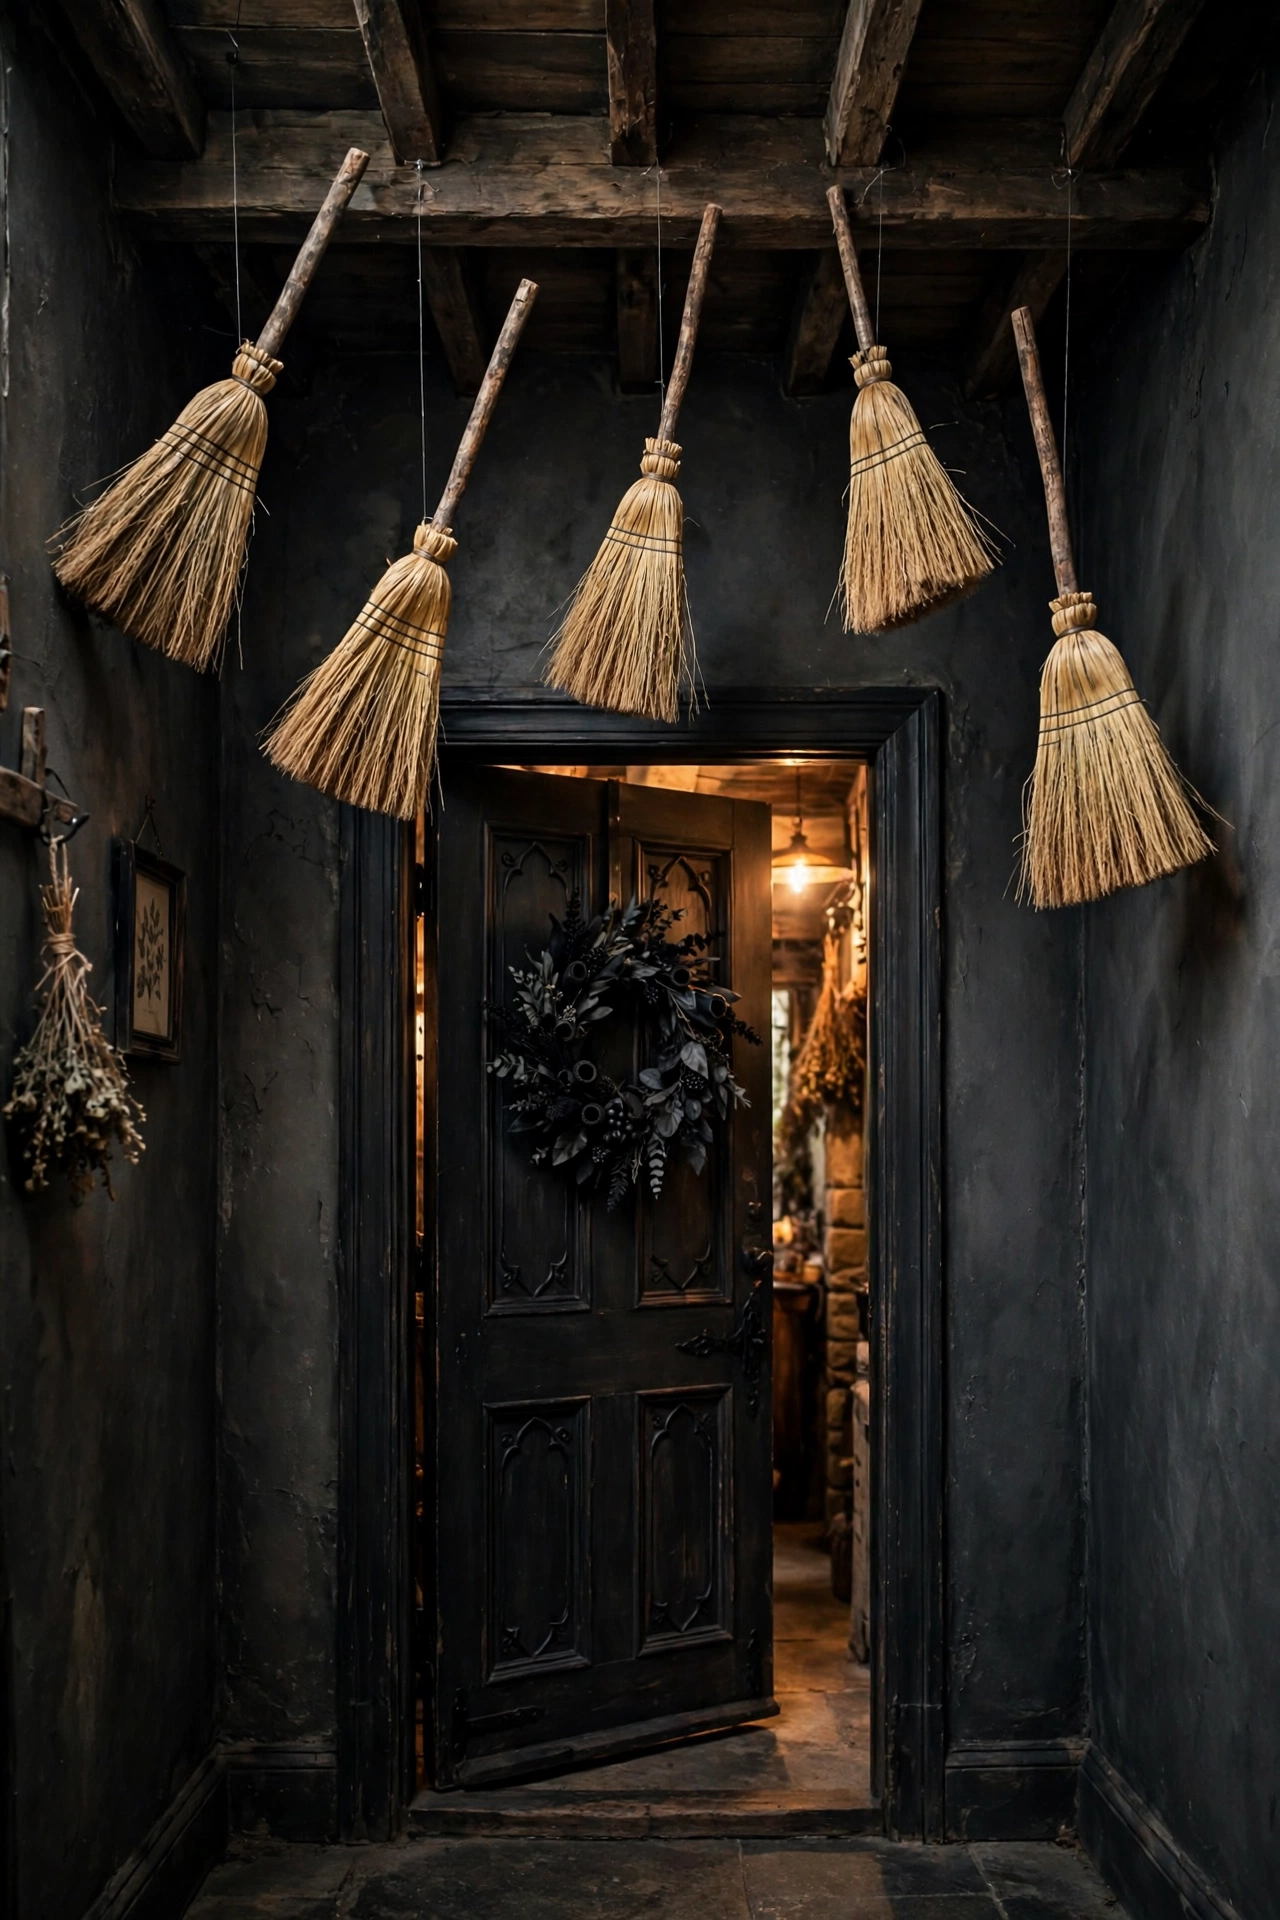
Hang three to five broomsticks from clear fishing line at 3-inch height differences, angled upward 30 degrees. Attach the line to small ceiling hooks and keep bristle ends at least 80 inches from the floor so tall guests clear them. The clear line vanishes in dim light, so the broomsticks look genuinely suspended mid-flight.
13. Create a Moon Phase Garland Across the Main Wall
Bare walls make a themed room feel unfinished. A large blank wall behind the table or bar swallows all your carefully built decor. A moon phase garland fills the wall with one repeating motif that signals the witch theme at a glance.
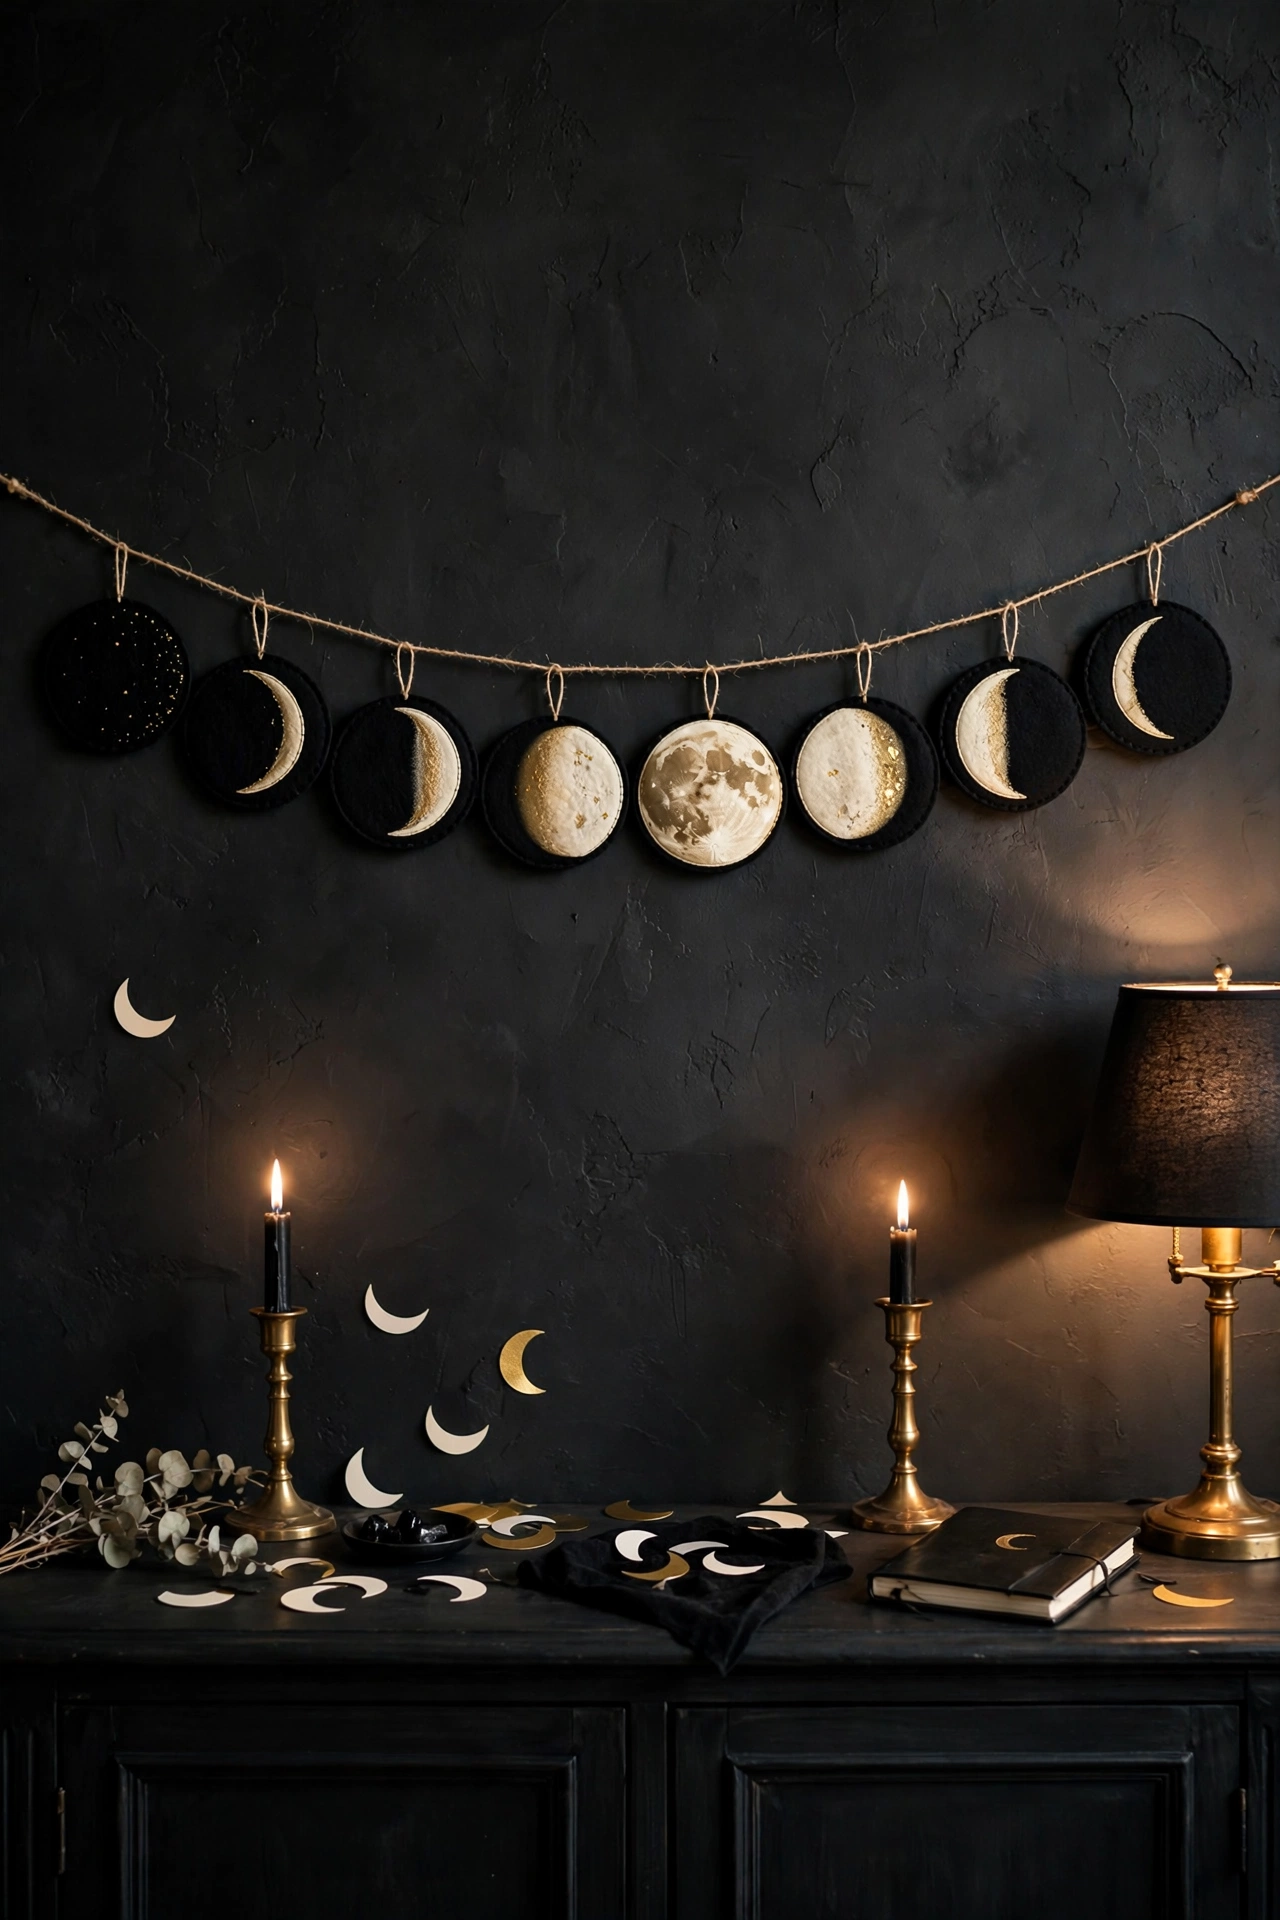
Cut eight circles of black felt or cardstock, 6 inches wide, and glue gold or cream shapes onto each to show the phases from new moon to full moon and back. String them on twine at 8-inch intervals across a 6-foot span and hang the line at 70 inches from the floor. The repeating shapes create visual rhythm, so even a sparse wall reads as styled.
14. Apply Window Silhouette Cutouts to Glass Panes
Dark windows waste your best glow-through effect. At night, an unmasked window reflects the room and shows the neighbors, not the theme. Black silhouettes against a lit window turn the glass into scene-setting art visible from outside and in.
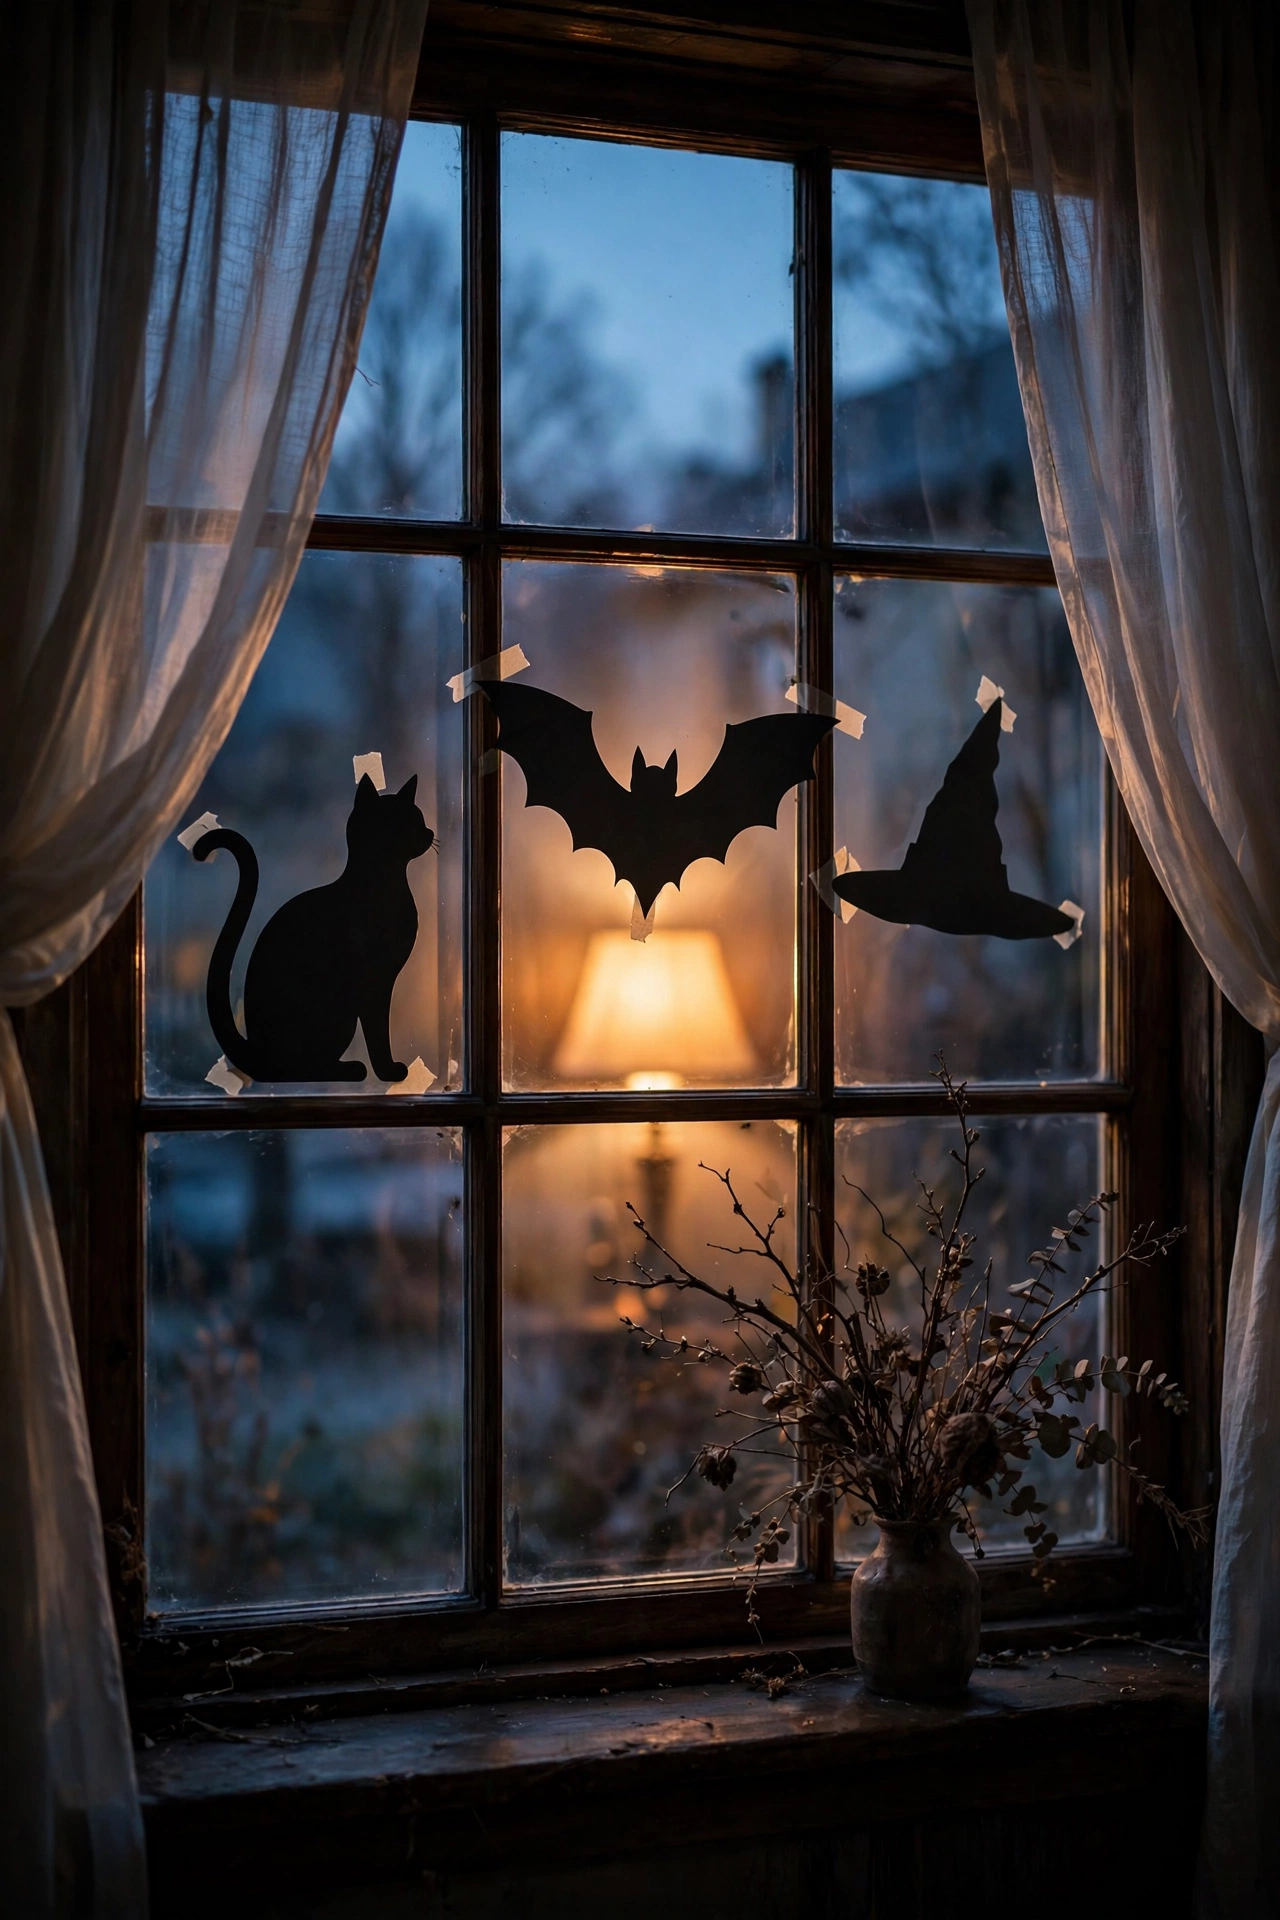
Cut cats, bats, and a witch hat profile from black adhesive vinyl or matte cardstock. Tape cardstock silhouettes to the inside of the pane with removable washi tape, and place a lamp 18 inches behind the glass. Back-lit silhouettes also show from the street, which extends the theme to your guests’ approach.
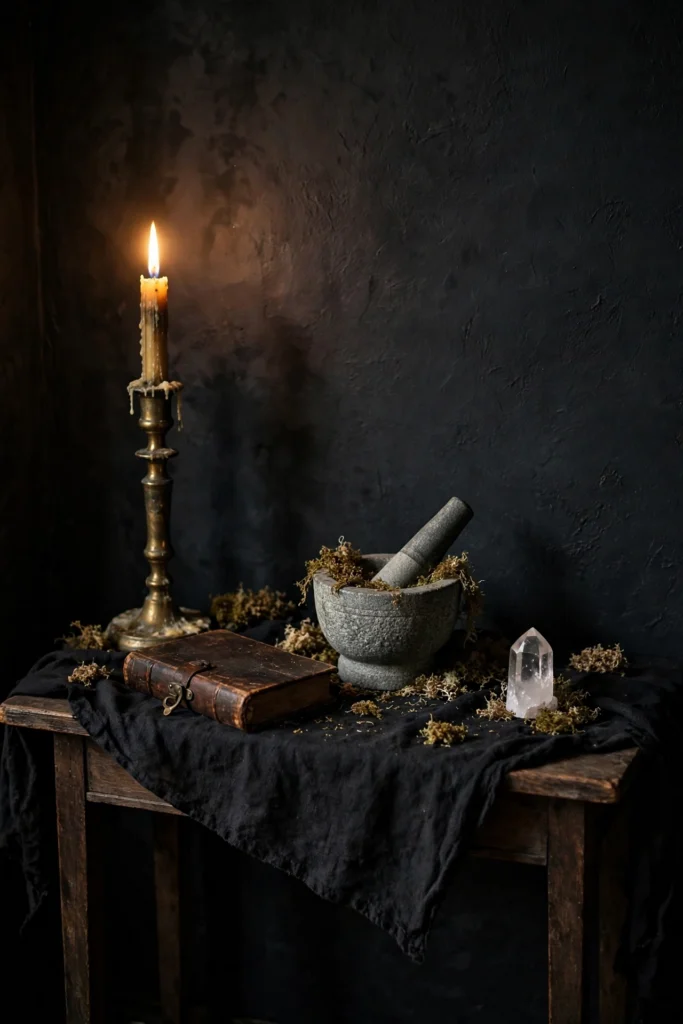
15. Style a Console Table as a Witch’s Altar
Console tables collect clutter instead of creating atmosphere. Keys, mail, and a random lamp sit awkwardly beside a party theme and break the entry’s mood. A styled altar makes the console the room’s strongest focal point.
Clear the surface and set a black cloth, then place a central mortar and pestle or crystal ball on a 6-inch riser. Use the triangle rule: one tall item at 18 inches, one medium at 10 inches, one low at 4 inches. Triangle arrangements read as intentional from every angle because the eye travels up and down the grouping.
Witch Party Potion Bar and Drink Station Ideas
The drink station is the busiest spot in the room. These three tips make it look curated instead of catered.
16. Use Labeled Apothecary Bottles for Every Drink
Unlabeled drinks make a potion bar look like a catering line. Plastic jugs and soda bottles break the theme in the exact spot guests stand longest. Glass bottles with handwritten labels turn every beverage into a named potion.

Decant each drink into a glass bottle or beverage dispenser and tie on a tag with a potion name. Use 16-ounce bottles for mixers, 1-gallon dispensers for batch drinks, and kraft tags written in a metallic or white gel pen. Names such as “Moonwater” or “Bog Brew” double as conversation starters, which keeps guests lingering at the bar.
17. Limit Garnish Props to Three Per Station
Overloaded drink stations look chaotic, not magical. Ten small props compete for attention and no single item gets noticed. Three well-chosen props give the eye a clear path and make the station look curated.
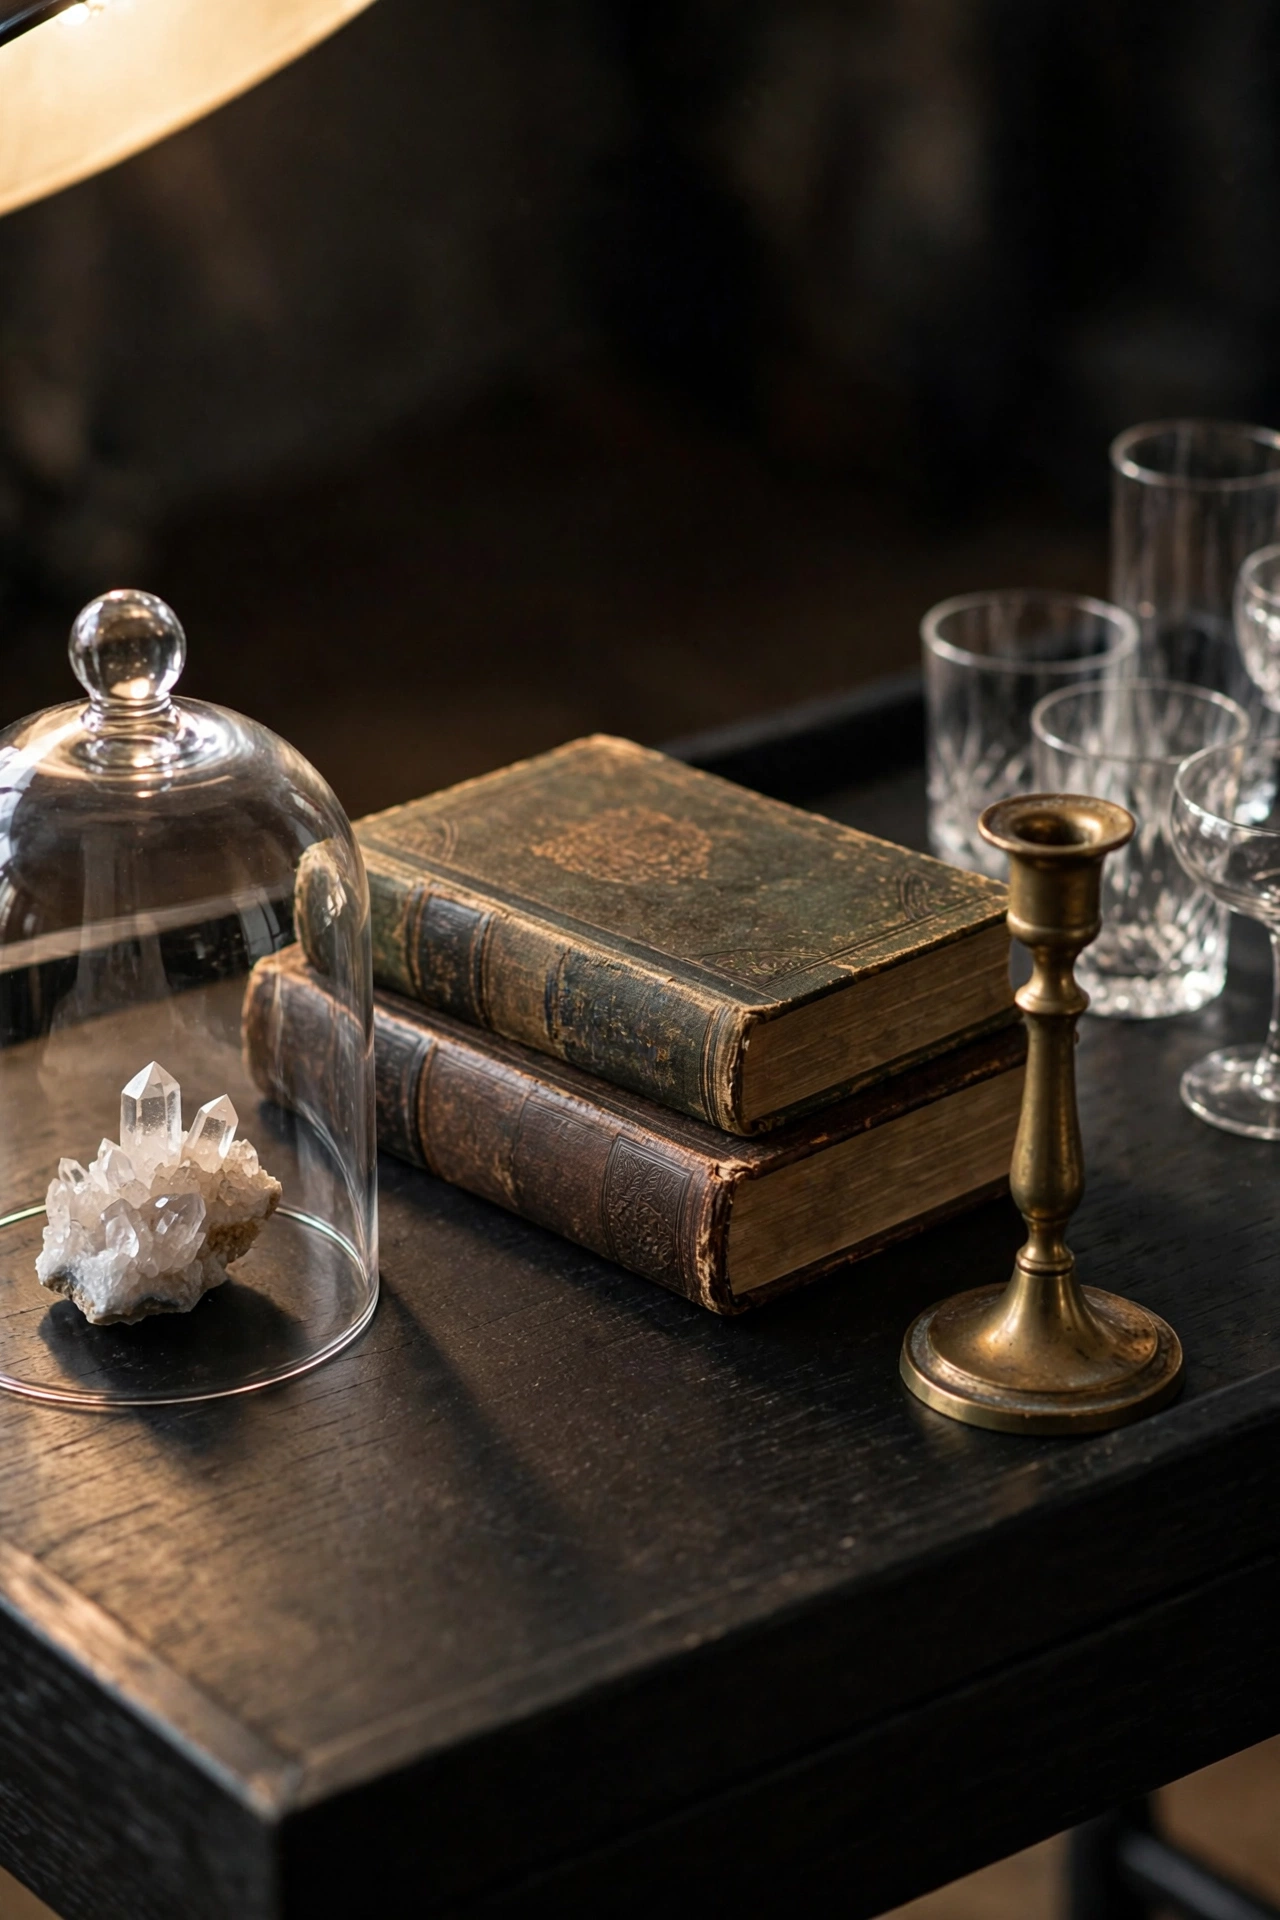
Pick one tall prop like a cloche, one medium like a spell book, and one small like a crystal. Keep at least 6 inches of bare tabletop between each prop and the nearest glass. Open space around props signals that each one is deliberate, which reads as expensive styling.
18. Anchor the Potion Bar With One Large Cauldron
A potion bar without an anchor looks scattered. Small bottles and glasses spread across a surface lack a visual center, so guests cannot find the focal point. One large cauldron at the center pulls everything into a single composition.
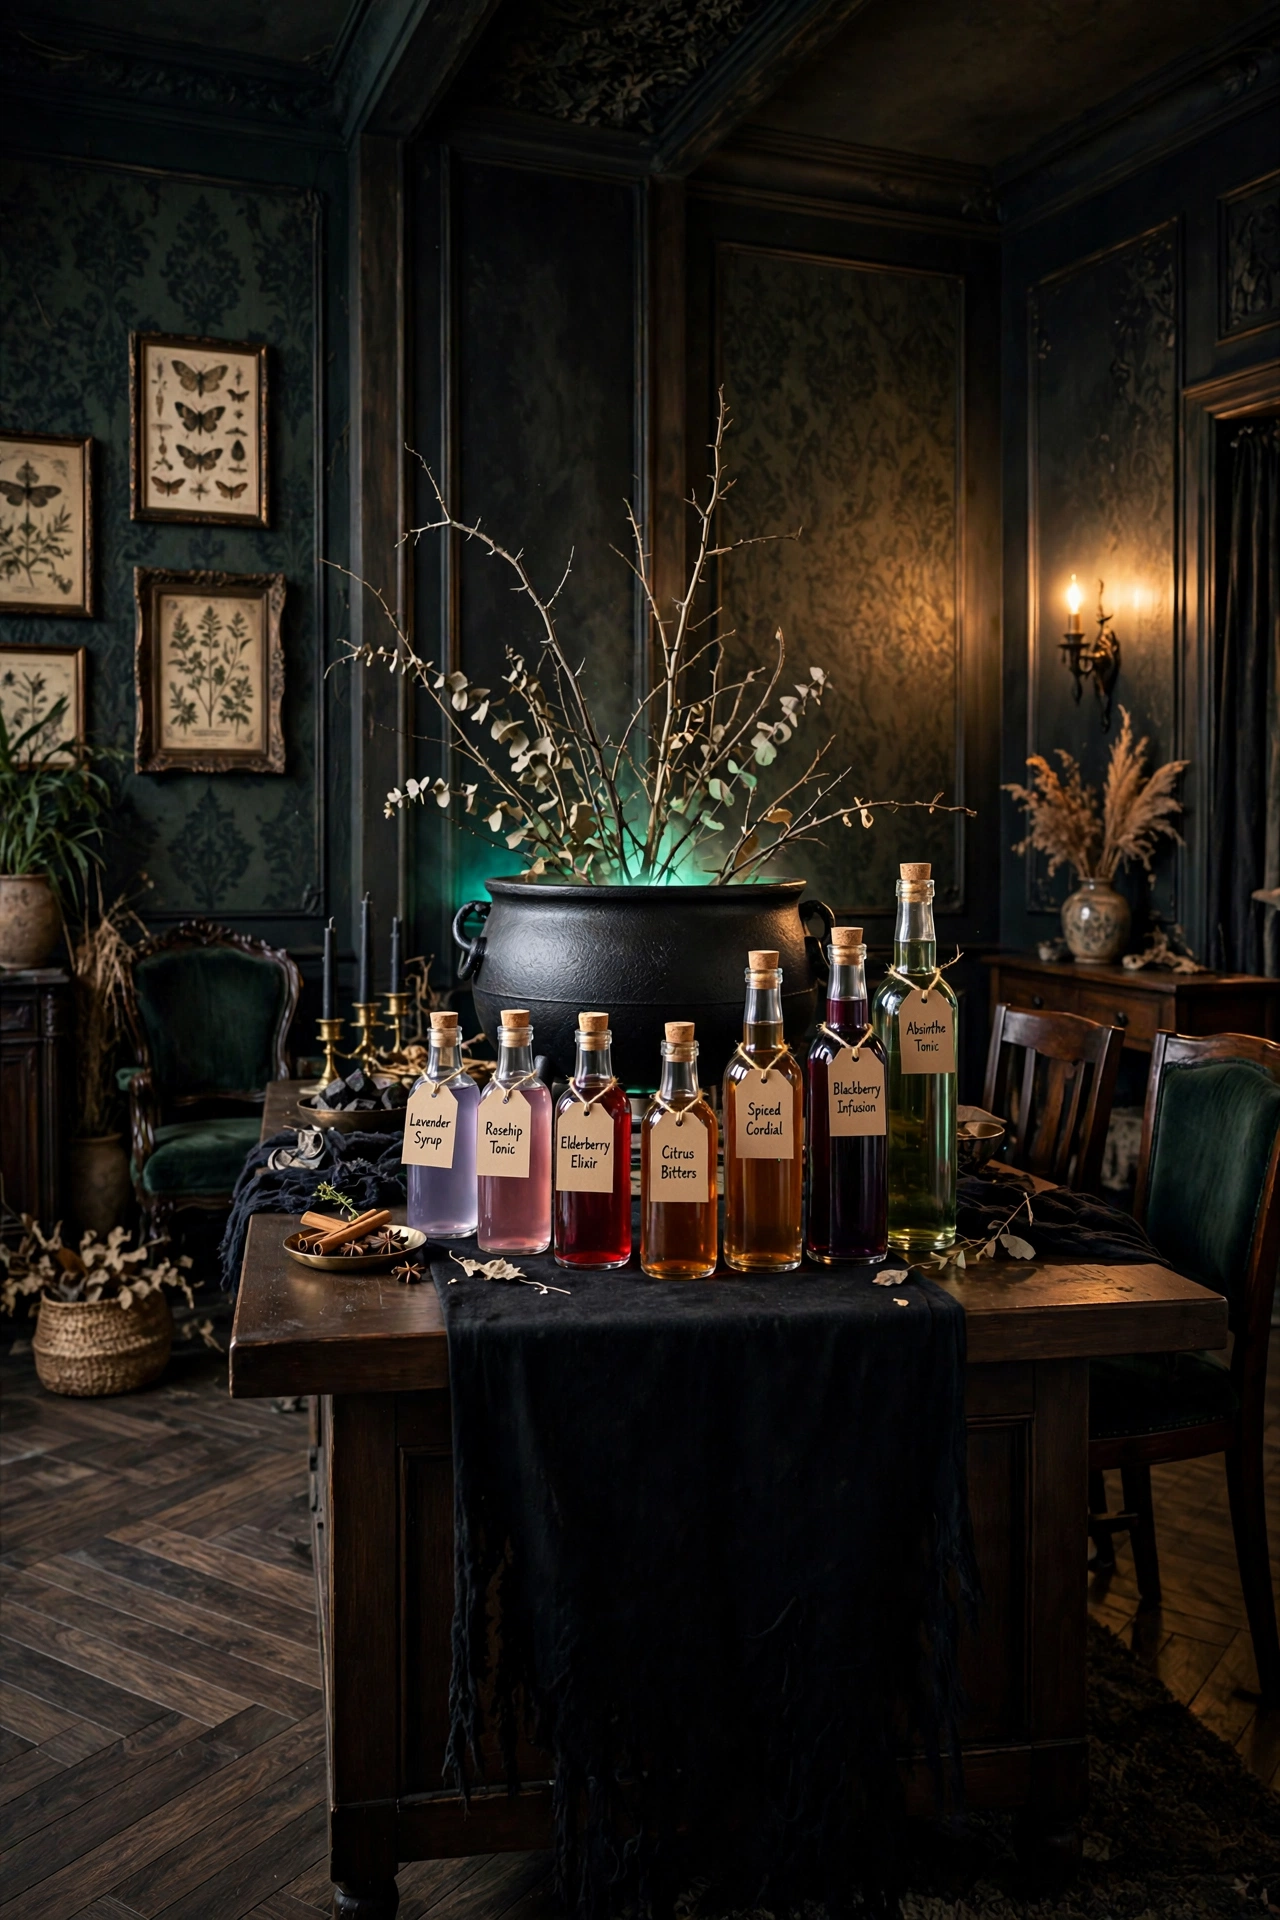
Choose a cast-iron or matte black cauldron at least 12 inches wide and place it at the back center of the bar. Arrange bottles in a semicircle in front of it, with the tallest items at the back and the shortest at the front. The cauldron’s hollow interior also hides a battery pack, an extension cord, or a small ice bucket.
Witch Party Styling and Finishing Touches
The last two edits separate a decorated room from a designed one. Make them after everything else is in place.
19. Replace Plastic Props With Real Branches and Moss
Plastic props give away a budget party instantly. Shiny plastic reflects light unnaturally and looks identical to every store-bought display. Natural materials absorb light, add texture, and look unique in every setup.
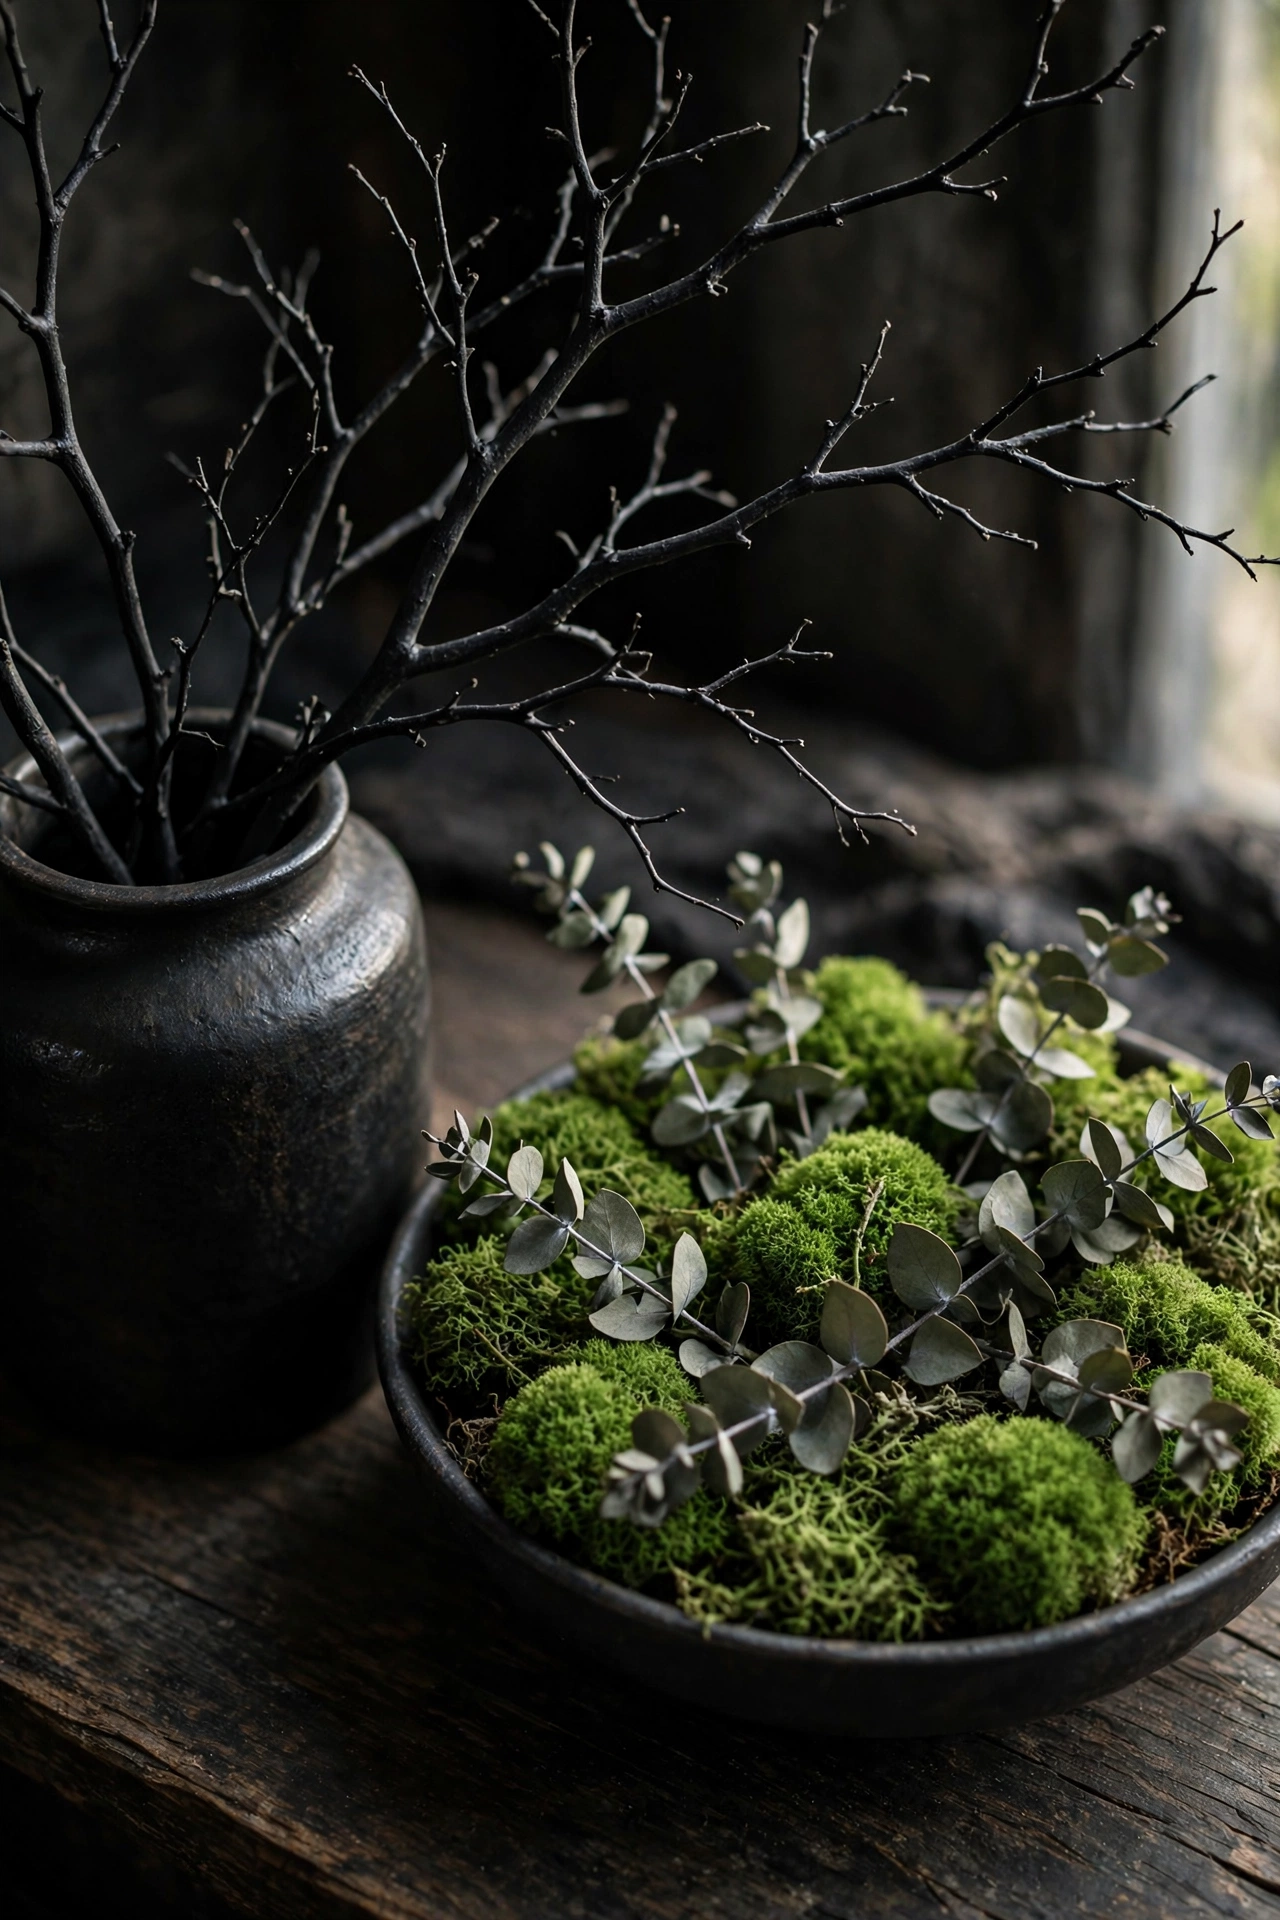
Collect bare branches, 24 to 36 inches long, and spray the ends matte black or leave them natural. Pack sheet moss and preserved eucalyptus around jar bases and cauldron rims to cover plastic edges. Moss also hides wiring and battery packs, so electronics disappear into the scene.
20. Remove Anything That Breaks Your Color Palette
One off-palette item breaks the entire illusion. A bright orange pumpkin or neon streamer pulls the eye away from every carefully chosen piece. A final edit removes the distractions and makes the whole room cohesive.
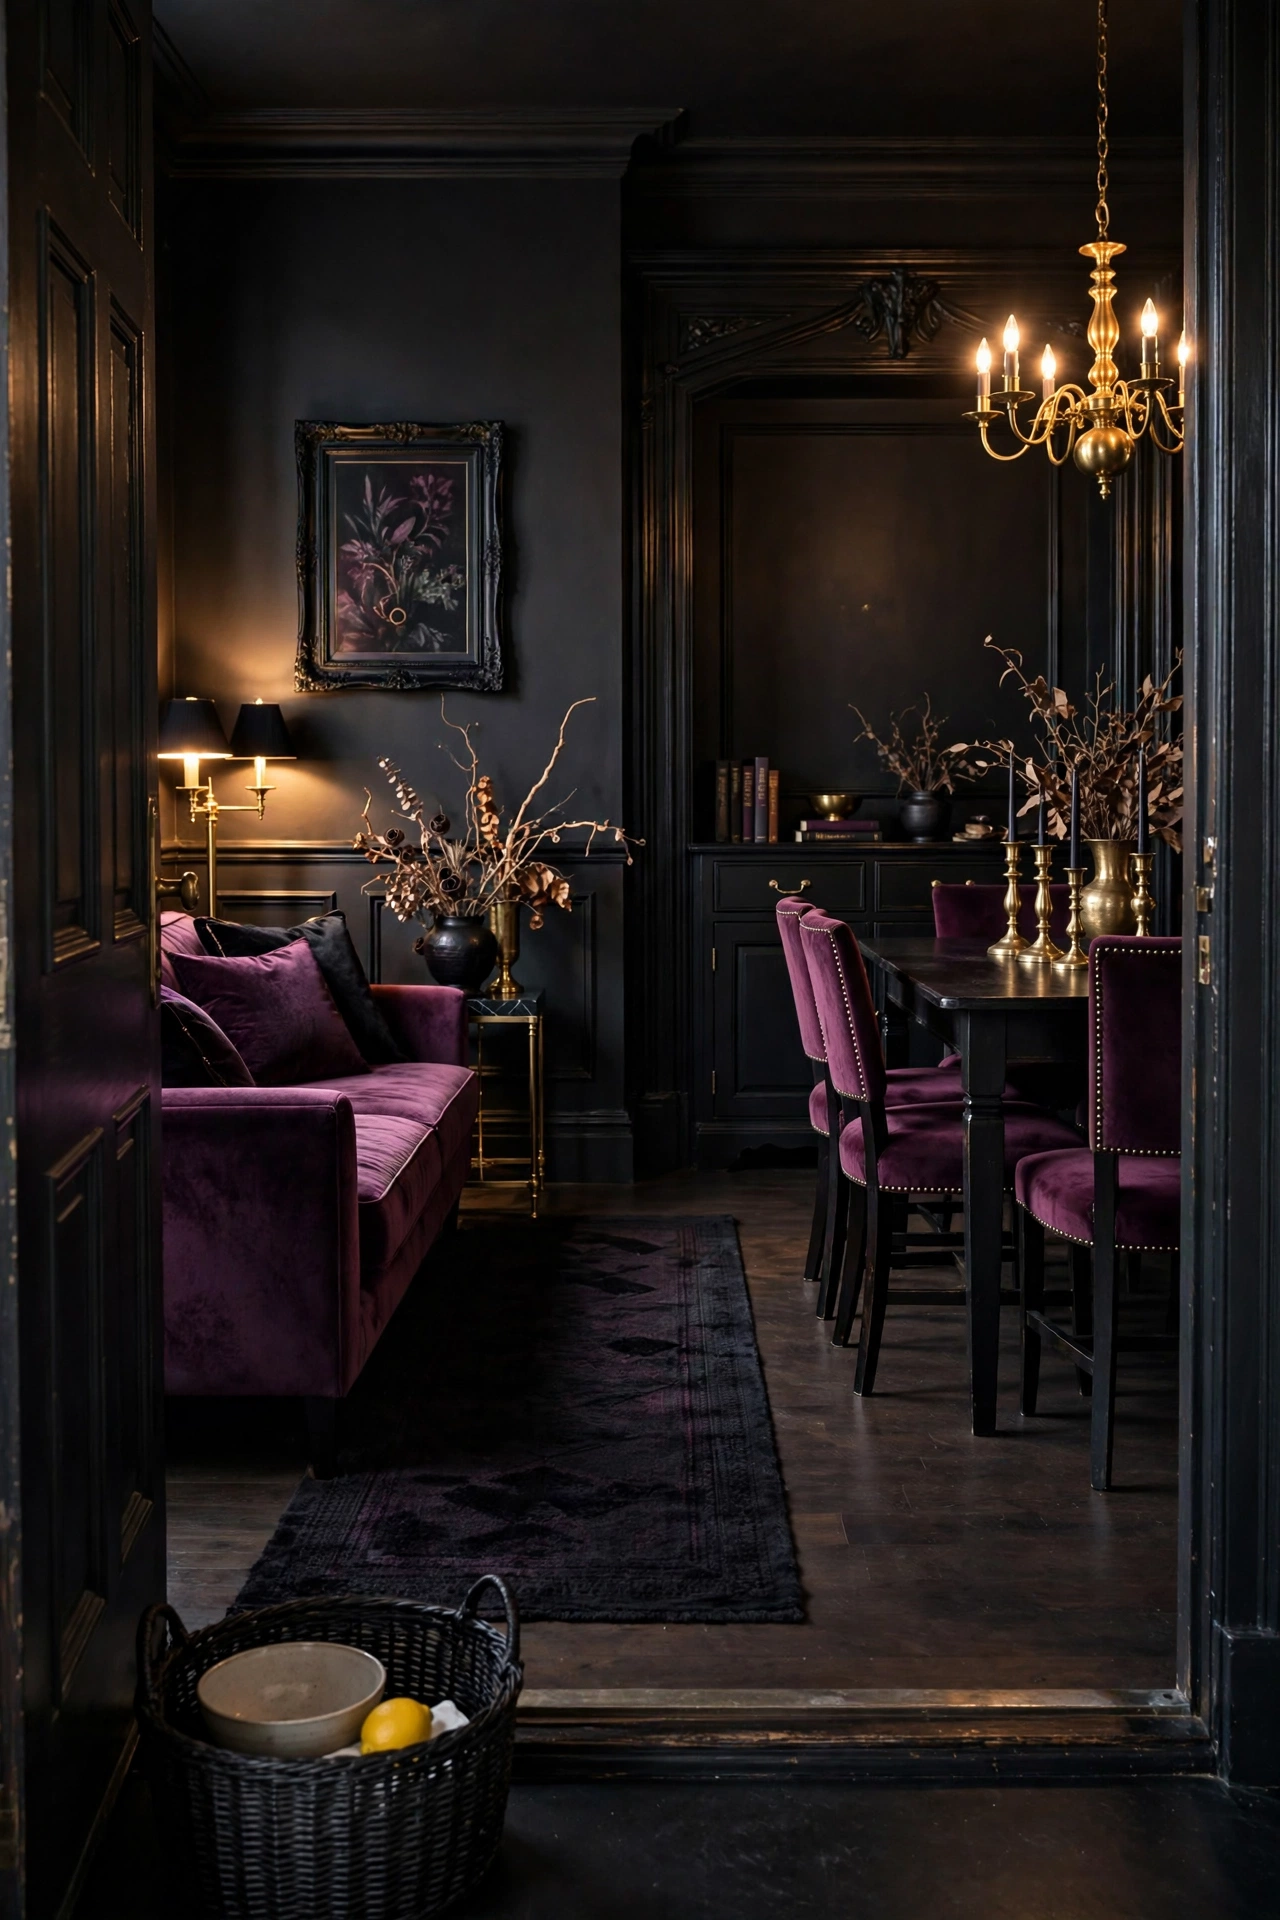
Walk the room from the entrance and squint, then remove every object that pops out of your three palette shades. Apply the 10-percent rule: if an object does not belong to a shade, hide it or repaint it with matte black spray paint. Removing three to five items dramatically increases how expensive the room looks.
Witch Party Decor Storage and Long-Term Habits
The party ends, but the decor lasts for years when you store it correctly. These two habits make next year’s setup faster and cheaper.
21. Establish a Labeled Storage System for Reusable Props
Disorganized storage kills next year’s witch party. Tangled garlands and crushed jars cost you money and force you to rebuy the same props every year. A labeled system preserves props and cuts setup time significantly.
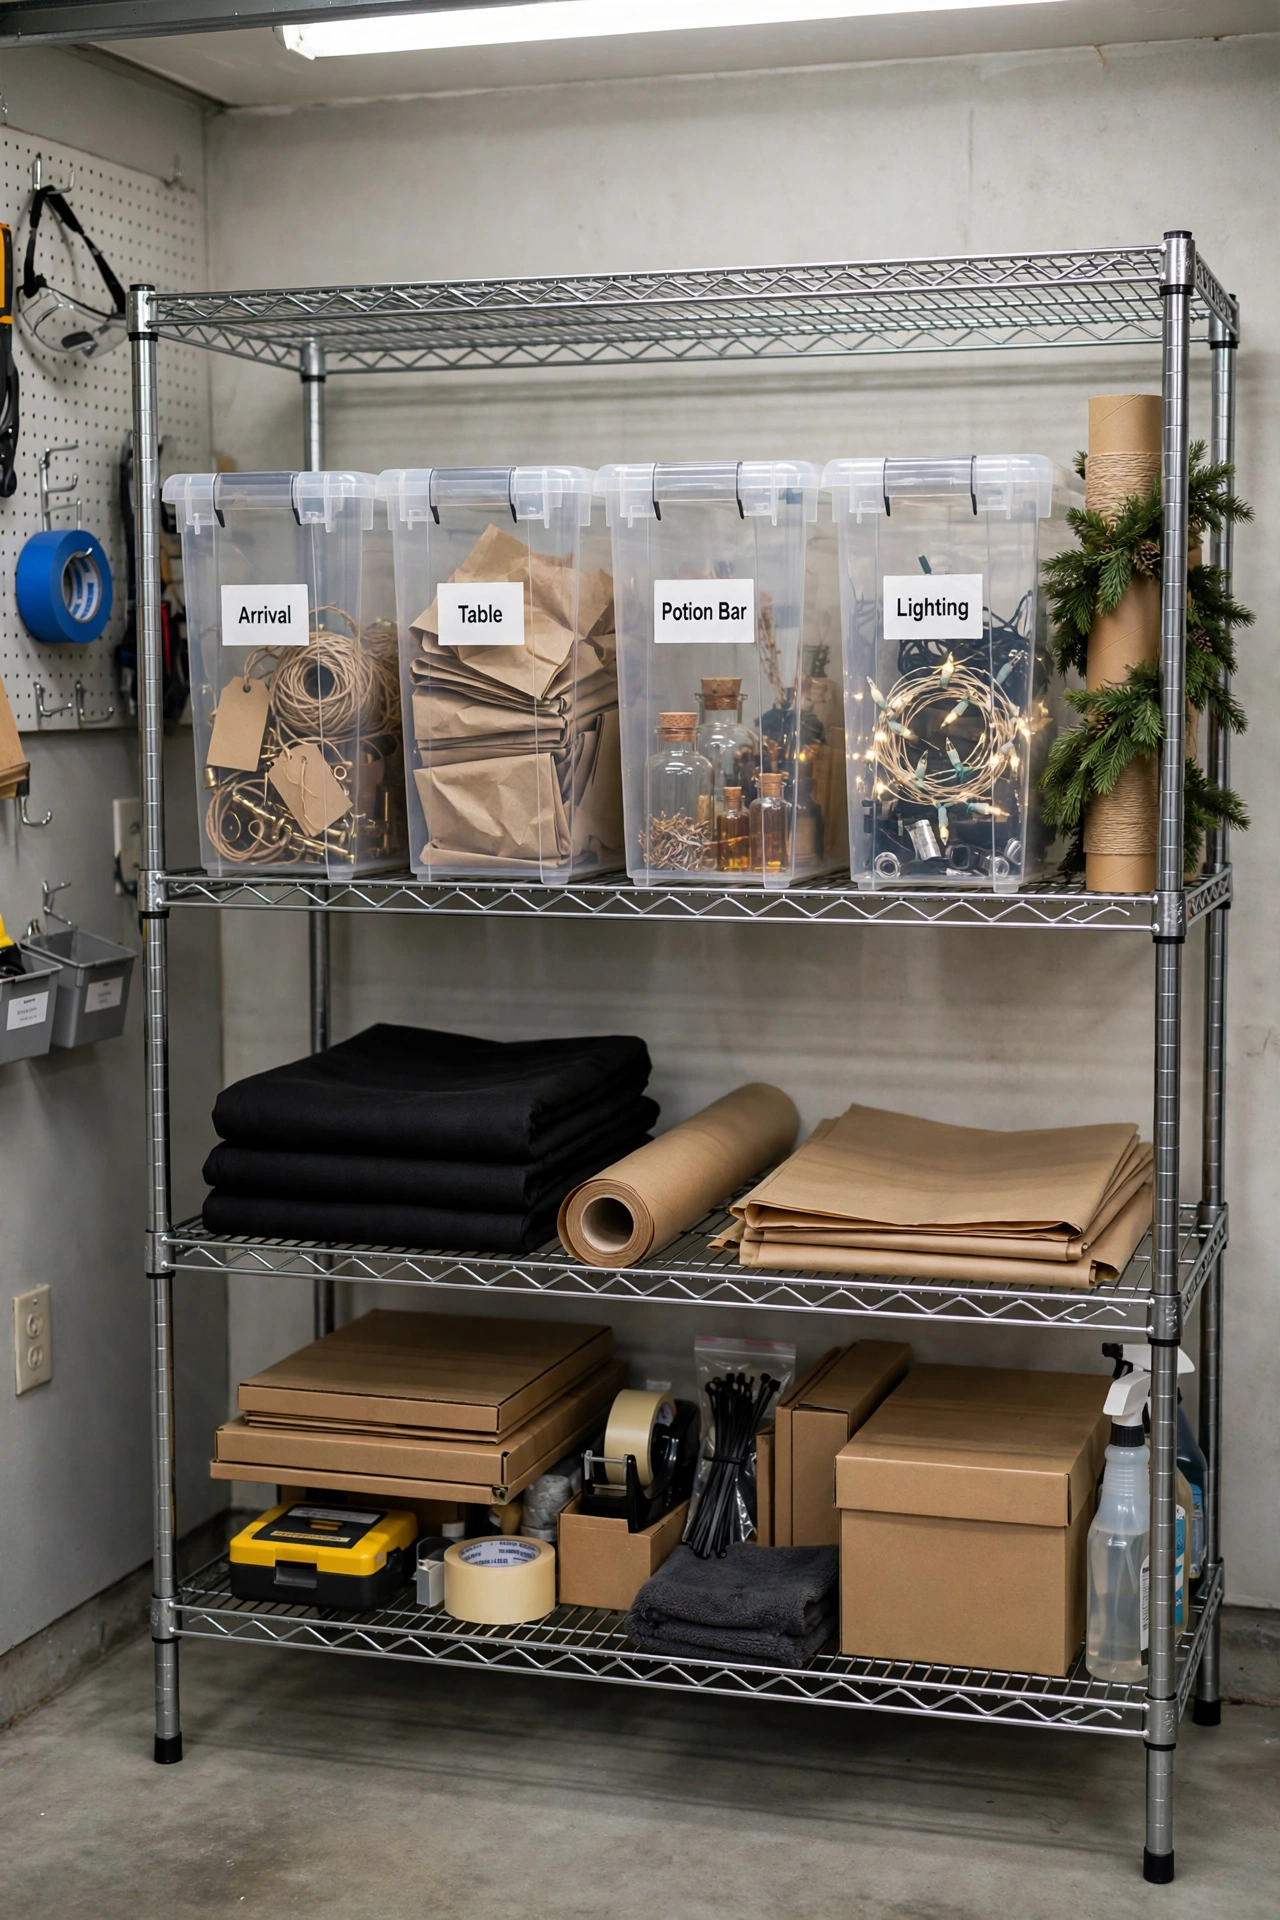
Pack decor in clear 27-quart bins labeled by zone: Arrival, Table, Potion Bar, and Lighting. Wrap glass in newspaper or bubble wrap, and wind garlands around a cardboard tube to prevent kinks. Labeled bins also let you set up a full zone in under 30 minutes next year.
22. Choose Two Repeatable Pieces to Upgrade Each Year
Rebuying everything each year wastes money and effort. A full replacement cycle means you never build a signature look, and every party starts from zero. Upgrading two pieces annually builds a collected, layered witch party look over time.
Pick two pieces from your zones, such as a cauldron and a runner, and replace them with higher quality versions. Set a spend cap of 15 percent of your total decor budget on these two items. After three years, your core set looks like a curated collection rather than a seasonal purchase.
Common Witch Party Decor Mistakes That Ruin the Mood
Four errors account for most failed witch party setups. Check your room against each one before guests arrive.
Witch Party Decor by Space and Situation
The same 22 tips adapt to different homes and guest lists. Use the version below that matches your situation.
Small Apartment Witch Party
Small rooms need vertical decor and fewer props. Skip the separate zones and combine the arrival and potion bar zones into one console or bar cart. Hang the moon phase garland and herb bundles to use wall and ceiling space, and cap the room at seven props total. Keep the walking path at the full 36 inches even if you must push furniture against the wall.
Rental With No-Damage Rules
Rentals require removable hardware. Use removable hooks rated for 5 pounds for garlands and lightweight bundles, and washi tape for window silhouettes. Hang broomsticks from a tension rod across the entryway instead of ceiling hooks. Peel everything off within a week of the party to protect paint and avoid adhesive residue.
Backyard or Patio Witch Party
Outdoor spaces need weather-ready materials. Use battery LED candles with sealed housings, weight every cloth with clips, and anchor tall props with sandbags hidden behind planters. Place green uplights low in garden beds to wash shrubs and fence lines. Keep paper decor inside and use metal, glass, and branches outside.
Family-Friendly Kids’ Witch Party
Child-safe parties replace risk with whimsy. Use only flameless candles, keep glass jars on shelves above 48 inches, and swap apothecary bottles for sturdy plastic ones with the same kraft tags. Brighten the palette with a fourth accent shade such as lime green. Keep hanging decor above 60 inches so small guests and tall guests both move freely.
Frequently Asked Questions
What do you need for a witch party?
You need a three-shade color palette, a table runner, 5 to 7 mismatched glass jars, flameless candles, warm 2200K bulbs, a cauldron, and a few hanging pieces such as broomsticks and herb bundles. Lighting and the palette matter more than the number of props. Start with those two and add decor by zone.
What are the biggest witch party decor mistakes?
The most common mistakes are leaving overhead lights on, mixing more than three colors, crowding props around glasses, and hanging decor too low over walkways. Each one breaks either the atmosphere or guest flow. The mistakes table above gives the exact fix for each.
How do you decorate for a witch party on a budget?
Thrift glass jars and brass candlesticks, collect branches from your yard, and dry herbs yourself. Spend your money on warm bulbs and flameless candles, because lighting changes the room more than any other purchase. Paint plastic props matte black to make them look aged and consistent.
How do you decorate for a witch party in a small apartment?
Combine the arrival zone and potion bar into one console, hang decor vertically, and limit the room to seven props total. Use a garland, hanging herbs, and window silhouettes to fill space without taking floor area. Keep a 36-inch clear path to the drink station.
What colors work best for a witch party theme?
Plum, black, and antique brass create the classic witch’s lair, while forest green, charcoal, and copper suit a garden witch look. Black, ivory, and silver give a moon witch effect. Pick one palette and hold to a 60-30-10 split across the room.
How often should you replace witch party decorations?
Replace fresh materials like moss and eucalyptus every year, and keep glass, brass, cast iron, and fabric for many seasons. Upgrade two core pieces annually instead of rebuying everything. Replace LED candle batteries before every party.
Does a witch party theme work for adults?
Yes. A restrained palette, warm low lighting, real natural materials, and labeled apothecary bottles create an elegant, sophisticated setting. Skip cartoonish props and keep the scheme to dark, textured shades. The look suits dinner parties, cocktail evenings, and book club gatherings.
How much does it cost to decorate for a witch party?
A full setup for 10 to 15 guests typically runs between $100 and $250, depending on how much you thrift and reuse. The biggest costs are bulbs, flameless candles, and a good cauldron. Reusing decor across years drops the annual cost sharply.
How do you store witch party decorations so they last?
Pack decor in clear 27-quart bins labeled by zone, wrap glass individually, and wind garlands around cardboard tubes. Remove batteries from LED candles and fold fabric flat with tissue. Store bins in a cool, dry place away from direct sunlight.
Conclusion
A convincing witch party comes from restraint, not volume. Lock your three-shade palette first, light the room low and warm, and build each of the three zones with intentional, layered pieces. Then edit ruthlessly until nothing breaks the scheme. Start today with tip 1: pull three swatches, tape them to the wall, and commit.