
Christmas tree decorations fail for one reason: they sit on the surface. Ornaments hang only at the branch tips, lights wrap around the outside, and the tree looks flat from across the room.
As professional interior designers consistently find, a tree that looks full has decoration set at three depths: deep inside the branches, mid-branch, and at the tips.
Before You Begin: 4 Foundation Steps for Christmas Tree Decorations
1. Measure Your Tree Height and Width Before Buying Decor
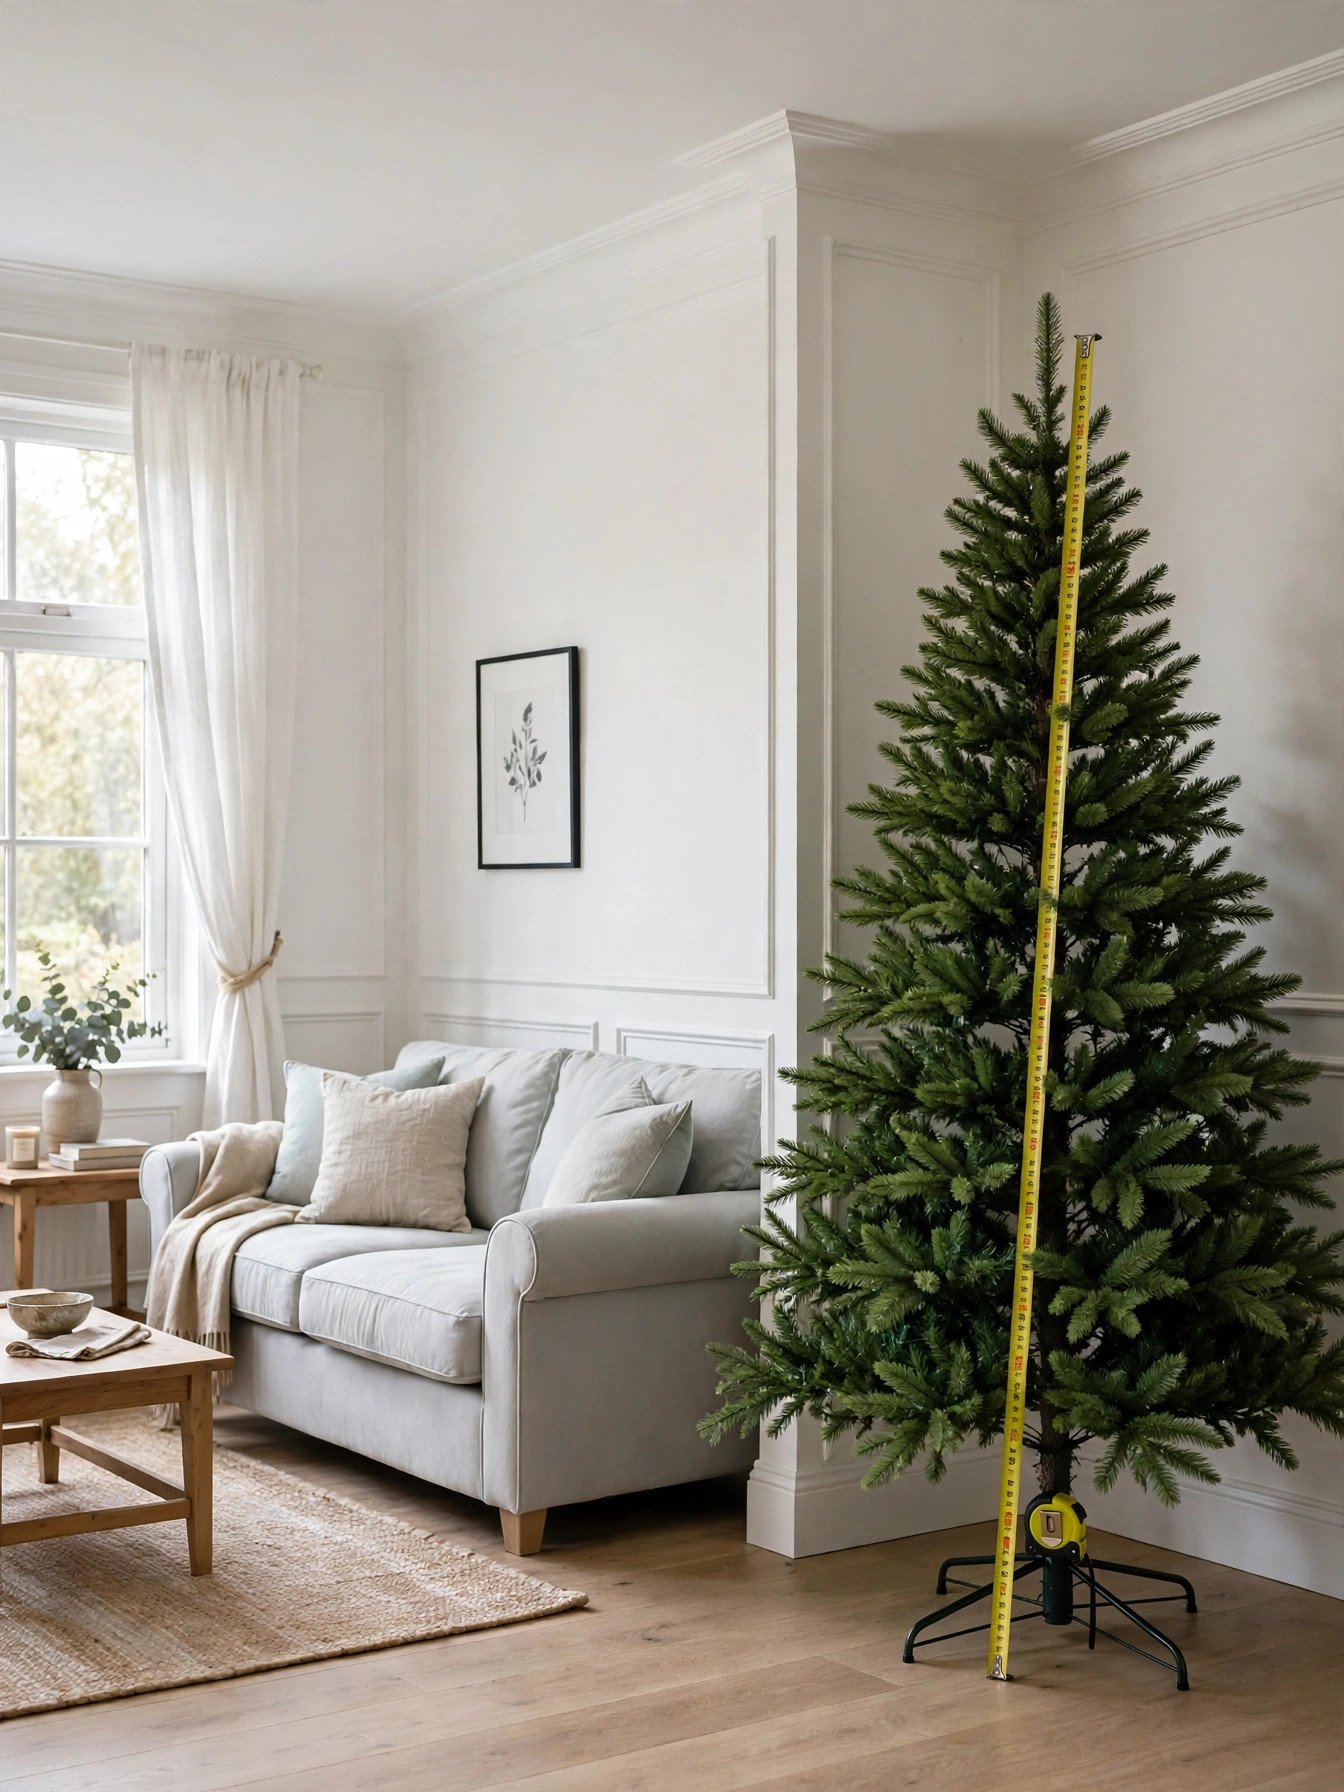
An oversized tree quietly swallows your entire decoration budget. A tree that is too tall leaves no room for a topper. A tree that is too wide forces you to buy extra ornaments just to cover the branches. Measuring first fixes every quantity in this guide.
Measure your ceiling height, then subtract 12 inches for the topper and 6 inches for the stand. The result is your maximum tree height. Measure the widest branch span and leave 30 inches of walkway clearance on the open side. A tree sized this way looks deliberate instead of crammed into the corner.
2. Choose One Color Palette Before Opening Any Box

Unplanned colors make a tree look chaotic from across the room. Without a defined palette, every new ornament competes with the last one, and the tree reads as clutter instead of design. A locked palette gives the tree a cohesive, intentional look.
Pick two main colors and one metallic, then follow the 60-30-10 rule: 60 percent main color, 30 percent second color, 10 percent metallic accents. Lay every ornament out by color and set aside anything outside the palette. Even a mismatched box of inherited ornaments looks curated once you sort it this way.
3. Calculate Ornament Quantity Per Foot of Tree
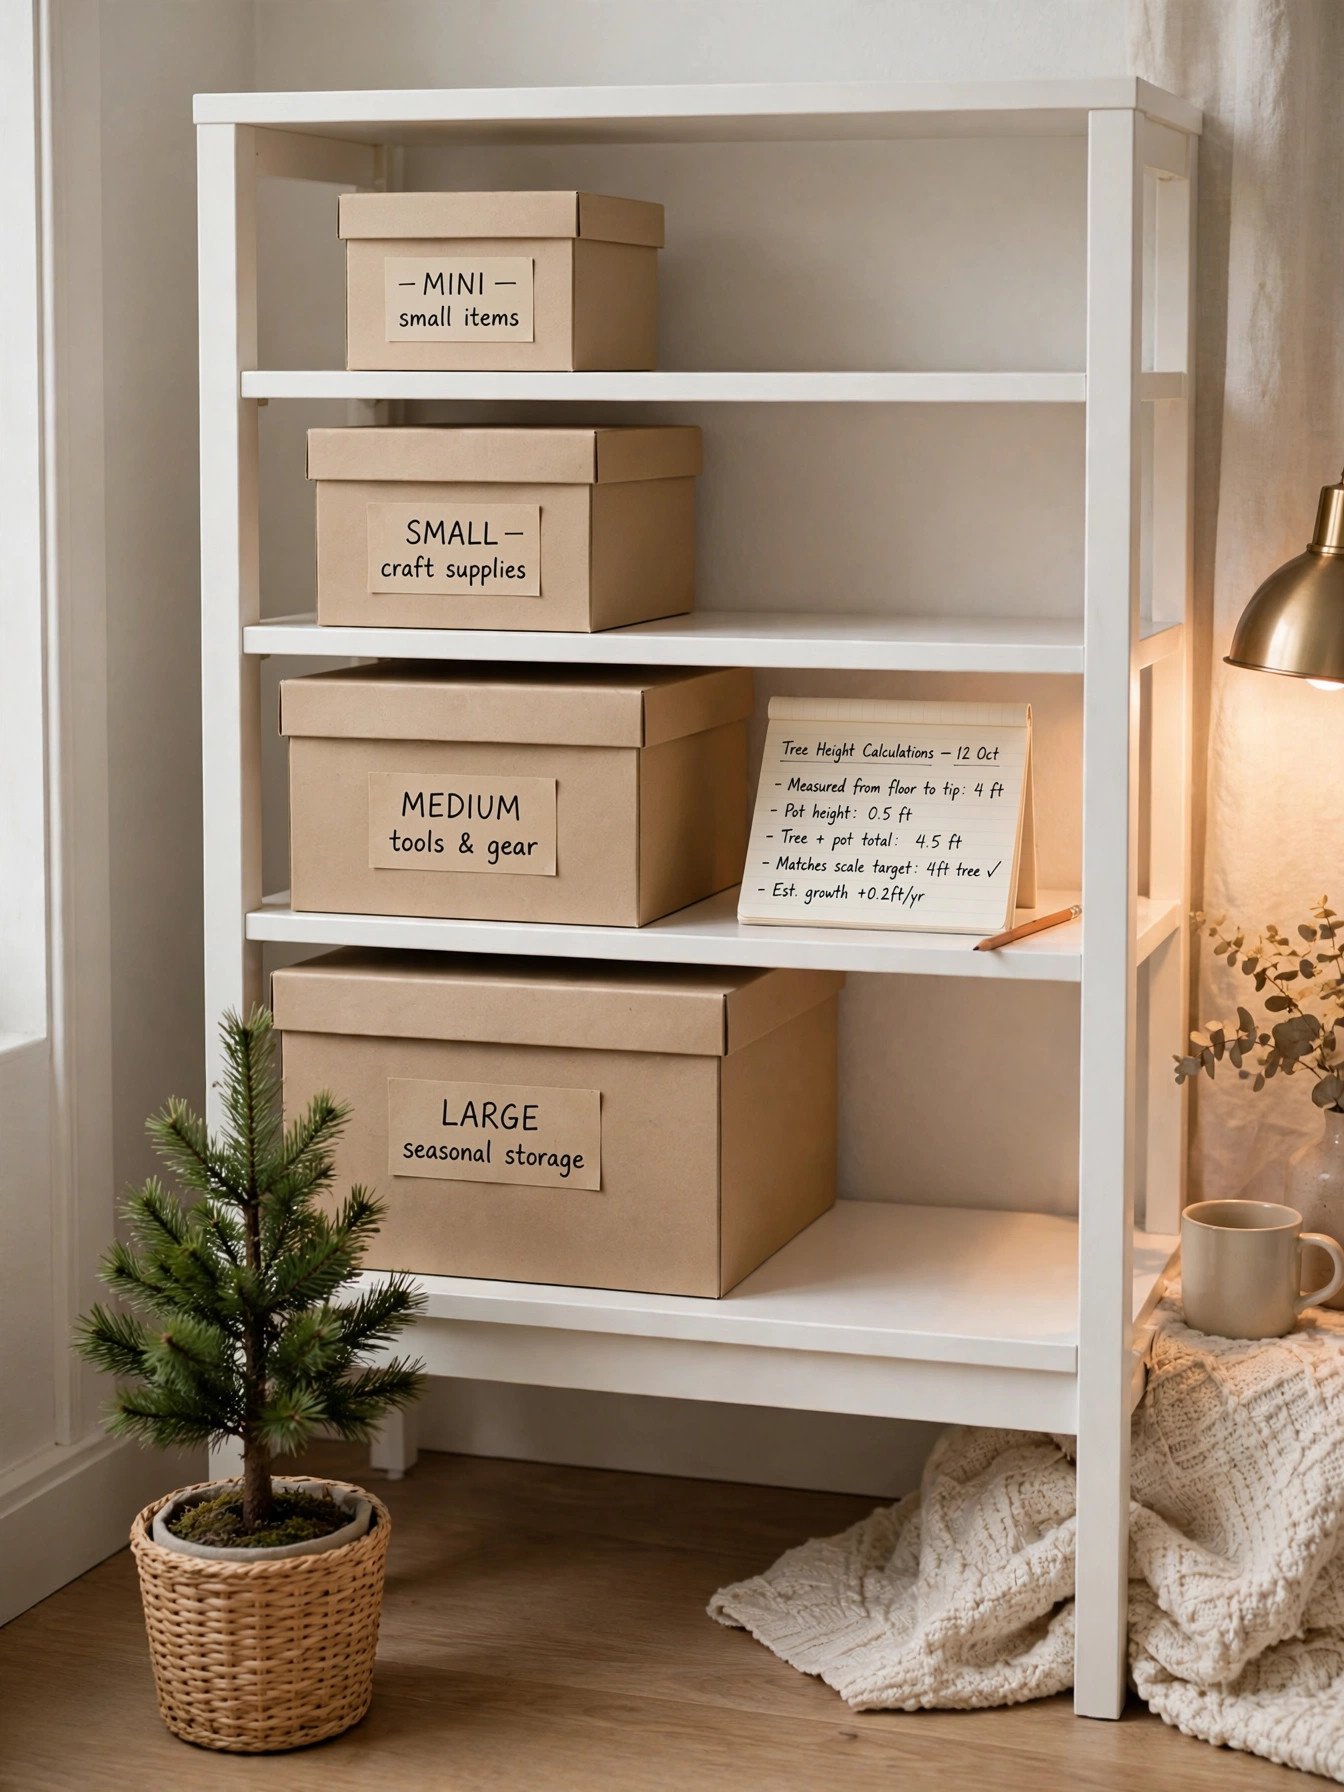
Running out of decor halfway through ruins momentum. Guessing quantities leads to bare patches at the top or a overloaded bottom half. A per-foot formula tells you exactly what to buy before you start.
Plan for 100 mini lights per foot of height and the ornament counts below. Add 20 percent more ornaments if you use ribbon or floral picks, because those fill space ornaments would otherwise cover. This keeps density even from the base to the top.
| Tree Height | Lights and Ornaments Needed |
|---|---|
| 4 feet | 400 lights, 25–35 ornaments |
| 6 feet | 600 lights, 50–70 ornaments |
| 7.5 feet | 750 lights, 75–100 ornaments |
| 9 feet | 900 lights, 100–140 ornaments |
4. Place Your Tree Away From Heat Vents and Drafts
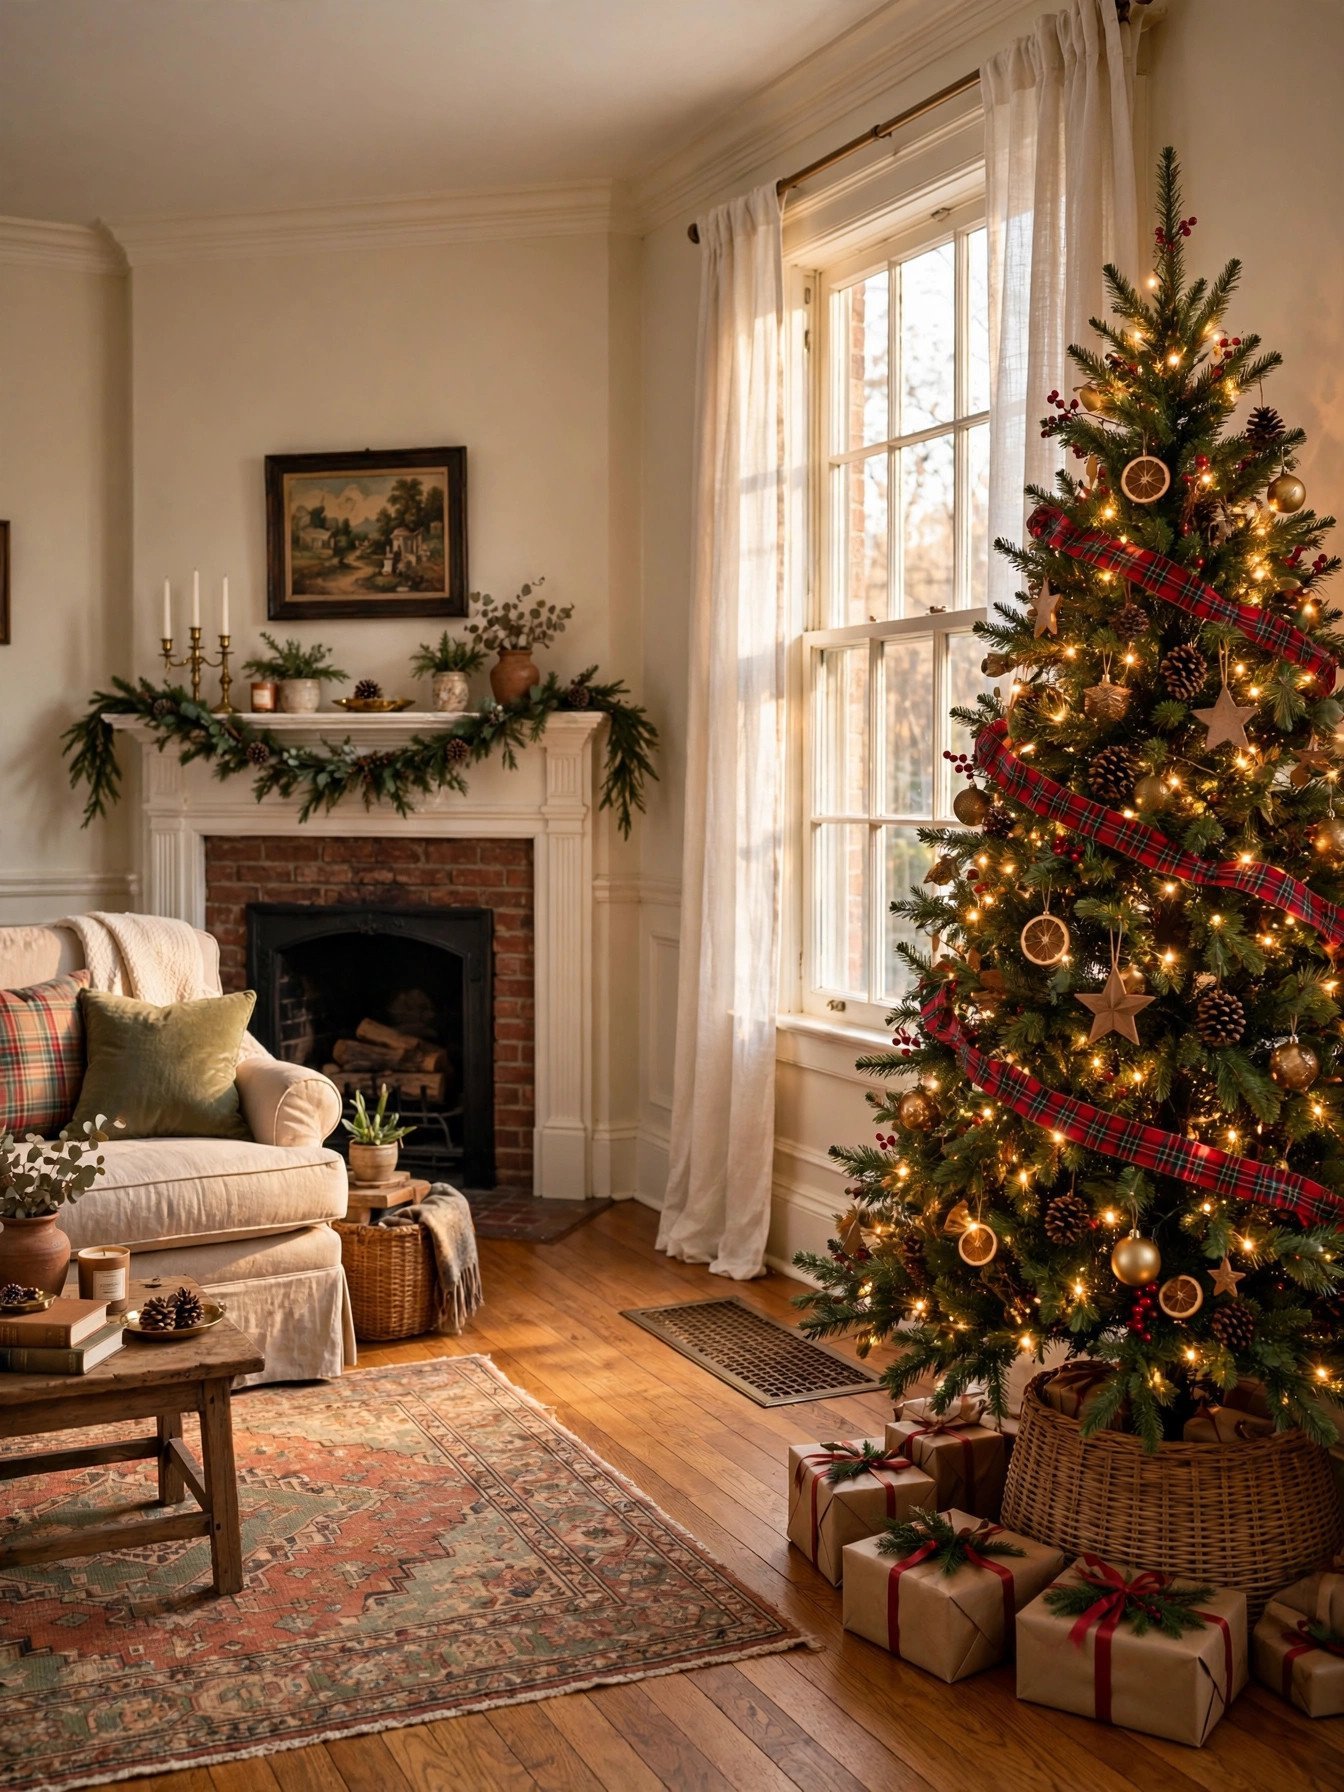
Heat is the fastest way to ruin a tree. Warm air from a vent dries real needles within days and warps the branch shape on artificial trees. Placement settles the problem before decorating begins.
Keep the tree at least 3 feet from vents, radiators, and fireplaces. Cover any nearby floor vent with a magnetic deflector so air flows away from the tree. A stable, cool location keeps branches in shape for the entire season.
Christmas Tree Lights and Garland Placement for Full Coverage
5. Install Lights Before Adding Any Other Decoration
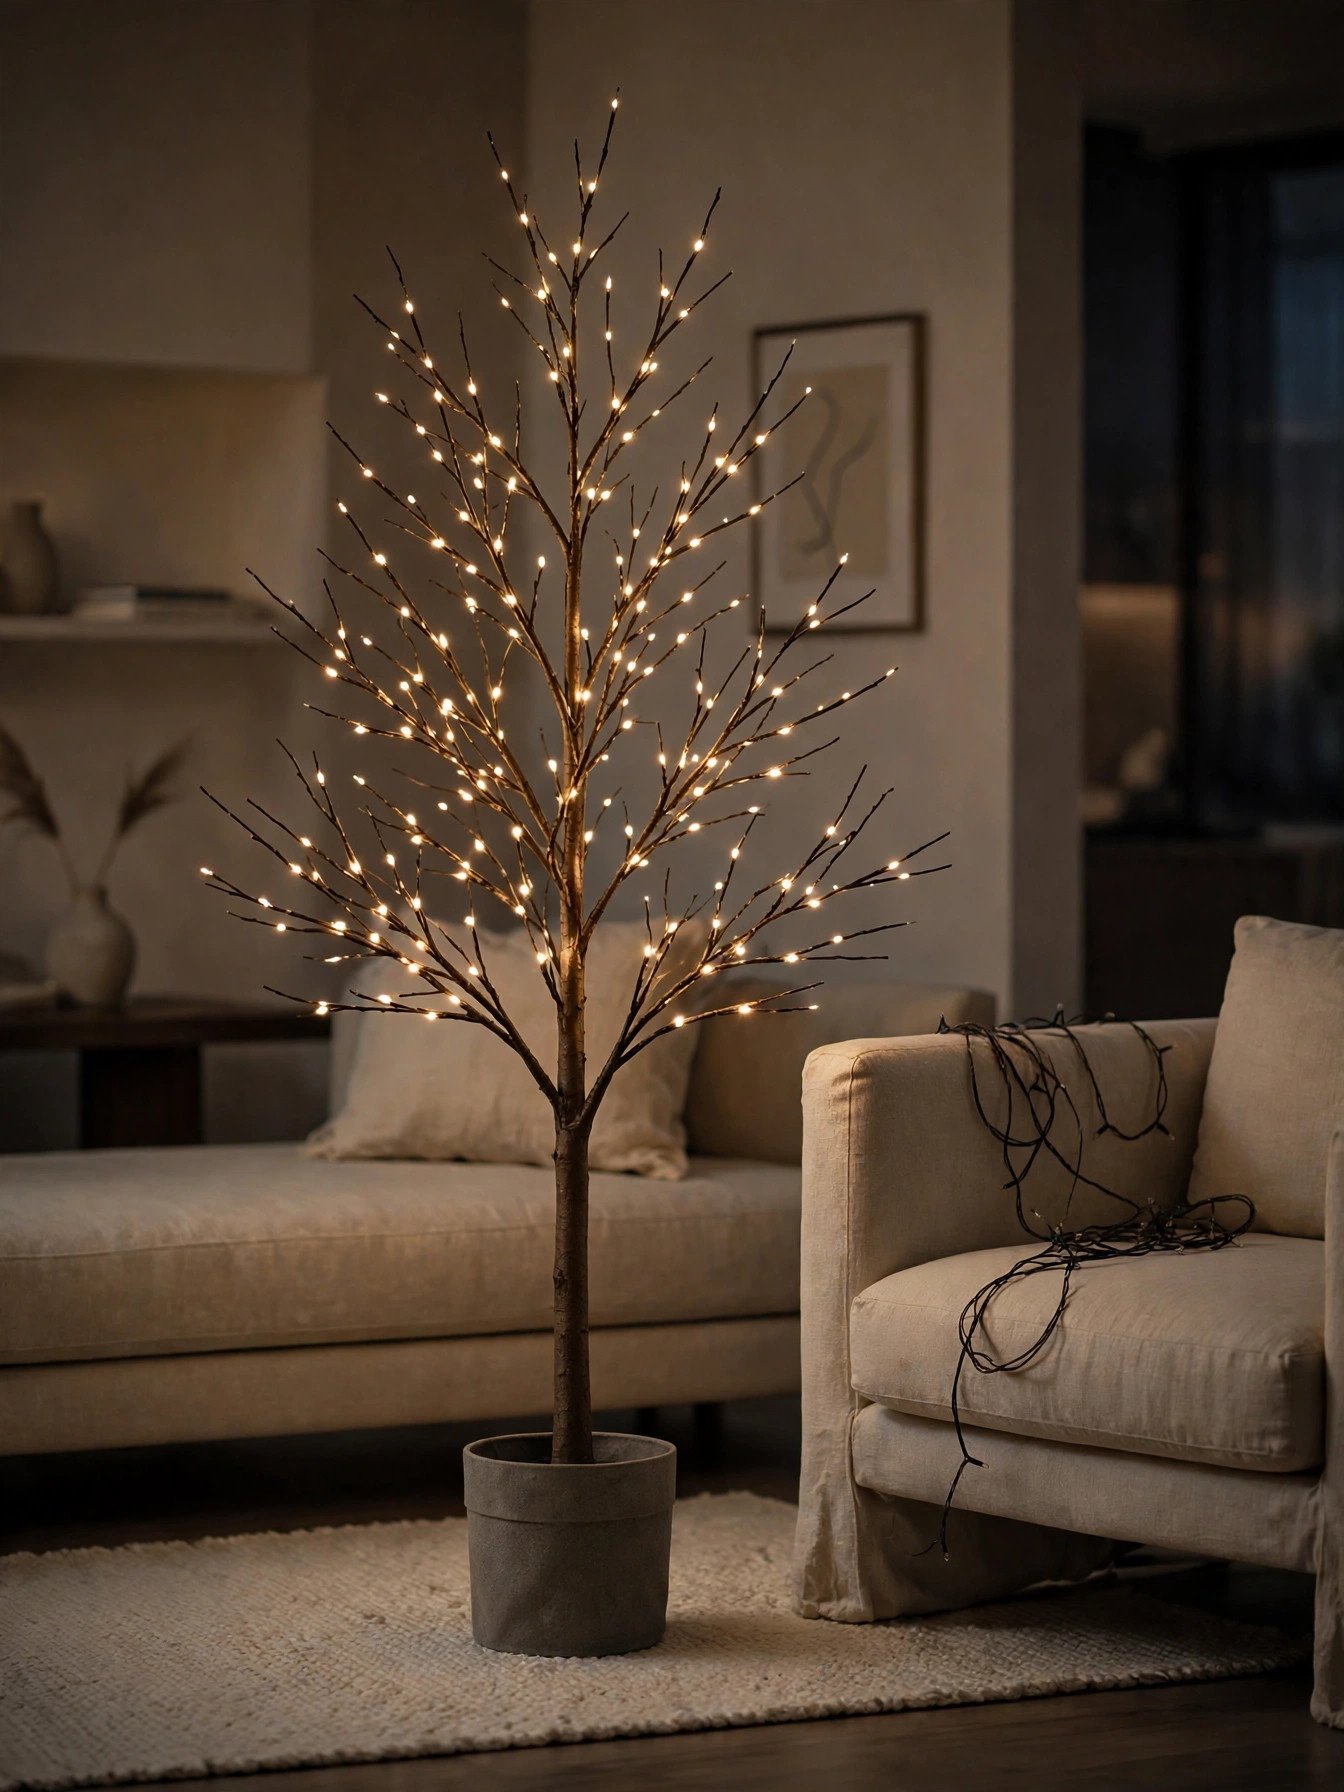
Lights added last never reach the interior. Ornaments block access, and you end up with glowing tips and a dark center. Starting with lights makes every later step easier.
Test every strand on the floor before it touches a branch. Replace any section with dead bulbs now, not after the tree is dressed. Lighting first gives you a clear view of which areas need more coverage while fixing is still easy.
6. Wrap Lights Branch by Branch, Not Around the Tree
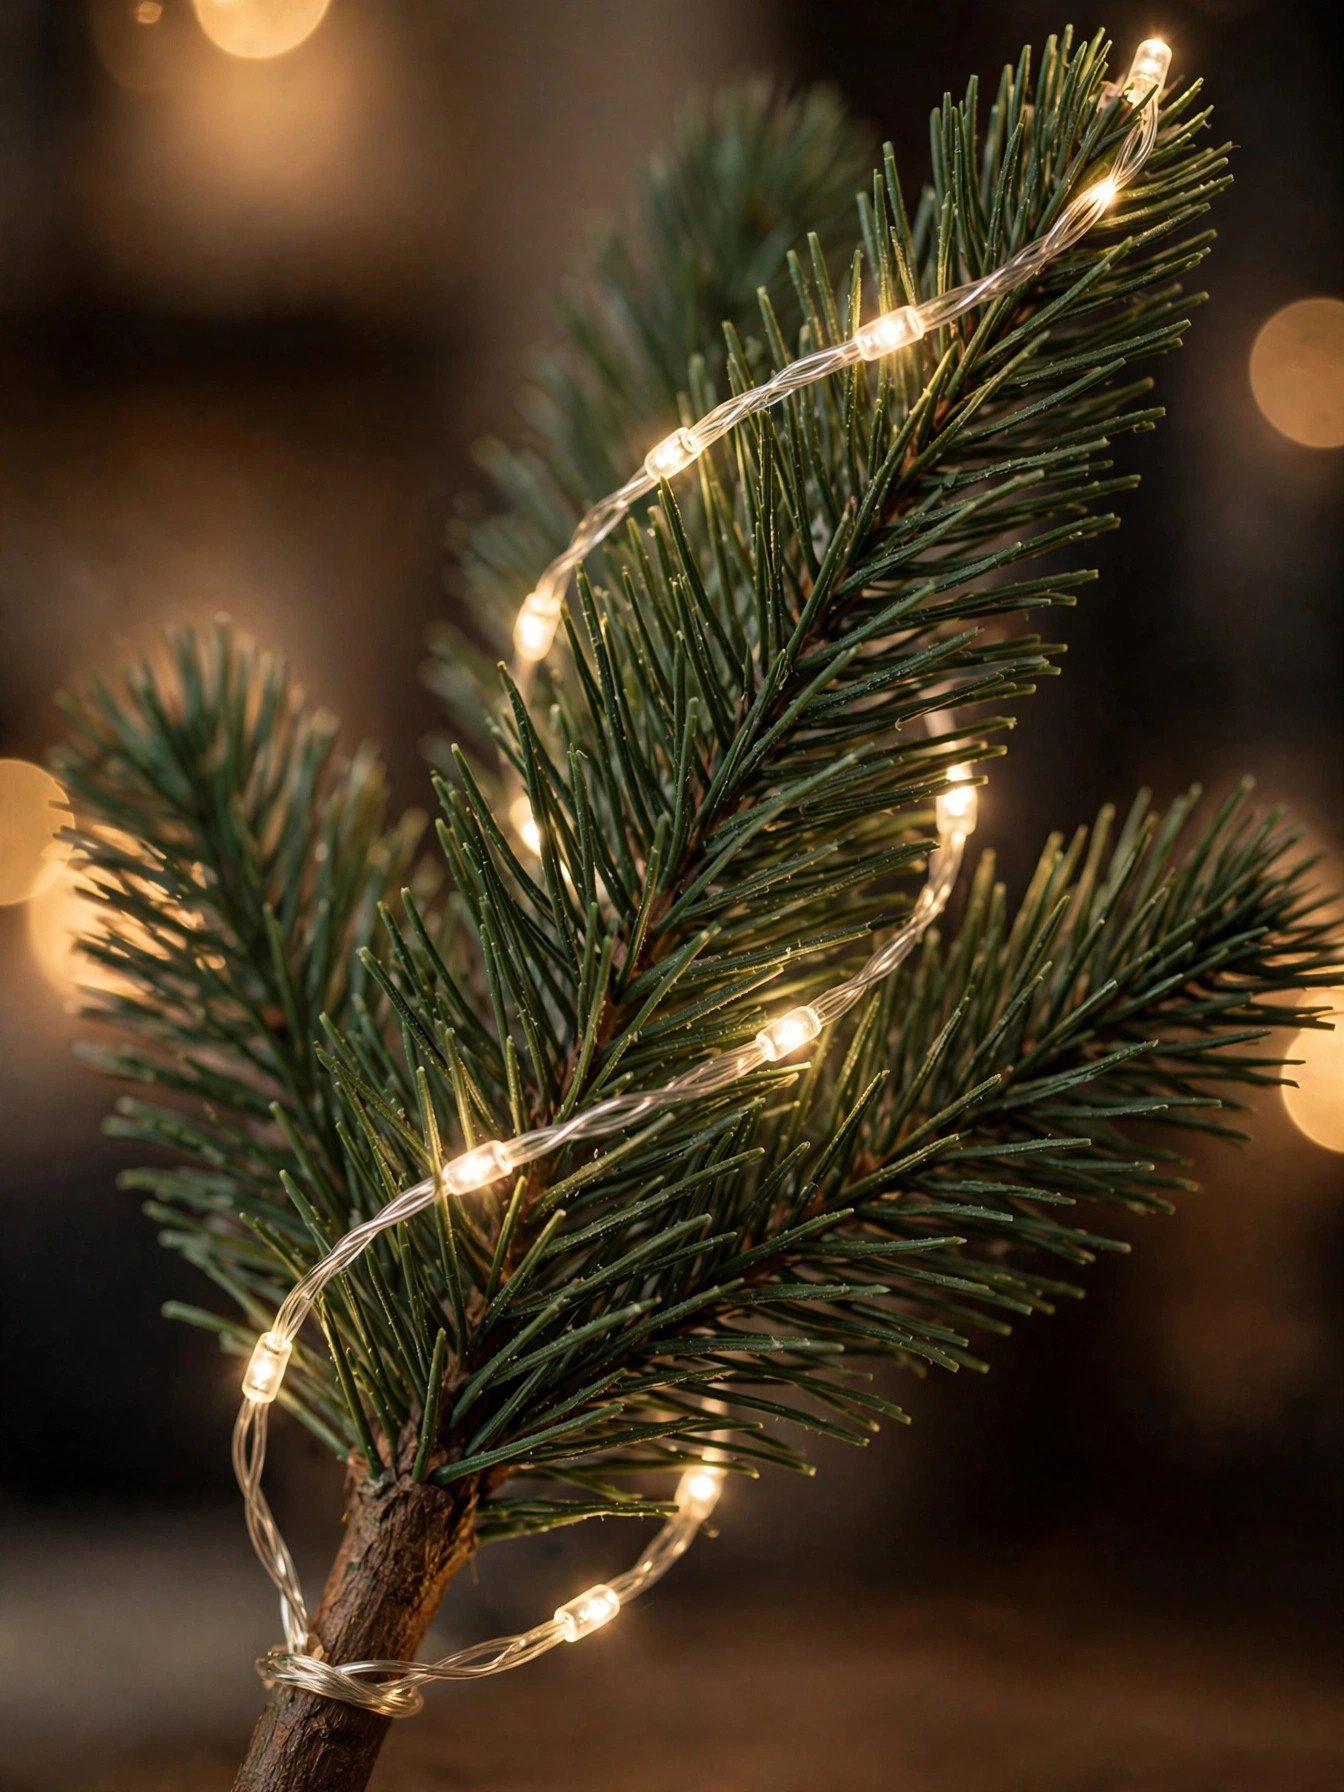
Spiral wrapping only lights the outside. The strand sits on the surface and casts flat, shadowless light with no depth. Weaving lights along individual branches places the glow at several depths.
Start at the trunk, run the strand out to the branch tip, and return along the same branch. Work in vertical sections about 18 inches wide from the bottom up. This creates a glow that moves across three layers instead of one.
| Lighting Method | Visual Result |
|---|---|
| Branch-by-branch weaving | Light visible at three depths, full dimensional glow |
| Spiral wrap around the outside | Flat surface glow, dark interior |
| Vertical drops from the top | Even lines of light, best for slim trees under 6 feet |
| Trunk-only wrap | Core glow only, tips stay dark |
7. Layer Warm White and Twinkle Strands Together
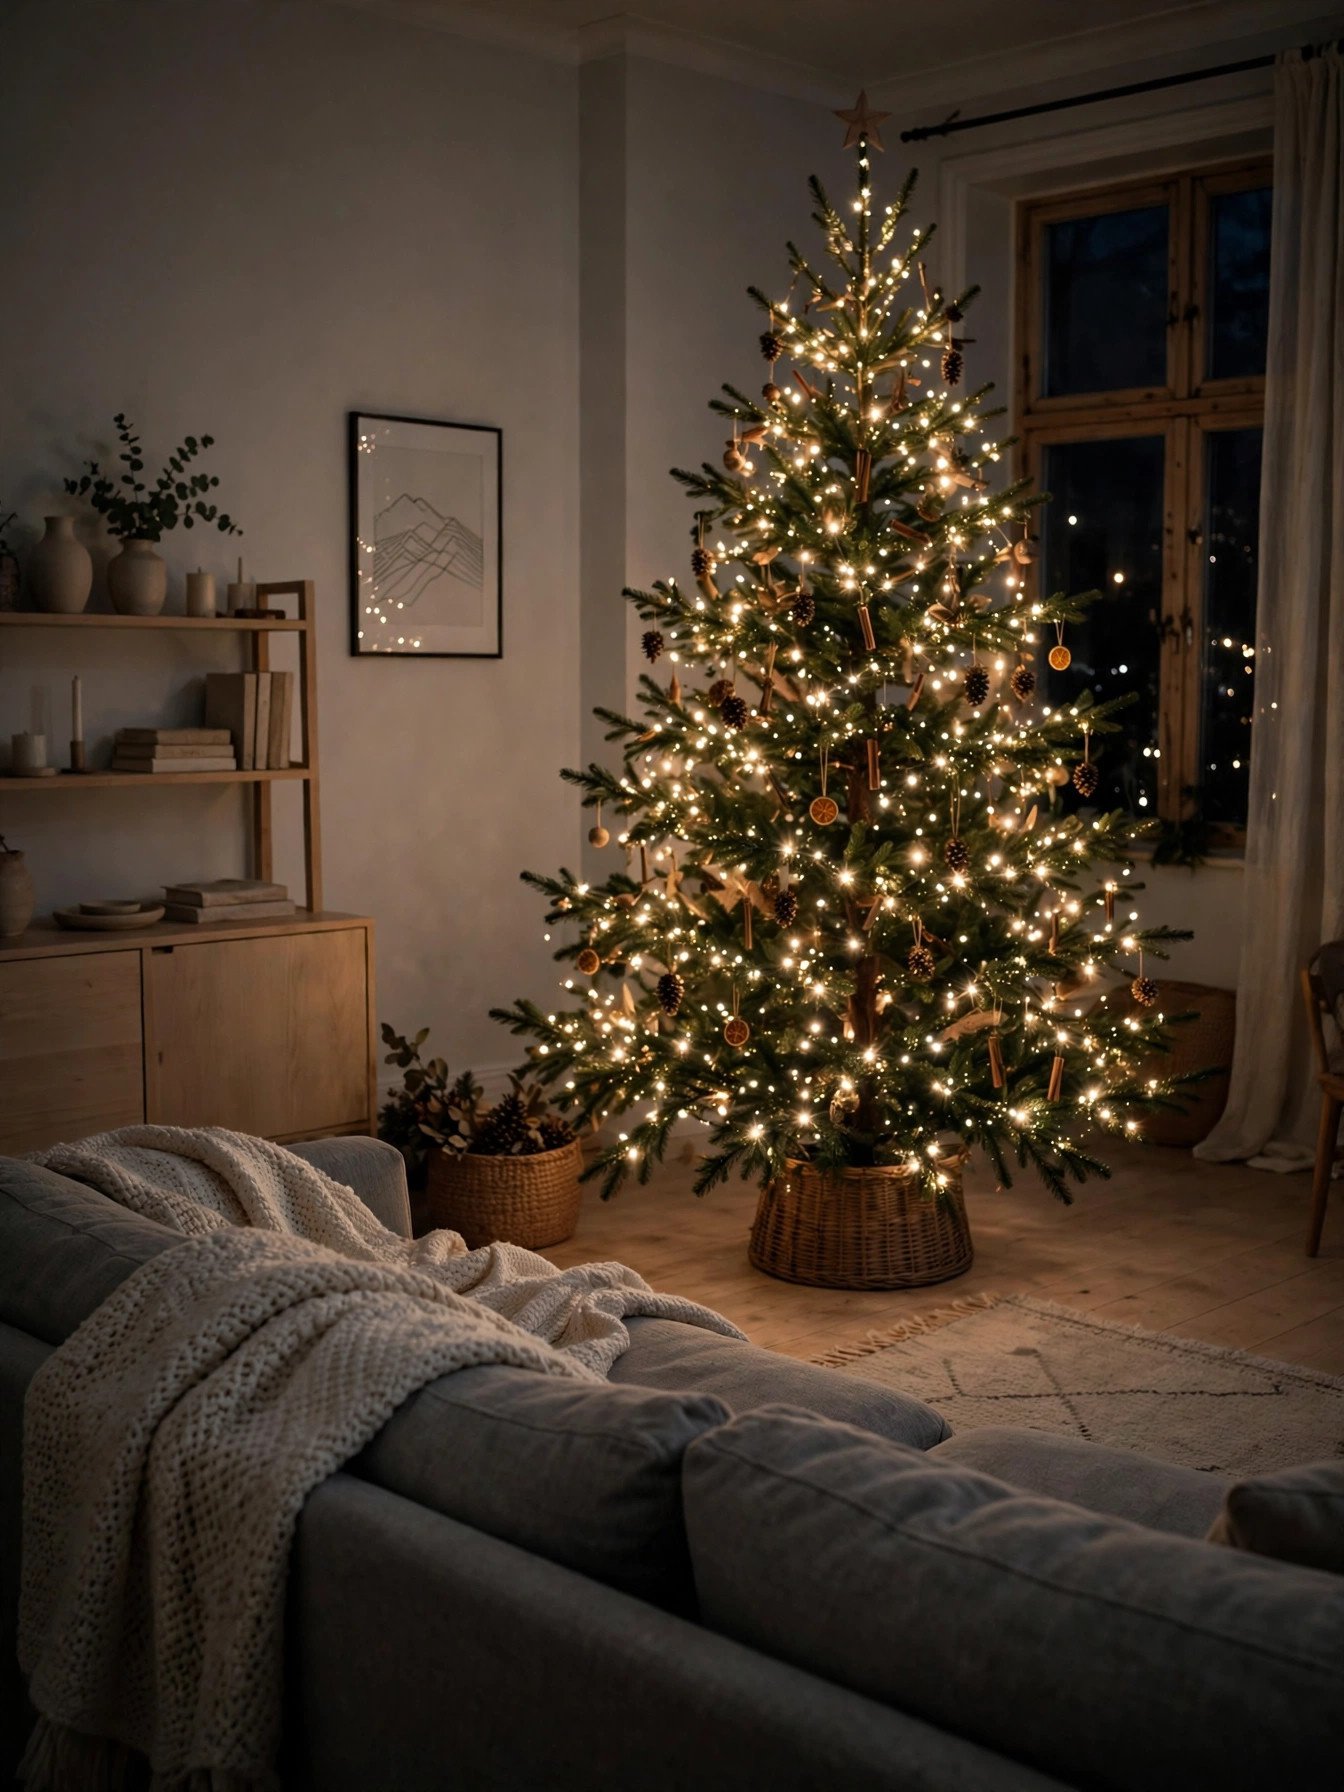
A single light type looks mechanical. Steady lights alone read as flat, and all-twinkle trees feel busy and tiring to look at. Mixing the two creates movement without chaos.
Use about 80 percent steady warm white (2700K) and 20 percent twinkle strands. Never mix warm white with cool white, because the two color temperatures clash visibly even in low light. Install the twinkle strands in the upper two-thirds so the movement draws the eye upward.
8. Anchor Plug Connections Against the Trunk
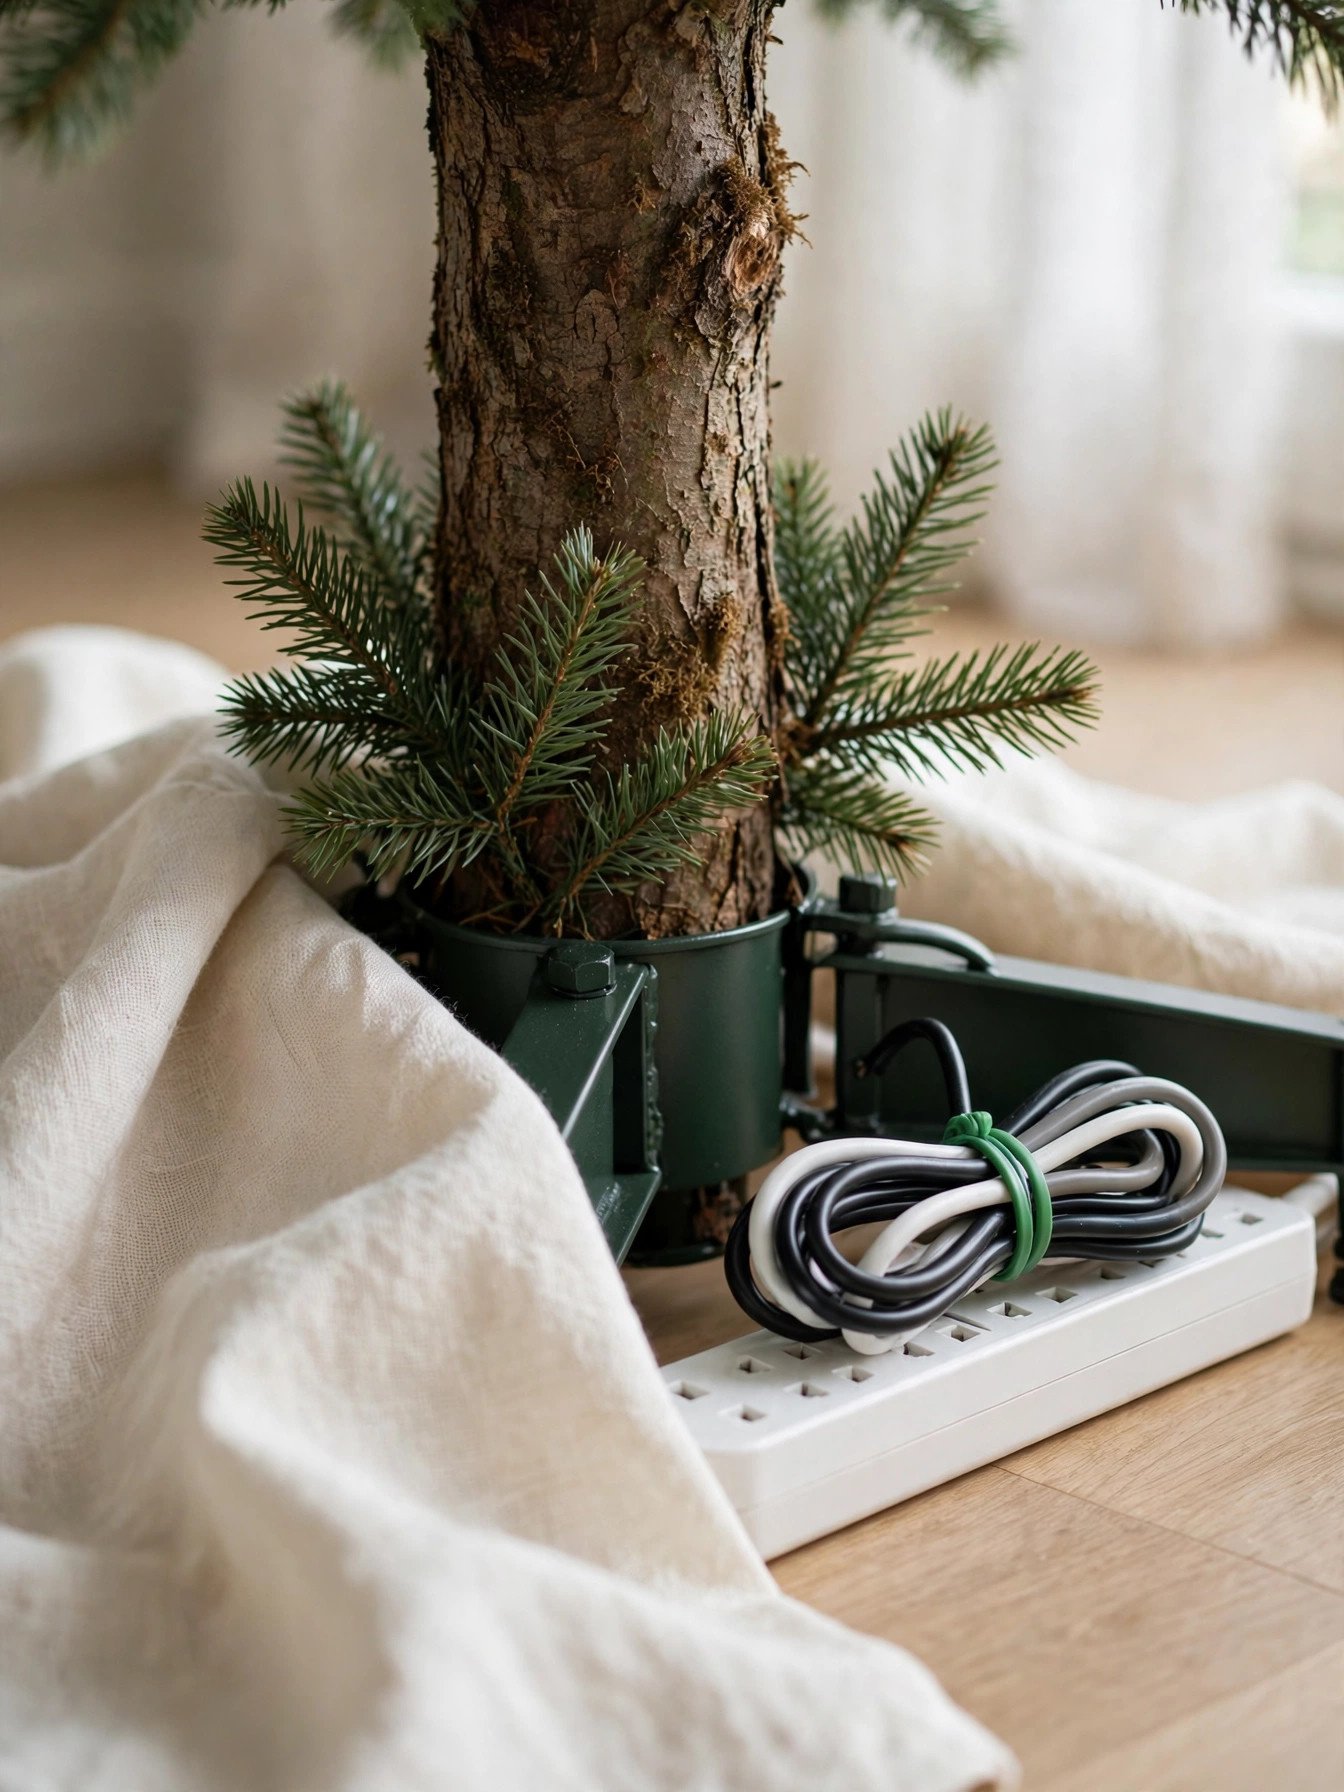
Exposed plugs ruin a finished tree. Connection points hanging from outer branches draw attention away from the decor and create a safety risk. Hiding them at the trunk keeps the surface clean.
Route every strand end back toward the trunk and join connections there, at the base. Use a surge-protected power strip, and never connect more than three incandescent sets end to end. Check the tag on LED sets for their maximum. This keeps the outer branches free of cords and your circuit within safe limits.
Ornament Selection and Christmas Tree Color Scheme Ideas
9. Choose Ornament Sizes in Three Distinct Tiers

Same-size ornaments make a tree look like a catalog sample. Uniform scale gives the eye nowhere to rest and produces a flat, repetitive surface. Three size tiers create rhythm.
Buy large focal ornaments, medium body ornaments, and small fillers in the proportions below. Hang the large pieces first, then the medium, then fill remaining gaps with the small ones. Sorting by size keeps the final spacing even from every viewing angle.
| Ornament Tier | Size and Placement |
|---|---|
| Large focal | 4–6 inches, 15% of total, hung first and spaced evenly |
| Medium body | 2.5–3.5 inches, 50% of total, fills the mid-branch layer |
| Small filler | 1.5–2 inches, 35% of total, closes gaps near the tips |
| Statement oversized | 8–12 inches, 3–5 pieces, anchors the lower third |
10. Group Ornaments in Odd Numbers

Even-numbered clusters look staged. Pairs and fours feel rigid, while odd groupings feel collected over time. Odd numbers are the most reliable shortcut to a natural look.
Hang matching ornaments in clusters of 3 or 5, with each cluster spaced 12–18 inches from the next. Vary the cluster color so the same shade never repeats on the same horizontal line. The result reads as layered and effortless instead of counted out.
11. Place Your Largest Ornaments Deep Inside the Branches

Large ornaments at the tips pull branches down and flatten the profile. Hung deep, the same pieces create shadow and dimension that the eye reads as fullness.
Hang your largest ornaments 4–6 inches from the trunk, using a ribbon loop or a wire hanger bent into a long hook. Reserve tips for lightweight pieces under 3 inches. The tree gains visible depth and your branches keep their natural shape.
12. Layer Matte, Glossy, and Metallic Finishes

One finish makes a tree look flat even when the colors are right. Light behaves differently on each surface, and variety gives the tree richness under the same bulbs. Mixing finishes adds sparkle without adding more ornaments.
Aim for roughly equal parts matte and glossy, with metallic as the accent. Keep every finish within your chosen palette. Matte surfaces absorb light and soften the display, while metallics reflect the string lights and spread the glow outward.
| Finish | Role on the Tree |
|---|---|
| Matte | Absorbs light, adds softness, 35–40% of ornaments |
| Glossy | Reflects bulbs, adds shine, 35–40% of ornaments |
| Metallic | Throws sparkle, accent only, 15–20% of ornaments |
| Natural texture (wood, velvet, glass) | Adds contrast, 5–10% of ornaments |
13. Add Oversized Ornaments to Fill Visible Gaps
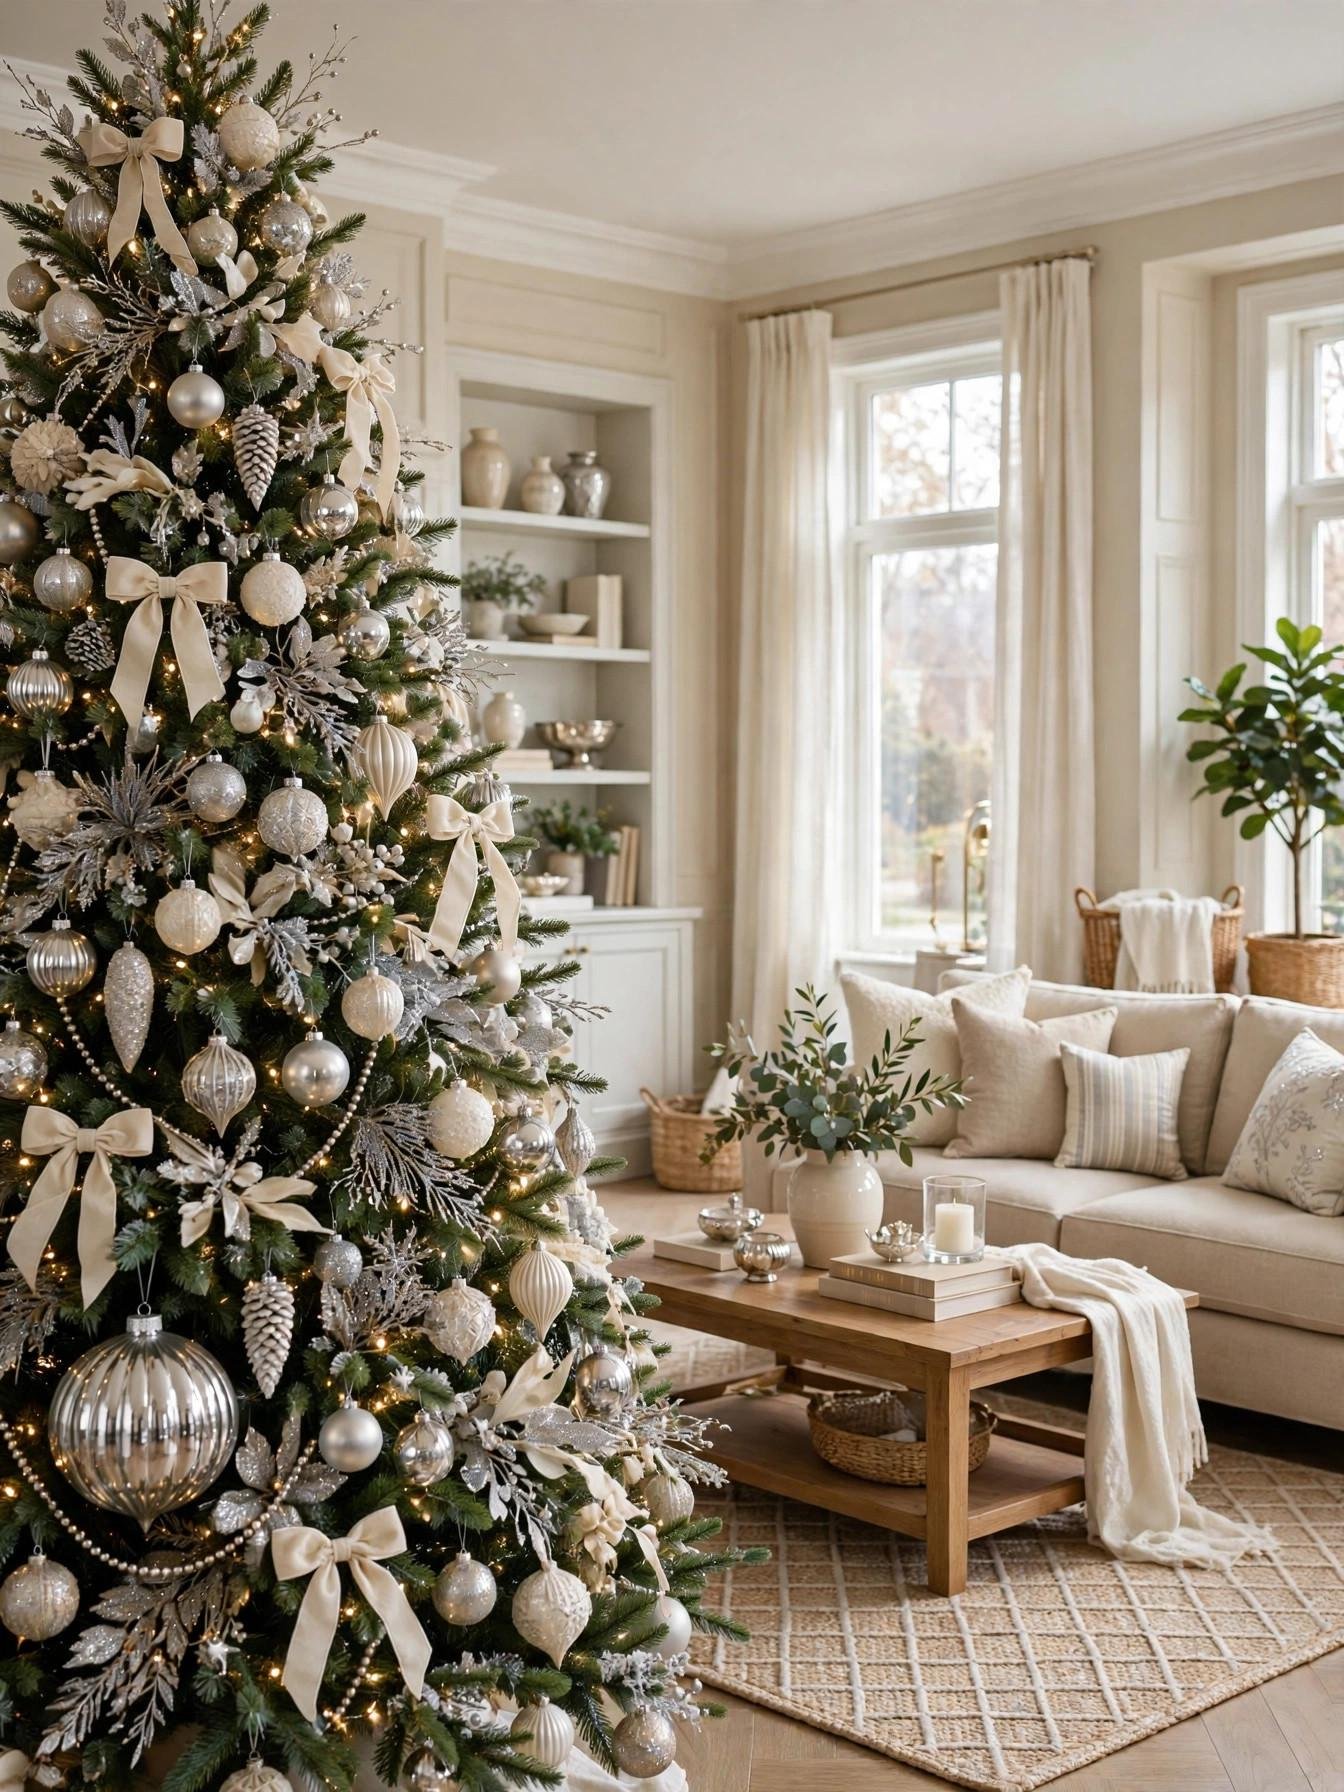
Gaps break the line of a finished tree. A bare spot between layers makes the whole tree look unfinished, and small ornaments do not fix it. A single large piece closes the hole.
Step back 6 feet and locate every dark hole. Fill each with a 6–8 inch ornament, tucked slightly inward. Oversized fillers cover more space per piece, so you need fewer ornaments to reach an even finish.
Tree Toppers, Ribbon, and Filler Decor for Layered Depth
14. Mount Your Tree Topper With Floral Wire

A topper that leans ruins the whole silhouette. Slipping it onto the leader leaves it free to tilt, and it only gets worse as the season goes on. Wiring it in place locks it upright.
Use 22-gauge green floral wire and wrap it around the base of the topper and the two strongest top branches twice. Choose a topper no wider than 12 inches for a 7–8 foot tree. A wired topper stays straight through the whole season, even when kids brush past the tree.
15. Create Ribbon Cascades With Vertical Drops
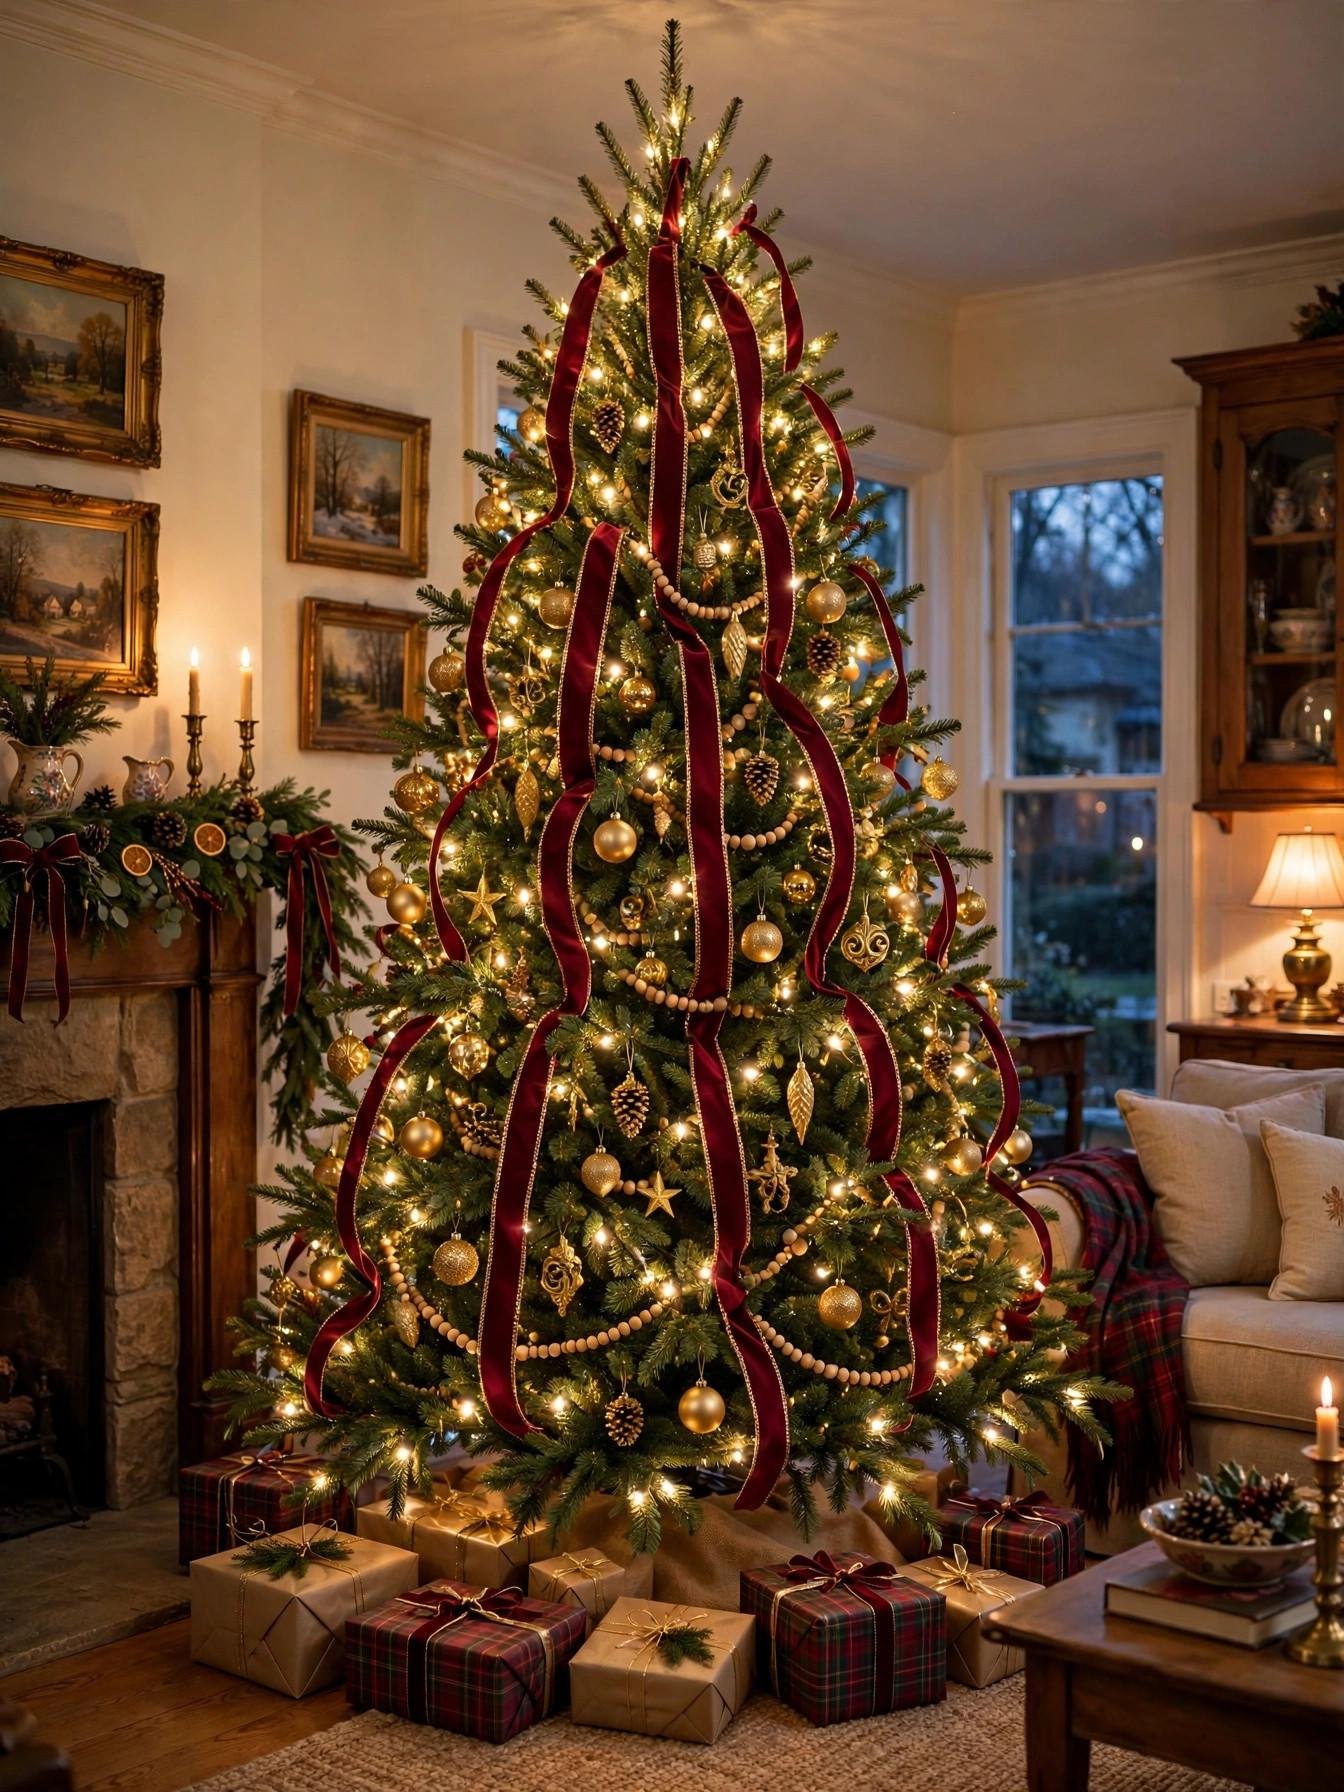
Horizontal ribbon looks like a strap. Wrapping it around the tree cuts the surface into bands and hides the ornaments behind it. Vertical drops elongate the tree and add flowing movement.
Secure the ribbon at the top with floral wire, then let it fall and tuck it into the branches every 12 inches so it follows a gentle wave. Use wire-edged ribbon 2.5 inches wide, which holds its shape. Space three to four cascades evenly around the tree, and the vertical lines make the tree look taller.
| Tree Height | Ribbon Needed (2.5-inch wired) |
|---|---|
| 4 feet | 5 yards |
| 6 feet | 9 yards |
| 7.5 feet | 12 yards |
| 9 feet | 16 yards |
16. Insert Floral Picks at Angled Depths
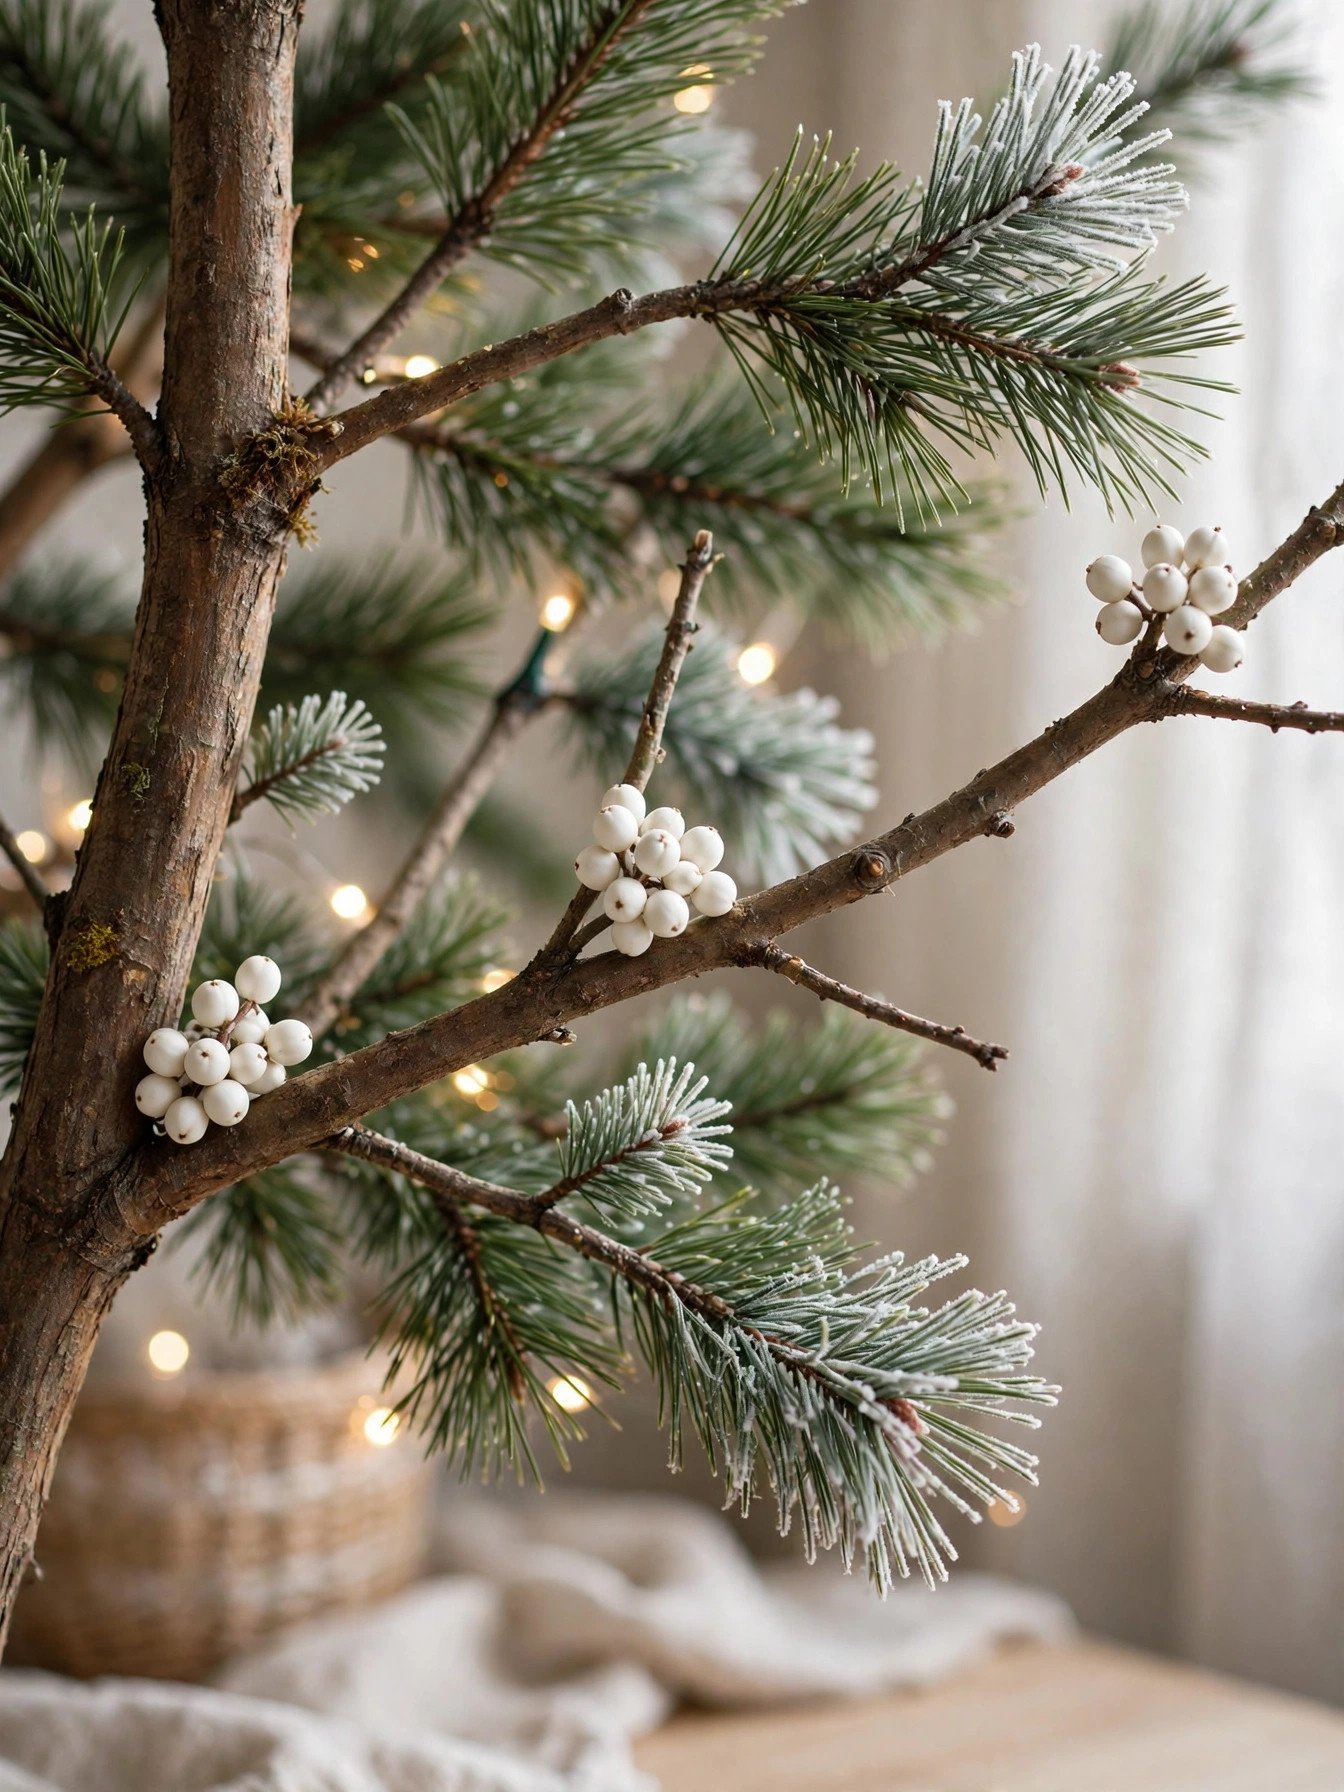
Floral picks pushed straight in look like stuck-on stems. They stand out from the branch line and never blend into the tree. Angling them at varied depths makes them look like they grow from it.
Insert 8–12 inch picks at a 45-degree angle, pointing slightly downward to follow the branch direction. Use 12–18 picks on a 7.5-foot tree. Fill the dark pockets between ornaments first, and the picks add texture exactly where the tree needs it.
17. Limit Themed Accents to One Per Foot of Height
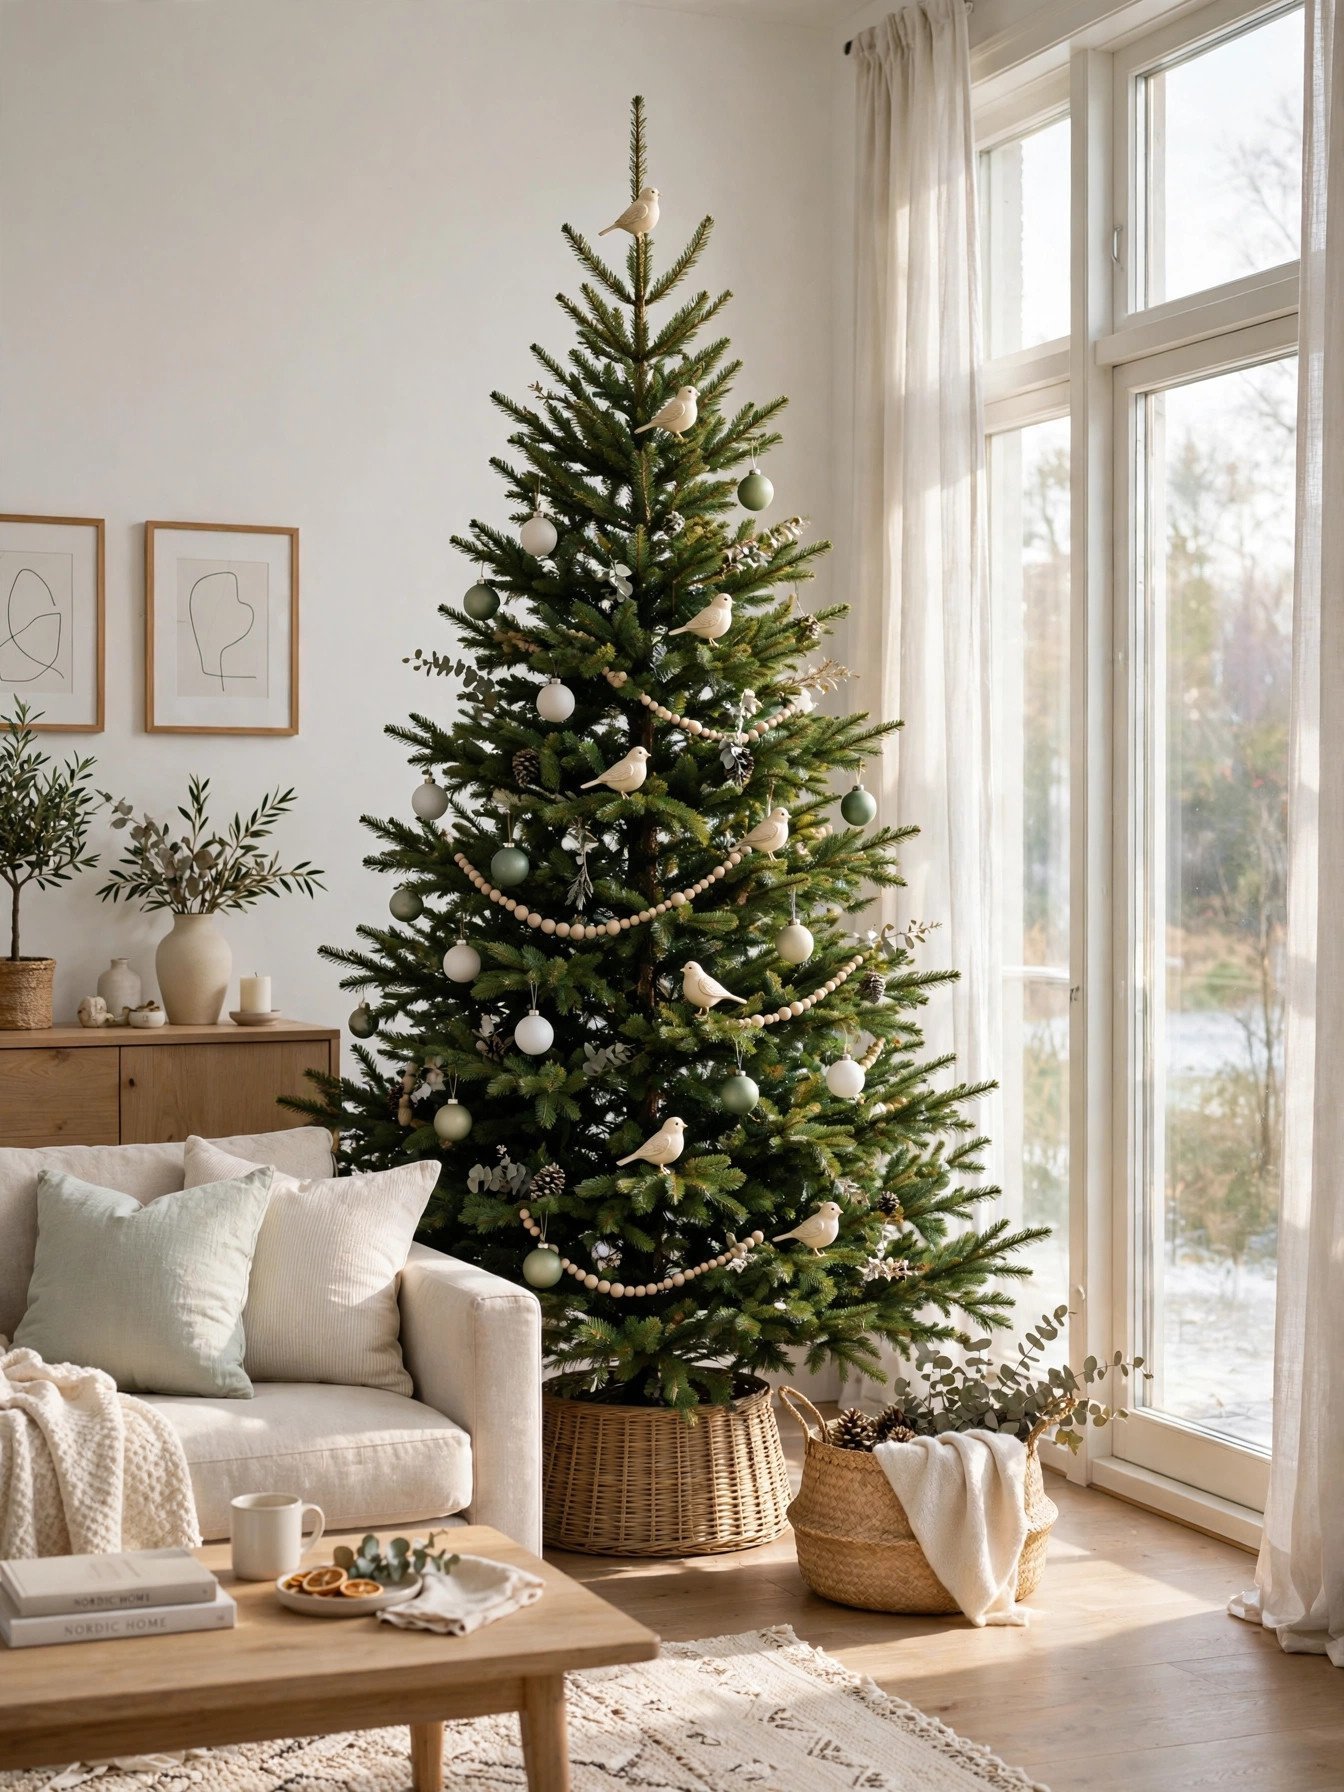
Too many themed accents turn a tree into a collection. Birds, pinecones, and mini lanterns pile up quickly, and each one fights for attention. A strict cap keeps the theme visible and the design clean.
Choose one accent type and use one piece per foot of tree height, so a 7.5-foot tree gets 7 or 8 pieces. Space them at least 18 inches apart and vary their depth. The repeated accent reads as a theme instead of clutter.
Finishing Touches: Tree Skirts and Final Styling
18. Apply a Tree Skirt Sized to Your Tree Base
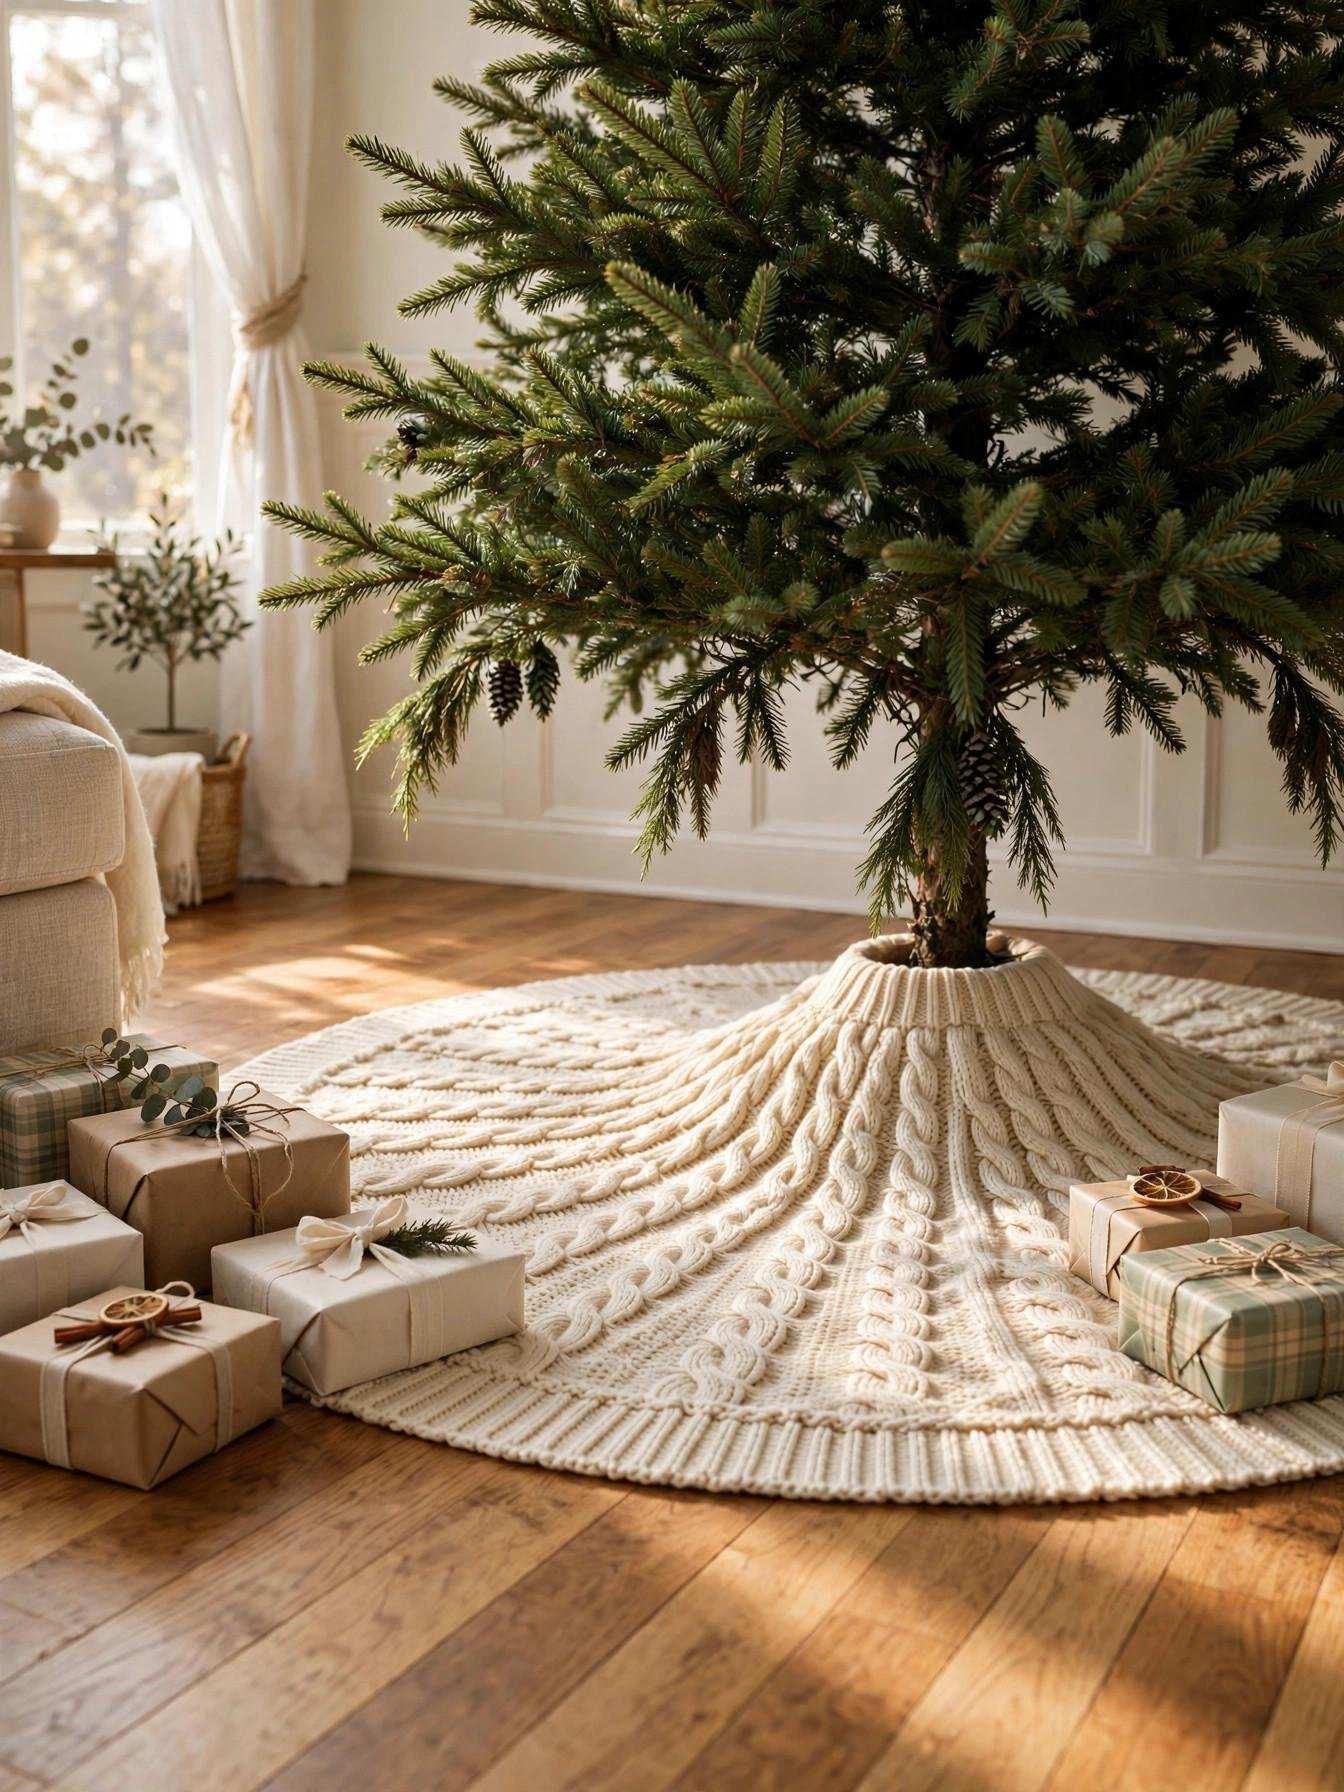
A skirt that is too small shows the stand. One that is too large spreads across the floor and looks like a rug. The right diameter hides the base and frames the tree.
Pick a skirt whose diameter is roughly 7 inches per foot of tree height, and lay it flat before placing gifts. Tuck the opening at the back, away from the main view. A properly sized skirt hides the stand and gives the tree a finished foundation.
| Tree Height | Skirt Diameter |
|---|---|
| 4 feet | 30–36 inches |
| 6 feet | 44–48 inches |
| 7.5 feet | 52–56 inches |
| 9 feet | 60–64 inches |
19. Style the Floor Zone Around the Tree
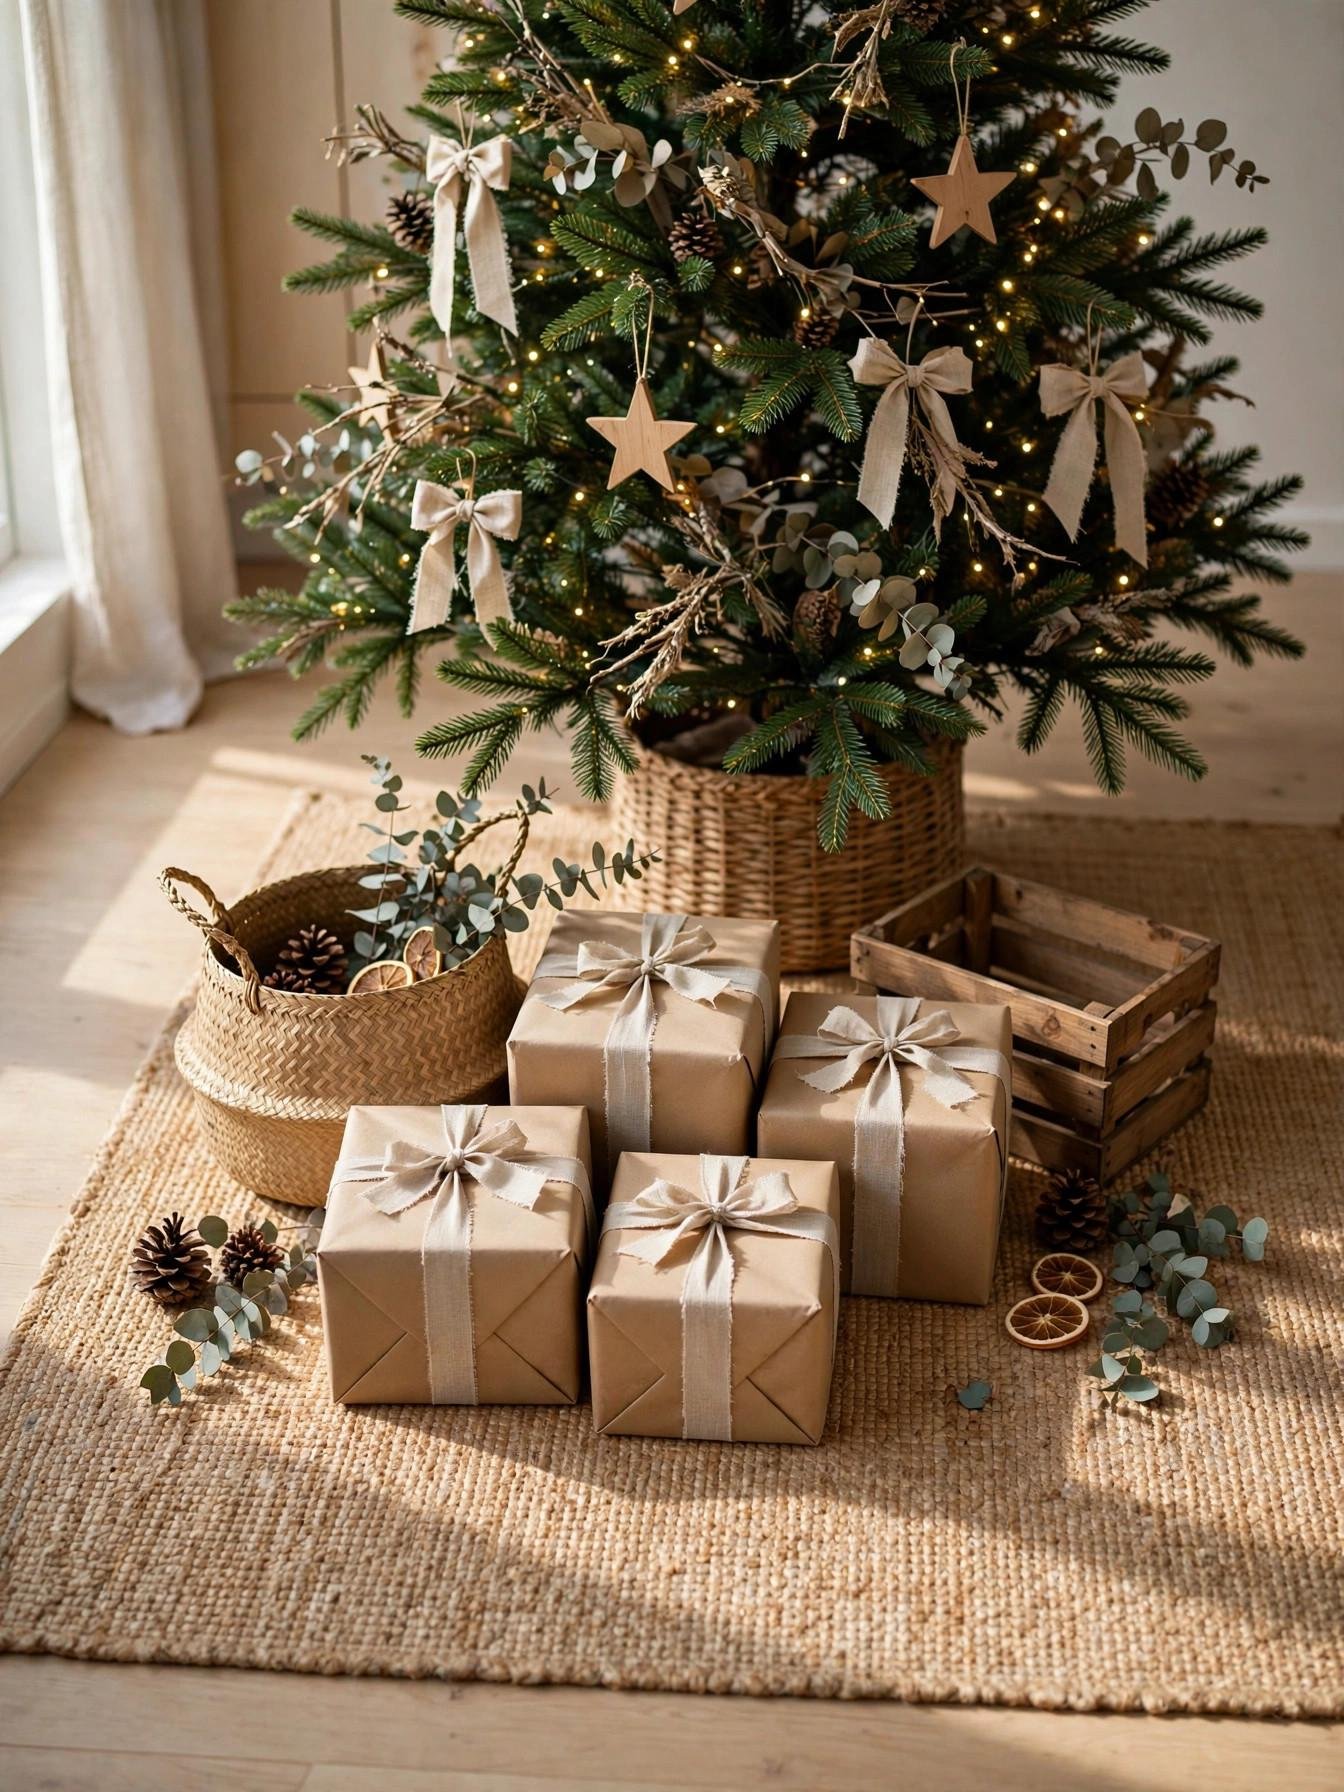
A bare floor makes a decorated tree look disconnected. The base needs visual weight to match the fullness above. A staged floor zone finishes the composition.
Wrap gifts in one paper type and stack them in three sizes, large at the back and small at the front. Leave 18 inches of open floor beyond the group so the base does not crowd the walkway. This anchors the tree and ties it to the room.
20. Use the Squint Test to Check Balance
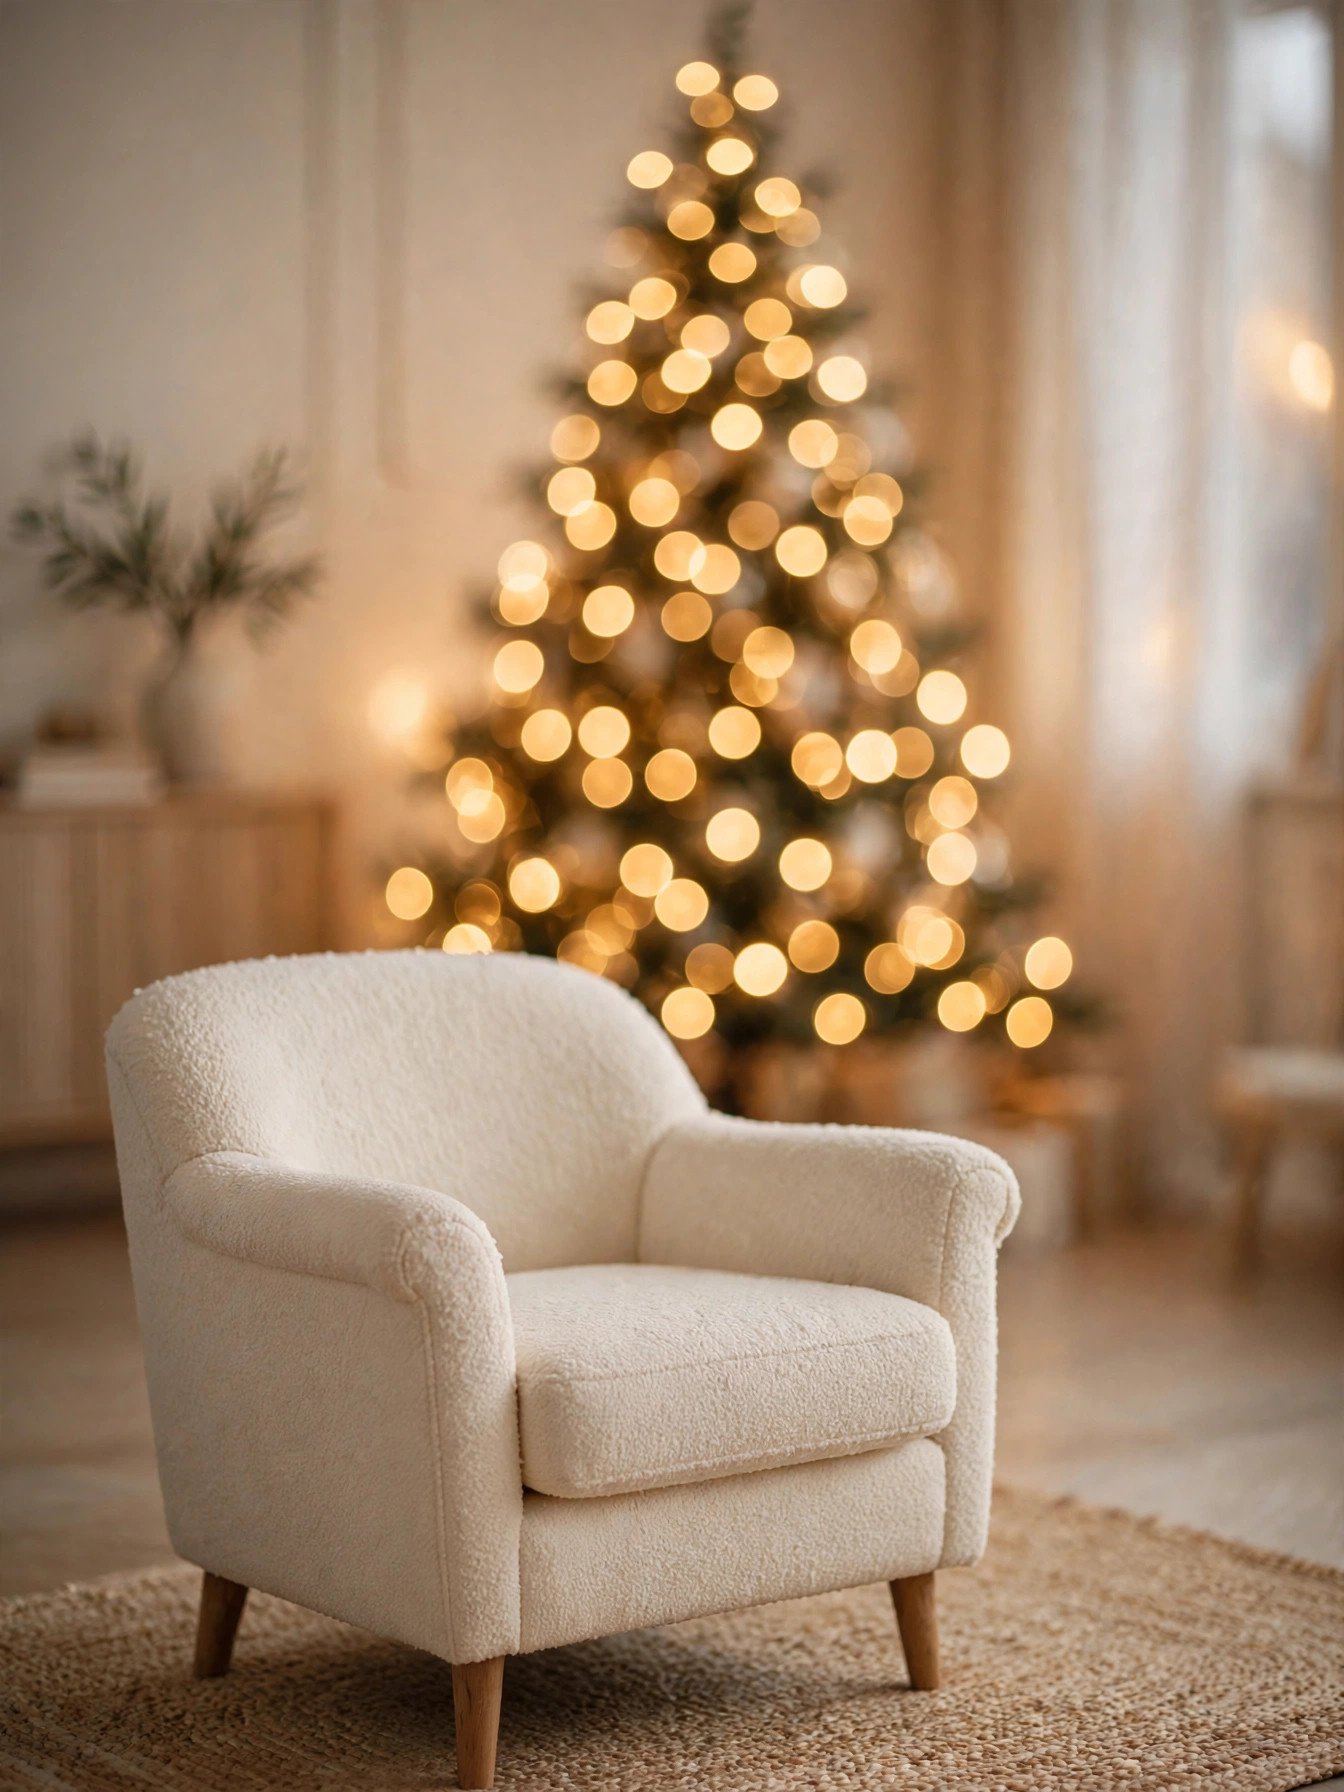
You cannot judge balance while standing close. Individual ornaments pull your attention, and problem areas hide in the detail. The squint test shows overall composition instantly.
Stand 8–10 feet back, squint, and look for dark holes, color clusters, and bare edges. Fix the single biggest problem first, then squint again. Two rounds of adjustment correct most imbalance and take under 10 minutes.
Christmas Tree Maintenance and Long-Term Storage Habits
21. Add Water Daily to a Real Tree Stand
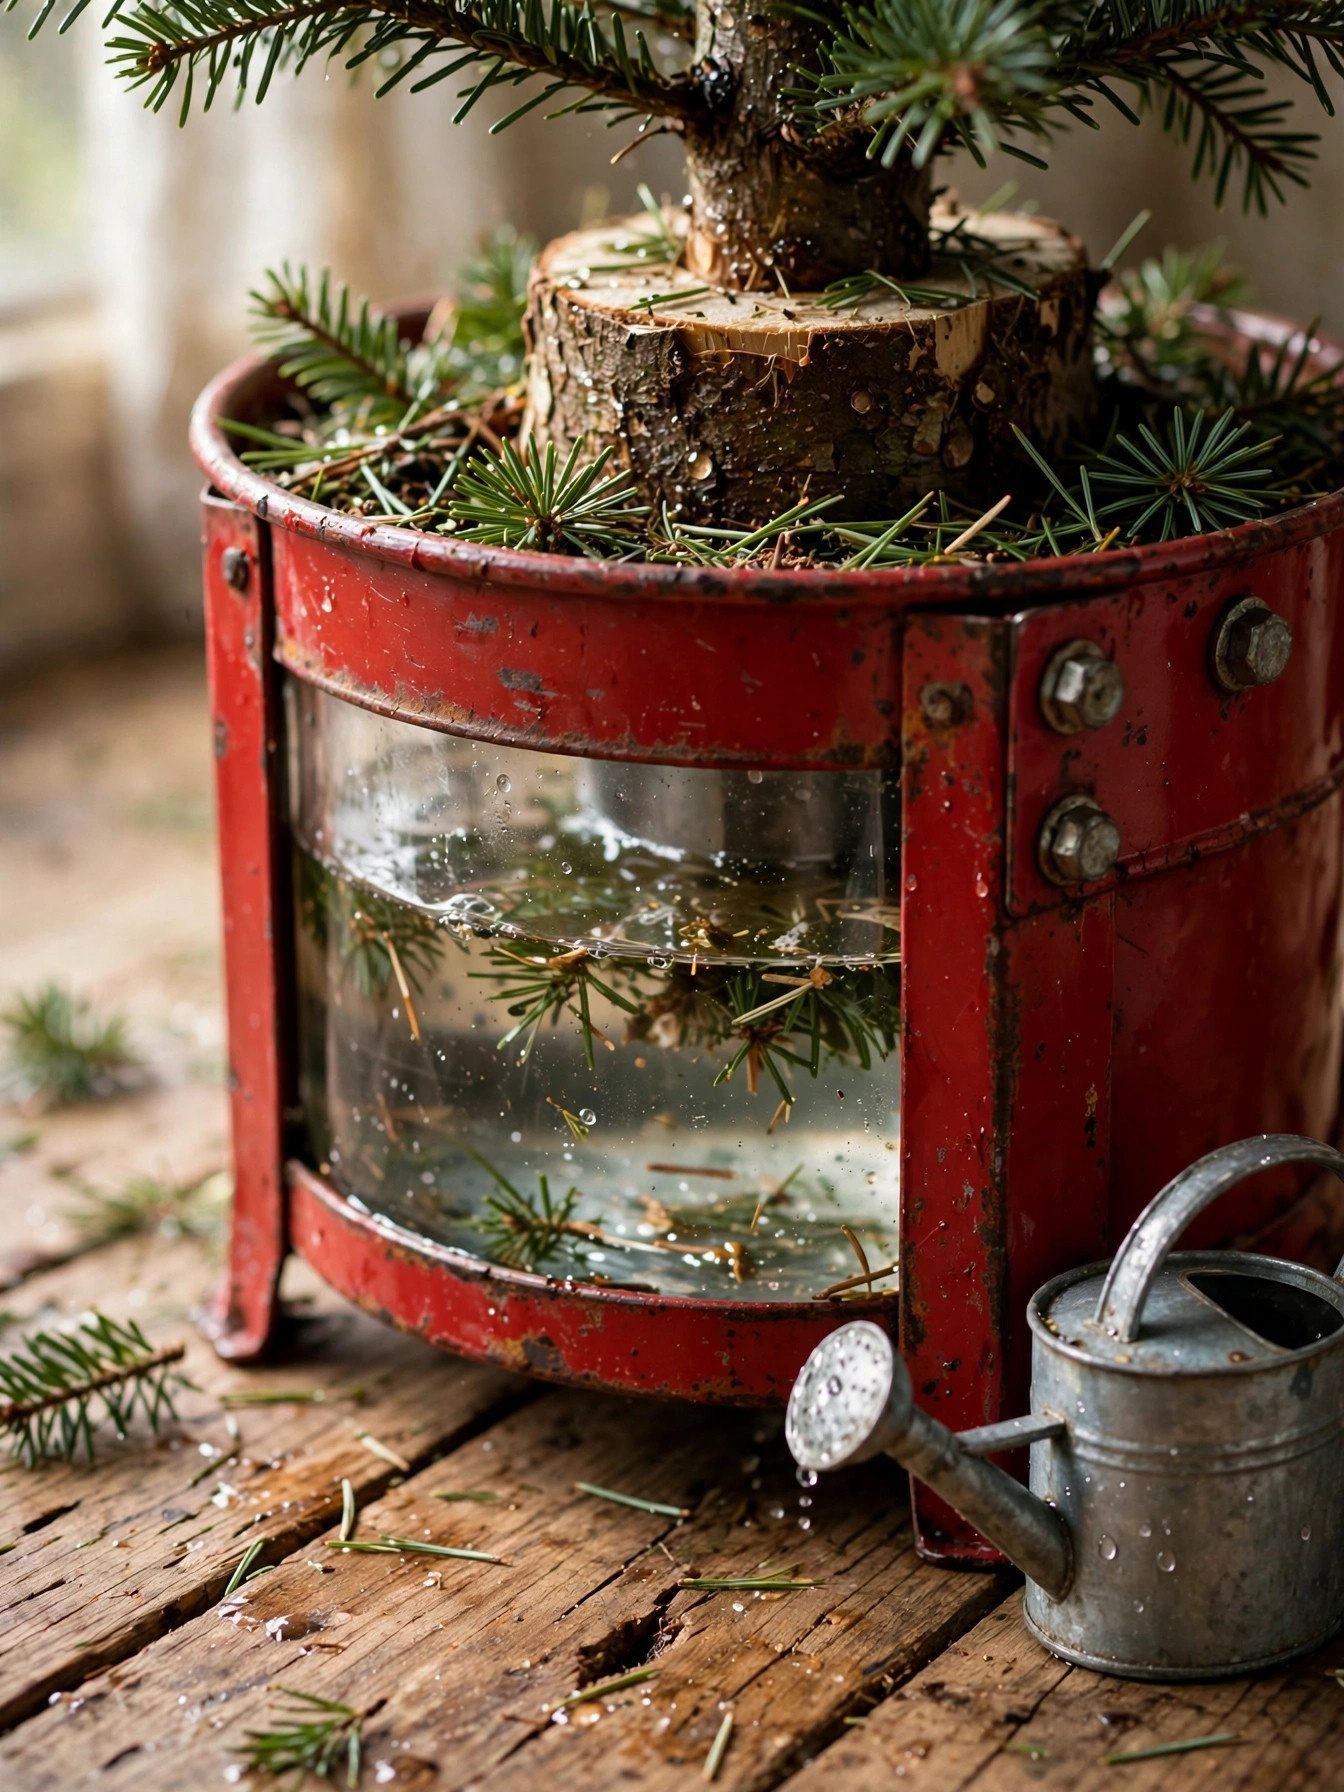
A dry stand ends the season early. A real tree drinks heavily for the first week, and an empty reservoir seals the trunk with sap so it stops absorbing water. Daily checks keep the needles soft and green.
Cut 1/2 inch off the trunk base before setting the tree in the stand, then fill the reservoir right away. Provide about 1 quart of water per inch of trunk diameter each day, and never let the level drop below the base of the trunk. A hydrated tree holds its needles and its shape for the whole season.
| Trunk Diameter | Daily Water Needed |
|---|---|
| 3 inches | 3 quarts (¾ gallon) |
| 4 inches | 4 quarts (1 gallon) |
| 5 inches | 5 quarts (1¼ gallons) |
| 6 inches | 6 quarts (1½ gallons) |
22. Establish a Weekly Light Inspection Routine
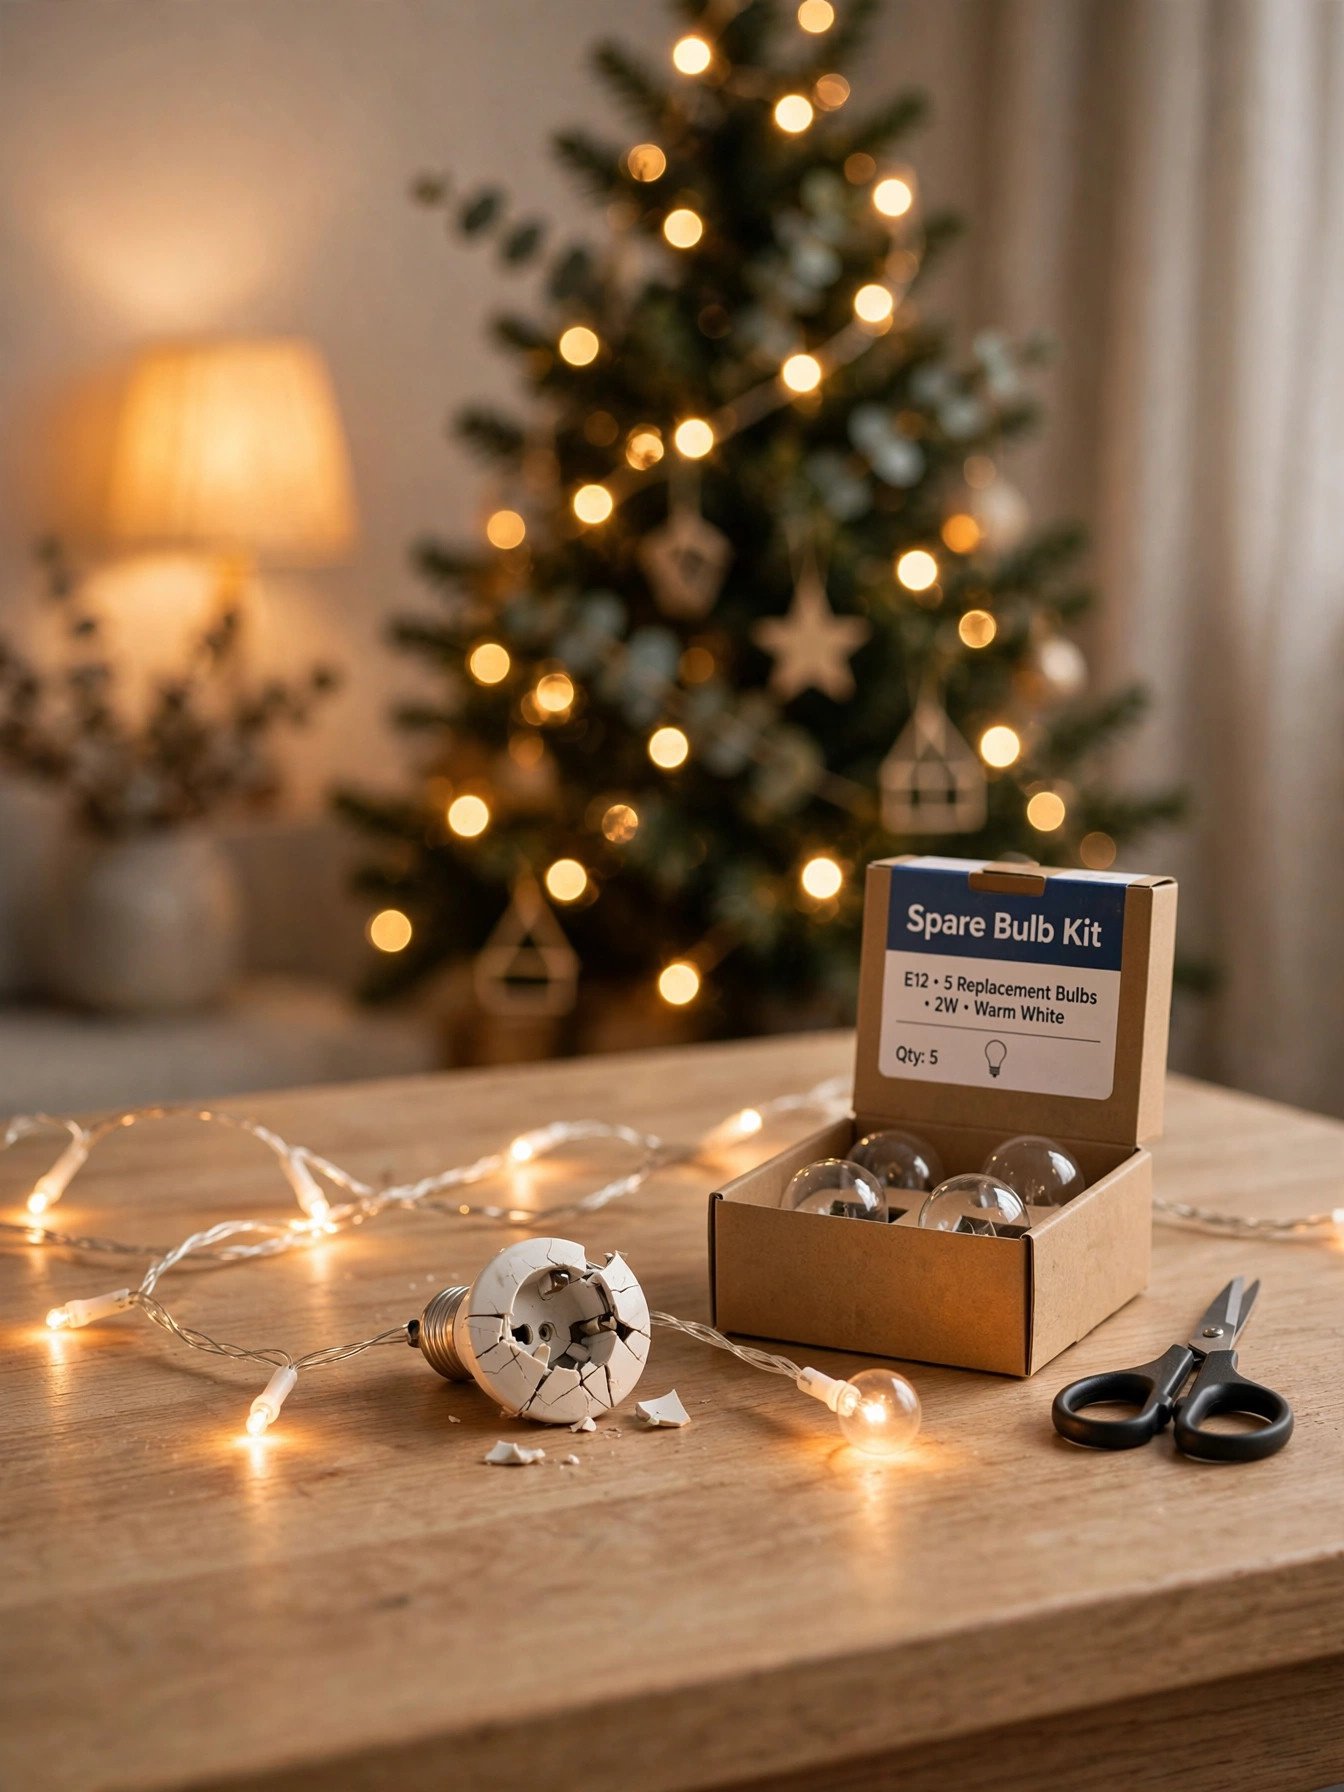
Damaged cords fail quietly. Frayed insulation and cracked sockets look minor, yet they are the leading source of tree-light faults. A weekly check catches them early.
Pick one day a week, unplug the tree, and run your fingers along each cord to feel for cracks or exposed wire. Replace any damaged strand rather than patching it with tape. Always switch the lights off when you leave the house or go to sleep.
23. Create Labeled Storage for Next Year’s Decorations
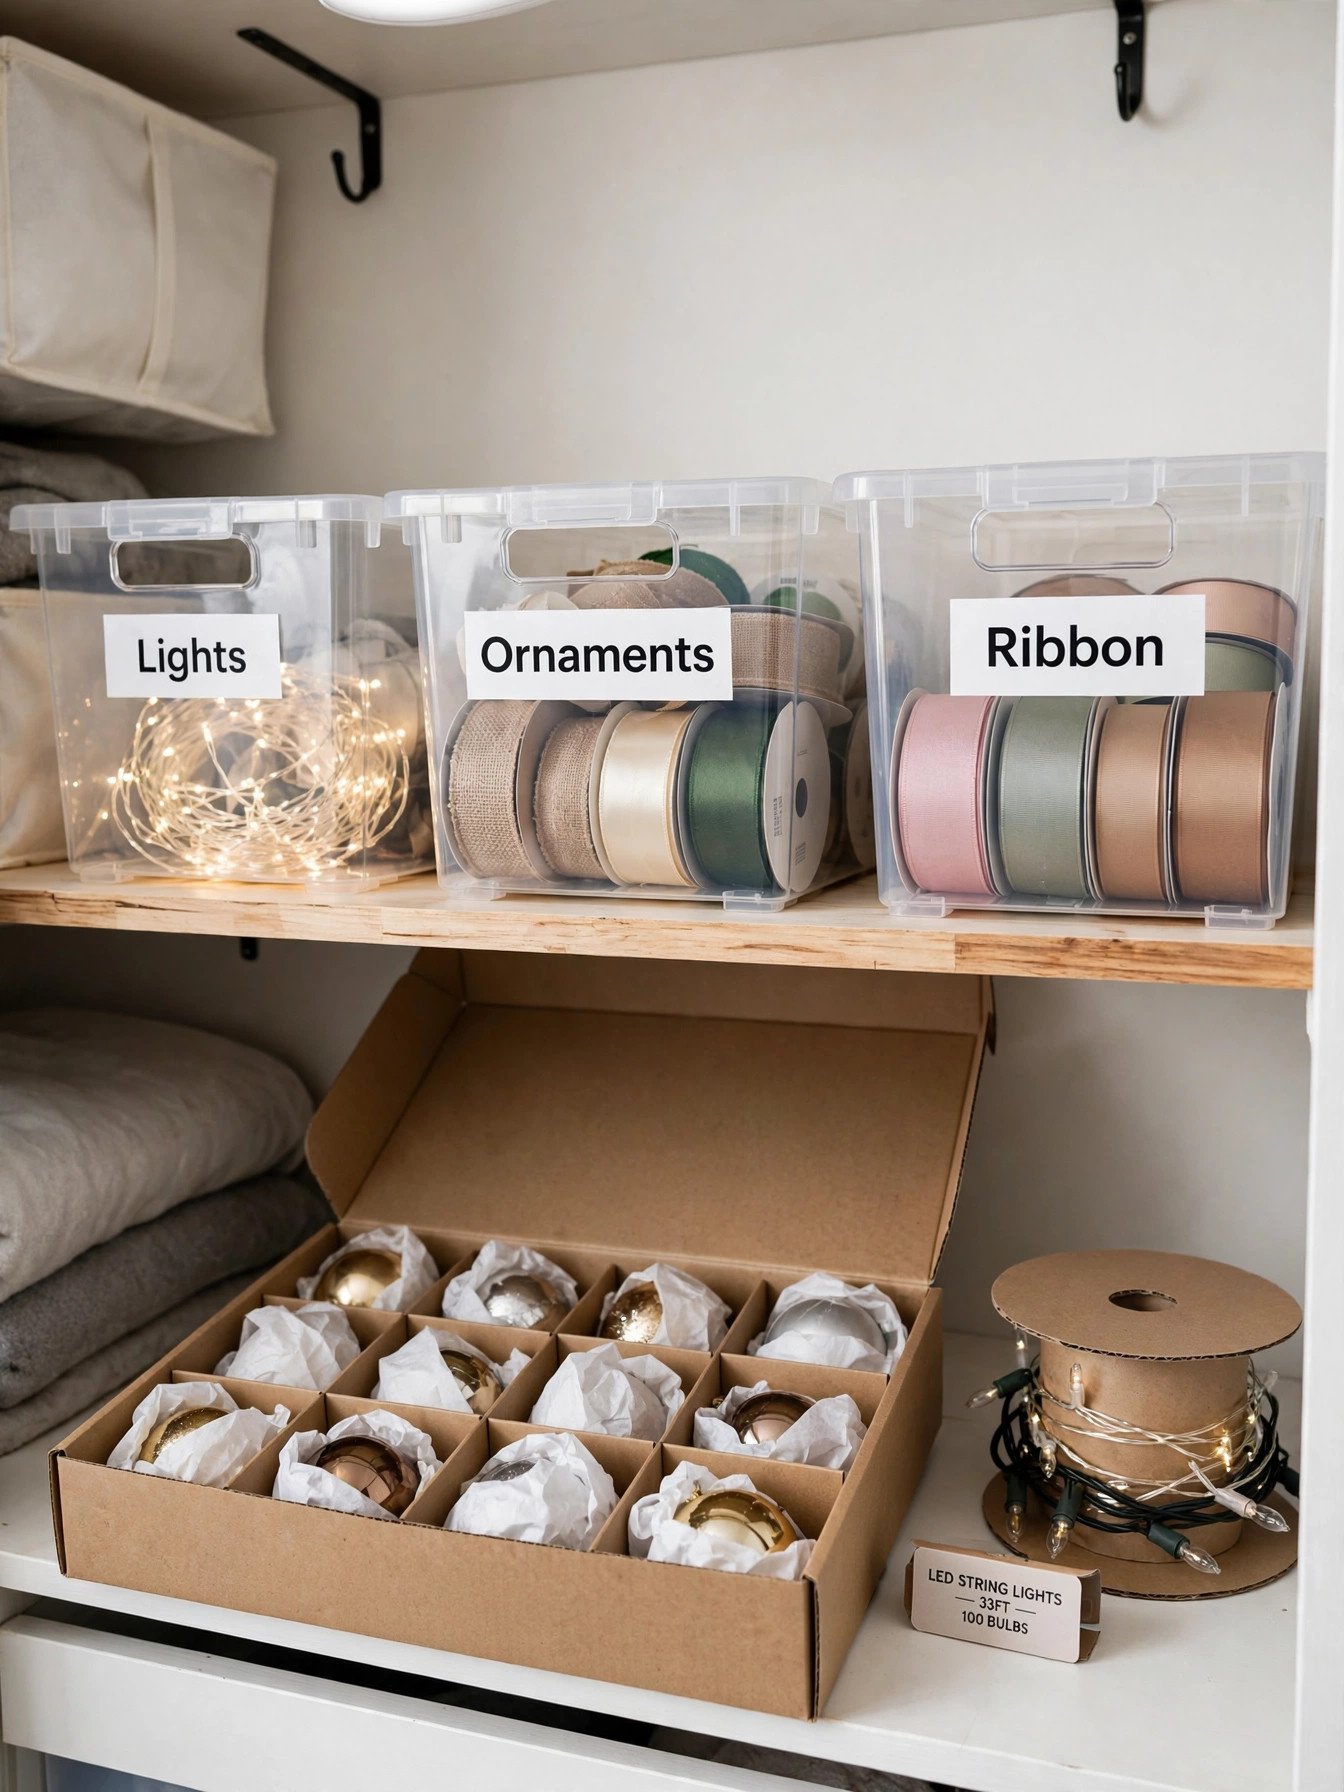
Unlabeled boxes cost an hour next December. Tangled lights and crushed ornaments turn setup into a repair job. Organized storage makes next year’s tree faster and cheaper.
Wrap lights around a cardboard tube, nest each ornament in tissue inside a divided box, and label every bin by category. Store them in a cool, dry closet, never in an attic that swings above 90°F. Your next setup starts with the lights tested and the palette already sorted.
Common Christmas Tree Decorating Mistakes That Ruin the Final Look
| Mistake | Fix |
|---|---|
| Hanging every ornament at the branch tips | Place 40% of ornaments 4–6 inches from the trunk so the tree shows three layers of depth |
| Using fewer than 50 lights per foot | Raise coverage to 100 mini lights per foot, since sparse lighting leaves a dark center |
| Skipping branch fluffing on an artificial tree | Spend 20 minutes spreading every tip outward before the first light goes on |
| Using a topper wider than 12 inches on a 7–8 foot tree | Match the topper to the tree’s top third so the leader branch stays straight |
Christmas Tree Decorations by Tree Type and Space
Small Apartments and Tabletop Trees
Choose a 2–4 foot tree and set it on a console or table 30–36 inches high so the tree reads as a feature, not an afterthought. Use 1–1.5 inch ornaments, keep the palette to two colors, and replace the skirt with a wide basket. Scale everything down, and the tree still looks full.
Pre-Lit Artificial Trees
Pre-lit trees come with 50–70 lights per foot, which falls short of the 100-per-foot target. Add a supplemental strand woven branch by branch into the center, and test every section before decorating. Fluff the branches first, because factory compression hides lights inside the layers.
Real Fresh-Cut Trees
Let the tree sit in water for 24 hours so the branches drop and settle before you hang anything. Use LED lights, which run cool and protect the needles, and keep outer-branch ornaments under 4 ounces. A real tree rewards lighter decoration with a natural, sculpted look.
Homes With Young Children and Pets
Hang shatterproof ornaments on the lower 36 inches and move glass pieces to the upper branches. Anchor the tree to the wall with clear fishing line, skip tinsel, and cover cords with a cord channel. These changes make the tree safe without changing the design.
Frequently Asked Questions
how to decorate a christmas tree step by step
Start with the tree itself: fluff the branches, then add lights branch by branch, large ornaments deep inside, medium ornaments at mid-depth, and small fillers near the tips. Finish with ribbon, floral picks, the topper, and the skirt. Use the squint test last to fix any imbalance.
what not to do when decorating a christmas tree
Do not hang ornaments only at the tips, wrap lights around the outside, or mix warm and cool white bulbs. Do not overload the tree with accent pieces or place it near a heat source. These are the most common mistakes and the easiest to avoid.
how to decorate a christmas tree on a budget
Buy only the lights and large ornaments, then fill the rest with ribbon, floral picks, and natural items like pinecones and dried orange slices. Stick to one color palette so inexpensive pieces look cohesive. A budget of 150 covers a full 7.5-foot tree when you follow this approach.
how to decorate a small christmas tree in an apartment
Use a 2–4 foot tree on a table or console, with 100 lights per foot and ornaments under 2 inches. Limit the palette to two colors and use a basket in place of a skirt. Scale keeps a small tree looking full instead of crowded.
how to choose christmas tree ornaments and colors
Pick two main colors and one metallic, then use the 60-30-10 ratio. Choose three ornament sizes and mix matte, glossy, and metallic finishes. This produces a cohesive tree even when the ornaments come from different sets.
how often should you replace christmas tree lights
Replace a strand the moment you find dead sections, cracked sockets, or frayed wire. Strands in good condition last many seasons, particularly LED sets. Inspect every strand weekly while the tree is up and again before storage.
do real and artificial christmas tree decorations work the same way
The decorating method is the same, but the details differ. Real trees need lighter ornaments, cool-running LED lights, and daily watering. Artificial trees need fluffing and can carry heavier pieces on the outer branches.
how much do christmas tree decorations cost
A full set for a 7.5-foot tree typically runs 250, covering lights, ornaments, ribbon, a topper, and a skirt. Costs rise with glass and handmade ornaments and fall sharply with shatterproof sets and natural filler. Buy lights and ornaments after the holiday for deep discounts.
how do you store christmas tree decorations so they last
Wrap each ornament in tissue, place it in a divided box, and store lights on a cardboard tube. Label every bin by category and keep them in a cool, dry closet. Avoid attics and garages, where heat and humidity damage finishes and cords.
Conclusion
A full, balanced tree comes from sequence and depth, not from buying more decor. Measure first, set your palette, install lights branch by branch, layer ornaments at three depths, and finish with ribbon, a wired topper, and a properly sized skirt. Run the squint test, fix the biggest gap, and you finish the same afternoon.
Maintain the tree weekly and store everything by category. Your next December starts with the work already done.