
A halloween kitchen transforms your most-used room into a space that feels genuinely festive without looking cluttered or costume-store cheap. This approach eliminates the mismatched, thrown-together look that plagues most seasonal kitchens and replaces it with a cohesive design story. This guide delivers 23 specific, actionable steps for countertops, shelves, lighting, and small details. Start with the foundation steps below before adding a single pumpkin.
Before You Begin: 4 Foundation Steps for a Cohesive Halloween Kitchen
A halloween kitchen collapses into clutter fast without a plan. These four foundation steps control your palette, your anchor piece, and your layout before you buy a single decoration.
1. Choose a Halloween Color Palette Before Buying Décor
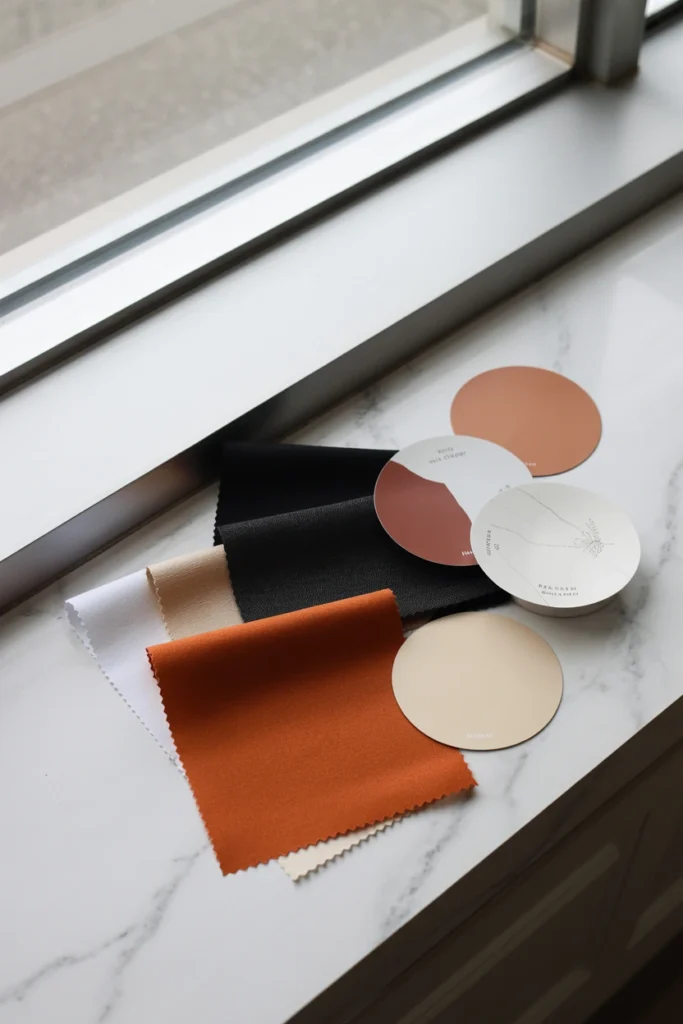
Random black and orange purchases create visual chaos fast. Every piece competes instead of working together, and the kitchen reads as cluttered rather than curated. A locked palette instantly makes every future purchase easier and the finished space cohesive.
Start by picking exactly three core colors — one dark, one accent, one neutral. Use black, burnt orange, and cream as your base, since this combination reads as elevated rather than costume-like. Sticking to three colors also makes your existing dishware and linens instantly usable.
| Palette Style | Color Combination |
| Classic Spooky | Black, orange, cream |
| Witchy Modern | Charcoal, sage green, brass |
| Vintage Harvest | Rust, mustard, walnut brown |
| Gothic Elegant | Black, deep purple, gold |
2. Anchor Your Kitchen With One Statement Piece
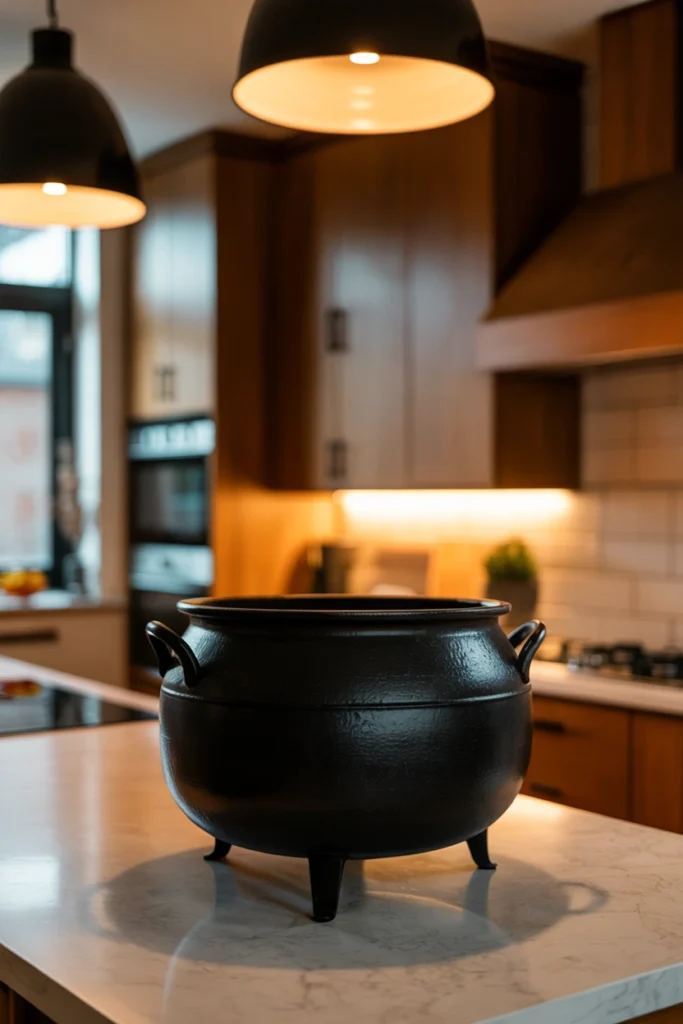
Too many small decorations scattered around create visual noise. The eye has nowhere to rest, and the space feels busy rather than intentionally styled. One anchor piece immediately gives the whole kitchen a clear focal point.
Place one oversized item — a black cauldron, a tall skeleton, or an oversized pumpkin — in the most visible spot in the kitchen. Choose an item at least 18 inches tall so it reads as a focal point instead of blending into the counter. This single move gives every smaller piece around it a reason to exist.
| Anchor Option | Best Placement |
| 18-inch cauldron | Kitchen island center |
| 3-foot skeleton | Corner near entryway |
| Oversized pumpkin | Counter beside sink |
| Tall lantern trio | Windowsill |
3. Map Out Three Zones for Halloween Decorating
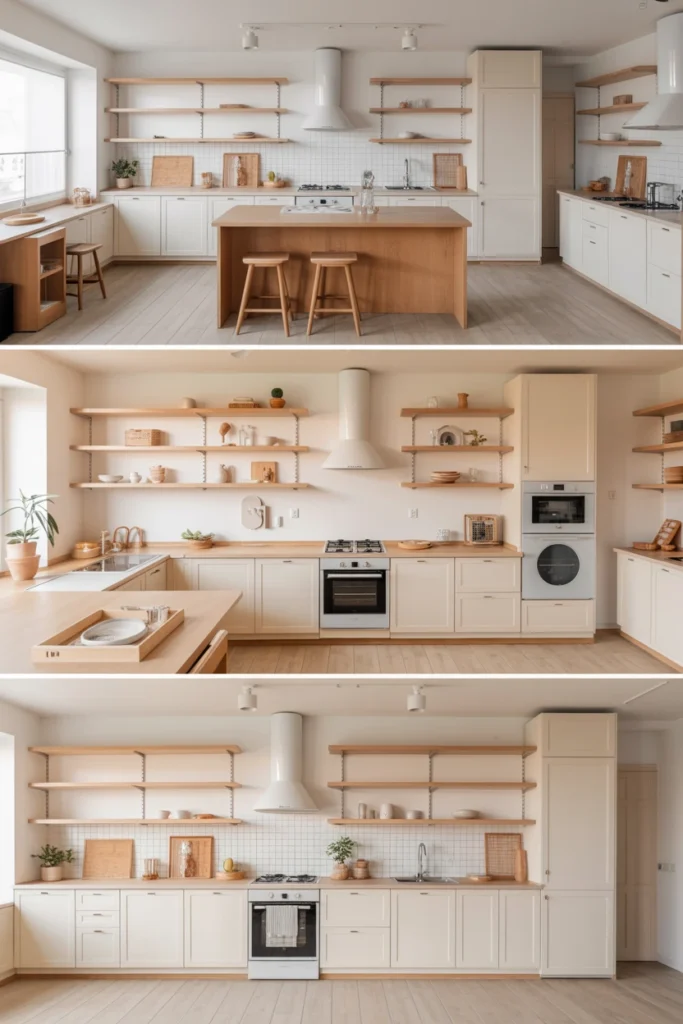
Decorating the entire kitchen at once spreads your budget and effort too thin. The result is thin, scattered decoration instead of a few impactful moments. Mapping three zones concentrates your effort where it actually gets seen.
Choose exactly three zones — typically the island or table, the open shelving or window, and one small detail area like the utensil crock. Limit decoration to these three zones only, and leave every other surface untouched. This restraint is what separates a styled kitchen from a cluttered one.
| Zone | Typical Location |
| Zone 1 | Island or dining table |
| Zone 2 | Window or open shelf |
| Zone 3 | Sink or utensil area |
| Zone 4 (skip) | Every other surface — leave bare |
4. Build a Layered Texture Base Before Adding Accents
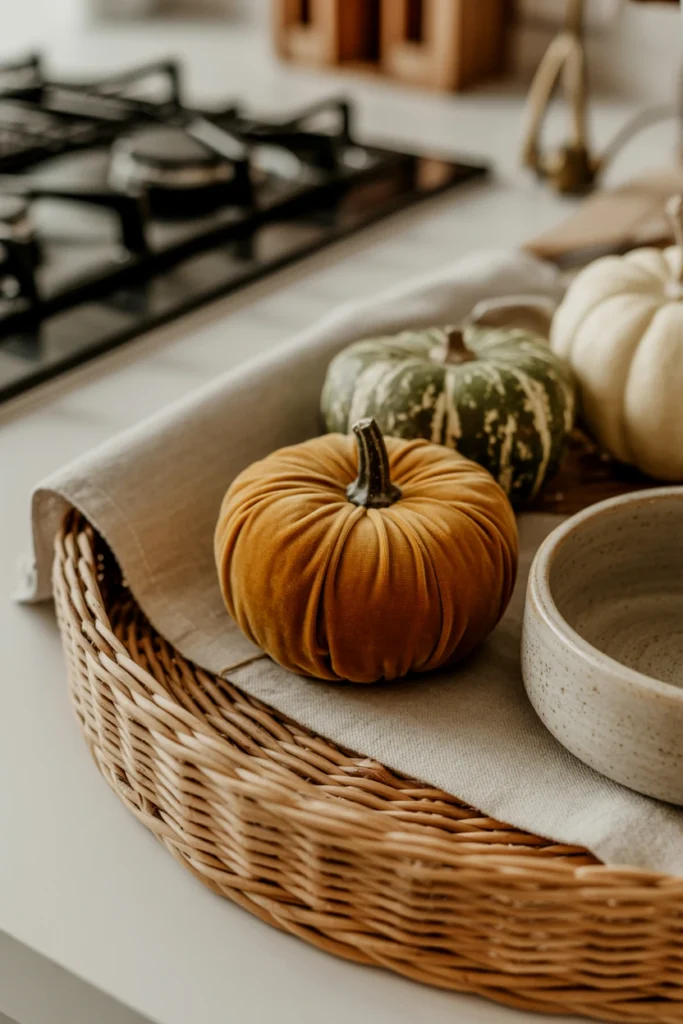
Flat, single-material decor reads as flat and cheap. Without texture variation, even a well-chosen color palette looks two-dimensional under kitchen lighting. Layering texture first gives every later accent something to visually connect to.
Start with a woven runner or wood board as your base layer on the counter or table. Add at least two contrasting textures on top — velvet pumpkins against a rattan tray, for example — since contrast is what reads as intentional rather than accidental. This base layer also makes it far easier to swap seasonal accents in future years.
| Texture Combination | Visual Effect |
| Wood + velvet | Warm, cozy contrast |
| Rattan + ceramic | Organic, modern balance |
| Linen + metal | Soft, refined pairing |
| Woven + glass | Light, layered depth |
Countertop and Table Styling for a Halloween Kitchen
Countertops and tables get the most daily eye contact in any kitchen. This section covers how to style these surfaces so the halloween kitchen theme reads as curated at every glance.
5. Create a Layered Pumpkin Centerpiece on Your Table
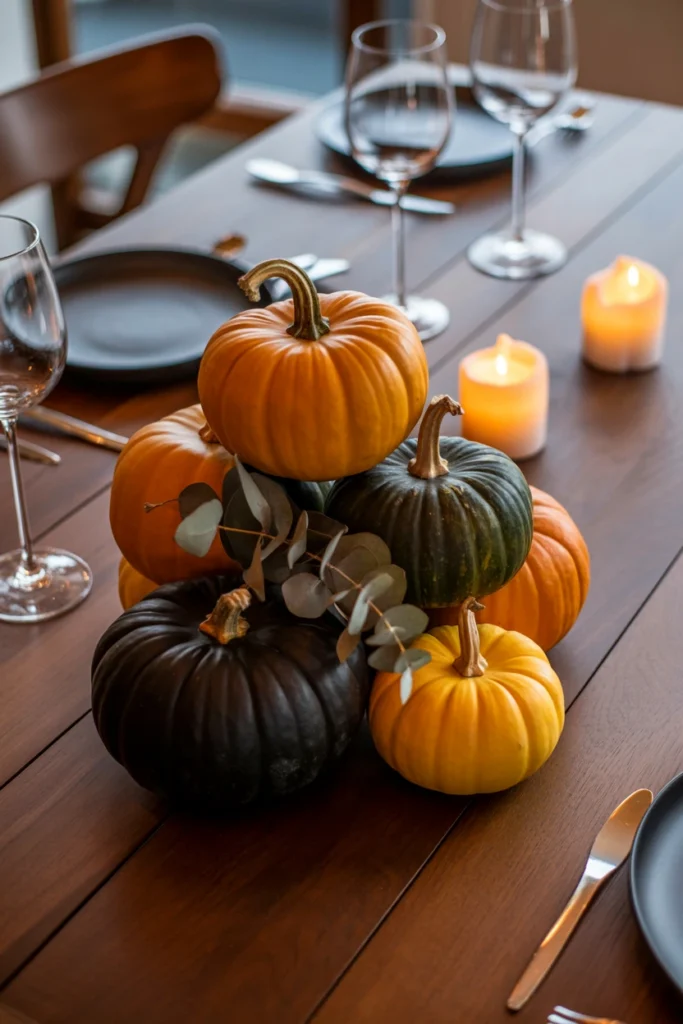
A single flat row of pumpkins reads as an afterthought. Without height variation, the centerpiece disappears against a busy kitchen table. Layering pumpkins at different heights instantly creates a centerpiece that anchors the entire table
Start by grouping pumpkins in odd numbers — three or five — since even numbers read as symmetrical and staged. Vary the sizes between 4 inches and 12 inches so the arrangement has a clear high point and low point. This layering technique also works year-round for any seasonal centerpiece you build later.
| Pumpkin Count | Height Range |
| 3 pumpkins | 4, 7, 10 inches |
| 5 pumpkins | 4, 6, 8, 10, 12 inches |
| Single statement | 14–16 inches |
| Mini cluster | 2–4 inches, grouped tight |
6. Style Apothecary Jars Along Your Backsplash
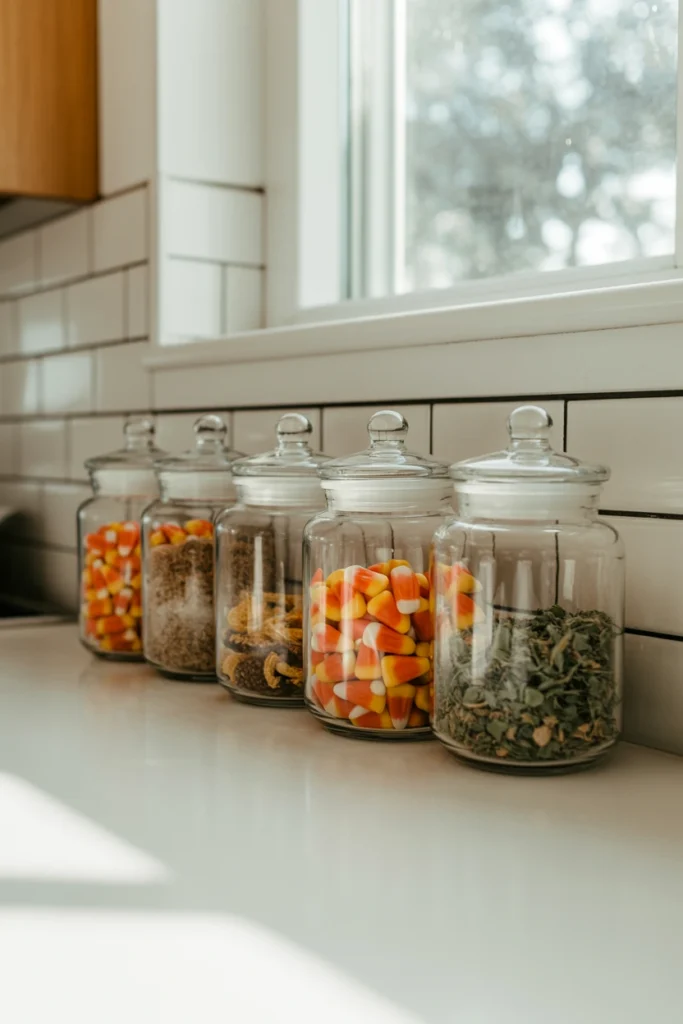
Empty backsplash space reads as unfinished during a themed season. Without a horizontal accent line, the eye skips straight past the counter to whatever is behind it. Apothecary jars fill this dead space with function and theme at once.
Line up three to five glass apothecary jars along the backsplash, filled with candy corn, black beans, or dried herbs for visual weight. Keep jar heights within 2 inches of each other so the row reads as a set rather than mismatched clutter. The filled jars also double as functional storage once November arrives.
| Jar Fill | Visual Effect |
| Candy corn | Bright orange pop |
| Black beans | Deep, moody contrast |
| Dried lavender | Soft, witchy texture |
| Cinnamon sticks | Warm, textured neutral |
7. Layer a Runner and Placemats for Halloween Dining
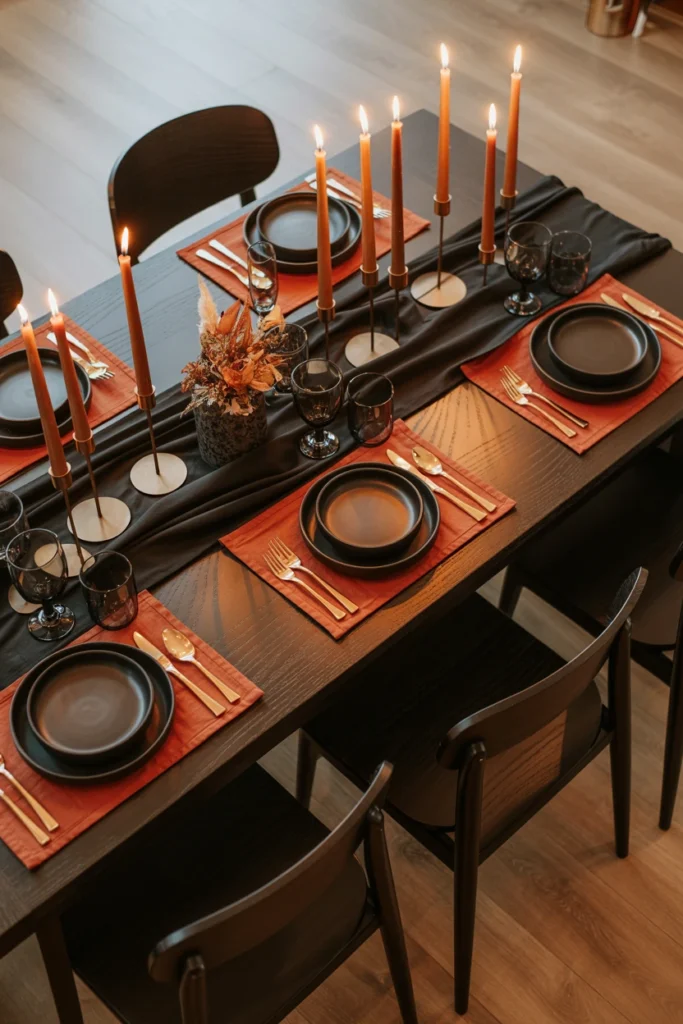
A bare table under Halloween dishware looks unfinished. Without a base layer, plates and centerpieces have nothing to visually connect to. A runner and placemats instantly ground the entire table setting.
Start with a runner in your darkest palette color, running the full length of the table with 6 inches of overhang on each end. Add placemats in your accent color underneath each place setting, since the contrast between runner and placemat defines the table’s structure. This layered base also makes swapping centerpieces effortless throughout the month.
| Table Length | Runner Length |
| 48 inches | 60 inches |
| 60 inches | 72 inches |
| 72 inches | 84 inches |
| 84+ inches | 96 inches |
8. Group Candlesticks in Odd Numbers on the Counter
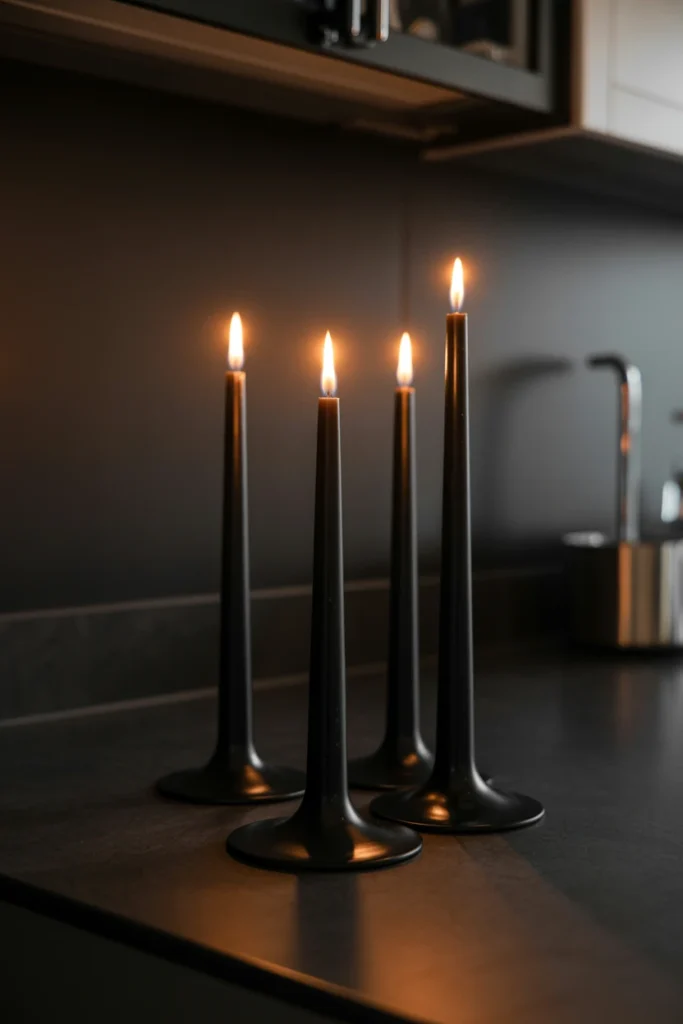
A single candle looks lonely on a large counter surface. Without grouping, individual pieces fail to register as intentional styling. Odd-numbered candlestick groupings immediately read as a designed vignette.
Group three taper candlesticks at varying heights between 8 and 14 inches, spaced 2–3 inches apart. Choose black or deep purple wax to keep the grouping within your locked palette. This grouping technique works identically for any seasonal display you build in future months.
| Candlestick Count | Height Spread |
| 3 candlesticks | 8, 11, 14 inches |
| 5 candlesticks | 6–16 inches, staggered |
| Single pillar | 10–12 inches |
| Floating candles | 2–3 inches, in glass bowl |
Window, Wall, and Open Shelf Halloween Accents
Vertical surfaces get overlooked in most seasonal decorating. This section covers windows, walls, and open shelving — the areas that give a halloween kitchen depth beyond the countertop.
9. Hang a Cobweb Garland Across Your Window Frame
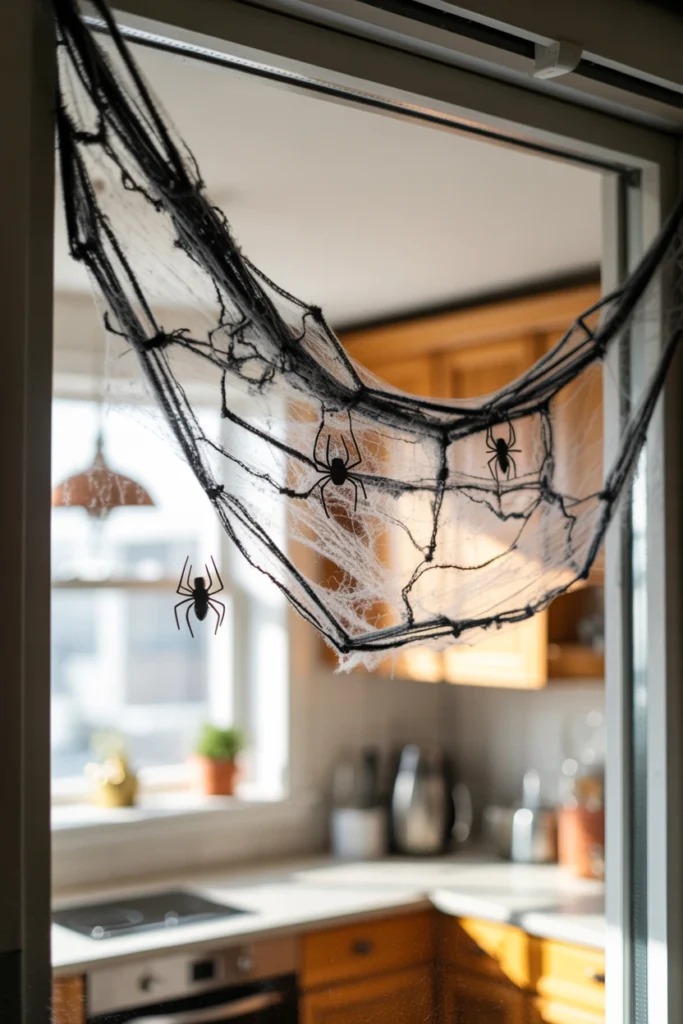
A bare kitchen window skips right past the Halloween theme. Without a framing element, the window becomes the one surface the eye notices is untouched. A cobweb garland instantly extends your theme into the vertical plane.
Drape a black cobweb garland loosely across the top of the window frame, letting it dip 4–6 inches in the center for a natural sag. Secure both ends with removable adhesive hooks rated for at least 2 pounds to prevent sagging over the season. This same hook method works for any garland you hang later in the year.
| Garland Length | Window Width |
| 3 feet | Small window, 24–30 inches |
| 5 feet | Standard window, 30–40 inches |
| 8 feet | Wide window, 40–60 inches |
| 10+ feet | Bay window or double window |
10. Mount a Halloween Wreath on a Glass Cabinet Door
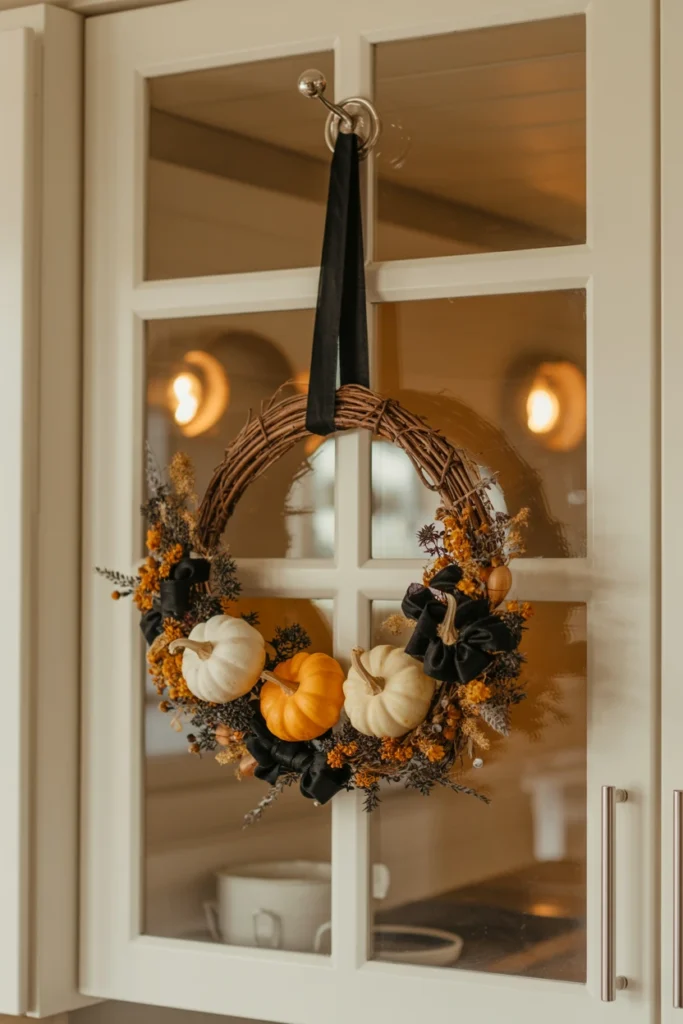
Glass-front cabinets often sit undecorated even during a themed season. Without an accent, the glass panel becomes a flat, empty rectangle in an otherwise styled kitchen. A wreath instantly turns unused glass into a focal point.
Mount a 12–14 inch wreath using a suction-cup hook rated for glass, centered on the cabinet panel. Choose a wreath with at least two textures — dried florals with velvet ribbon, for example — so it holds visual weight against the glass. This placement also keeps the wreath fully visible without blocking cabinet function.
| Wreath Size | Cabinet Panel Size |
| 10 inches | Small glass panel |
| 12–14 inches | Standard cabinet door |
| 16–18 inches | Large or double panel |
| 20+ inches | Oversized statement door |
11. Style Open Shelves With Spooky Vignettes
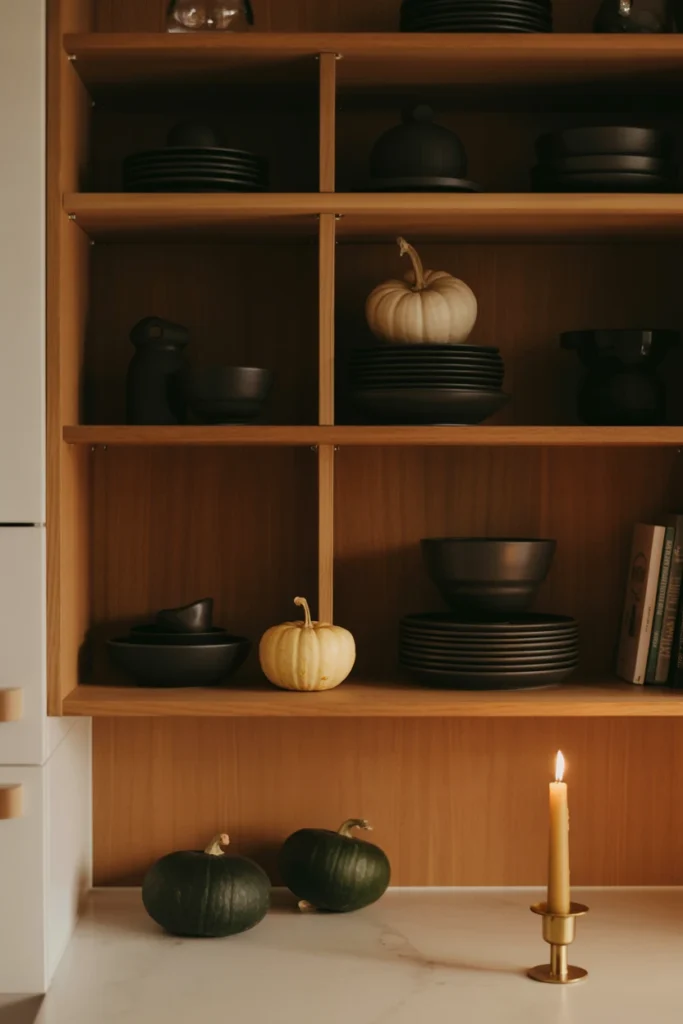
Open shelves left untouched during Halloween season look like a missed opportunity. Without themed styling, the shelves default back to everyday dish storage. A spooky vignette turns open shelving into the kitchen’s strongest visual moment.
Group three to five items per shelf — a stack of black plates, a small pumpkin, and a single taper candle — leaving at least 30% of the shelf as open space. This breathing room keeps the vignette from reading as overstuffed. The negative space also makes each individual object stand out rather than compete for attention.
| Shelf Depth | Items Per Shelf |
| 8 inches | 2–3 items |
| 10 inches | 3–4 items |
| 12 inches | 4–5 items |
| 14+ inches | 5–6 items |
12. Add Silhouette Cutouts to Your Kitchen Window
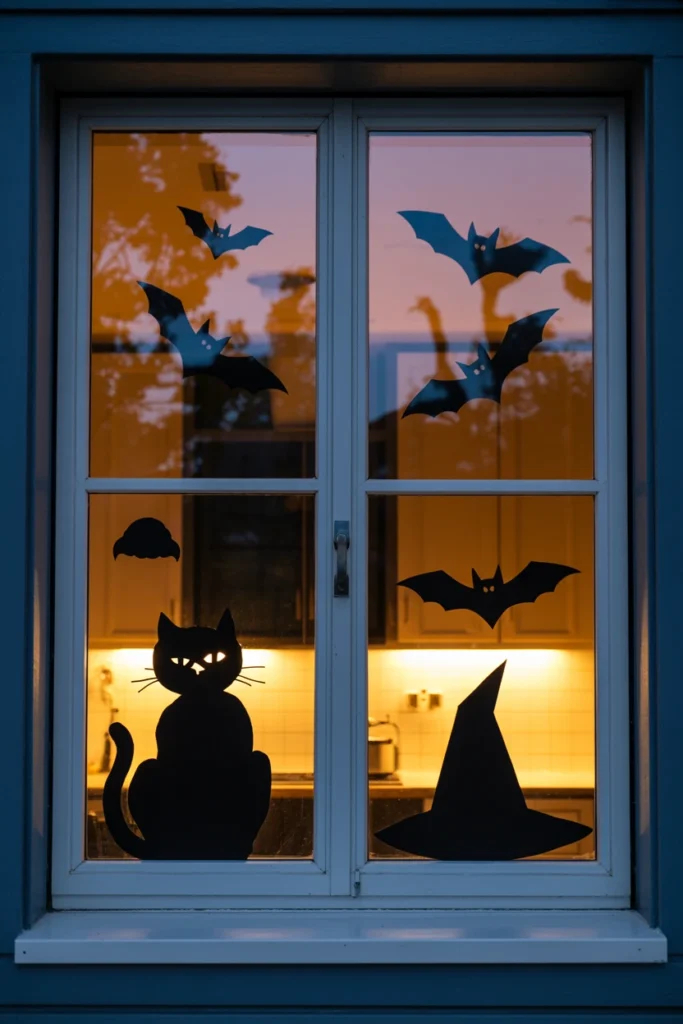
A window with only a garland can still feel incomplete after dark. Without a light-blocking element, the kitchen loses its most dramatic nighttime effect. Silhouette cutouts create instant drama once the interior lights turn on.
Cut black cardstock silhouettes — a cat, a bat, a witch’s hat — no larger than one-third of the window height, and adhere them with removable window cling. Position them in the lower third of the glass so they read clearly from outside once it’s dark. This effect intentionally recreates the classic haunted-house window look with zero ongoing cost.
| Silhouette Type | Recommended Size |
| Cat | 8–10 inches |
| Bat cluster | 4–6 inches each |
| Witch hat | 10–12 inches |
| Full moon | 12–14 inches |
Halloween Lighting and Ambiance for the Kitchen
Lighting defines the mood of a halloween kitchen more than any single object. This section covers exactly how to shift kitchen lighting from bright and functional to warm and atmospheric.
13. Switch Your Bulbs to Warm Amber Lighting
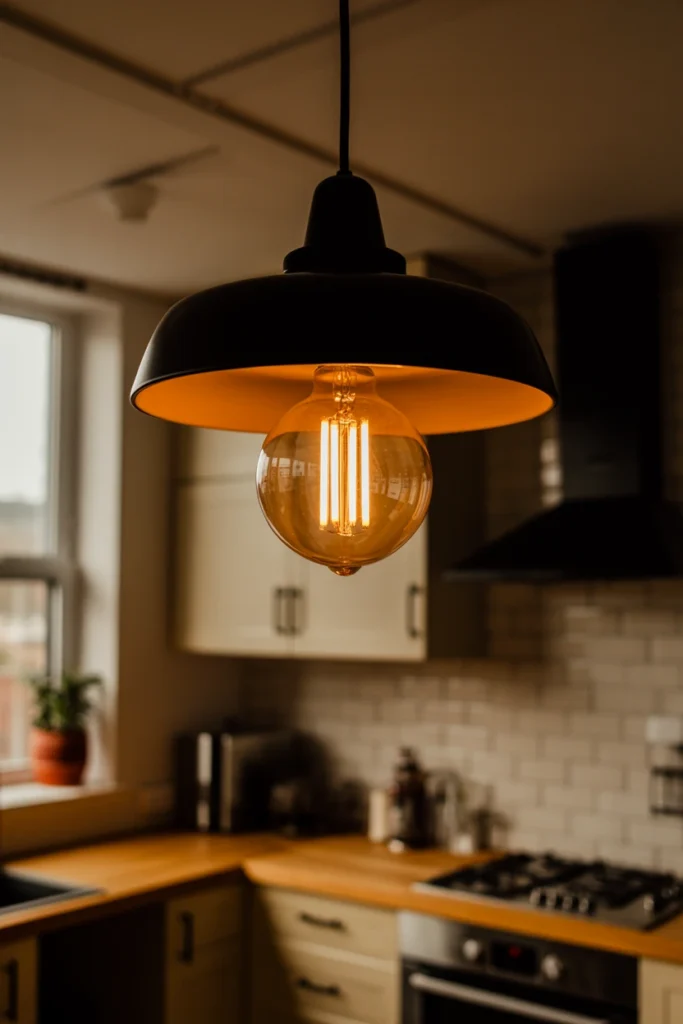
Standard white kitchen bulbs flatten every seasonal decoration you add. Without a warmer color temperature, black and orange décor reads harsh instead of cozy. Amber bulbs instantly shift the entire kitchen’s mood.
Replace your main overhead bulbs with 2200K amber-toned LEDs, which sit noticeably warmer than the standard 2700K soft white. This shift alone changes how every black and orange accent in the room reads under light. The lower color temperature also makes the kitchen feel warmer during evening meals year-round.
| Bulb Temperature | Visual Effect |
| 2200K amber | Deep, warm, moody glow |
| 2700K soft white | Standard warm white |
| 3000K neutral | Balanced, slightly cooler |
| 4000K+ daylight | Avoid — reads too clinical |
14. Layer Flameless Candles at Three Different Heights
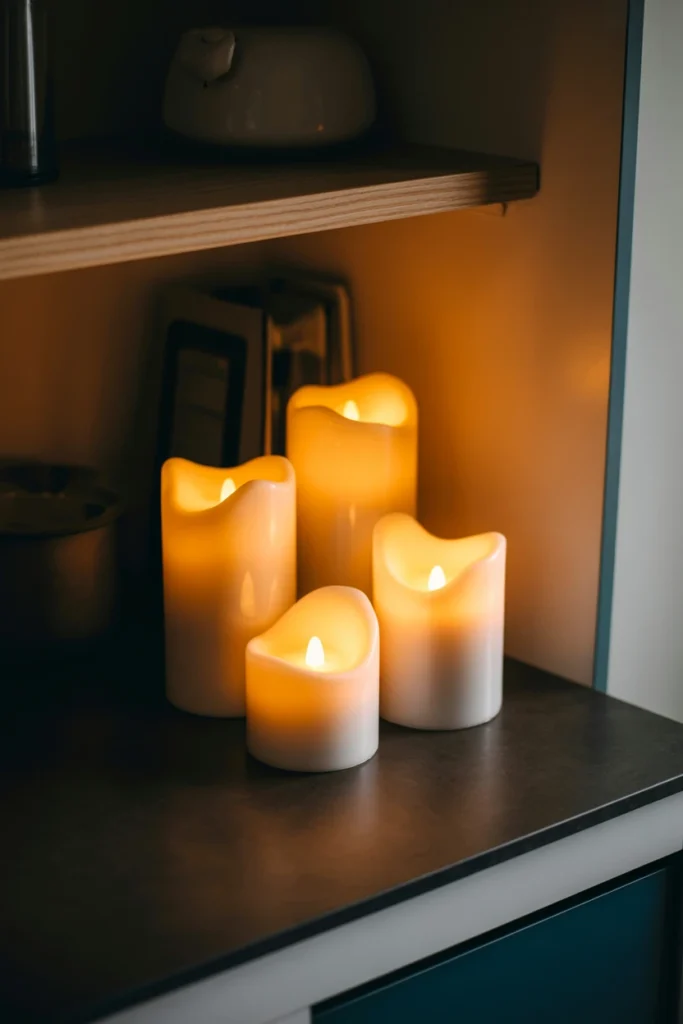
Uniform candle heights flatten your lighting layout. Without variation, the light source reads as one flat glow instead of dimensional ambiance. Three heights create the flicker-and-shadow effect that defines Halloween lighting.
Place flameless LED candles at 4 inches, 8 inches, and 12 inches across a single vignette, using warm-flicker settings over static light. Stagger them within 6 inches of each other so the shadows overlap naturally. This layering also eliminates the fire risk of real candles left burning unattended in the kitchen.
| Candle Height | Placement |
| 4 inches | Front of vignette |
| 8 inches | Mid-height, slightly behind |
| 12 inches | Back, near wall or shelf edge |
| 2 inches (votives) | Scattered between taller pieces |
15. Install String Lights Inside a Glass Cloche
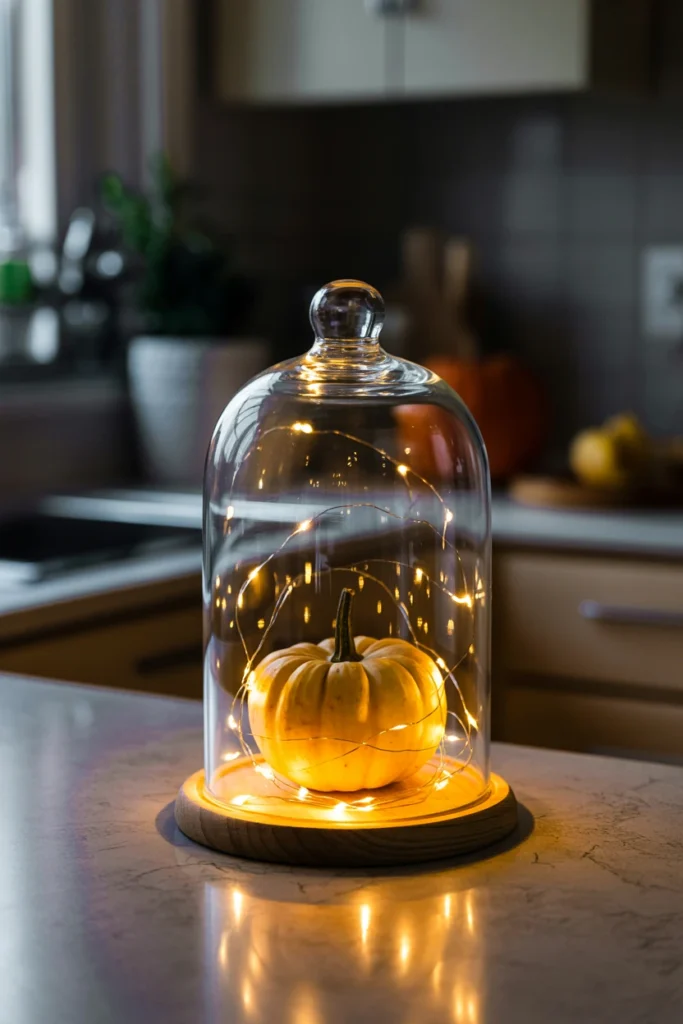
A bare glass cloche on a Halloween counter looks unfinished after dark. Without an internal light source, the cloche disappears once the sun goes down. String lights inside instantly turn it into a glowing centerpiece.
Coil a battery-operated micro string light — 20 to 50 LEDs — inside a glass cloche over a small pumpkin or skull. Choose warm white lights over multicolor to stay within your locked palette. This single piece becomes the kitchen’s evening focal point once overhead lights dim.
| String Light Count | Cloche Size |
| 20 LEDs | Small cloche, 6–8 inches |
| 35 LEDs | Medium cloche, 9–11 inches |
| 50 LEDs | Large cloche, 12+ inches |
| 10 LEDs | Mini cloche, under 6 inches |
16. Create Shadow Play With a Single Directional Lamp
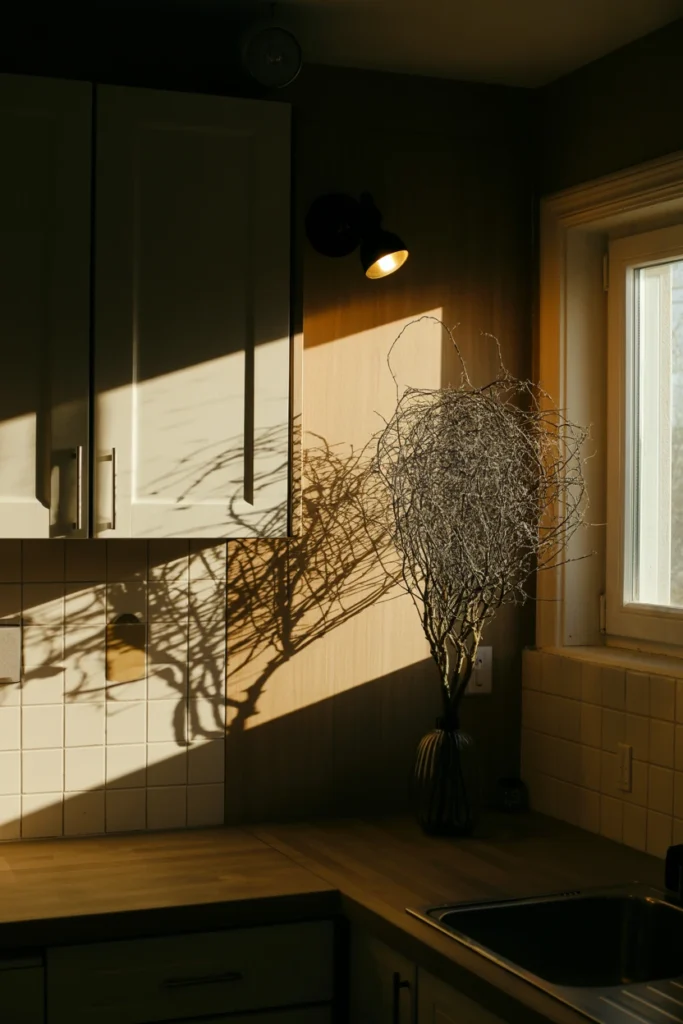
Flat, even kitchen lighting removes all the drama from Halloween styling. Without directional shadow, textured décor like cobwebs and dried florals reads flat instead of dimensional. One angled lamp brings the entire vignette to life.
Position one small directional lamp or spotlight at a 45-degree angle beside your main vignette, aimed upward or across the display. This angle throws elongated shadows from garlands and branches onto the wall behind. The shadow effect works especially well against a light-colored backsplash or wall.
| Lamp Angle | Shadow Effect |
| 15 degrees | Subtle, soft shadow |
| 45 degrees | Dramatic, elongated shadow |
| 90 degrees (direct) | Minimal shadow, avoid |
| Uplighting | Ghostly upward cast |
Pantry, Cabinet, and Small Detail Touches
Small details finish a halloween kitchen without adding clutter. This section covers pantry, cabinet, and utensil touches that reinforce the theme in places guests actually notice.
17. Label Pantry Jars With Apothecary-Style Tags
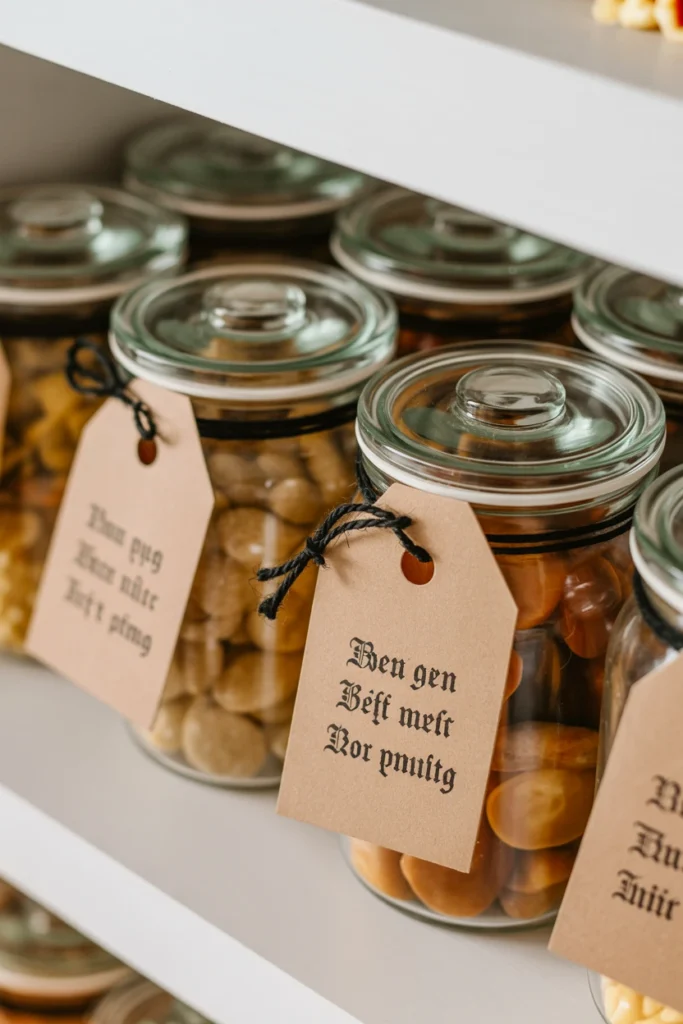
Store-bought pantry containers break the cohesive look of a styled kitchen. Without matching labels, mismatched packaging pulls focus away from your themed vignettes. Apothecary-style tags unify every jar into the same design story
Print or write labels in a serif or gothic font on kraft paper tags, sized at roughly 1.5 by 2.5 inches. Attach each tag with black twine wrapped twice around the jar neck. This labeling system also makes pantry contents easier to identify at a glance long after Halloween ends.
| Label Size | Jar Type |
| 1×1.5 inches | Spice jars |
| 1.5×2.5 inches | Standard pantry jars |
| 2×3 inches | Large canisters |
| 3×4 inches | Oversized storage jars |
18. Replace Everyday Dish Towels With Halloween Prints
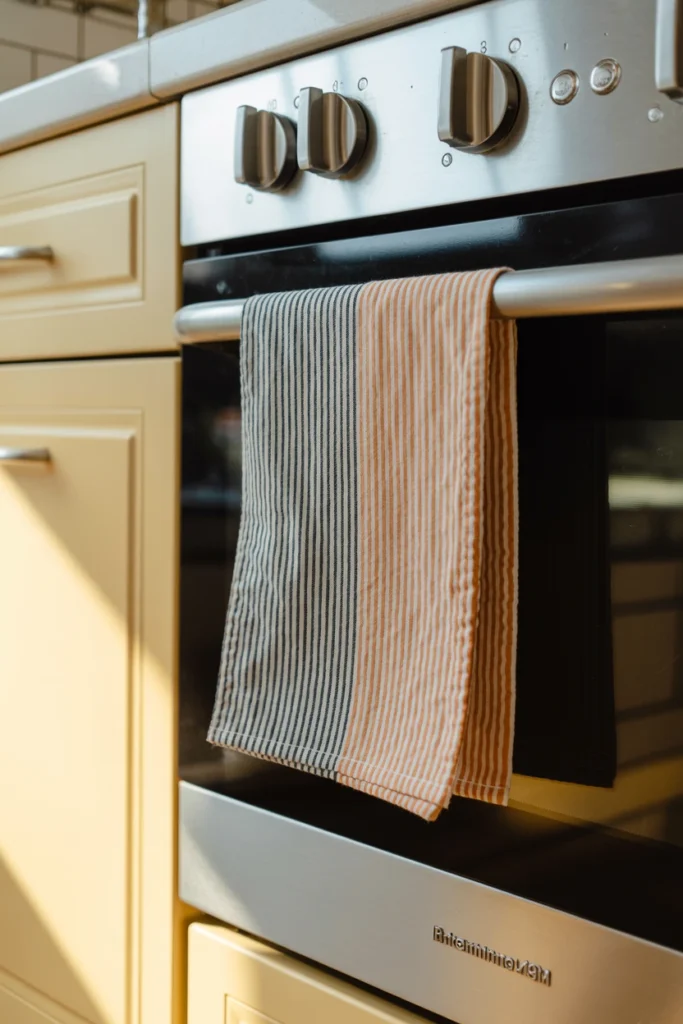
Plain dish towels stand out as the one untouched item in a themed kitchen. Without a coordinating swap, this small daily-use item breaks an otherwise cohesive palette. Themed towels close this gap in seconds.
Swap in two to three dish towels in your locked palette, choosing a mix of solid and printed patterns rather than all-over graphics. Hang one folded in thirds over the oven handle at a consistent 6-inch drop. This detail gets touched daily, making it one of the highest-visibility swaps in the entire kitchen.
| Towel Pattern | Best Use |
| Solid black | Everyday hand towel |
| Orange stripe | Oven handle display |
| Small print (bats, cats) | Counter accent |
| Bold graphic | Statement piece, single use |
19. Add a Skeleton Hand to Your Utensil Crock
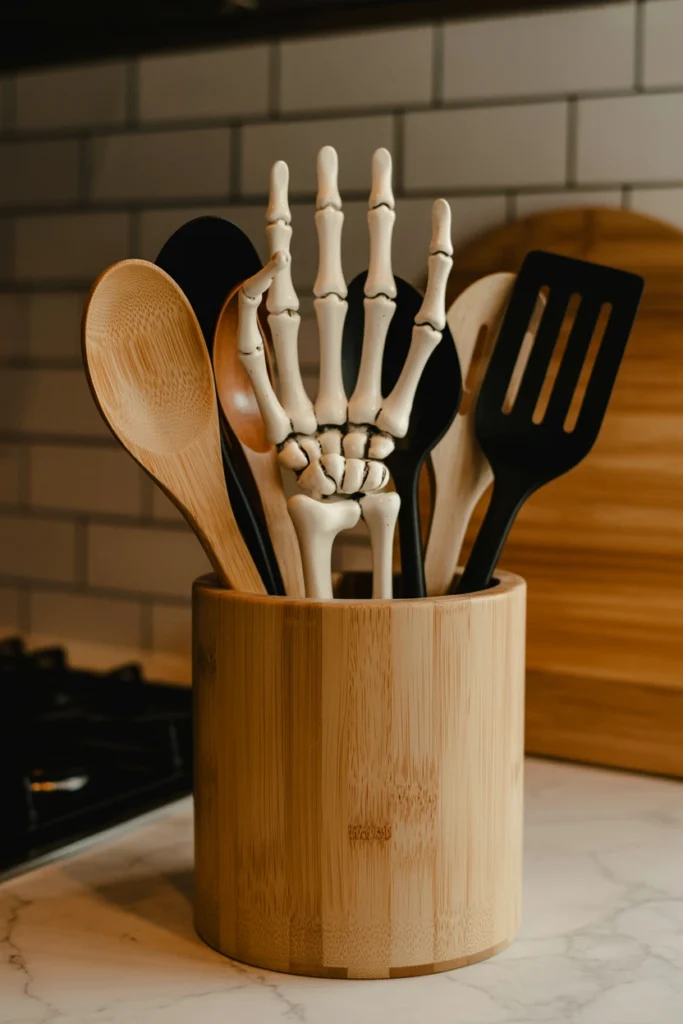
A standard utensil crock reads as purely functional, not styled. Without a themed accent, this daily-use item sits outside your Halloween design story entirely. A skeleton hand instantly folds it into the theme.
Insert one resin or plastic skeleton hand, 10–12 inches tall, angled slightly forward among your wooden spoons and spatulas. Keep the hand to a single accent rather than adding multiple skeleton pieces to the same crock. This restraint keeps the detail playful instead of tipping into costume-store territory.
| Hand Height | Crock Size |
| 8 inches | Small crock |
| 10–12 inches | Standard crock |
| 14 inches | Tall, oversized crock |
| 6 inches (mini) | Small jar or cup |
20. Place a Small Cauldron Bowl Near the Sink
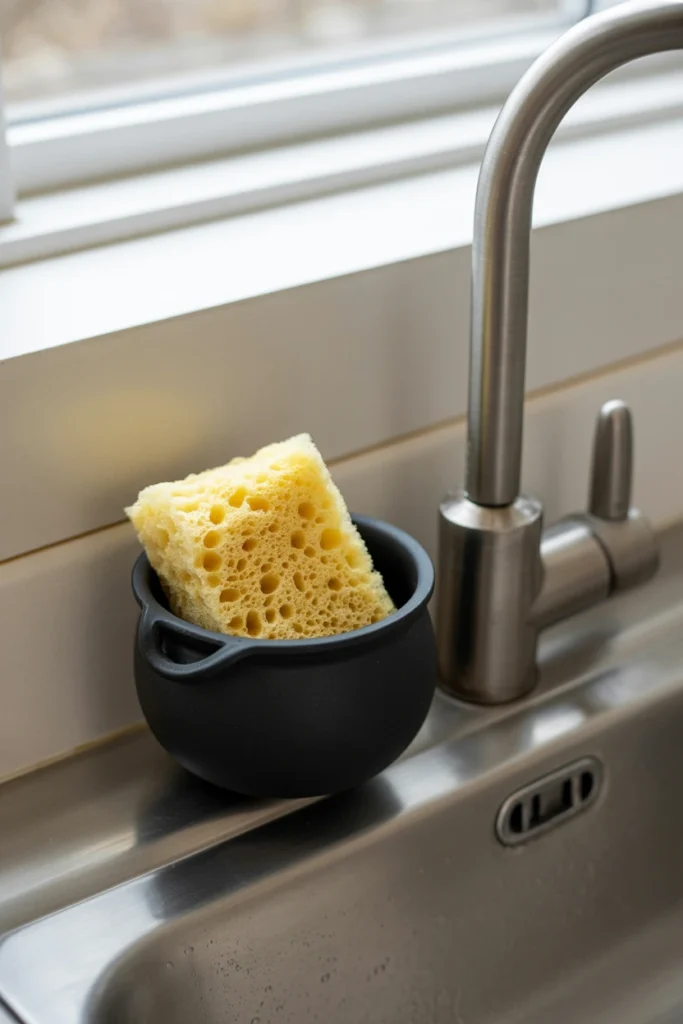
The sink area typically stays undecorated even in a fully styled kitchen. Without a themed touch here, the eye registers this high-traffic zone as the one gap in your design. A small cauldron bowl fills this space with function and theme together.
Place a 4–6 inch black cauldron bowl beside the faucet to hold your sponge and scrub brush. Choose a matte black finish over glossy, since matte reads as more intentional against stainless steel fixtures. This swap turns a purely functional zone into one more touchpoint for your theme.
| Cauldron Size | Function |
| 4 inches | Sponge holder |
| 6 inches | Sponge + scrub brush |
| 8 inches | Small soap + sponge combo |
| 10+ inches | Decorative only, no function |
Styling and Finishing Touches
The final layer of any halloween kitchen is what separates a good display from a genuinely cohesive one. These closing touches tie every zone together into a single visual story.
21. Layer Height Across Every Vignette You’ve Built
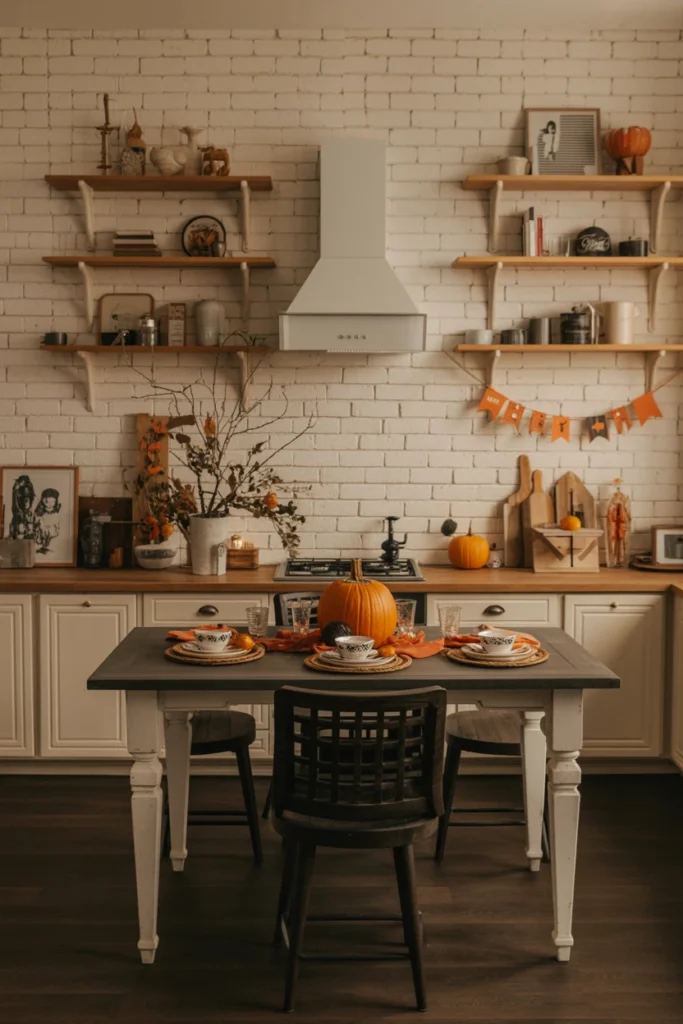
Individually styled zones can still feel disconnected from each other. Without a consistent height rhythm, each vignette reads as a separate mini-display instead of one unified kitchen. Matching height patterns across zones ties the whole room together.
Apply the same low-medium-high height pattern — roughly 4, 8, and 12 inches — to every vignette in the kitchen, from the table centerpiece to the shelf styling. This repeated rhythm is what makes separate zones read as one cohesive design. The consistency also makes it far easier to swap individual pieces without disrupting the overall look.
| Zone | Height Pattern |
| Table centerpiece | 4, 8, 12 inches |
| Open shelf | 3, 6, 9 inches |
| Counter vignette | 4, 7, 10 inches |
| Window display | 6, 10, 14 inches |
22. Limit Your Palette to Three Core Colors Total
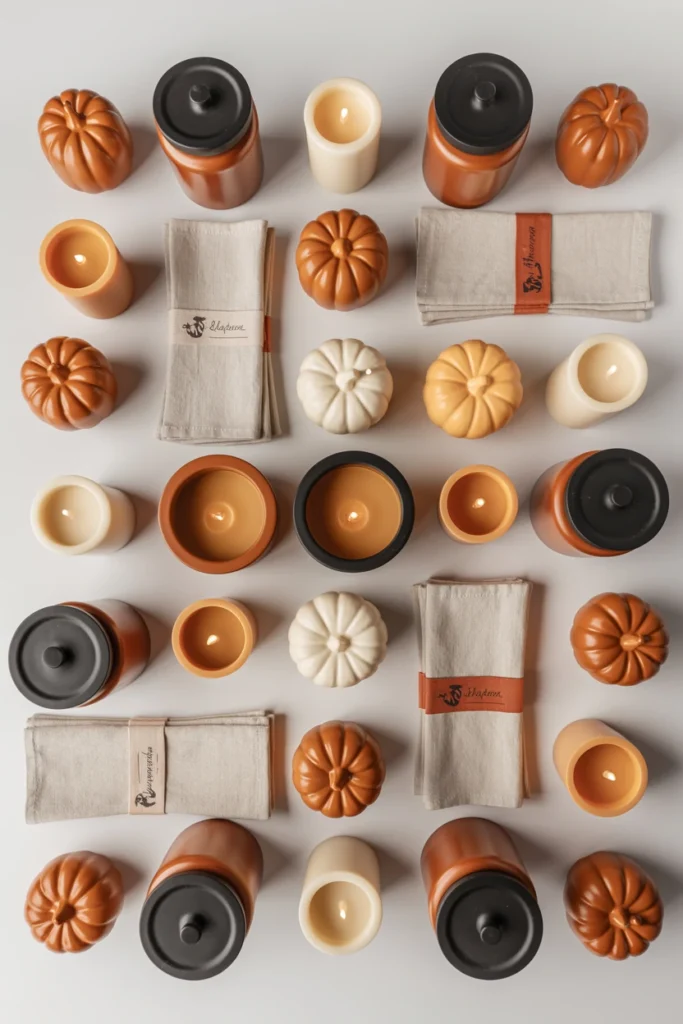
Adding a fourth or fifth color late in the process undoes your earlier palette work. Without this limit, the kitchen slowly drifts back into the scattered, costume-store look you started avoiding. Holding the line at three colors keeps the finished space cohesive.
Audit every finished vignette against your original three colors before calling the kitchen complete. Remove or swap any item that introduces a fourth color, even a small one like a green ribbon or a red pumpkin stem. This final edit is what separates a professionally styled kitchen from an accumulated pile of seasonal purchases.
| Color Count | Result |
| 2 colors | Minimal, modern look |
| 3 colors | Cohesive, balanced (ideal) |
| 4 colors | Starts to feel busy |
| 5+ colors | Reads as cluttered |
Maintenance and Long-Term Halloween Kitchen Habits
A styled halloween kitchen degrades fast without upkeep in a high-traffic room. This section covers the one habit that keeps your display looking intentional through the entire month.
23. Establish a Weekly Reset for High-Traffic Surfaces
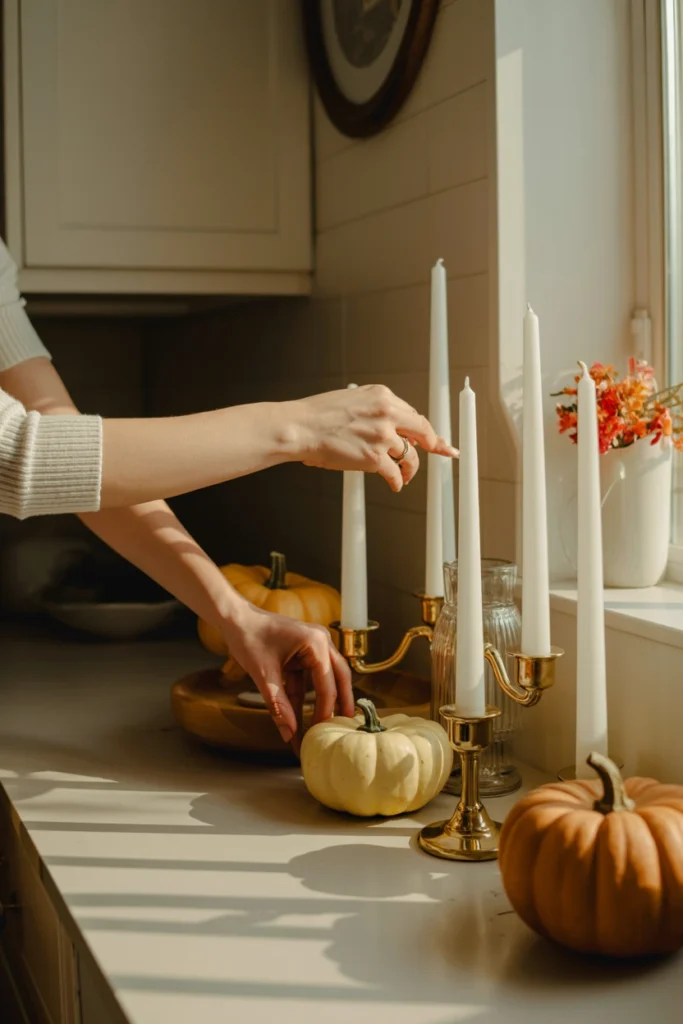
Kitchen vignettes shift out of place within days of daily use. Without a reset habit, candlesticks drift, pumpkins get bumped, and the styled look slowly collapses into clutter. A weekly reset keeps every zone looking as intentional as day one.
Set a recurring 10-minute reset every Sunday to re-center displaced items and wipe dust from candlesticks and jars. Check that your three zones still hold their original height pattern and color limit during this reset. This single habit is what keeps a Halloween kitchen photo-ready through the entire month instead of just opening week.
| Reset Frequency | Time Required |
| Weekly | 10 minutes |
| Bi-weekly | 15–20 minutes |
| Daily touch-up | 2–3 minutes |
| Monthly deep reset | 30 minutes |
Common Halloween Kitchen Decorating Mistakes That Ruin the Look
These mistakes turn a promising Halloween kitchen into a cluttered, costume-store display. Avoid every one on this list to keep the space cohesive.
| Mistake | Why It Hurts the Space | Better Alternative |
| Using more than 3 colors | Reads as scattered and cluttered | Lock palette to 3 core colors |
| Decorating every surface | Overwhelms the kitchen’s function | Limit décor to 3 defined zones |
| Skipping an anchor piece | Leaves no clear focal point | Add one 18-inch+ statement item |
| Even-numbered groupings | Reads as staged, not collected | Group items in sets of 3 or 5 |
| Bright white overhead lighting | Flattens décor, kills ambiance | Switch to 2200K amber bulbs |
| Flat, single-height displays | Looks two-dimensional | Layer heights at 4, 8, 12 inches |
| Ignoring the sink and towels | Leaves high-traffic zones untouched | Style daily-use items too |
| No weekly maintenance | Display collapses into clutter | Reset displaced items weekly |
Halloween Kitchen Ideas by Space and Situation
Small Kitchen
Small kitchens lose function fast when Halloween décor competes with daily counter space. The core constraint here is preserving workflow while still reading as fully decorated.
Key strategies for small kitchens:
- Mount decorations on walls and windows instead of counters
- Choose one anchor piece under 12 inches to save counter space
- Use vertical shelving for vignettes instead of horizontal surfaces
- Swap functional items like towels and utensil holders for themed versions
- Skip floor décor entirely to preserve walking space
- Limit zones to two instead of three
Rental Kitchen
Rental kitchens restrict permanent changes like painted cabinets or drilled hooks. The core constraint is achieving full impact using only removable, damage-free methods.
Key strategies for rental kitchens:
- Use removable adhesive hooks rated for the surface weight
- Choose battery-operated lighting to avoid rewiring fixtures
- Rely on freestanding pieces instead of mounted décor
- Use suction-cup hooks for glass cabinets and windows
- Layer removable runners and towels for instant color changes
- Test all adhesive products on an inconspicuous spot first
Open-Concept Kitchen
Open-concept kitchens are visible from the living and dining areas at all times. The core constraint is making the décor read as intentional from multiple angles, not just head-on.
Key strategies for open-concept kitchens:
- Style the island on all four visible sides, not just the front
- Choose a taller anchor piece visible from across the room
- Coordinate the kitchen palette with adjacent living room accents
- Add lighting that reads well from a distance, not just up close
- Avoid small, detail-heavy pieces that disappear from far away
- Repeat one signature color across both the kitchen and living space
Kitchen With Kids
Kitchens used by kids need décor that survives daily bumps and small hands. The core constraint is choosing pieces that are durable and safe at counter and eye level.
Key strategies for kitchens with kids:
- Choose flameless candles exclusively over any open flame
- Keep breakable glass jars on higher, out-of-reach shelves
- Select shatterproof resin pieces for low counters and tables
- Anchor taller pieces to prevent tipping from accidental bumps
- Involve kids in styling one low, kid-height zone
- Avoid small choking-hazard pieces like loose mini pumpkins on low surfaces
Frequently Asked Questions
how do you decorate a kitchen for Halloween
Start by locking a three-color palette, then decorate three defined zones instead of the entire room. Add one statement anchor piece, layer heights within each vignette, and finish with warm amber lighting. This approach keeps a halloween kitchen cohesive instead of cluttered.
what not to do when decorating a kitchen for Halloween
Avoid using more than three colors and avoid decorating every single surface in the kitchen. Both mistakes make the space read as cluttered rather than styled. Stick to defined zones and a locked palette throughout.
how to decorate a kitchen for Halloween on a budget
Focus your budget on one anchor piece and skip decorating every zone at once. Swap only high-visibility daily items like dish towels and the utensil crock for themed versions. Battery-operated string lights and cardstock silhouettes cost very little and still create strong visual impact.
how to decorate a small kitchen for Halloween
Use wall and window space instead of limited counter space for most of your décor. Choose one anchor piece under 12 inches and limit yourself to two zones instead of three. This keeps the kitchen functional while still fully in theme.
black or orange for Halloween kitchen decor
Neither should dominate alone — combine both with one neutral like cream for balance. Black works best as your dominant base color, with orange as the accent, not the reverse. A three-color palette always reads more cohesive than relying on just two.
how often should you refresh Halloween kitchen decor
Reset displaced items weekly with a quick 10-minute pass through your three zones. A high-traffic kitchen shifts décor out of place faster than any other room in the house. Weekly resets keep the display photo-ready for the full month.
does Halloween kitchen decor work in a rental
Yes, using removable adhesive hooks, suction cups, and battery-operated lighting instead of anything mounted or wired. Freestanding pieces and layered textiles create full impact without violating any lease terms. Every idea in this guide works in a rental kitchen with the swaps noted above.
how much does it cost to decorate a kitchen for Halloween
Costs vary widely, but focusing on one anchor piece and a few high-visibility swaps keeps spending controlled. Dish towels, apothecary tags, and string lights cost far less than multiple large statement pieces. Prioritizing zones over blanket decoration is the biggest cost-control strategy available.
how to keep Halloween kitchen decor looking fresh all month
Run a weekly 10-minute reset to re-center displaced items and wipe dust from candlesticks and jars. Check that your three zones still hold their original color limit and height pattern during each reset. This single habit prevents the slow collapse into clutter that most Halloween kitchens experience by late October.
Conclusion
A cohesive halloween kitchen comes down to three decisions made before you buy anything: a locked color palette, one clear anchor piece, and three defined zones. Start with the foundation steps in this guide before adding a single pumpkin to the counter. Set aside 10 minutes this week to map your three zones and choose your palette.
Results from these 23 strategies depend on consistent weekly upkeep, not a single decorating session. A kitchen styled once and left untouched collapses into clutter within days of daily use.