
A Halloween bedroom transforms an ordinary room into a moody, atmospheric retreat in a single weekend. The right mix of lighting, texture, and color creates a space that feels intentional rather than costume-like. This guide delivers 19 specific, actionable strategies covering lighting, gothic accents, color story, and long-term upkeep. Start with the foundation steps below before adding a single decoration.
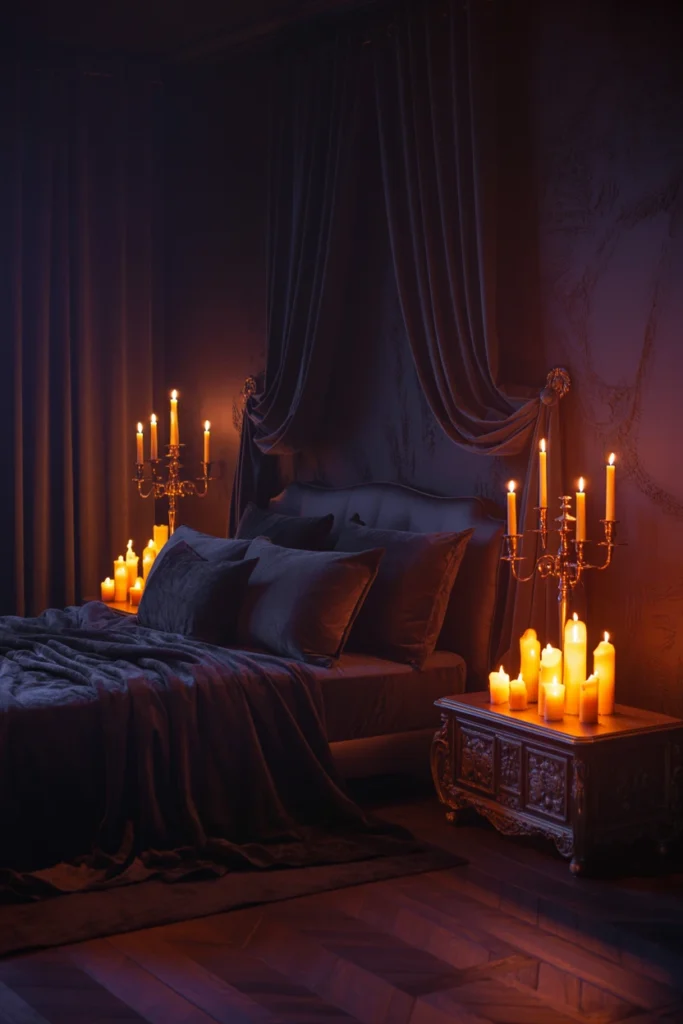
Before You Begin: 3 Foundation Steps for a Halloween Bedroom
Every successful Halloween bedroom decor plan starts with three decisions made before any purchase. Skipping these steps is the single most common reason a spooky bedroom ends up looking cluttered instead of cohesive.
1. Choose a Cohesive Halloween Color Story First

A scattered mix of orange, purple, and neon green reads as a costume party, not a bedroom. This happens because seasonal decor is designed to sell individually, not to coordinate as a set. A locked color story before shopping prevents mismatched pieces and wasted money on items that never get used.
Start by selecting exactly three colors: one dark base, one accent, and one metallic. Use black or charcoal as the base, deep plum or burgundy as the accent, and antique brass or gold as the metallic. Every future purchase gets tested against these three colors before it enters the room, which eliminates decision fatigue during the shopping phase.
| Color Role | Recommended Options |
| Base (60%) | Black, charcoal, deep espresso |
| Accent (30%) | Plum, burgundy, forest green |
| Metallic (10%) | Antique brass, aged gold, pewter |
| Avoid mixing | More than 3 total colors in one room |
2. Set a Budget Before Buying Halloween Bedroom Decor

Seasonal decor sections are designed for impulse purchases. Walking in without a number attached to this project directly leads to overspending on items that get boxed up after one season. A fixed budget forces every dollar toward pieces with year-round reuse potential.
Start by splitting your total budget into three categories: 50% lighting, 30% accents and textiles, 20% seasonal-specific pieces. Cap single-season items — anything shaped like a pumpkin or skull — at 20% of the total spend. This ratio guarantees the bulk of your investment carries into next year’s decorating.
| Budget Category | Percentage of Total | Example Items |
| Lighting | 50% | Candles, string lights, lamps |
| Accents and textiles | 30% | Throws, pillows, vases |
| Seasonal-specific | 20% | Skulls, pumpkins, cobwebs |
| Reusable year-round | 80% of total | Everything except category 3 |
3. Map Out Layered Lighting Zones in the Room
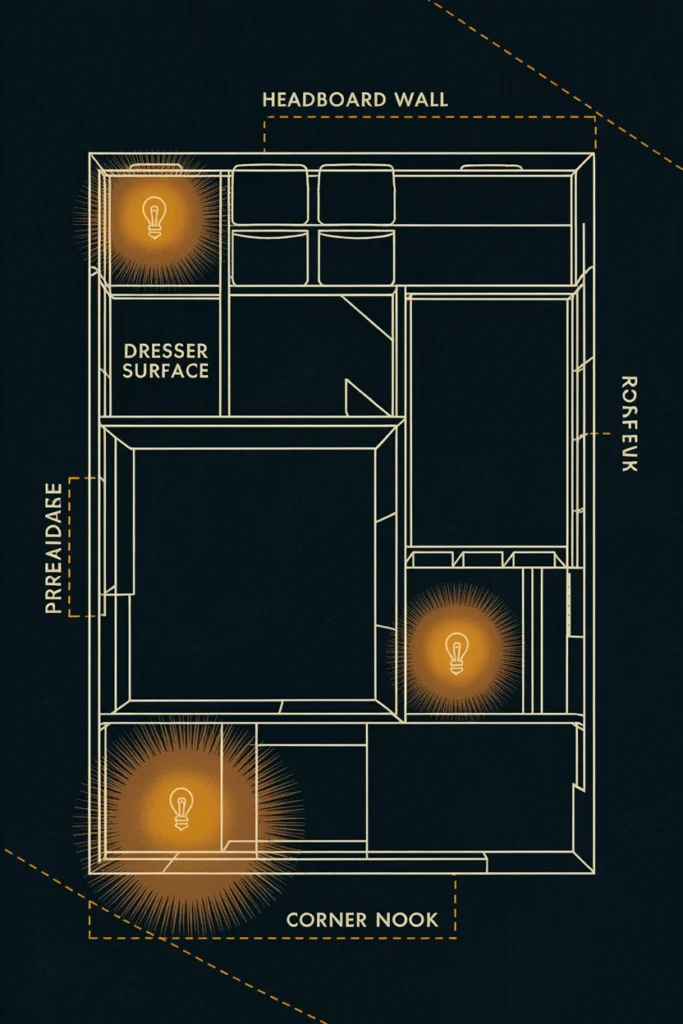
A single overhead light flattens a Halloween bedroom and kills the atmosphere immediately. Overhead-only lighting removes shadow and depth, which are the two elements that make spooky decor feel authentic rather than flat. Mapping three lighting zones before decorating prevents this mistake entirely.
Start by identifying three zones: the headboard wall, one dresser or surface, and one corner or reading nook. Assign one light source per zone at a different height — floor level, tabletop, and eye level — to create visual layering. This staggered approach adds architectural depth that a single ceiling fixture can never achieve.
| Lighting Zone | Height | Recommended Fixture |
| Headboard wall | Eye level | String lights or sconces |
| Dresser surface | Tabletop, ~36 in | Flameless candles, lantern |
| Corner nook | Floor level | Uplight or floor lantern |
| Overhead | Ceiling | Amber bulb, dimmed 30% |
Layer Moody Halloween Bedroom Lighting for Instant Atmosphere
Lighting single-handedly defines whether a Halloween bedroom looks curated or thrown together. This section covers the four fixtures that create the layered glow found in every well-styled spooky bedroom.
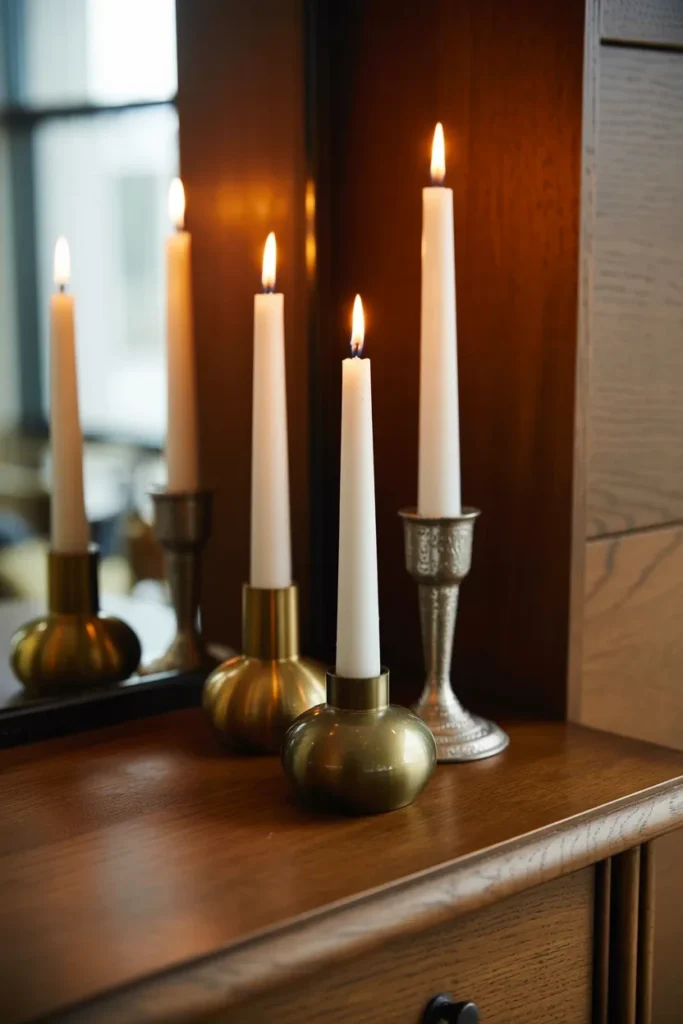
4. Install Flameless Taper Candles on the Dresser
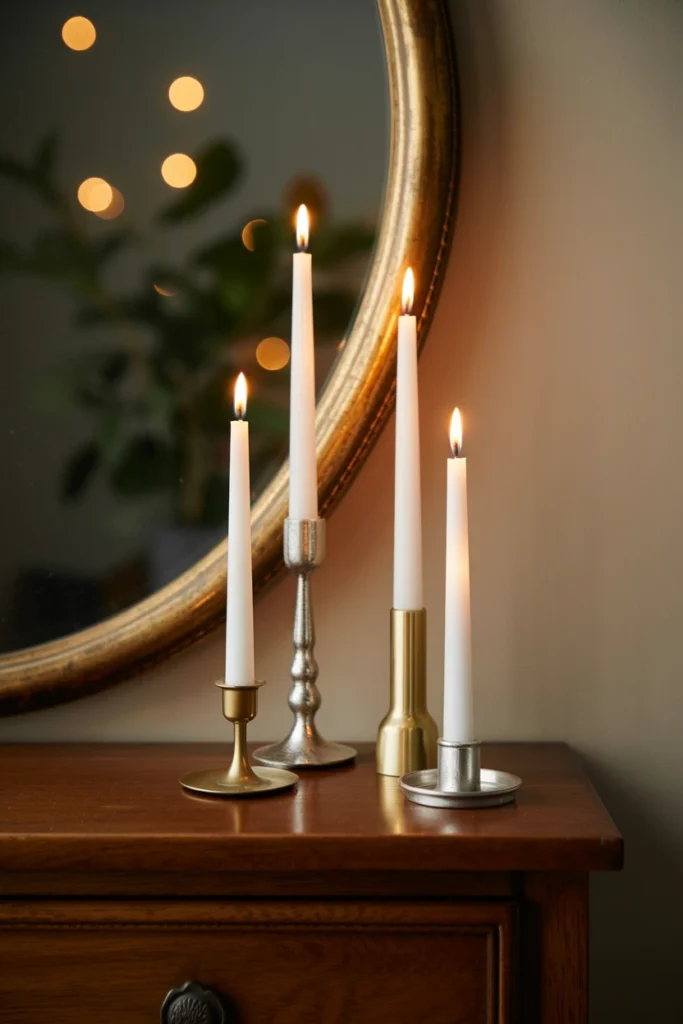
Real candles left unattended in a bedroom create a genuine fire hazard. This risk eliminates real candles as a practical option for anyone who wants ambient light without supervision every evening. Flameless taper candles solve this completely while delivering nearly identical visual warmth.
Start by grouping 3 or 5 flameless tapers in mismatched brass or pewter holders at varying heights of 8, 10, and 12 inches. Choose battery-operated tapers with a warm 2700K color temperature, not cool white. This odd-numbered, uneven-height grouping instantly reads as a curated vignette instead of a matched decor set.
| Taper Height | Best Placement | Group Size |
| 8 inches | Front of vignette | 1–2 candles |
| 10 inches | Middle of vignette | 1–2 candles |
| 12 inches | Back of vignette | 1 candle |
| Color temp | Warm 2700K only | Never cool white |
5. Hang Warm String Lights Behind the Headboard
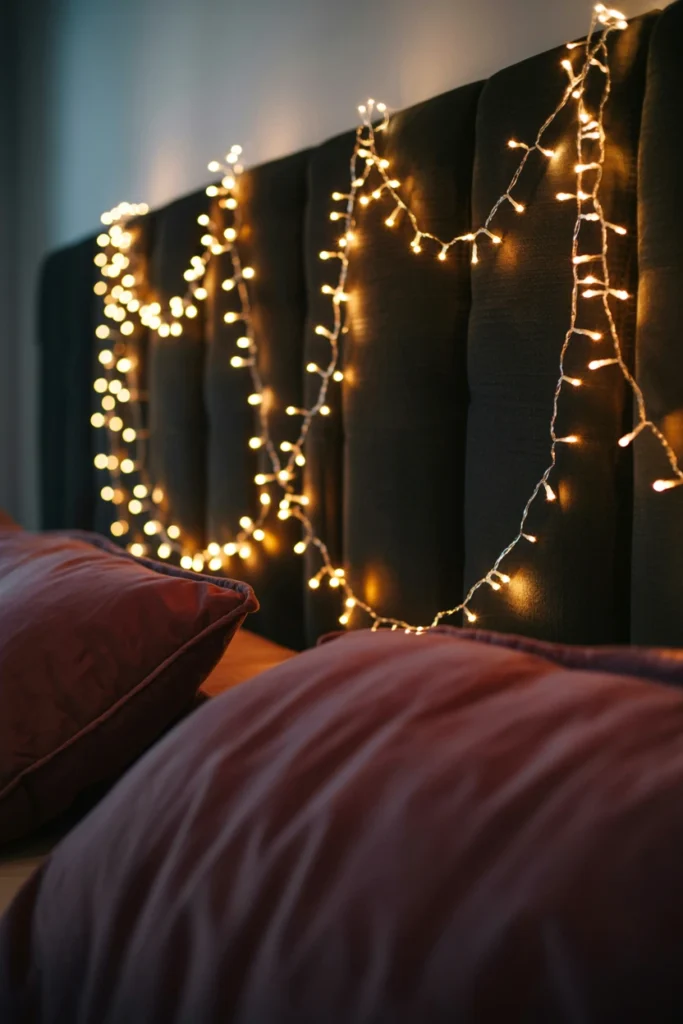
A bare headboard wall leaves the room’s largest visual surface undecorated. This gap makes the entire room feel unfinished no matter how detailed the rest of the styling becomes. Warm string lights behind the headboard fix this single largest visual gap.
Start by mounting the lights 4–6 inches above and behind the headboard using adhesive clips, not nails. Use amber or warm-white LED lights, never cool-white or multicolor strands, and drape them in a loose figure-eight pattern rather than a straight line. This uneven draping mimics candlelight far more convincingly than a symmetrical arrangement.
| String Light Type | Effect | Placement |
| Amber LED | Warm, candle-like glow | Behind headboard |
| Warm-white LED | Softer, neutral glow | Behind headboard |
| Cool-white LED | Clinical, avoid entirely | Not recommended |
| Draping style | Loose figure-eight | 4–6 in above frame |
6. Add an Amber Bulb to the Existing Overhead Fixture
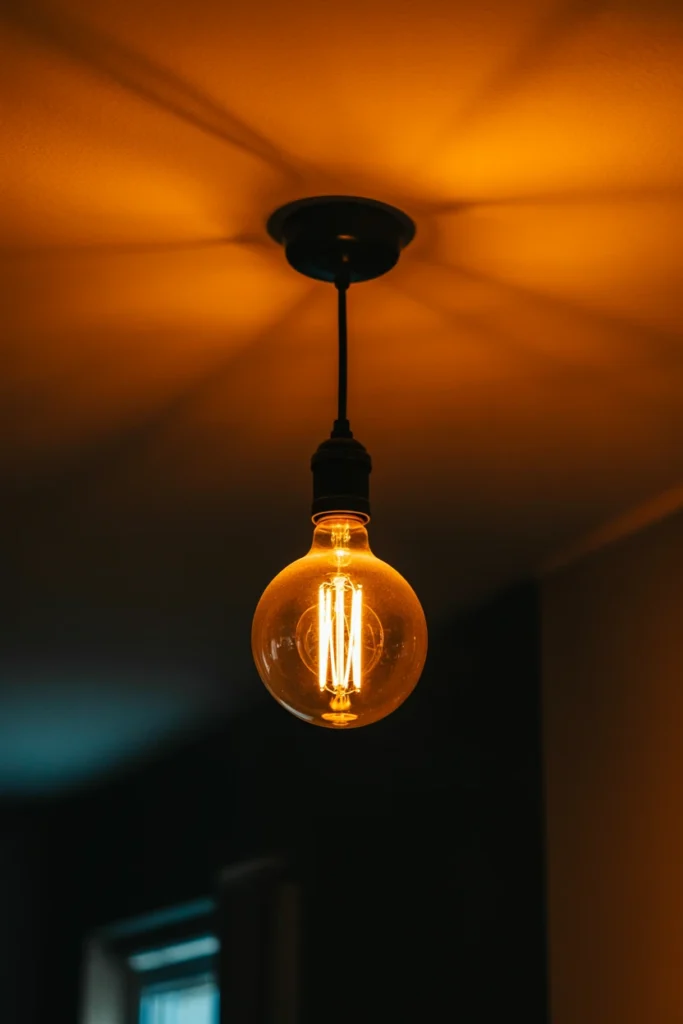
Standard white LED overhead bulbs cast a flat, clinical light. This lighting temperature works against every other spooky element in the room, no matter how much effort goes into the accent pieces. Swapping to an amber bulb corrects the room’s entire tone in under five minutes.
Start by replacing the existing bulb with a 2200K amber or Edison-style LED bulb rated at 40–60 watts equivalent. Pair it with a dimmer switch or smart bulb app so the fixture runs at 30% brightness after dark. This dimmed amber glow becomes the base layer that every other light source builds on top of.
| Bulb Type | Color Temp | Recommended Wattage |
| Amber Edison LED | 2200K | 40–60W equivalent |
| Standard warm white | 2700K | 60W equivalent |
| Standard cool white | 5000K+ | Avoid entirely |
| Dimmer setting | N/A | 30% after dark |
7. Place a Flicker-Effect Lantern on the Nightstand
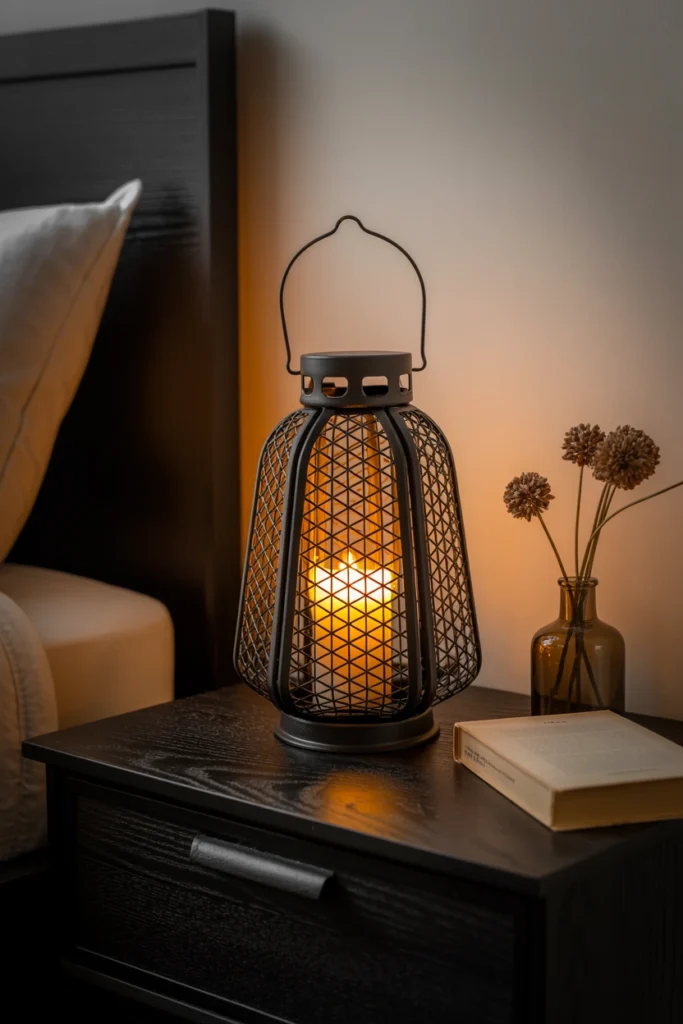
A static light source on the nightstand looks identical every single night. Static light removes the flickering, organic movement that signals “candlelight” to the eye at a subconscious level. A flicker-effect battery lantern restores that movement without an open flame.
Start by choosing a lantern with an antique black or bronze metal frame between 8 and 14 inches tall. Set the flicker mode to its lowest intensity setting, since high-intensity flicker reads as artificial rather than authentic. This low, slow flicker becomes the last thing visible before sleep and the first thing seen at night.
| Lantern Height | Frame Finish | Flicker Setting |
| 8 inches | Black metal | Low intensity |
| 10 inches | Bronze metal | Low intensity |
| 14 inches | Aged pewter | Low intensity |
| High intensity | Any finish | Avoid — looks artificial |
Add Gothic and Spooky Halloween Bedroom Accents
Gothic accents give the room its personality once the lighting foundation is set. This section covers the four accent categories that carry the most visual weight per item.
8. Drape Faux Cobwebs Across Corner Shelving
Cobwebs draped across an entire wall or doorway read as a haunted house attraction, not a bedroom. Overdone cobwebbing is the single fastest way to push a Halloween bedroom from elegant into costume-store territory. Limiting cobwebs to one corner shelf keeps the effect subtle and intentional.
Start by choosing polyester stretch cobweb material, not the stiff plastic variety, and pull it thin enough to see the shelf surface underneath. Apply it to only one corner shelf or one picture frame, never more than two spots per room. This restraint makes the cobweb detail feel discovered rather than mass-produced.
| Cobweb Material | Application Area | Max Spots in Room |
| Polyester stretch | Corner shelf | 1 spot |
| Polyester stretch | Picture frame corner | 1 spot |
| Stiff plastic | Not recommended | 0 spots |
| Full wall coverage | Not recommended | 0 spots |
9. Mount a Vintage Mirror With a Blackened Frame
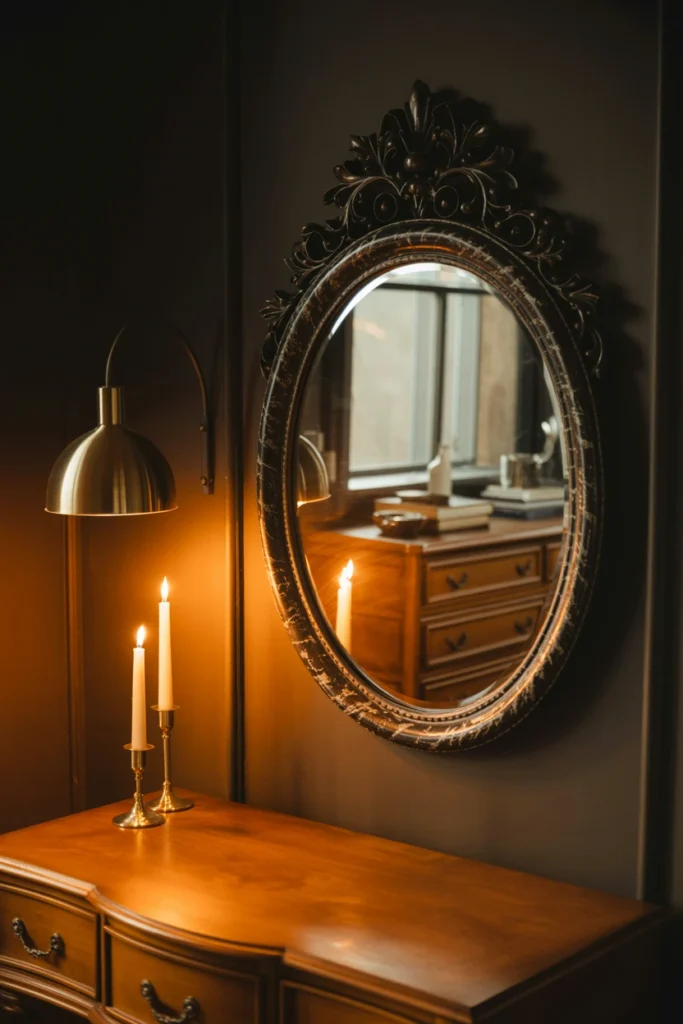
A modern mirror frame breaks the gothic atmosphere the moment it catches the eye. Mismatched hardware finishes are one of the most common mistakes in themed bedroom styling. A blackened or aged-brass mirror frame ties the wall into the rest of the room’s metallic accent.
Start by mounting an oval or arched mirror between 24 and 36 inches tall directly above the dresser, centered on the surface. Choose a frame in matte black, aged brass, or antiqued silver — matching the metallic chosen in Step 1. This mirror reflects the amber lighting from Step 6, doubling the room’s perceived glow after dark.
| Mirror Height | Best Position | Frame Finish |
| 24 inches | Small dresser | Matte black |
| 30 inches | Standard dresser | Aged brass |
| 36 inches | Wide dresser | Antiqued silver |
| Placement | Centered above surface | Any of the above |
10. Group Dried Florals in a Dark Apothecary Vase
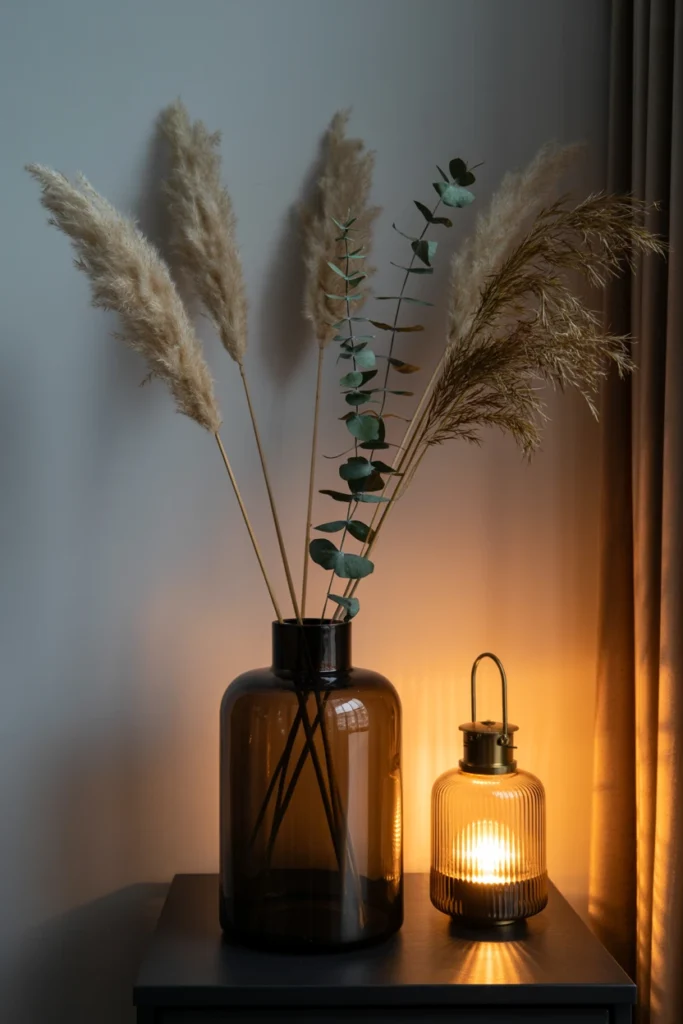
Fresh flowers wilt within a week and clash with a gothic color palette regardless of the shade chosen. This mismatch and short lifespan make fresh florals impractical for a month-long seasonal display. Dried florals in a dark vase solve both problems permanently.
Start by filling a black or dark amber glass apothecary vase with dried pampas grass, eucalyptus, or bunny tail grass in odd-numbered stems of 3, 5, or 7. Place the vase on the nightstand or dresser, never on the floor where it competes with lighting zones. This grouping adds organic texture that softens the room’s harder metallic and gothic elements.
| Stem Count | Vase Color | Best Placement |
| 3 stems | Black glass | Nightstand |
| 5 stems | Dark amber glass | Dresser |
| 7 stems | Black ceramic | Dresser (large) |
| Floor placement | Any | Avoid entirely |
11. Anchor the Bed With a Velvet Throw Blanket
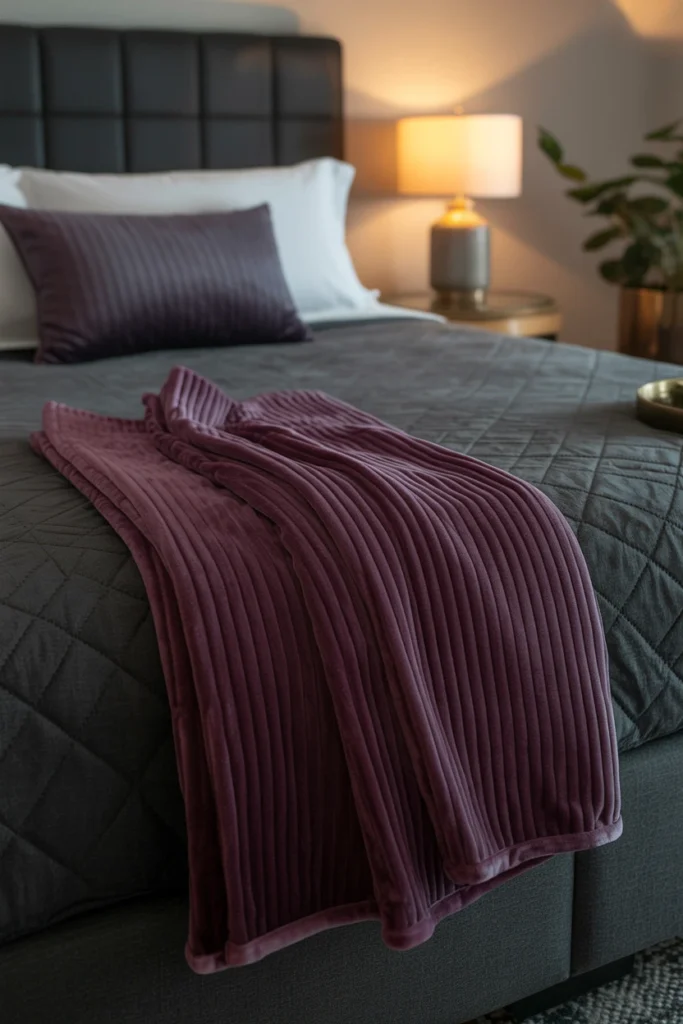
An all-cotton or all-linen bed reads as generic regardless of the color chosen. Flat, matte bedding without a texture layer misses the single easiest upgrade in the entire room. A velvet throw at the foot of the bed adds instant richness and visual weight.
Start by folding a velvet throw in the accent color from Step 1 into thirds and draping it across the lower third of the bed. Choose a throw between 50×60 and 60×80 inches so it covers roughly one-third of the mattress width. This single textile addition anchors the entire bed and photographs as the room’s focal point.
| Throw Size | Coverage | Fold Style |
| 50×60 inches | Twin/full bed | Folded in thirds |
| 60×80 inches | Queen/king bed | Folded in thirds |
| Placement | Lower third of bed | Draped, not flat |
| Fabric | Velvet only | Avoid cotton/linen |
Build a Cohesive Halloween Bedroom Color Story
A locked palette from Step 1 needs consistent application across bedding, accents, and groupings. This section covers the three rules that keep the color story from drifting once decorating begins.
12. Limit the Palette to Three Core Colors

Adding a fourth or fifth color mid-project is the most common reason a Halloween bedroom loses cohesion. Every extra color competes for attention and dilutes the intentional mood built in the earlier steps. Enforcing a strict three-color limit protects the investment already made in lighting and accents.
Start by writing the three chosen colors from Step 1 on a sticky note and keeping it with you while shopping. Reject any item — no matter how appealing — that introduces a fourth color, including packaging-only accent shades. This single rule prevents 90% of the mismatched purchases that lead to a cluttered final result.
| Rule | Applies To | Exception |
| 3-color max | All decor items | None |
| Metallic accent | Hardware, frames, vases | Brass, gold, or pewter only |
| Pattern items | Pillows, throws | Must include 2 of the 3 colors |
| New colors | Any addition | Zero tolerance |
13. Switch White Bedding for Deep Charcoal or Plum
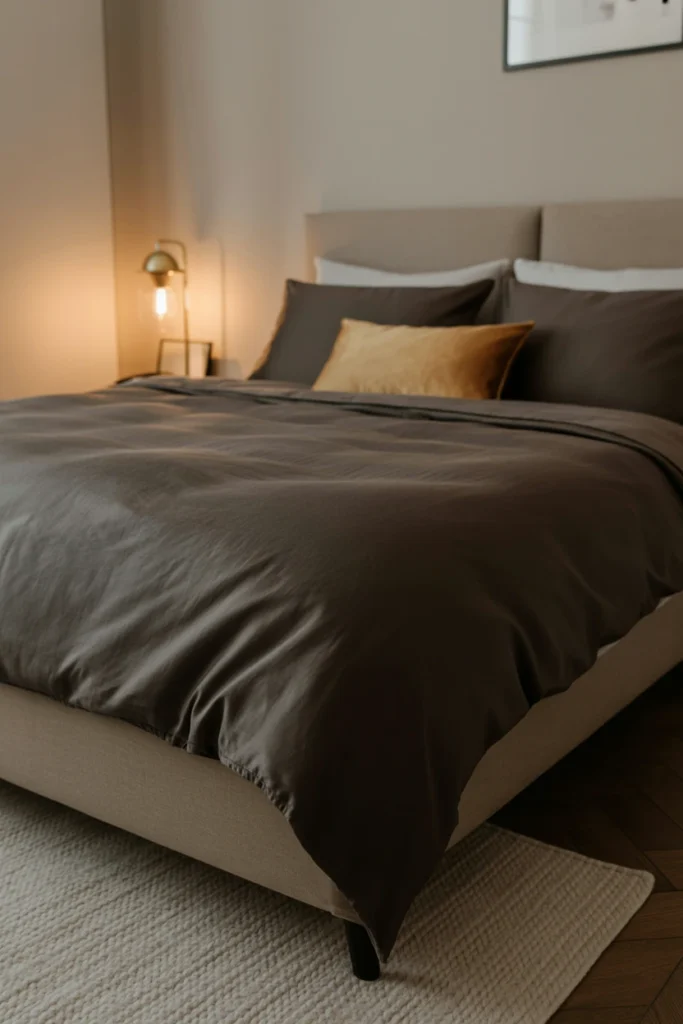
White or light gray bedding is the single biggest visual mismatch in an otherwise gothic bedroom. Bright bedding reflects light and pulls the eye away from the moodier accents surrounding it. Switching to a deep charcoal or plum duvet resolves this in one purchase.
Start by replacing the duvet cover and top sheet with a solid charcoal, plum, or deep espresso option, keeping the fitted sheet lighter for practicality. Choose a matte cotton sateen finish over glossy silk, since sateen absorbs light rather than reflecting it. This bedding swap alone shifts the entire room’s tone more than any single accent piece.
| Bedding Piece | Recommended Color | Fabric Finish |
| Duvet cover | Charcoal or plum | Matte cotton sateen |
| Top sheet | Matches duvet | Matte cotton sateen |
| Fitted sheet | Lighter neutral | Any (hidden layer) |
| Avoid | Glossy silk, white | Any bright/reflective |
14. Layer Black Accents in Odd-Numbered Groupings

Black accents placed in pairs or evenly spaced create a symmetrical, staged look. Even-numbered groupings read as matched sets rather than personally collected objects. Regrouping black accents into odd numbers instantly makes the display feel intentional and curated.
Start by pulling every black object in the room — vases, frames, candle holders — into one visual zone and regrouping them in sets of 3 or 5. Vary the height of each item within the group by at least 2 inches so the eye travels across the arrangement. This height variation, combined with the odd count, creates the layered look found in professionally styled rooms.
| Group Size | Height Variation | Visual Result |
| 3 items | Min 2 in between | Balanced triangle |
| 5 items | Min 2 in between | Layered cluster |
| Even numbers | Any | Reads as staged, avoid |
| Same height items | Any count | Reads as flat, avoid |
Style Halloween Bedroom Finishing Touches
Finishing touches are the smaller details reviewed last, after the major furniture and lighting decisions are locked in. This section covers the three touches that complete the room without adding visual clutter.
15. Style a Bookshelf Vignette With Antique Objects
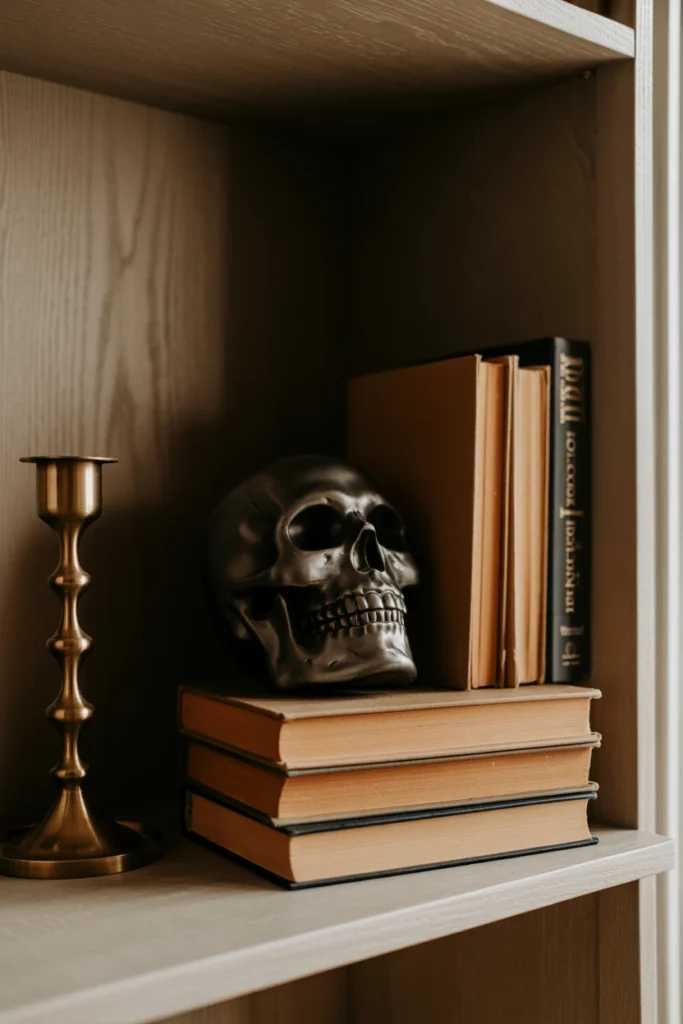
An empty or evenly-filled bookshelf misses a major opportunity for gothic detail. Uniform book spacing without varied objects reads as unstyled no matter how many books fill the shelf. A single curated vignette turns the bookshelf into a focal point.
Start by clearing one 12–18 inch section of shelf and layering 3–4 items: a stack of hardcover books, one small antique object, and one brass candlestick. Angle the books at a slight tilt rather than stacking them perfectly straight. This intentional imperfection is what separates a styled vignette from a generic display.
| Vignette Width | Item Count | Key Piece |
| 12 inches | 3 items | Small brass candlestick |
| 18 inches | 4 items | Antique object or skull |
| Book stack | 2–4 books | Slight tilt, not straight |
| Item spacing | Overlapping, not lined up | Creates depth |
16. Arrange a Silhouette Display on the Windowsill
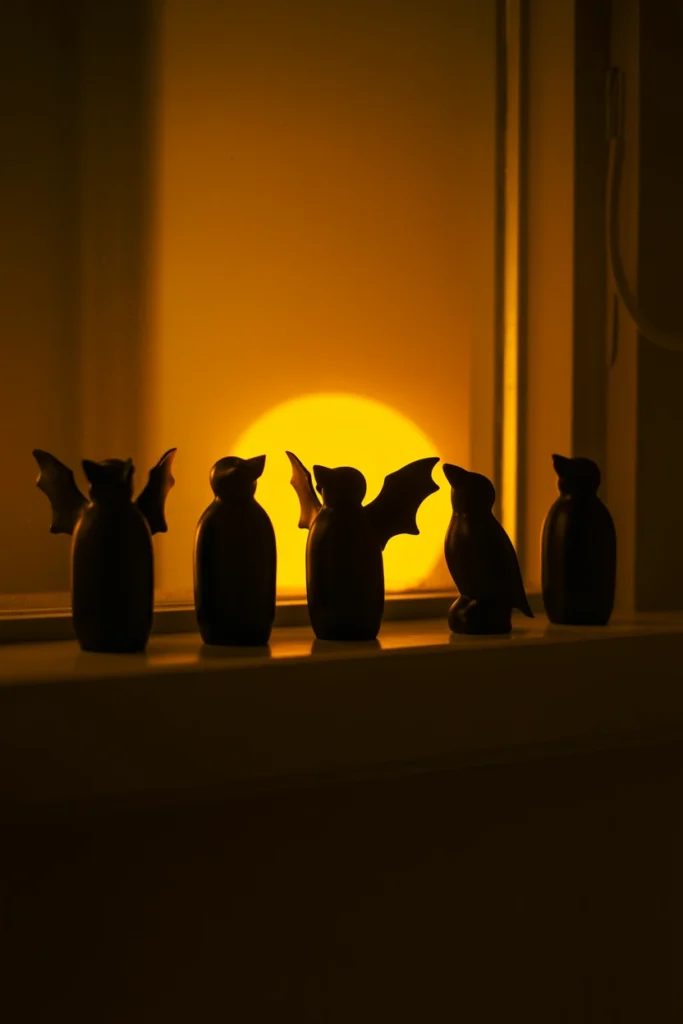
A bare windowsill during Halloween season wastes one of the room’s most visible surfaces at night. Backlit surfaces catch the eye more than any wall decor, especially after dark. A row of black silhouette figures on the sill uses this natural backlighting.
Start by placing 3–5 matte black silhouette figures — bats, ravens, or a single cat — spaced 4–6 inches apart along the windowsill. Choose figures under 8 inches tall so they don’t block natural daylight during the day. Their solid black shape turns into a striking silhouette the moment the sun sets behind them.
| Figure Count | Spacing | Max Height |
| 3 figures | 4–6 in apart | 8 inches |
| 5 figures | 4–6 in apart | 6 inches |
| Material | Matte black only | Avoid glossy finish |
| Daylight impact | Minimal blockage | Keep under 8 in |
17. Replace Generic Throw Pillows With Textured Velvet

Flat cotton throw pillows in random Halloween prints undo the cohesive palette built in Steps 12–14. Printed pumpkin or ghost pillows introduce pattern and color outside the locked three-color story. Solid velvet pillows in the accent color replace pattern with texture instead.
Start by swapping existing pillows for 2 solid velvet pillows in the plum or burgundy accent color, sized 18×18 or 20×20 inches. Add one smaller 12×20 lumbar pillow in the metallic accent fabric for contrast. This texture-over-pattern approach keeps the bed visually rich without breaking the three-color rule from Step 12.
| Pillow Type | Size | Fabric |
| Main pillows (x2) | 18×18 or 20×20 in | Solid velvet |
| Lumbar pillow | 12×20 in | Metallic accent fabric |
| Avoid | Any size | Printed Halloween pattern |
| Total pillow count | 3 maximum | Prevents overcrowding |
Maintain Your Halloween Bedroom All Season
A styled Halloween bedroom needs light upkeep to stay looking intentional through the full season. This section covers the two habits that prevent seasonal decor from sliding into clutter.
18. Establish a Weekly Candle and Light Check Routine
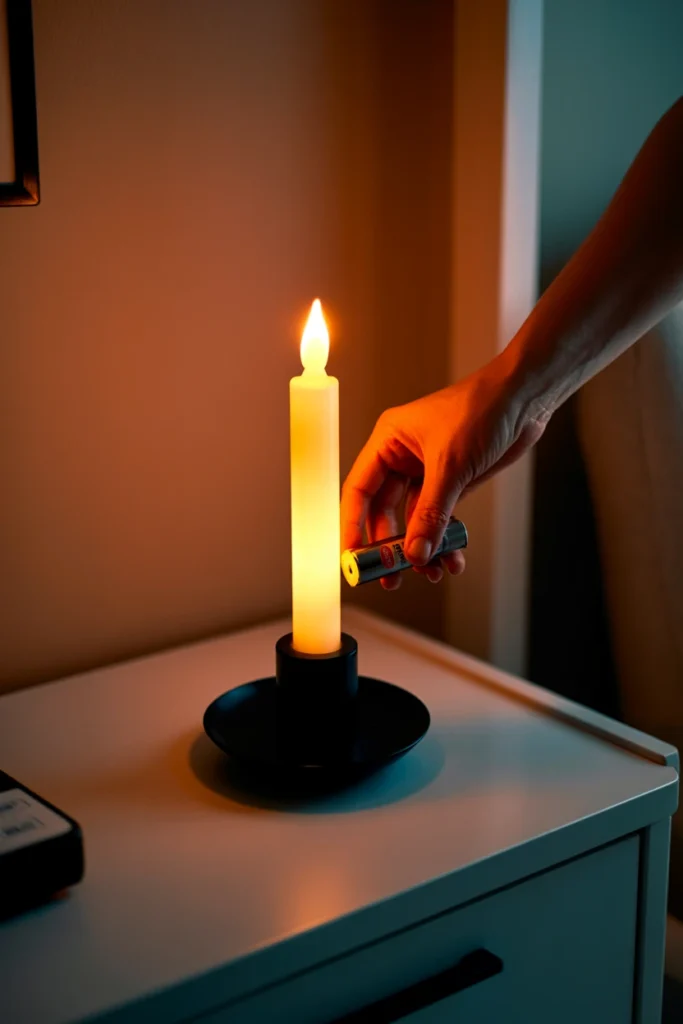
Battery-powered lights and flameless candles run out of power without warning. A dead light source in one lighting zone breaks the layered effect built in Steps 4–7 and goes unnoticed for days. A five-minute weekly check keeps every zone functioning.
Start by checking all battery-operated lights every Sunday evening, replacing batteries at the first sign of dimming rather than waiting for full failure. Keep a small stock of the correct battery sizes — typically AA or AAA — in the nightstand drawer. This weekly habit prevents the gradual, unnoticed decline that makes a room feel neglected by late October.
| Check Frequency | Item | Action |
| Weekly | Flameless candles | Replace at first dim sign |
| Weekly | String lights | Check for dead sections |
| Weekly | Lanterns | Test flicker function |
| Battery stock | AA/AAA | Keep 4+ spare in drawer |
19. Remove Seasonal Pieces That No Longer Feel Intentional

Leaving every Halloween item up until November 1st guarantees some pieces will look tired or dusty before the season ends. Decor left too long past its visual peak reads as forgotten rather than styled. A mid-season edit keeps the room feeling current for the full month.
Start by walking through the room every two weeks and removing any single item that looks dusty, faded, or out of place. Replace it with a stored backup piece or simply leave the space empty rather than filling it with a mismatched substitute. This ongoing edit keeps the three-color story from Step 12 intact through the entire season.
| Review Frequency | What to Remove | Replacement Rule |
| Every 2 weeks | Dusty or faded items | Backup piece or leave empty |
| Every 2 weeks | Out-of-palette items | Never substitute off-palette |
| Full removal | Single-season plastic pieces | After Halloween night |
| Year-round keepers | Lighting, velvet, mirror | Store for reuse |
Common Halloween Bedroom Decorating Mistakes That Kill the Mood
These eight mistakes appear most often in Halloween bedrooms that miss the intended atmosphere. Each one has a specific, low-cost correction.
| Mistake | Why It Hurts the Space | Better Alternative |
| Using only overhead lighting | Flattens shadow and removes depth | Add 3 layered lighting zones (Step 3) |
| Mixing more than 3 colors | Reads as cluttered, not cohesive | Lock a 3-color palette (Step 12) |
| Draping cobwebs on every surface | Looks like a costume shop, not a bedroom | Limit to 1–2 corner spots (Step 8) |
| Using cool-white LED bulbs | Creates a clinical, sterile tone | Switch to 2200–2700K amber bulbs (Step 6) |
| Leaving real candles unattended | Creates a genuine fire hazard | Use flameless tapers (Step 4) |
| Grouping decor in even numbers | Reads as staged and symmetrical | Regroup in sets of 3 or 5 (Step 14) |
| Using printed pumpkin pillows | Breaks the locked color story | Swap for solid velvet pillows (Step 17) |
| Skipping seasonal upkeep | Decor looks dusty by late October | Review and edit every 2 weeks (Step 19) |
Halloween Bedroom Ideas by Room Type
Small Bedroom
A small bedroom has limited wall and floor space for layered decor. The core constraint here is fitting three lighting zones and gothic accents without creating visual clutter in a tight footprint.
Key strategies for small bedrooms:
- Mount the mirror from Step 9 opposite the window to bounce natural and amber light across the room.
- Choose a single 8-inch lantern instead of multiple large pieces to save surface space.
- Skip the bookshelf vignette from Step 15 if shelving is under 24 inches wide.
- Use wall-mounted string lights instead of floor lanterns to keep the floor clear.
- Limit accent groupings to sets of 3, not 5, to avoid overcrowding small surfaces.
Rental or Apartment Bedroom
Rental leases often restrict paint, nail holes, and permanent fixture changes. The core constraint here is achieving the full look using only removable, damage-free methods.
Key strategies for rental bedrooms:
- Use adhesive clips rather than nails for every string light installation.
- Choose a freestanding mirror on the dresser instead of a wall-mounted option from Step 9.
- Rely on bulb swaps and lamps for the amber lighting effect instead of rewiring fixtures.
- Add removable, low-tack wallpaper strips behind the headboard for texture without paint.
- Store all seasonal pieces in labeled bins for easy reuse in a future rental.
Master Bedroom
A master bedroom typically has more square footage and multiple furniture pieces to coordinate. The core constraint here is extending the color story across a larger space without diluting it.
Key strategies for master bedrooms:
- Repeat the velvet throw fabric from Step 11 on a bench or accent chair for consistency.
- Add a second, smaller lighting zone near a reading chair or seating area.
- Extend the black accent grouping from Step 14 across both nightstands symmetrically as a pair.
- Use a larger 36-inch mirror from Step 9 to match the room’s larger scale.
- Add a runner rug in the accent color to visually anchor a larger floor area.
Kids’ Bedroom
A kids’ bedroom requires safety-first decisions around lighting and small decorative objects. The core constraint here is keeping the atmosphere playful rather than genuinely frightening.
Key strategies for kids’ bedrooms:
- Skip apothecary vases and skull objects from Step 10, choosing pumpkin or bat shapes instead.
- Use only battery-operated lights, never any open-flame or heat-emitting option.
- Choose friendly silhouette shapes like cats or ghosts instead of ravens for Step 16.
- Keep small decorative objects out of reach on shelving above 4 feet.
- Soften the palette from Step 12 with orange in place of deep plum for a lighter mood.
Frequently Asked Questions
How do you decorate a bedroom for Halloween?
Start with a locked three-color palette, then layer lighting across three zones before adding any accents. This order — palette, lighting, accents — prevents the mismatched, cluttered look that comes from buying decor randomly. Focus the budget on lighting first, since it has the biggest visual impact on a Halloween bedroom.
What are Halloween bedroom decor mistakes to avoid?
The most common mistakes are relying on overhead-only lighting, mixing more than three colors, and overusing cobwebs across every surface. Each of these choices removes the layered, intentional look that separates a styled bedroom from a costume display. Correcting even one of these mistakes noticeably improves the room.
How do I decorate a Halloween bedroom on a budget?
Split the budget 50% lighting, 30% accents and textiles, and 20% seasonal-specific pieces, capping single-use items at 20% of the total. Prioritize a bulb swap and flameless candles first, since both cost under $30 combined and change the entire room’s tone. Reusable pieces like the velvet throw and mirror carry the investment into future years.
How do you decorate a small bedroom for Halloween?
Focus on one mirror to bounce light, one lantern instead of multiple pieces, and wall-mounted string lights to keep the floor clear. Small Halloween bedroom decor works best with fewer, more impactful items rather than many small pieces. Grouping accents in sets of 3 instead of 5 also prevents overcrowding.
Should I use fake or real candles for Halloween decor?
Flameless taper candles are the better choice for an unattended bedroom, since real candles create a genuine fire hazard overnight. Battery-operated tapers with a warm 2700K color temperature deliver nearly identical ambiance without the risk. Real candles are only appropriate for a room actively supervised while lit.
How often should I refresh Halloween bedroom decor?
Review the room every two weeks and remove any item that looks dusty, faded, or out of place. This keeps the space looking intentional through the full six-to-eight week Halloween season rather than tired by late October. Full seasonal pieces come down after Halloween night, while lighting and textiles stay for year-round use.
Does Halloween bedroom decor work in a rental?
Yes, using adhesive clips, freestanding pieces, and bulb swaps instead of nails or wiring changes. A rental Halloween bedroom can achieve the full layered lighting and gothic accent look without violating a standard lease agreement. Removable wallpaper strips add texture behind the headboard without any wall damage.
How much does it cost to decorate a bedroom for Halloween?
Total cost depends on the fixed budget set in Step 2, but a functional lighting-first setup typically runs $80–150 for bulbs, flameless candles, and string lights. Accent pieces like a mirror or velvet throw add $50–120 depending on quality, though both carry over as year-round decor. Seasonal-only pieces should stay under 20% of the total budget.
How do you take down Halloween decor without damage?
Remove adhesive clips slowly at a low angle to avoid pulling paint, and store batteries separately from string lights to prevent corrosion during off-season storage. Fold the velvet throw and pillows into a labeled bin alongside the mirror, keeping all reusable pieces together for next year. Seasonal-only items like silhouette figures pack flat in a separate, smaller bin.
Conclusion
A Halloween bedroom reaches its full atmosphere through layered lighting, a locked three-color palette, and gothic accents grouped in odd numbers. Start with the amber bulb swap from Step 6 and the flameless tapers from Step 4, since both changes take under fifteen minutes and shift the entire room’s tone immediately. From there, add one accent category per weekend rather than everything at once.
Consistent upkeep — the weekly light check and the biweekly edit — keeps the room looking styled through the entire season, not just on the first night. A Halloween bedroom built on these principles reads as intentional design, not seasonal clutter.