
A styled Halloween dining table transforms an ordinary dinner into an event guests remember for years. This kind of tablescape does more than look festive — it directly shapes how relaxed, curious, and delighted every person feels the moment they sit down. This guide delivers 26 tested strategies for centerpieces, linens, place settings, lighting, and long-term upkeep. Start with the foundation steps before adding a single pumpkin.
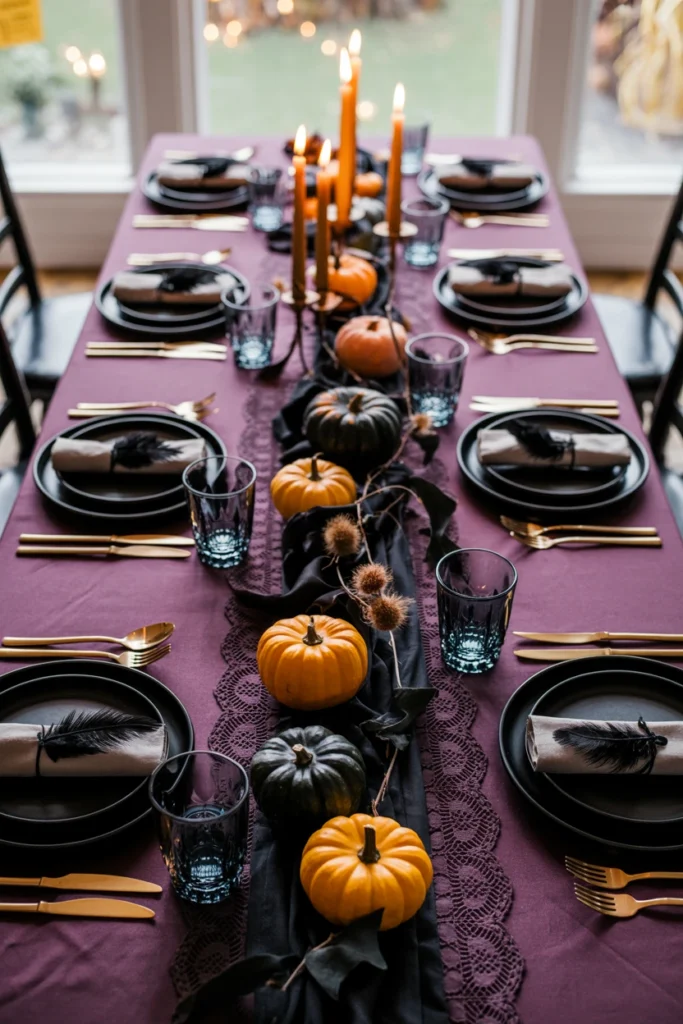
Before You Begin: 4 Foundation Steps for Halloween Dining Table Decor
Every strong Halloween dining table decor plan starts before any object touches the surface. These four steps prevent the two most common failures: visual clutter and mismatched proportions.
1. Measure Your Table Before Buying Any Decor
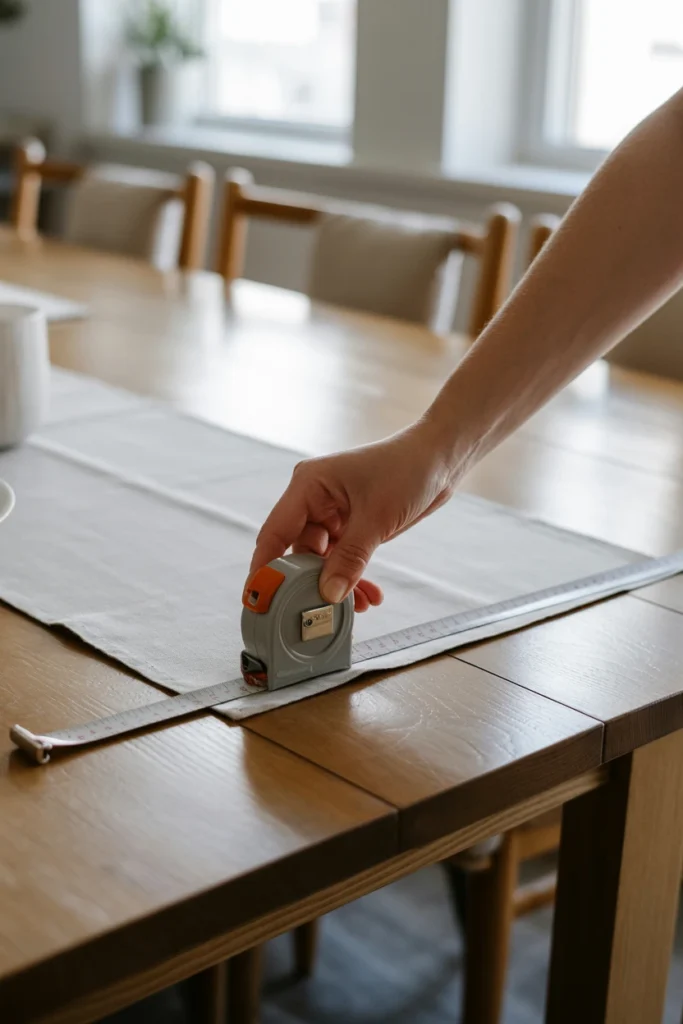
Guessing at scale is the fastest way to ruin a Halloween tablescape. A centerpiece bought without measurements either overwhelms a small table or disappears on a large one, wasting both money and setup time.
Start by measuring your table’s length and width with a tape measure, not an estimate. For a runner or centerpiece cluster, plan for it to cover 60–70% of the table’s length while leaving 12 inches clear on each end for place settings. This single step prevents the single most common tablescape mistake: a centerpiece that blocks sightlines across the table.
| Table Length | Recommended Centerpiece Length |
| 48 inches (4-seat round) | 20–24 inches |
| 72 inches (6-seat rectangular) | 40–48 inches |
| 96 inches (8-seat rectangular) | 55–65 inches |
| 120 inches (10-seat banquet) | 75–85 inches |
2. Choose a Color Palette Limited to Three Tones
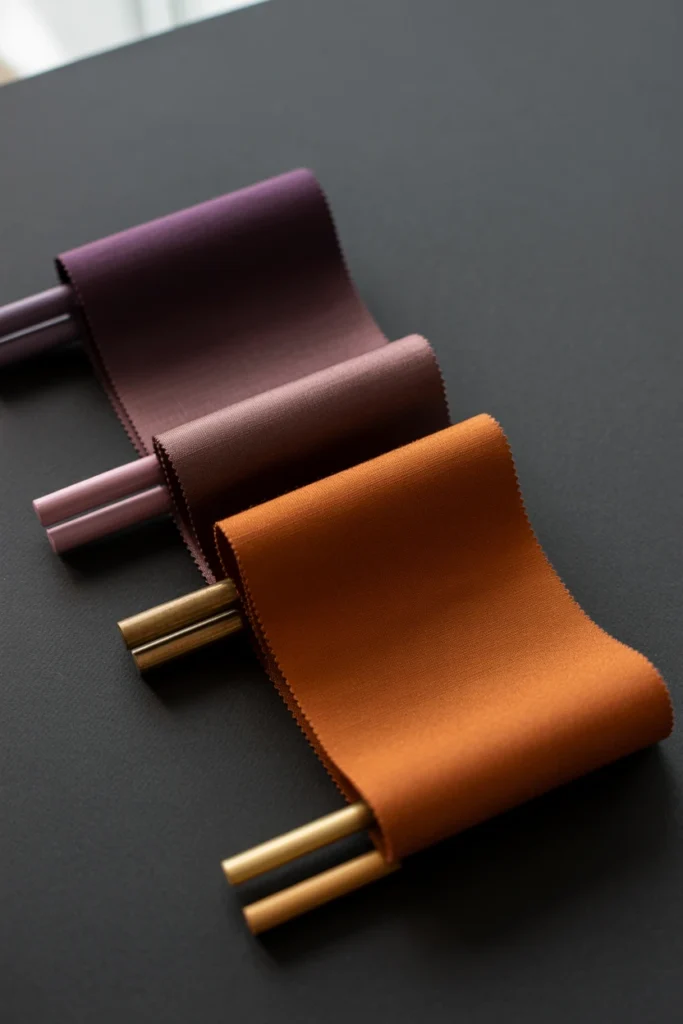
An unlimited color palette reads as chaotic rather than festive. Every additional color beyond three forces the eye to work harder to find a focal point, and the table stops feeling intentional.
Start by selecting one dominant tone, one accent tone, and one metallic or neutral. A reliable combination is deep plum as dominant, burnt orange as accent, and aged brass as metallic — this trio reads as elegant Halloween rather than costume-party Halloween. Sticking to three tones also makes every future decor purchase easier, since anything outside the palette gets an automatic no.
| Palette Style | Three-Tone Combination |
| Classic spooky | Black, burnt orange, aged brass |
| Elegant gothic | Deep plum, charcoal, antique gold |
| Harvest-forward | Rust, cream, warm copper |
| Modern minimal | Black, white, matte gold |
3. Clear the Table Completely Before Layering
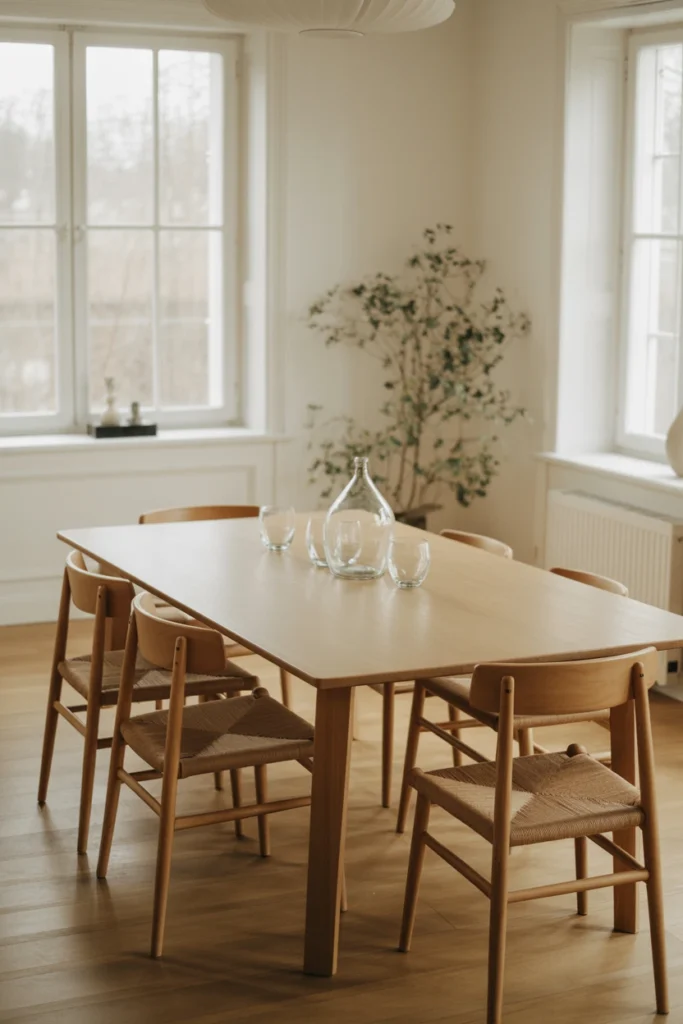
Building Halloween decor on top of everyday tableware creates visual noise before you’ve added a single intentional piece. Leftover mail, fruit bowls, or daily placemats compete with the new palette and flatten the entire effect.
Remove every object from the table surface, including placemats and centerpiece items you plan to reuse. Wipe the surface down and set reused pieces aside in the order you plan to add them back, starting with linens. This reset step consistently produces a table that photographs 40% cleaner than one styled over existing clutter.
| Item Type | Remove Before Styling |
| Everyday placemats | Yes |
| Fruit bowls / catchalls | Yes |
| Salt and pepper sets | Optional — restyle to match palette |
| Table runner (if reusing) | Yes, then reintroduce last |
4. Set a Budget by Decor Category Before Shopping
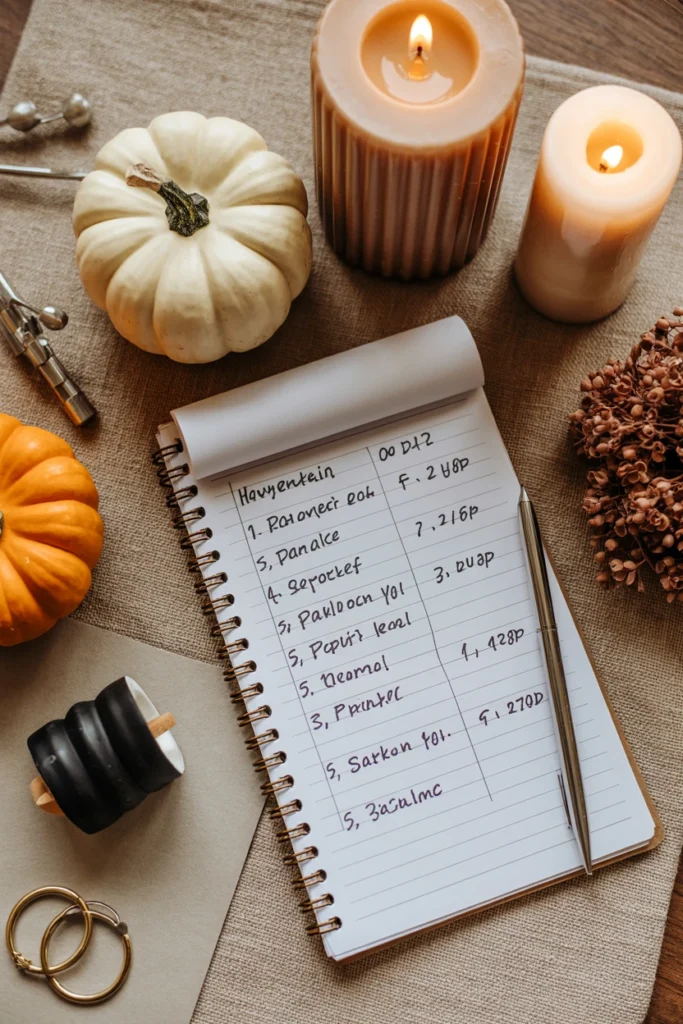
Shopping without a category budget leads to overspending on candles while underspending on the centerpiece that actually anchors the table. This imbalance is the reason many Halloween tables look expensive in pieces but cheap as a whole.
Divide your total budget across four categories before browsing: 35% centerpiece, 25% linens, 20% lighting, 20% tableware accents. This allocation directly prevents the common trap of buying five small items instead of one strong focal piece.
| Budget Category | Percentage of Total |
| Centerpiece | 35% |
| Linens | 25% |
| Lighting | 20% |
| Tableware accents | 20% |
Centerpiece and Focal Point Styling for a Halloween Table
The centerpiece defines the entire table’s mood before guests notice anything else. This section covers how to build a focal point that holds attention without blocking conversation across the table.
5. Anchor the Center With a Single Statement Piece
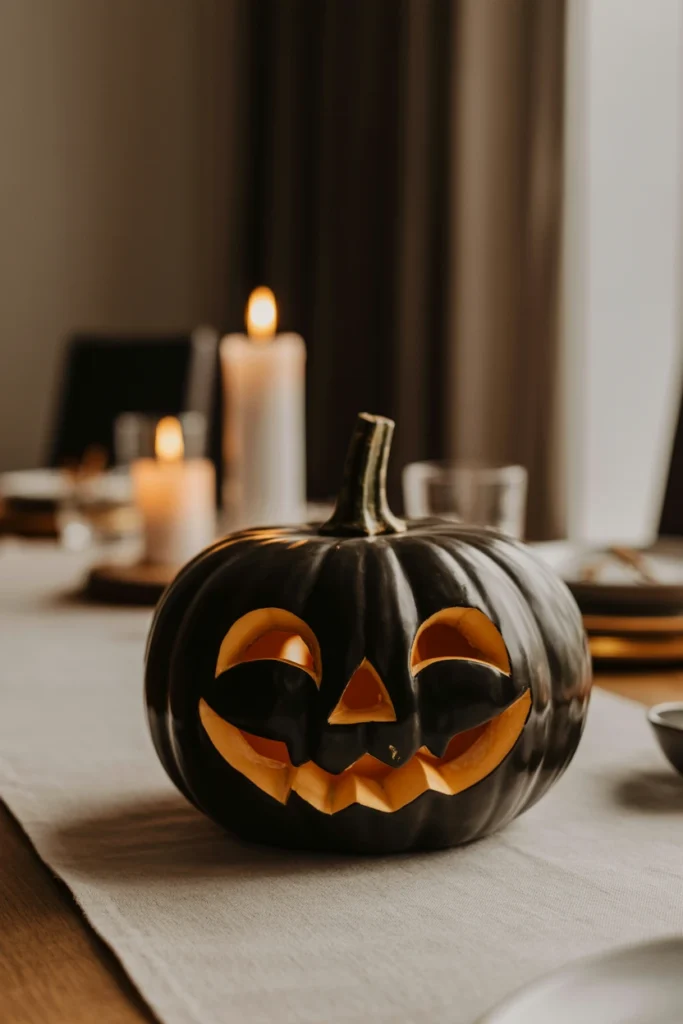
A table with five competing decorative items has no focal point at all. Guests’ eyes bounce between objects instead of settling, which makes even expensive decor read as cluttered rather than curated.
Start by choosing one piece under 14 inches tall to serve as the anchor — a carved pumpkin urn, a black ceramic raven, or a large glass hurricane candle holder all work. Place it at the exact center of the table, then build every other element around it at a lower visual weight. This single-anchor approach creates an immediate hierarchy that eliminates 90% of centerpiece clutter.
| Anchor Piece | Best Table Size |
| Carved pumpkin urn (10–12 in) | 6-seat rectangular |
| Black ceramic raven statue | 4-seat round |
| Glass hurricane candle (14 in) | 8-seat rectangular |
| Antique compote bowl | Any size, formal setting |
6. Build a Pumpkin Cluster in Odd Numbers
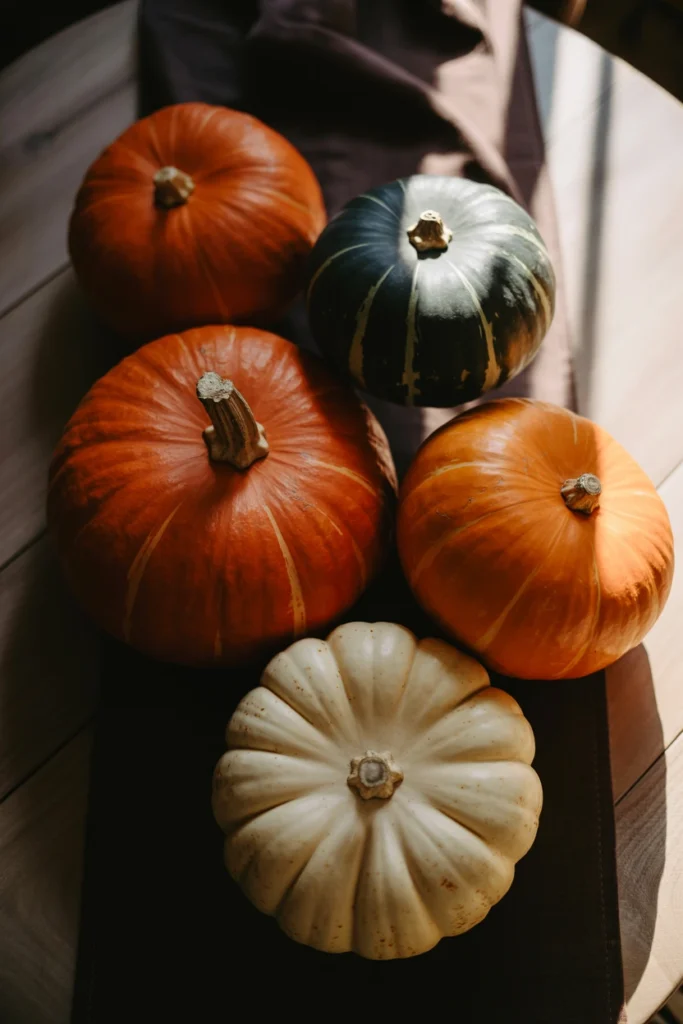
Even-numbered pumpkin groupings create visual symmetry that reads as staged rather than gathered. Odd numbers consistently photograph and read as more natural and intentional.
Start with a cluster of three or five pumpkins in varying sizes — never matching heights. Place the tallest slightly off-center and graduate down in size toward the table’s edge, mixing at least two colors from your palette. This grouping method creates depth that a single row of matching pumpkins can never achieve.
| Cluster Size | Height Mix |
| 3 pumpkins | 8 in, 5 in, 3 in |
| 5 pumpkins | 10 in, 7 in, 5 in, 4 in, 2 in |
| 7 pumpkins (long table) | Graduated 12 in down to 2 in |
| Mini-only cluster | All under 4 in, group tightly |
7. Layer Height With a Tiered Stand or Candelabra
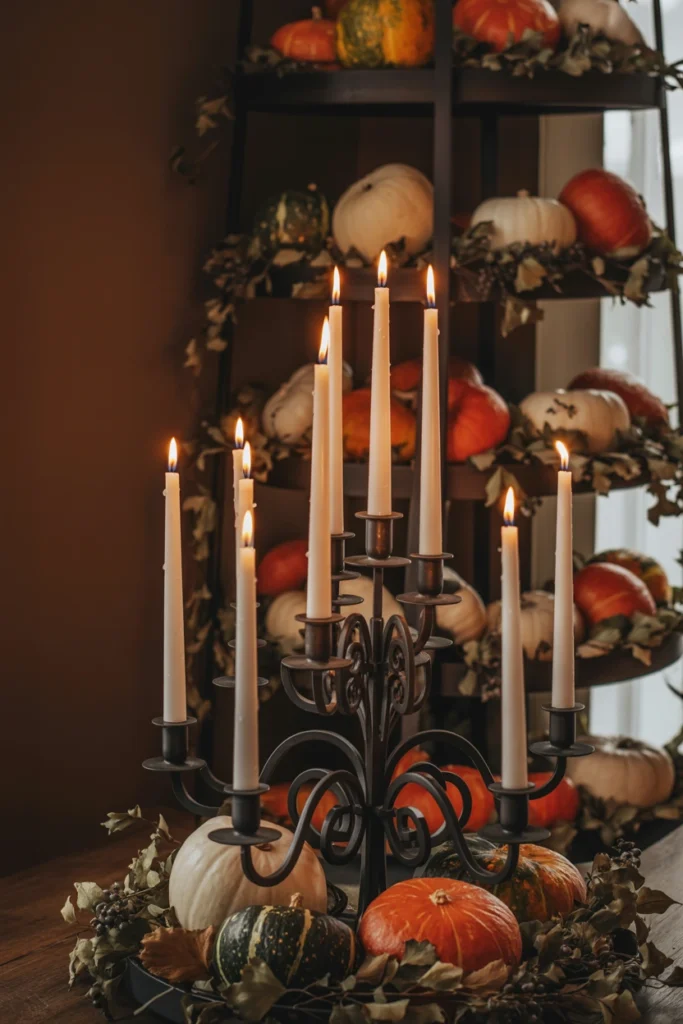
A completely flat tablescape reads as underdressed no matter how many items sit on the surface. Height variation is what separates a styled table from a table that simply has objects on it.
Start by placing one tiered stand or candelabra at 14–18 inches tall near the center, then layer pumpkins, candles, and foliage at three distinct height bands: low (2–4 in), mid (6–10 in), and tall (14+ in). This three-tier structure creates the layered silhouette that reads as professionally styled in every photograph.
| Height Band | Item Examples |
| Low (2–4 in) | Mini pumpkins, votives |
| Mid (6–10 in) | Medium pumpkins, short candles |
| Tall (14+ in) | Candelabra, tall tapers, urns |
| Structural (16–20 in) | Branches, dried florals |
8. Group Mini Pumpkins Along the Table’s Length
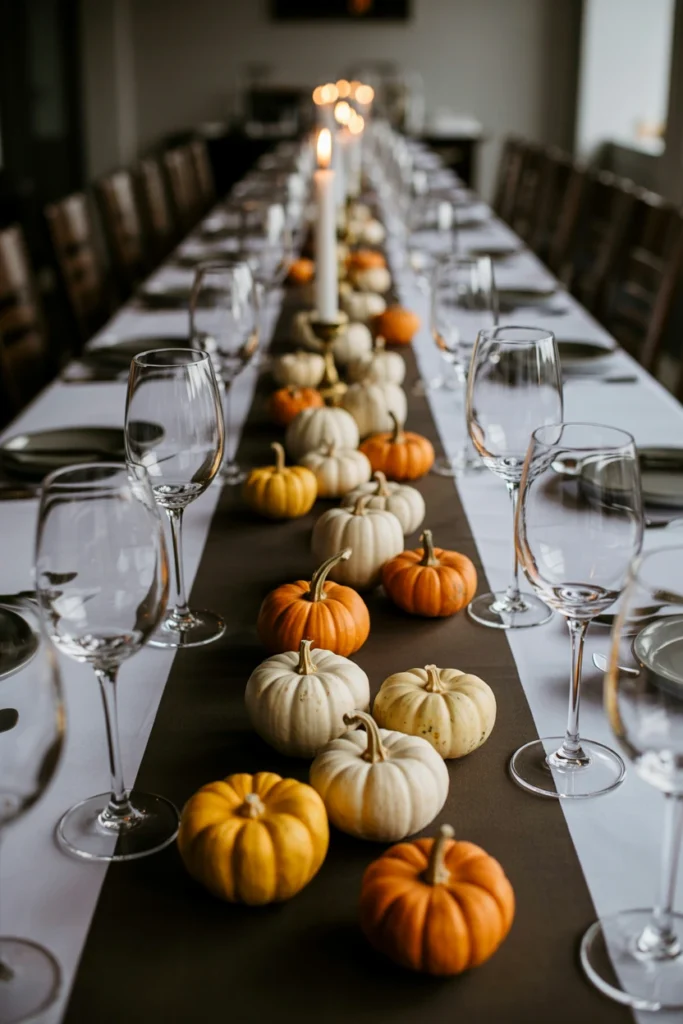
Concentrating all decor in the center leaves the ends of a long table looking bare and disconnected. This gap breaks the visual line and makes the table feel unfinished from a seated guest’s perspective.
Start by scattering mini pumpkins in clusters of two or three every 12–15 inches along the runner’s length, keeping the center cluster the largest. Vary the orientation — some upright, some on their sides — to avoid a repetitive row effect. This extends the styled look end-to-end instead of concentrating it in one spot only.
| Table Length | Mini Pumpkin Clusters Needed |
| 48 inches | 2 clusters |
| 72 inches | 3–4 clusters |
| 96 inches | 5–6 clusters |
| 120 inches | 7–8 clusters |
Layering Linens and Textures for a Spooky Tablescape
Linens and texture set the tactile mood of a Halloween table before anyone sits down. This section covers how to layer fabric and natural elements without flattening the palette established earlier.
9. Add a Textured Table Runner Over a Solid Cloth
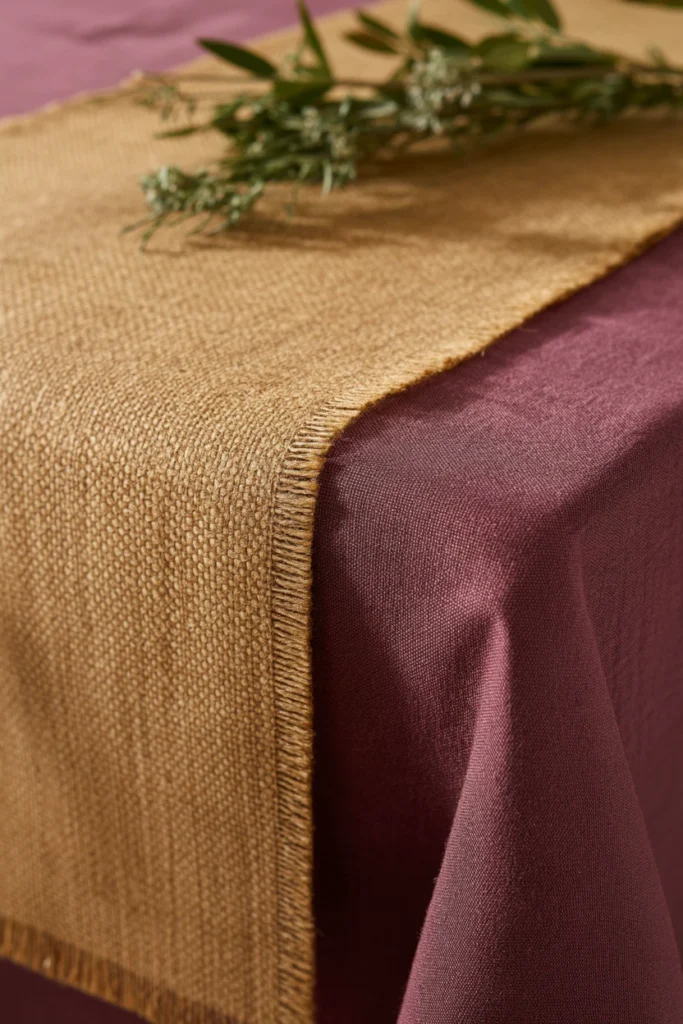
A single flat tablecloth with no texture layer reads as unfinished, even in the correct color palette. Texture is what signals intentional styling instead of a quick fabric swap.
Start with a solid tablecloth in your dominant tone, then layer a textured runner — burlap, velvet, or lace — down the center in your accent or metallic tone. Keep the runner width to roughly one-third of the table’s width so it frames rather than covers the base cloth. This two-layer approach adds depth that a single tablecloth alone cannot deliver.
| Runner Material | Best Palette Style |
| Burlap | Harvest-forward, rustic |
| Velvet | Elegant gothic |
| Black lace | Classic spooky |
| Linen with metallic thread | Modern minimal |
10. Layer a Black Tablecloth With a Sheer Overlay
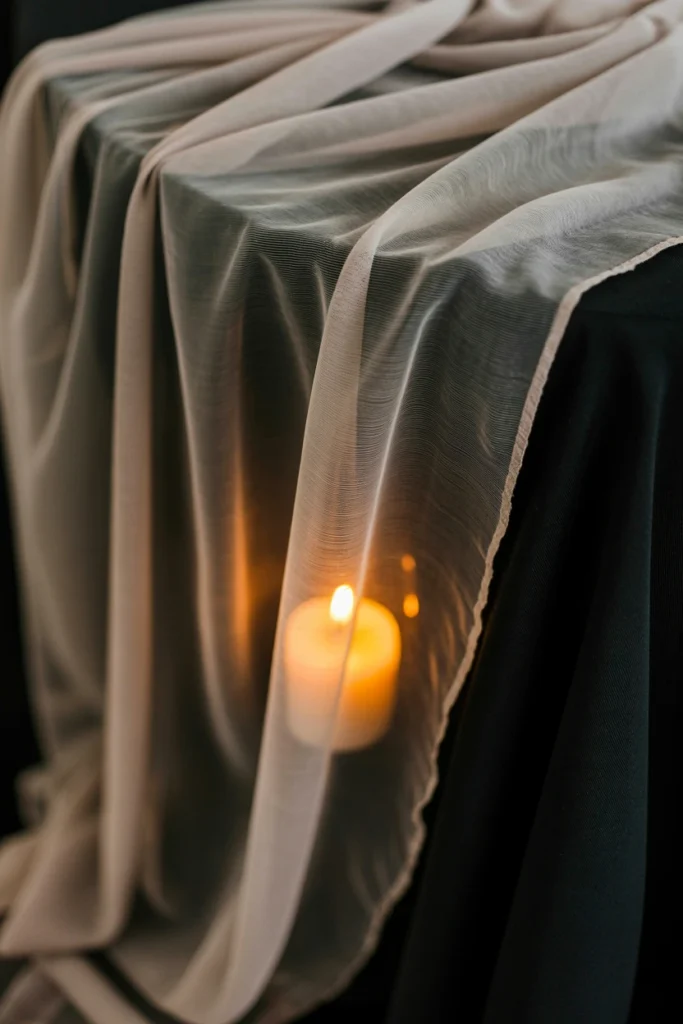
A solid black tablecloth alone can read as flat or heavy under lighting, absorbing light instead of reflecting the candle glow set up elsewhere on the table. This flattens the entire lighting design covered later in this guide.
Start with a black or charcoal base cloth, then add a sheer overlay in a smoky gray, burnt orange, or cobweb-print fabric on top. Let the overlay hang slightly asymmetrically rather than perfectly centered for a more organic, collected look. This layering technique catches candlelight in a way a single solid cloth never does.
| Overlay Fabric | Visual Effect |
| Smoky gray chiffon | Softens black, adds movement |
| Burnt orange organza | Warms the palette under light |
| Cobweb-print tulle | Adds texture without extra objects |
| Metallic gold mesh | Elevates to formal gothic |
11. Introduce Natural Elements Like Dried Branches
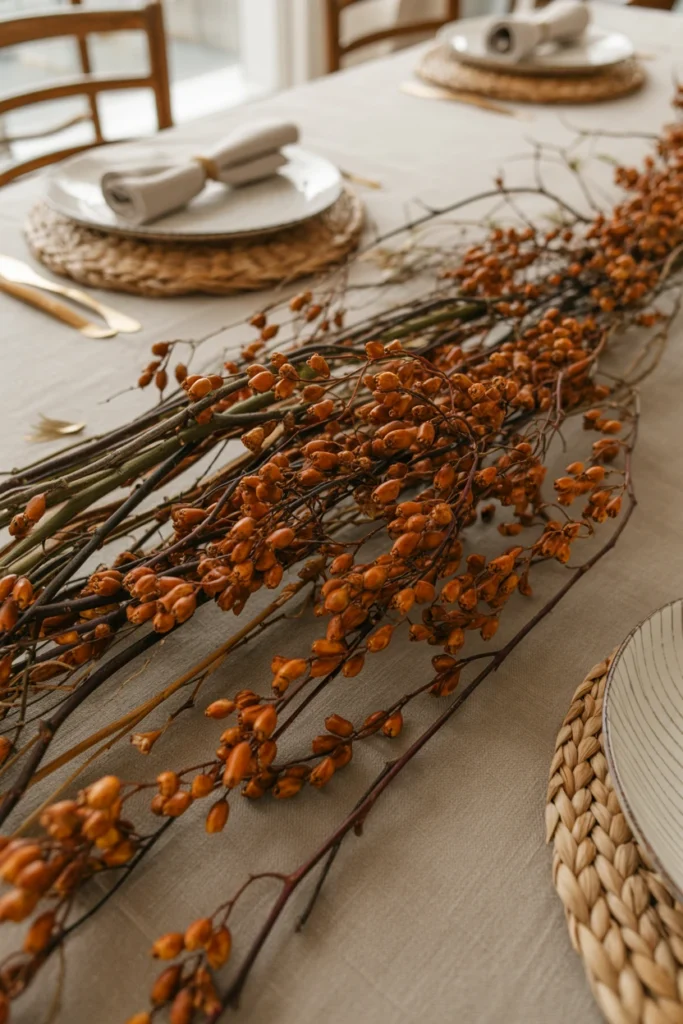
A tablescape built entirely from purchased decor items can feel manufactured rather than gathered. Natural elements are what separate a curated table from a store-display table.
Start by adding 2–3 dried branches — bittersweet, curly willow, or dried eucalyptus — laid diagonally across one end of the runner. Keep branches under 24 inches so they don’t extend past the table edge or block a guest’s line of sight. This organic layer softens the more structured pumpkin and candle elements around it.
| Branch Type | Length Range |
| Bittersweet vine | 12–18 in |
| Curly willow | 18–24 in |
| Dried eucalyptus | 14–20 in |
| Preserved wheat stems | 10–16 in |
12. Scatter Faux Cobwebs Sparingly Across the Runner
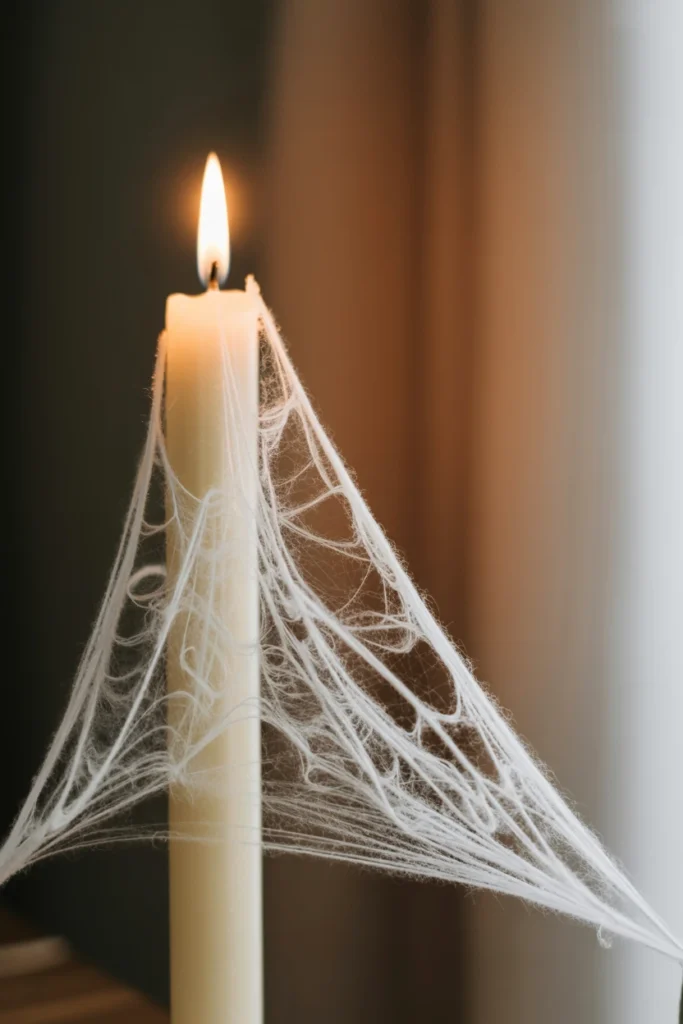
Overusing faux cobwebs is the single fastest way to push a table from elegant to costume-shop. Heavy webbing catches on glassware and reads as messy rather than spooky once guests are seated.
Start with one small pull of cobweb material — roughly the size of a fist — and stretch it thin across a single corner or around the base of the tallest candle. Never use more than two cobweb placements per table. This restrained approach signals “styled Halloween” instead of “haunted house prop.”
| Cobweb Placement | Amount to Use |
| Base of tall candle | 1 fist-sized pull |
| Table corner | 1 fist-sized pull, stretched thin |
| Draped over centerpiece | Avoid — too heavy |
| Multiple placements | Never exceed 2 total |
Place Settings and Tableware for Halloween Dinner Decor
Place settings are what each guest interacts with directly, making this the section with the highest impact on their personal experience of the table. Every choice here should reinforce the palette without competing with the centerpiece.
13. Choose Matte Black or Deep Plum Dinnerware
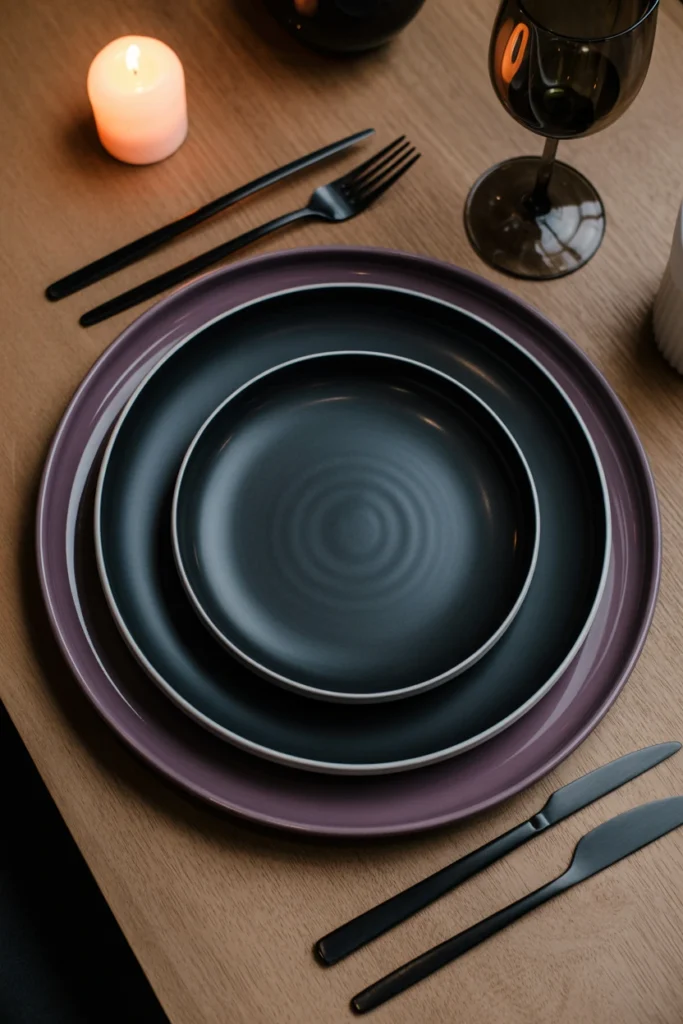
Bright white dinnerware breaks a Halloween palette by pulling the eye away from the darker, richer tones established elsewhere on the table. This mismatch is one of the most common reasons a styled centerpiece still looks disconnected from the place settings.
Start by swapping standard white plates for matte black or deep plum dinnerware, or layer a colored charger under existing white plates if buying new sets isn’t an option. Keep the plate rim simple — avoid busy patterns that compete with napkin folds and name cards. This single swap unifies the entire table in under an hour.
| Dinnerware Option | Cost Range |
| Full matte black set | $60–150 |
| Colored chargers only | $15–40 |
| Rented dark dinnerware | $3–6 per place setting |
| Thrifted dark pieces | $10–30 total |
14. Fold Napkins Into a Simple Spider Web Pattern
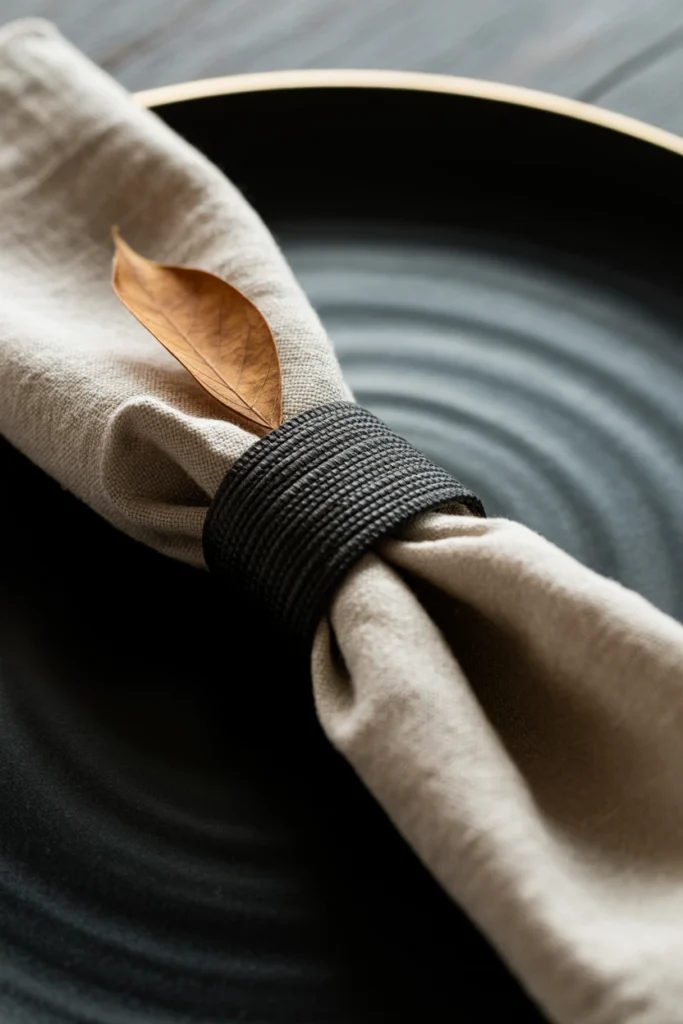
A plain folded napkin is the most overlooked detail on an otherwise fully styled table. Guests notice their own place setting closely, and an unstyled napkin breaks the illusion the rest of the table worked to build.
Start with a square linen napkin folded into quarters, then use a black ribbon to bind it in a spider-web-inspired X pattern at the center. Tuck one dried leaf or mini pumpkin stem under the ribbon for a finished look. This detail takes under 90 seconds per setting and completes the tablescape at eye level.
| Napkin Fold Style | Skill Level |
| Ribbon-bound web fold | Beginner |
| Pocket fold with tag | Beginner |
| Rosette fold | Intermediate |
| Fan fold with ring | Intermediate |
15. Place a Name Card on Aged Parchment Paper

Standard white name cards look out of place against a deep, textured Halloween palette. This small mismatch pulls focus away from the styling at exactly the point where each guest is looking closest.
Start by tearing parchment paper into 2×3 inch cards with slightly rough edges rather than clean scissor cuts. Write each guest’s name in a dark ink calligraphy pen and lean the card against the base of the glassware. This low-cost detail reinforces the aged, gathered aesthetic the rest of the table establishes.
| Name Card Material | Cost per Card |
| Torn parchment paper | Under $0.10 |
| Pressed leaf with tag | $0.50–1 |
| Mini pumpkin with pick | $1–2 |
| Printed cardstock | $0.20–0.40 |
16. Mix Vintage Glassware for an Eclectic Look
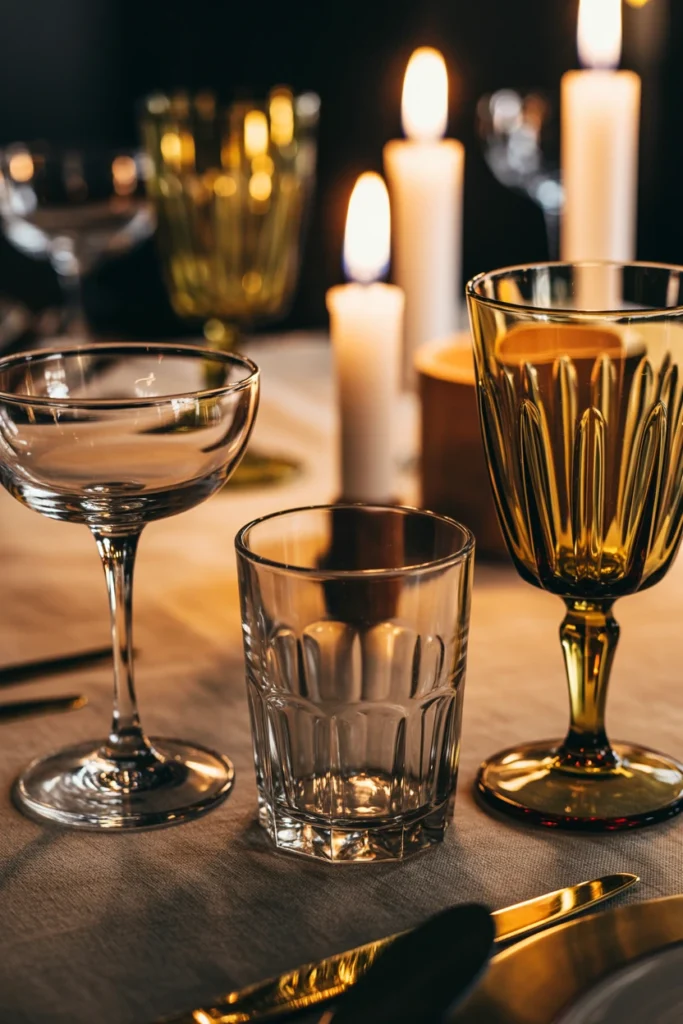
A full set of matching modern glassware reads as rented rather than collected, which undercuts the gathered, curated feeling Halloween tablescapes rely on. Perfect uniformity works against the mood this style is trying to create.
Start by mixing 2–3 different vintage or vintage-style glass styles across the table instead of one matching set — a coupe glass, a pressed-glass tumbler, and a stemmed goblet can all sit at the same setting. Keep the glass color within your palette’s neutral or amber tones so the mix reads as intentional, not mismatched. This eclectic approach adds character that new matching sets cannot replicate.
| Glass Style | Where to Source |
| Vintage coupe | Thrift stores, estate sales |
| Pressed-glass tumbler | Vintage shops, $3–8 each |
| Amber stemmed goblet | Home decor retailers |
| Smoked glass tumbler | Modern retailers, budget-friendly |
Lighting and Ambiance for a Halloween Dinner Table
Lighting has more influence over a table’s mood than any single decor object. This section covers how to layer candlelight and ambient lighting so the table feels warm rather than harsh or theatrical.
17. Replace Bright Bulbs With Warm Flickering Candles
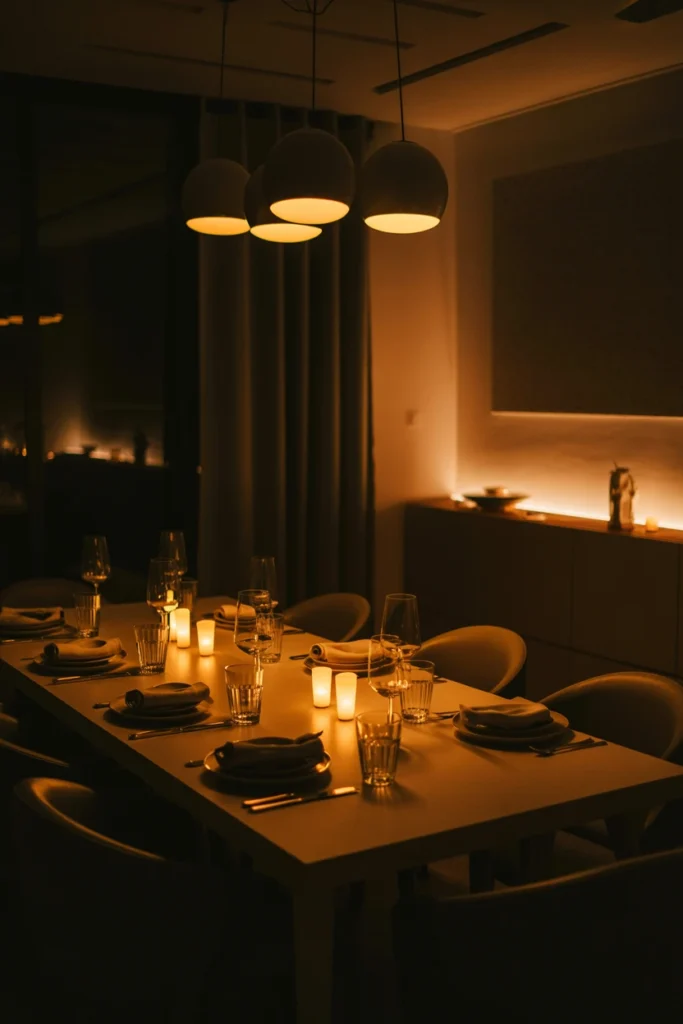
Overhead bright lighting flattens every texture and color choice made in the centerpiece and linens. Harsh light exposes plastic decor and washes out the depth that layered styling is designed to create.
Start by switching overhead lighting off entirely during the meal and relying on candlelight as the primary light source. Use unscented soy or beeswax candles in warm amber tones rather than bright white wax, since warm tones consistently photograph and read better under evening light. This single change does more to elevate table mood than any additional decor object.
| Candle Type | Burn Time |
| Taper candles (10 in) | 8–10 hours |
| Votive candles | 10–15 hours |
| Pillar candles (3×6 in) | 25–30 hours |
| LED flameless candles | Reusable, no burn limit |
18. Install a Taper Candle Trio at Varying Heights
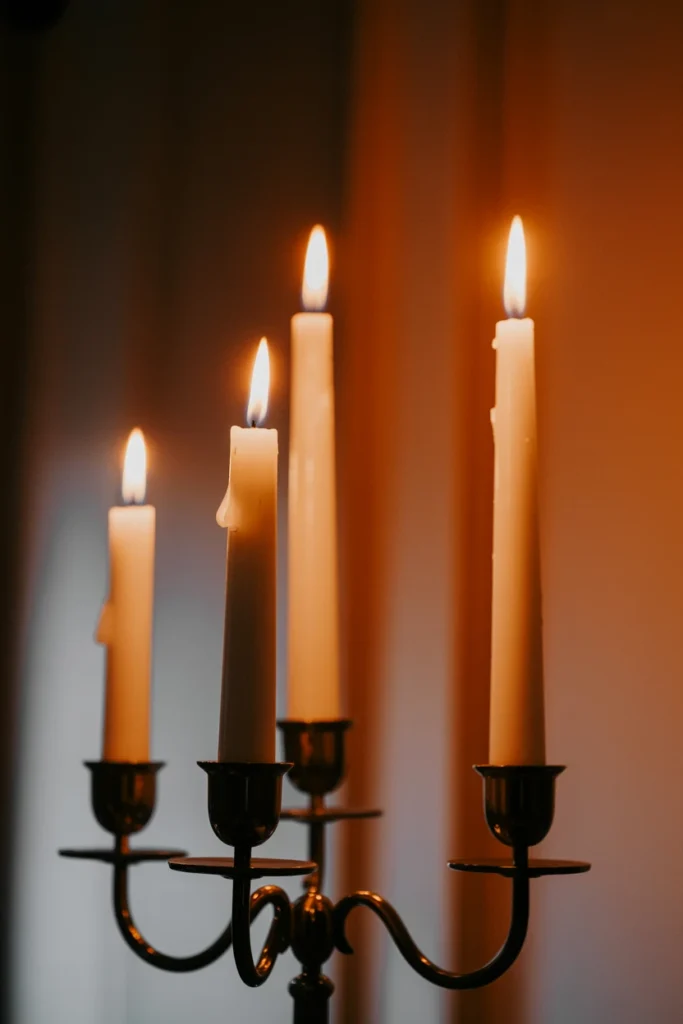
A single candle or a perfectly matched row of identical candles produces flat, even lighting that fails to create the shadow and depth Halloween styling depends on. Even light reads as ordinary, not atmospheric.
Start by grouping three taper candles at staggered heights — 10, 12, and 14 inches — within one candelabra or three separate holders spaced 4–6 inches apart. Angle the group slightly off-center from the main anchor piece rather than placing it dead center. This staggered trio casts moving shadows across the table that a single candle cannot produce.
| Candle Height | Visual Role |
| 10 inches | Front, closest to guests |
| 12 inches | Middle, transitional |
| 14 inches | Back, tallest silhouette |
| Spacing between | 4–6 inches |
19. Use Amber or Orange-Tinted Votives for Glow
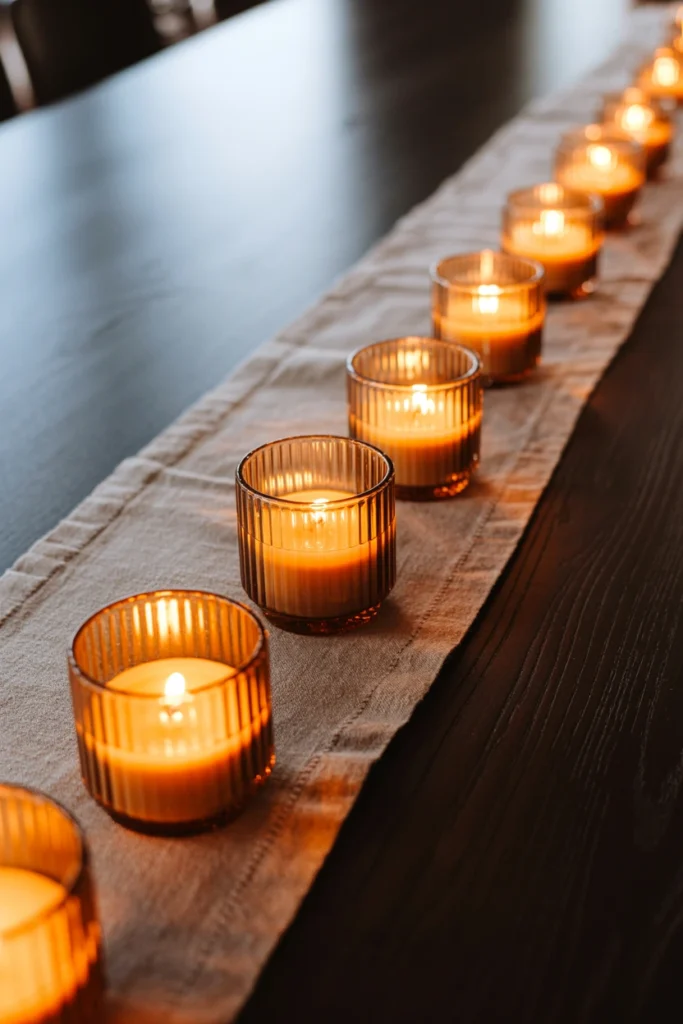
Clear or white votive candles produce a cooler, more clinical light that clashes with a deep Halloween palette of plum, black, and burnt orange. This color mismatch undercuts the warmth the rest of the table is working to build.
Start by placing amber or orange-tinted glass votive holders every 8–10 inches along the runner’s edges, using 6–8 votives total on a standard 72-inch table. Fill each with a warm-white or amber-toned candle rather than a bright white one. This consistent tinted glow ties the lighting directly into the established color palette.
| Table Length | Votives Needed |
| 48 inches | 4–5 votives |
| 72 inches | 6–8 votives |
| 96 inches | 9–11 votives |
| 120 inches | 12–14 votives |
20. Dim Overhead Lighting to Thirty Percent Brightness
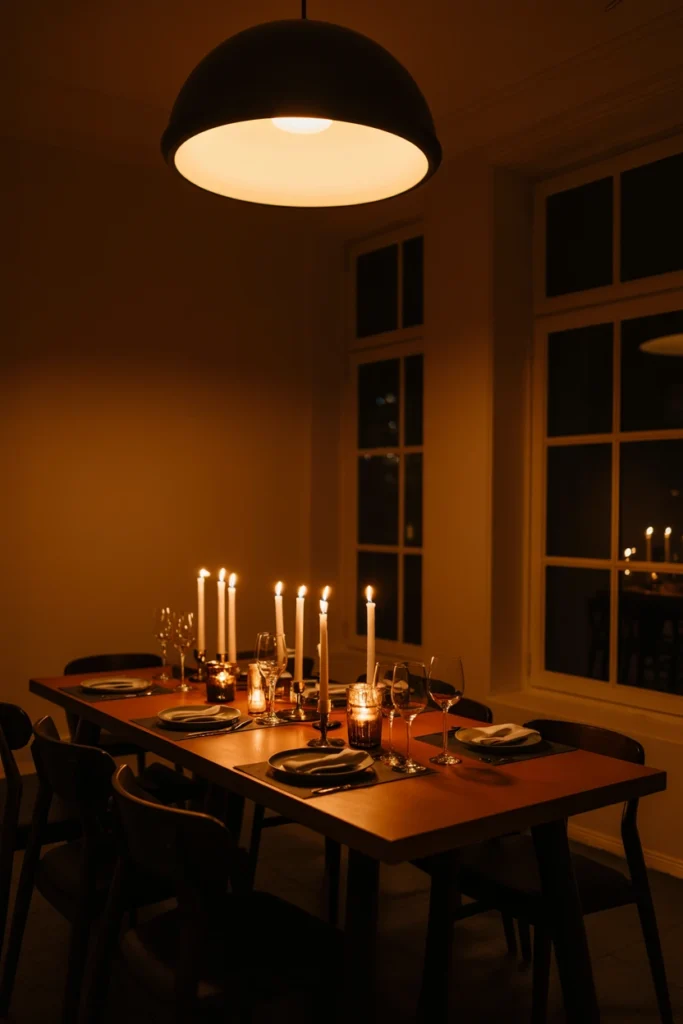
Full-brightness overhead lighting competing with candlelight creates two conflicting light sources that cancel out the mood either one would create alone. This split lighting is a common reason candle-lit tables still feel underwhelming.
Start by dimming any remaining overhead or ambient lighting to roughly 30% brightness using a dimmer switch or smart bulb setting, keeping candlelight as the dominant source. If no dimmer is available, switch to a single lamp in another corner of the room instead of overhead fixtures. This 30% threshold consistently reads as atmospheric without leaving the table too dark to eat comfortably.
| Lighting Setup | Overhead Brightness |
| Full candlelight ambiance | 20–30% |
| Balanced dinner lighting | 30–40% |
| Bright but styled | 40–50% |
| No dimmer available | Use single lamp instead |
Styling and Finishing Touches for Your Halloween Table
The finishing touches are what separate a good tablescape from a memorable one. This section covers the final layer of detail that ties every previous section together into one cohesive look.
21. Style a Focal Corner With a Mini Vignette
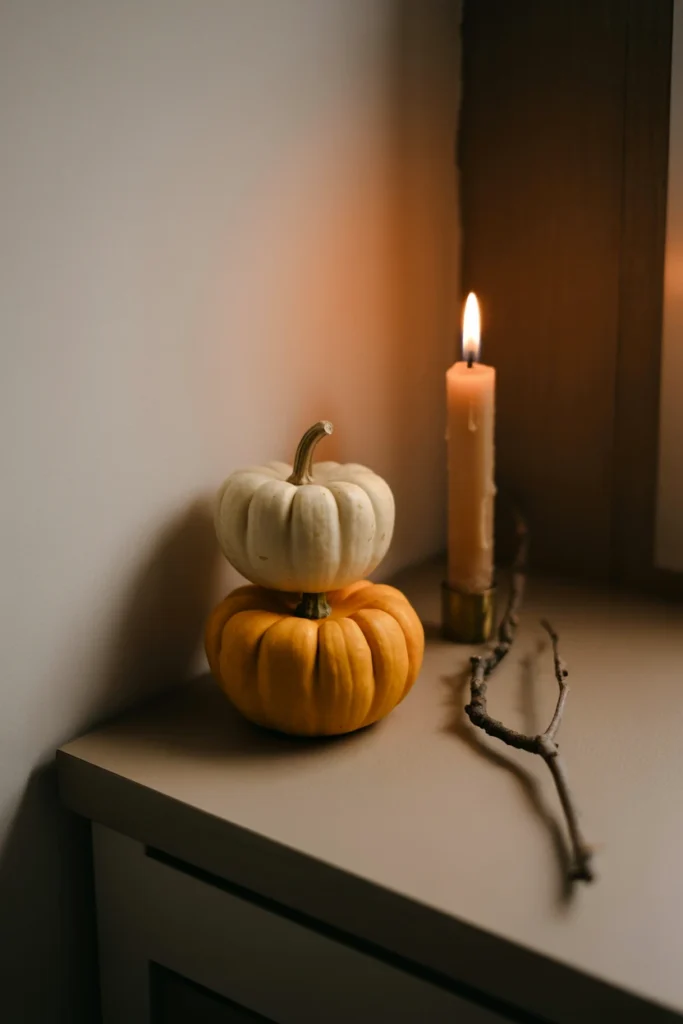
A table styled only down the center leaves the corners feeling like an afterthought, especially on rectangular tables with visible end space. This gap draws the eye away from the main styling rather than framing it.
Start by building a small vignette at one corner of the table — a stack of two mini pumpkins, a short taper candle, and a single dried branch grouped within a 6-inch radius. Keep this corner grouping lower in height than the main centerpiece so it supports rather than competes with the focal point. This detail extends the styled feeling to every part of the table surface.
| Vignette Element | Height |
| Mini pumpkin stack | 4–6 in |
| Short taper candle | 6–8 in |
| Dried branch accent | Under 10 in |
| Total vignette footprint | 6-inch radius |
22. Apply Metallic Accents in Copper or Bronze
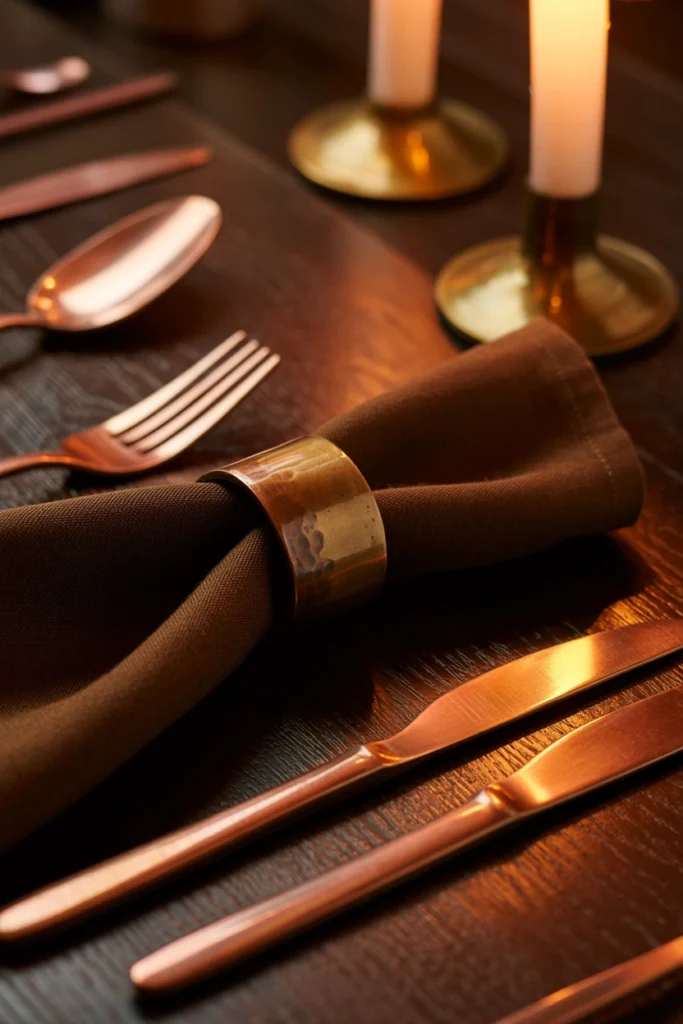
A table built entirely from matte, textured materials can start to feel heavy or flat without any reflective element to catch candlelight. Metallics are what add the final layer of visual interest under evening lighting.
Start by adding metallic accents in copper or bronze — a set of flatware, a napkin ring, or a small tray under the candle cluster — using this metallic tone in no more than three spots on the table. Keep gold and silver out of the mix entirely to avoid muddying the two-metallic-tone rule established in the foundation steps. This restrained metallic layer catches candlelight without overwhelming the matte textures around it.
| Metallic Accent | Placement |
| Copper flatware | Every place setting |
| Bronze napkin rings | Every place setting |
| Small copper tray | Under candle cluster |
| Metallic-rimmed glassware | 1–2 pieces per setting |
23. Balance Whimsical and Elegant Elements Evenly
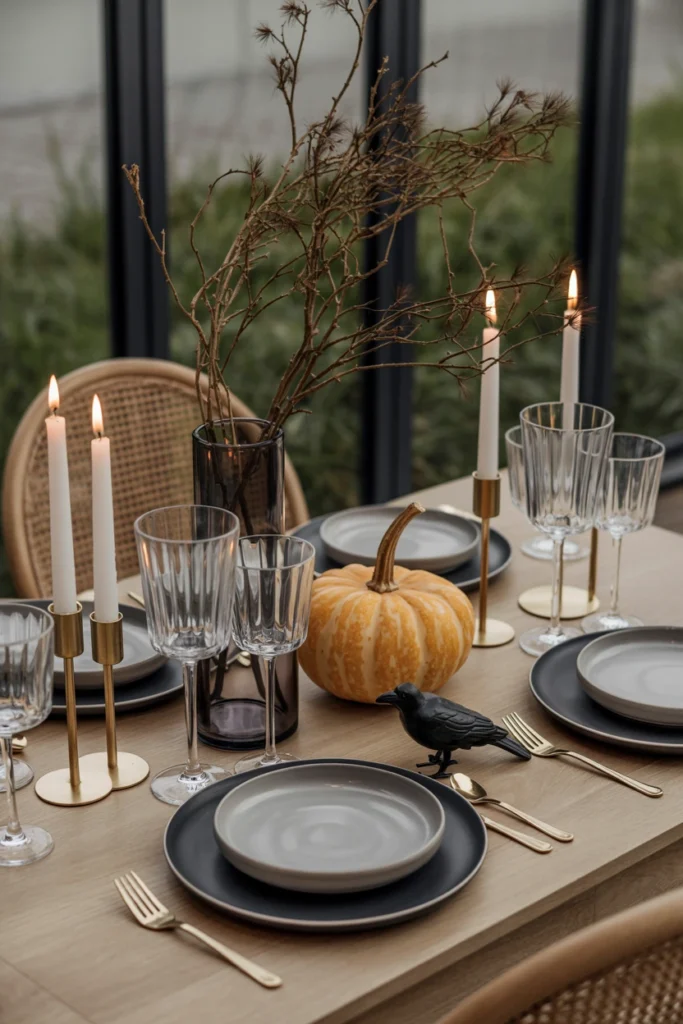
A table that leans too far into whimsical Halloween props — plastic spiders, glow items, novelty skulls — reads as a kids’ party rather than an adult dinner table. A table that leans too far into elegance can feel like it forgot the holiday entirely.
Start by auditing your full decor list and confirming no more than 30% of visible items are overtly whimsical or novelty-themed, keeping the remaining 70% rooted in natural and elegant materials like wood, glass, and dried florals. This feels counterintuitive if you’re excited about fun Halloween props, but restraint is what allows the whimsical pieces you do keep to actually stand out. Balancing the ratio this way lets the table read as sophisticated Halloween decor rather than a costume party display.
| Element Type | Target Ratio |
| Whimsical/novelty items | 20–30% |
| Natural/elegant materials | 70–80% |
| Total distinct decor items | 15–20 pieces |
Long-Term Habits for Halloween Table Decor That Lasts
A Halloween table that looks perfect on setup day but falls apart by the second dinner has failed at half its job. This section covers the maintenance habits that keep the table looking styled throughout the entire season.
24. Establish a Weekly Refresh for Fresh Florals

Fresh floral or foliage elements left untouched for more than a week begin wilting or drying unevenly, creating a tired look that drags down an otherwise well-styled table. This slow decline is easy to miss day-to-day but obvious to a returning guest.
Start by replacing any fresh floral elements every 7 days, and inspect dried branches every 10–14 days for excessive dust or breakage. Keep a small backup stock of mini pumpkins and dried stems on hand so swaps take under 10 minutes. This routine keeps the table photograph-ready for the entire six-week Halloween season rather than just opening night.
| Element | Refresh Frequency |
| Fresh florals | Every 7 days |
| Dried branches | Inspect every 10–14 days |
| Fresh pumpkins | Every 10–14 days (watch for soft spots) |
| Faux/dried decor | Dust every 2 weeks |
25. Remove Melted Wax Before It Stains Linens
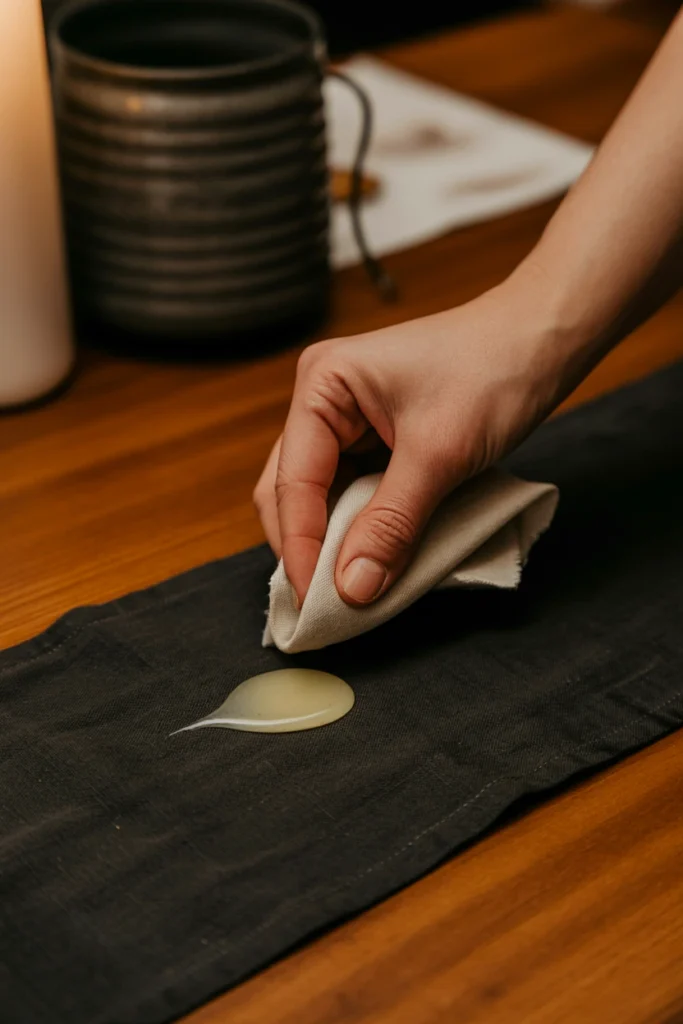
Melted candle wax left on a runner or tablecloth sets permanently within hours, turning a reusable linen into a one-season item. This preventable damage is one of the most common reasons Halloween linens don’t survive to the following year.
Start by checking candle drip trays after every use and wiping fresh wax immediately with a dry cloth while it’s still soft. For wax that has already hardened, place a paper towel over the spot and press a warm iron on low heat for 10 seconds to lift it out. This two-minute habit protects linens that often cost more than the candles themselves.
| Wax Removal Method | Best For |
| Wipe while soft | Fresh drips, under 1 hour old |
| Ice cube + scrape | Hardened wax, delicate fabric |
| Warm iron + paper towel | Set-in wax stains |
| Freezer bag method | Small removable items |
26. Store Decor by Category for Next Year
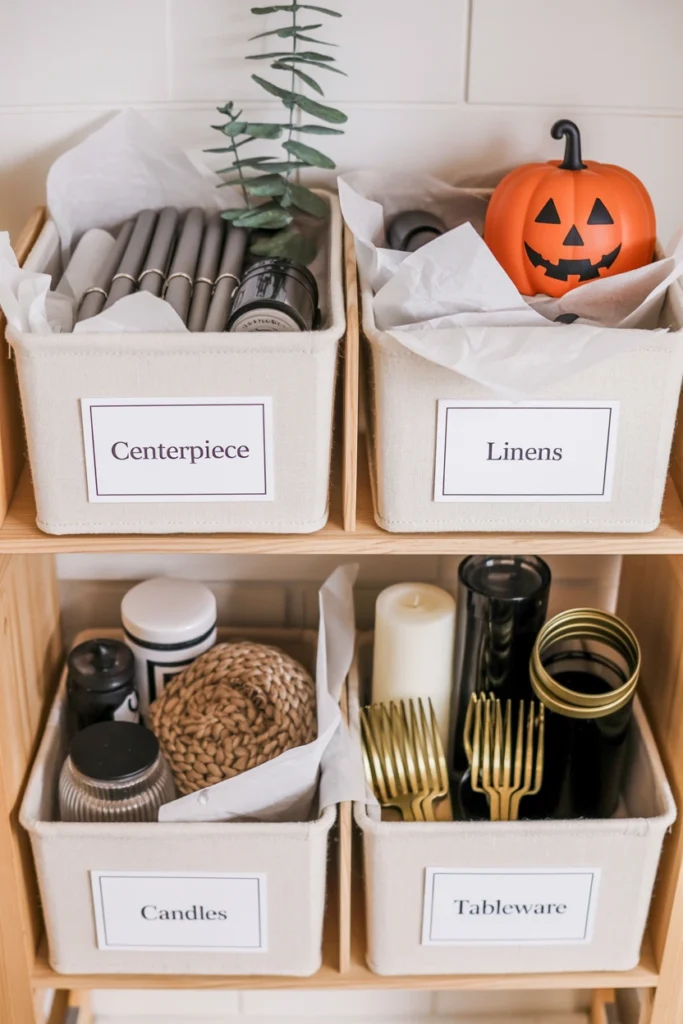
Tossing all Halloween decor into one unsorted bin guarantees a frustrating, time-consuming setup the following year, and fragile items like glassware or dried florals are far more likely to break in a mixed pile.
Start by sorting decor into four labeled bins by category — centerpiece items, linens, candles, and tableware accents — before packing anything away. Wrap glass and ceramic pieces individually in tissue paper regardless of how sturdy they seem. This system cuts next year’s setup time roughly in half and prevents the breakage that comes from unsorted storage.
| Storage Category | Bin Contents |
| Centerpiece items | Pumpkins, urns, statues |
| Linens | Runners, tablecloths, napkins |
| Candles | Tapers, votives, holders |
| Tableware accents | Chargers, flatware, name card supplies |
Halloween Dining Table Decor Mistakes That Ruin the Look
These eight mistakes appear most often on Halloween tables that don’t quite come together, even with a reasonable decor budget.
| Mistake | Why It Hurts the Space | Better Alternative |
| Using more than 3 colors | Creates visual chaos, no clear focal point | Limit to 3 tones: dominant, accent, metallic |
| Overloading with cobwebs | Reads as costume-shop, catches on glassware | Use 1–2 small pulls maximum |
| Matching dinnerware set with no variation | Feels rented, not gathered | Mix 2–3 vintage glass or plate styles |
| Skipping candlelight entirely | Loses the warmth and shadow that define the mood | Add at least a taper trio or votive cluster |
| Centerpiece taller than eye level | Blocks conversation across the table | Keep anchor pieces under 14 inches |
| Even-numbered pumpkin groupings | Reads as staged rather than collected | Group in clusters of 3 or 5 |
| Leaving corners bare | Table looks unfinished at the ends | Add a small vignette at each corner |
| Ignoring wax and drip maintenance | Permanently stains linens within one season | Check and wipe drip trays after every use |
Halloween Dining Table Decor by Room Type and Situation
Small Apartment Table
A small apartment table typically seats 2–4 people and sits in a space with limited surrounding floor room, meaning every decor choice needs to earn its footprint. The main constraint here is scale — oversized centerpieces will visually take over a room that’s already compact.
Key strategies for small apartment tables:
- Choose a single anchor piece under 8 inches tall to preserve sightlines.
- Skip the tiered candelabra in favor of two staggered votives instead.
- Use a narrow runner under 12 inches wide to leave more visible wood or cloth.
- Fold napkins flat rather than into dimensional shapes that eat up plate space.
- Limit mini pumpkin clusters to one grouping instead of several.
- Store extra decor off the table between meals to keep the space functional.
Formal Dining Room
A formal dining room usually seats 6–10 guests and is used for a planned, sit-down event rather than a casual meal. The core constraint is balancing festivity with the elevated tone the room already carries.
Key strategies for formal dining rooms:
- Weight the palette toward deep plum and antique gold over bright orange.
- Use full taper candelabras rather than scattered votives for a formal glow.
- Choose matte black dinnerware with a metallic rim instead of plain matte.
- Add place cards in calligraphy rather than casual hand lettering.
- Keep whimsical or novelty items out entirely in this setting.
- Iron linens before setting to match the room’s existing formality.
Rental-Friendly Setup
A rental apartment or house often restricts wall-mounted decor and permanent changes, meaning the constraint is achieving full styling using only surface-level, non-damaging elements. Everything used must be fully removable.
Key strategies for rental-friendly setups:
- Use battery-operated flameless candles where open flame policies are restrictive.
- Rely on a tablecloth and runner combination instead of any table-surface alterations.
- Choose freestanding centerpieces over anything requiring adhesive or clips.
- Store the full setup in one labeled bin for quick assembly and removal.
- Skip permanent stains like wax by defaulting to LED candles.
- Borrow or rent dinnerware instead of buying a full new set for one season.
Kids’ Halloween Party Table
A kids’ Halloween party table typically seats 4–8 children and needs to withstand spills, movement, and higher energy than an adult dinner. The constraint is durability and safety alongside the styled look.
Key strategies for kids’ party tables:
- Swap all open-flame candles for LED flameless versions at every height.
- Choose plastic or melamine dinnerware in the palette colors instead of glass.
- Keep centerpiece pieces unbreakable and lightweight, like faux pumpkins.
- Use paper name tags instead of glass-adjacent parchment cards.
- Skip small decorative items under 2 inches that pose a choking hazard.
- Add a simple activity element, like a coloring placemat, within the palette.
Frequently Asked Questions
how do you decorate a dining table for halloween
Start with a three-tone color palette, then layer a base tablecloth, a textured runner, and one anchor centerpiece under 14 inches tall. Add candlelight, place settings in matching dark tones, and finish with a small corner vignette. This layered approach covers linens, centerpiece, lighting, and tableware in one cohesive system rather than scattered individual pieces.
what not to do with halloween table decor
Avoid using more than three colors, overloading the table with cobwebs, and choosing a centerpiece taller than eye level, since all three create visual clutter or block conversation. Skipping candlelight entirely is another common mistake that leaves the table feeling flat. Stick to the foundation steps and the mistake table above to avoid the most frequent errors.
how to decorate a halloween table on a budget
Divide your budget by category — 35% centerpiece, 25% linens, 20% lighting, 20% accents — so spending stays proportional to visual impact. Thrifted vintage glassware, torn parchment name cards, and dried branches from your yard cost little to nothing while adding real texture. A full budget-friendly halloween dining table decor setup can come together for under $75 using these swaps.
how to decorate a halloween table in a small apartment
Choose a single anchor piece under 8 inches tall and a narrow runner under 12 inches wide to preserve sightlines in a compact space. Limit yourself to one mini pumpkin cluster instead of several scattered groupings. This keeps the table styled without overwhelming a small room’s limited floor space.
should i use a black tablecloth or a colored one for halloween
Choose based on your chosen palette: black works best as a base layer under a sheer or textured overlay, while deep plum or rust works well as a standalone base cloth. Black alone can read flat under lighting, so pairing it with a lighter overlay is generally the stronger choice. Either option works as long as it stays within your three-tone palette.
how often should i refresh halloween table decor
Refresh fresh floral elements every 7 days and inspect dried branches every 10–14 days for dust or breakage. Fresh pumpkins should be checked every 10–14 days for soft spots that signal spoilage. Faux and dried decor only needs dusting roughly every two weeks throughout the season.
does this halloween table decor work for a rental apartment
Yes, as long as you rely on freestanding decor, flameless LED candles, and a tablecloth-and-runner base instead of anything requiring adhesive or permanent alteration. The rental-friendly section above covers the specific swaps needed to stay fully removable. This approach lets a rental table achieve the same layered look without violating a lease.
how much does it cost to decorate a halloween dining table
A full setup typically ranges from $50 for a budget-conscious table using thrifted and DIY elements to $200 or more for a formal dining room with new dinnerware and candelabras. The centerpiece and linens categories usually account for 60% of total spend. Following the category-based budget split above keeps costs proportional to visual impact.
how long do halloween table decorations last
Faux and dried decor items can last multiple seasons with proper storage in labeled, category-sorted bins. Fresh pumpkins typically hold up for 10–14 days before soft spots appear, and fresh florals need replacing weekly. Linens last for years if wax drips are cleaned immediately rather than left to set.
Conclusion
A styled Halloween dining table comes down to layering, not accumulating — one strong anchor centerpiece, a three-tone palette, and consistent candlelight create more impact than a dozen mismatched props. Start with the foundation steps: measure the table, lock in your palette, and clear the surface completely before adding anything back. From there, build outward one layer at a time, checking each addition against the mistake table before it goes on the table permanently.
The table that looks effortless on the night of the dinner is the result of the small maintenance habits covered above, not a one-time setup. A dining table styled this way, refreshed weekly and stored by category each season, becomes decor guests genuinely remember.
,,