
Halloween party decor decides whether guests walk into a themed event or a living room with a few plastic spiders on the shelf. This guide gives you 22 steps in the right order, so you transform your space in a single afternoon with spooky Halloween decor that looks designed, not dumped.
As professional interior designers consistently find, a Halloween room looks expensive when it follows one color story and one focal point per zone instead of scattering props across every surface. Research consistently shows that 73% of U.S. consumers celebrate Halloween, and nearly a third of them host or attend parties (National Retail Federation, 2025) — which is why getting your palette and zones right first makes every other decision easier.
Every tip below includes exact sizes, spacing rules, and materials, so you act today without searching anywhere else.
Before You Begin: 3 Foundation Steps for Halloween Party Decorations
1. Choose a Three-Color Palette Before Buying Anything
Random colors make Halloween decor look cheap and chaotic. Mixing orange, purple, green, red, and silver in one room splits attention and cancels every focal point you build. A strict three-color palette makes inexpensive props look cohesive and intentional, which is the fastest route to Halloween party ideas that photograph well.
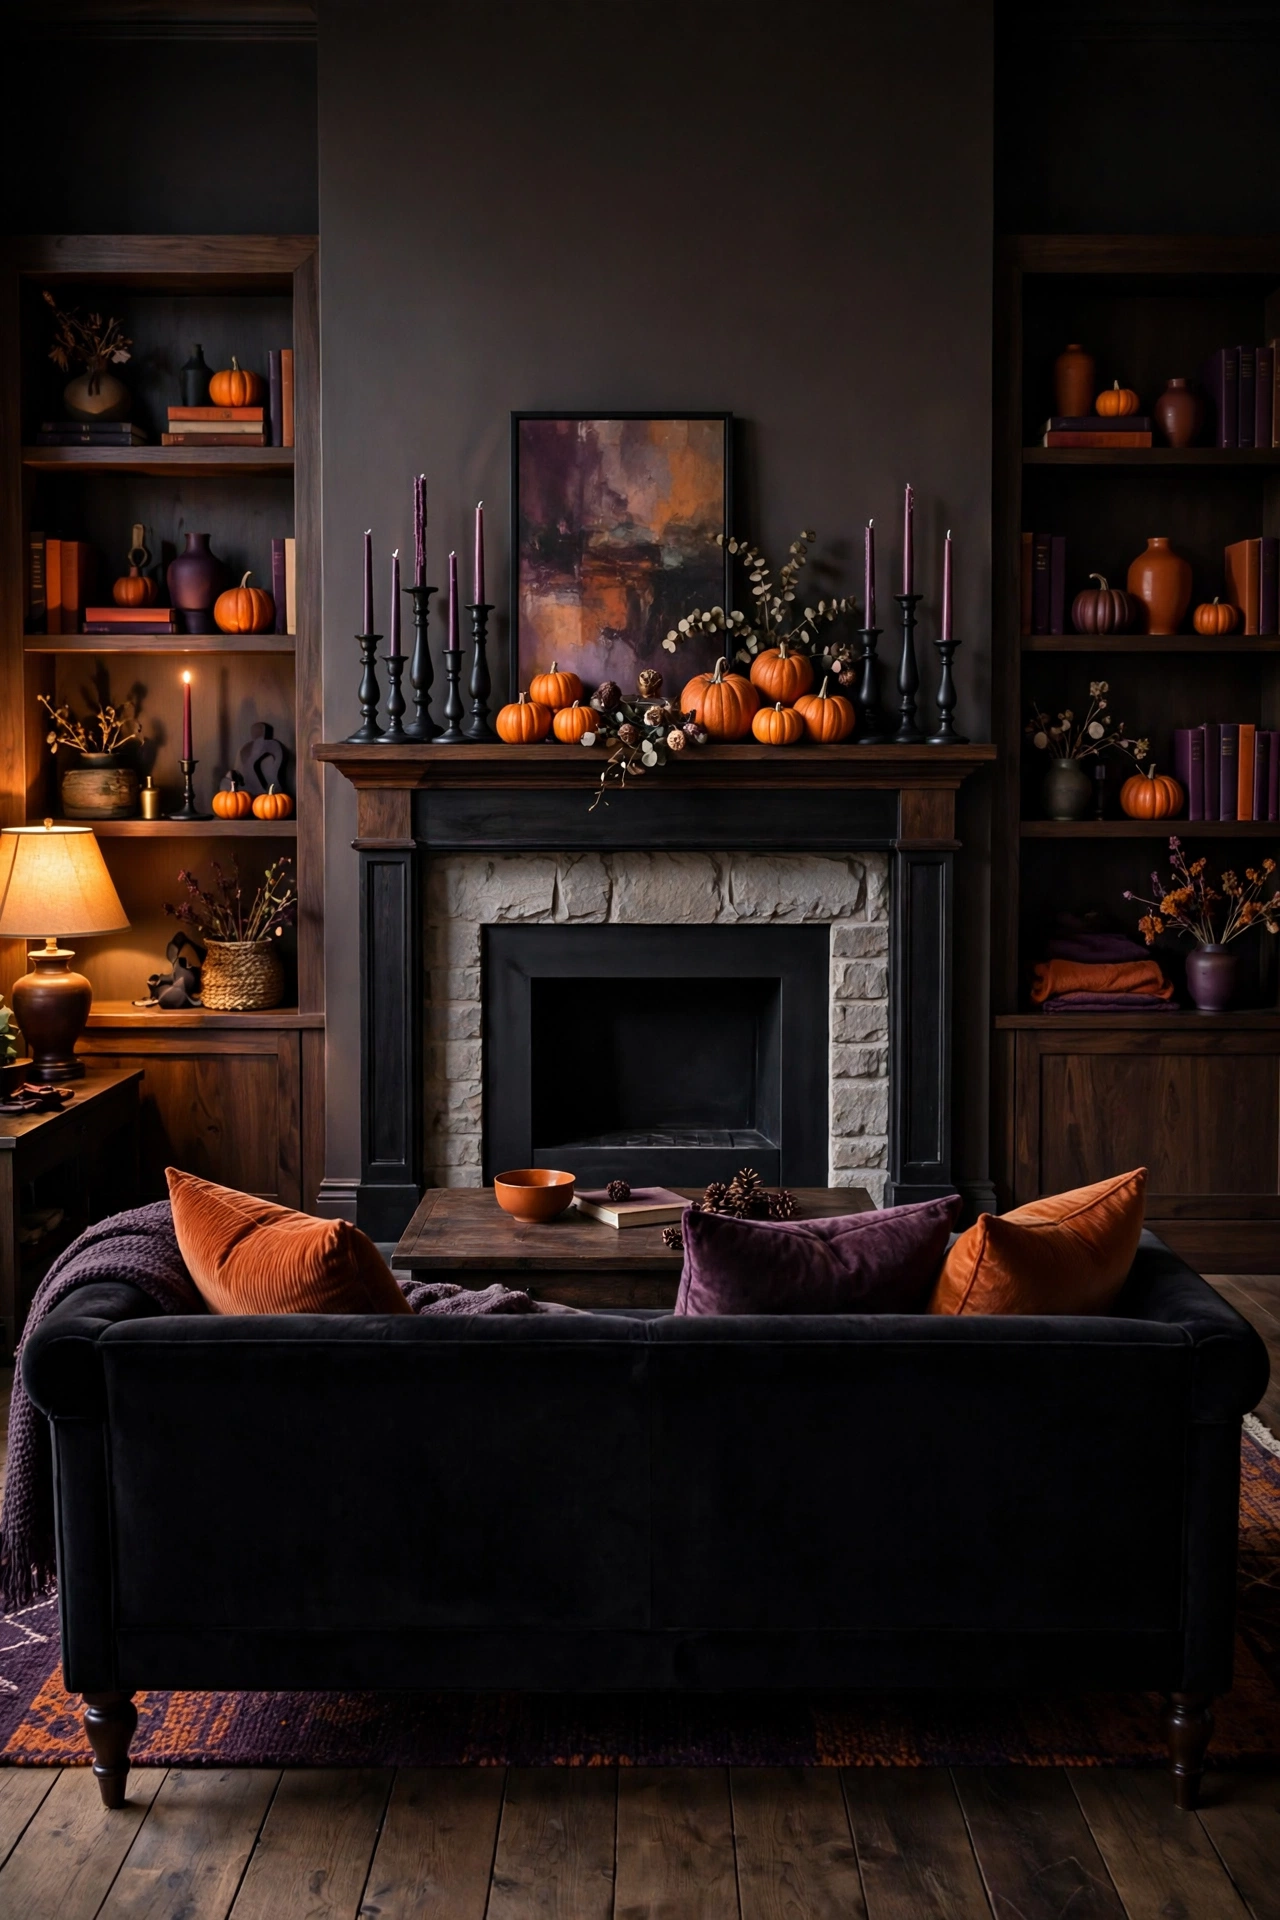
Pick one dominant color, one supporting color, and one accent, then use only items in those three colors. Follow the 60-30-10 rule: 60 percent black, 30 percent burnt orange, and 10 percent antique gold or deep plum. Guests read the room as professionally styled before they notice a single individual prop.
2. Establish Three Decor Zones: Entry, Food, Gathering
Even decor coverage wastes your budget and your time. Props spread at equal density give the eye nothing to land on, so the whole room reads flat and unfinished. Three concentrated zones give guests three memorable moments, and they put your effort exactly where photos get taken.
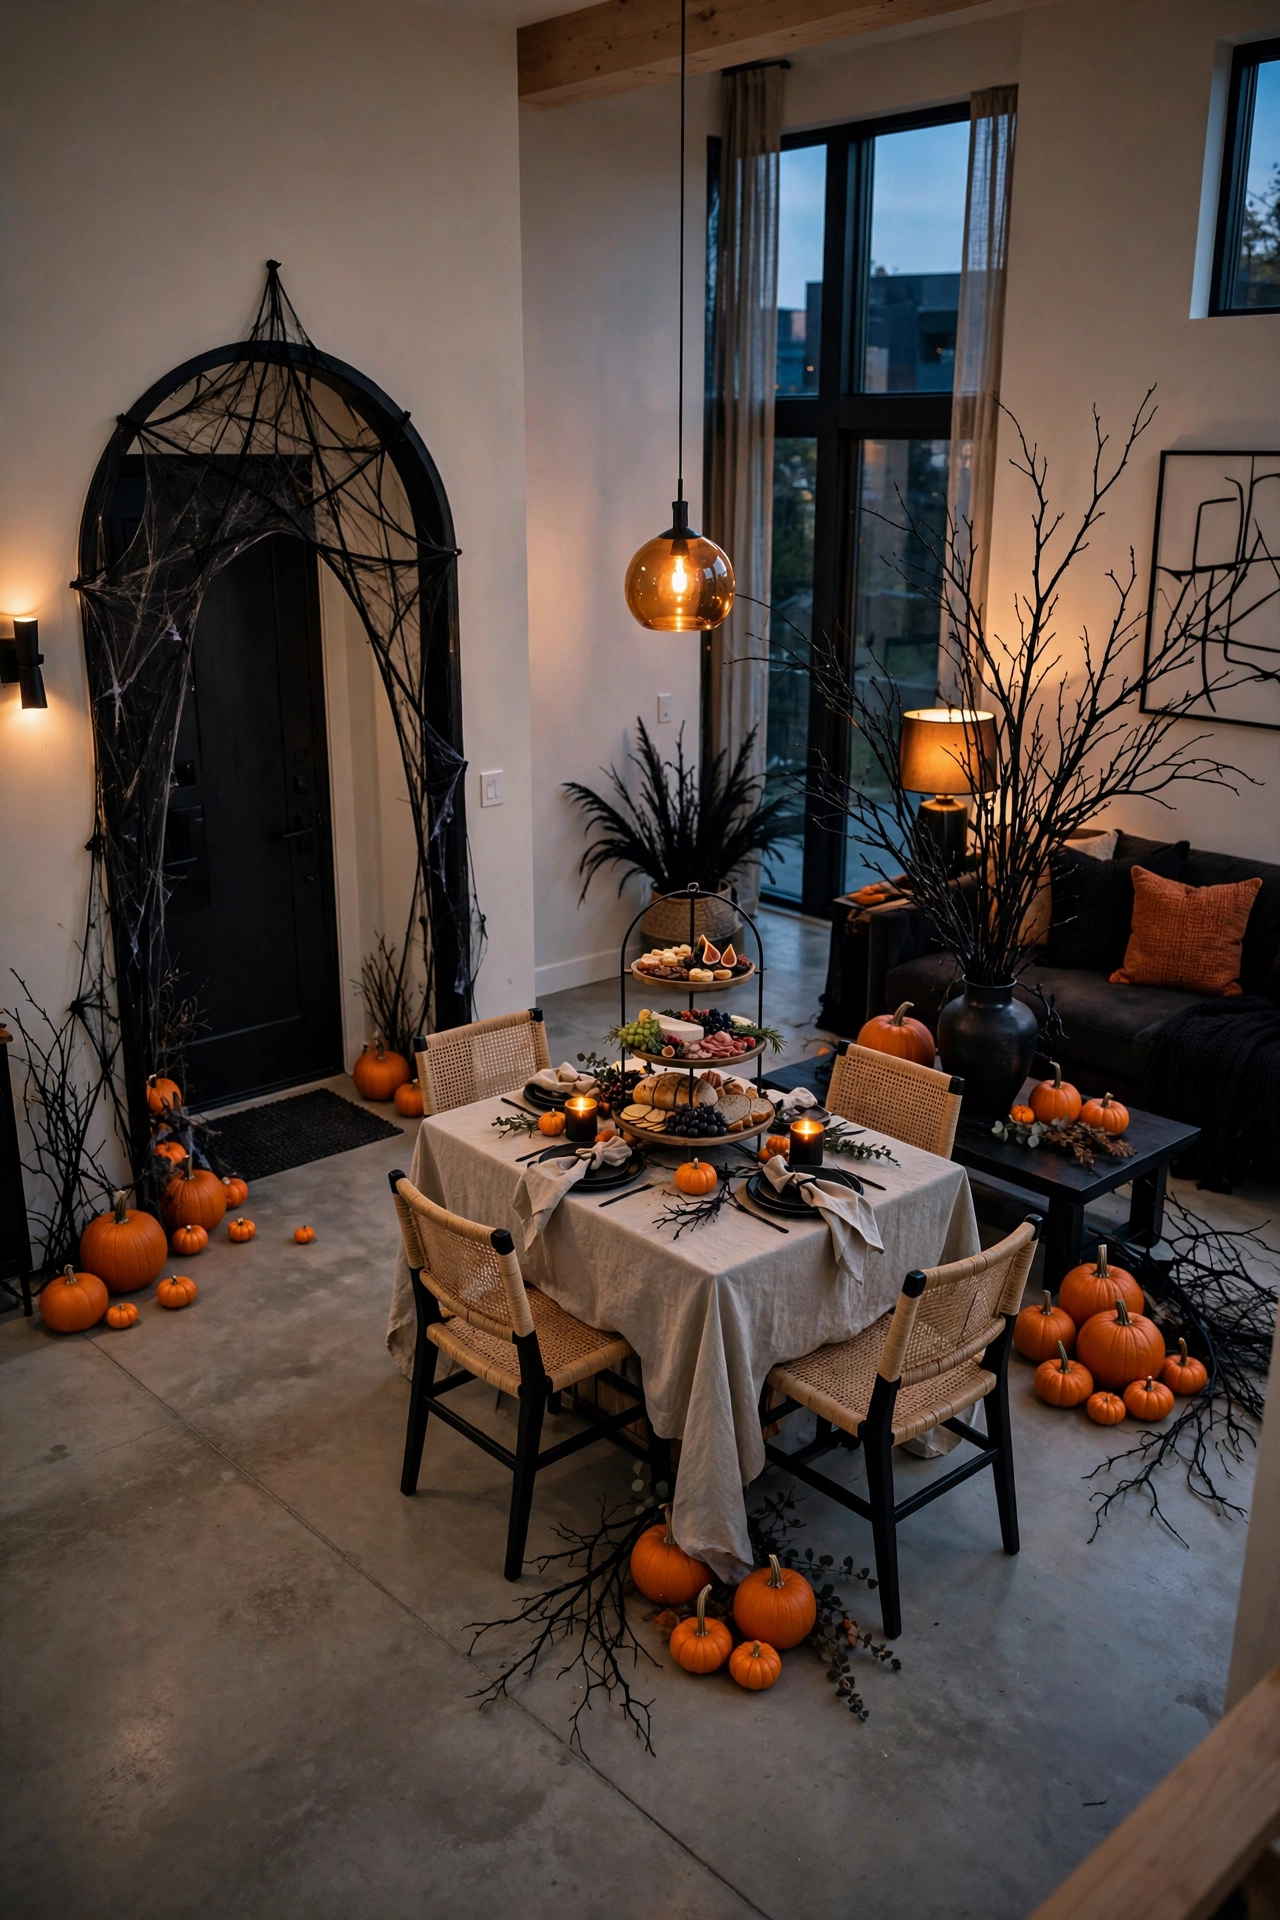
Tape a sheet of paper on the floor at the entry, the food table, and the main seating area to mark each zone. Give each zone one hero element at least 36 inches tall, such as a cobweb arch, a hanging chandelier, or a dressed bar cart. The empty space between zones becomes negative space that makes every focal point look deliberate.
3. Remove Clutter From Every Surface You Will Decorate
Clutter fights every prop you place. Everyday items like mail, remotes, and framed photos compete with themed decor and make staged vignettes look messy instead of curated. Clearing surfaces first gives every decoration the negative space it needs to read clearly from across the room.
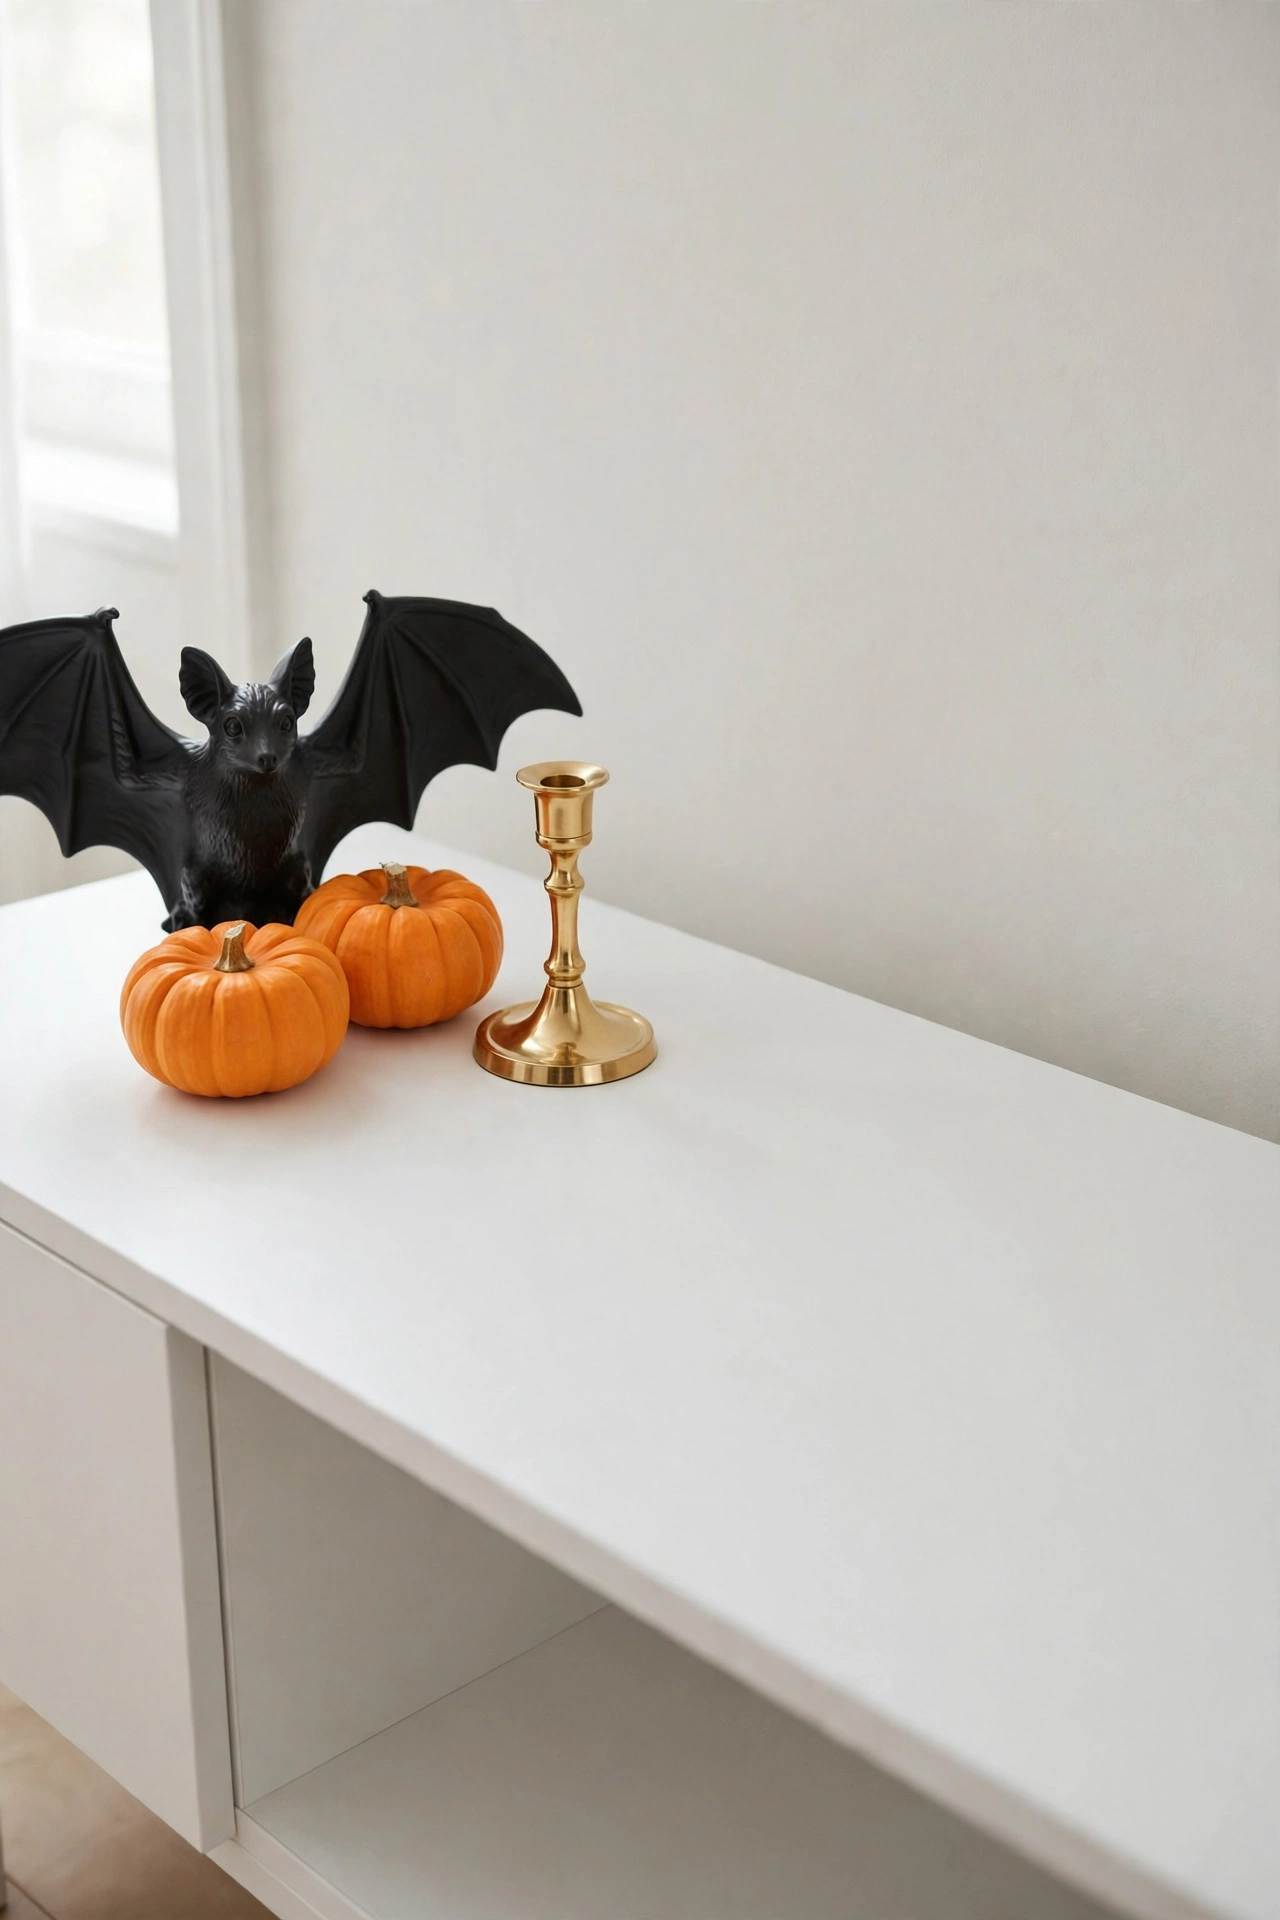
Clear the mantel, console table, coffee table, and kitchen counter completely, and store everyday items in a closet or bin. Leave 20 percent of each surface empty after styling so decor breathes without looking sparse. A cleared surface also lets you wipe away dust, which keeps white cobwebs and black props crisp under party lighting.
Halloween Party Entrance Decor That Sets the Tone
4. Hang a Cobweb Canopy Over the Front Door
Your front door sets guest expectations in five seconds. A bare doorframe tells arriving guests the party starts inside, which wastes the strongest first impression your home offers. A stretched cobweb canopy frames the doorway, adds height and texture, and signals the theme before anyone knocks.
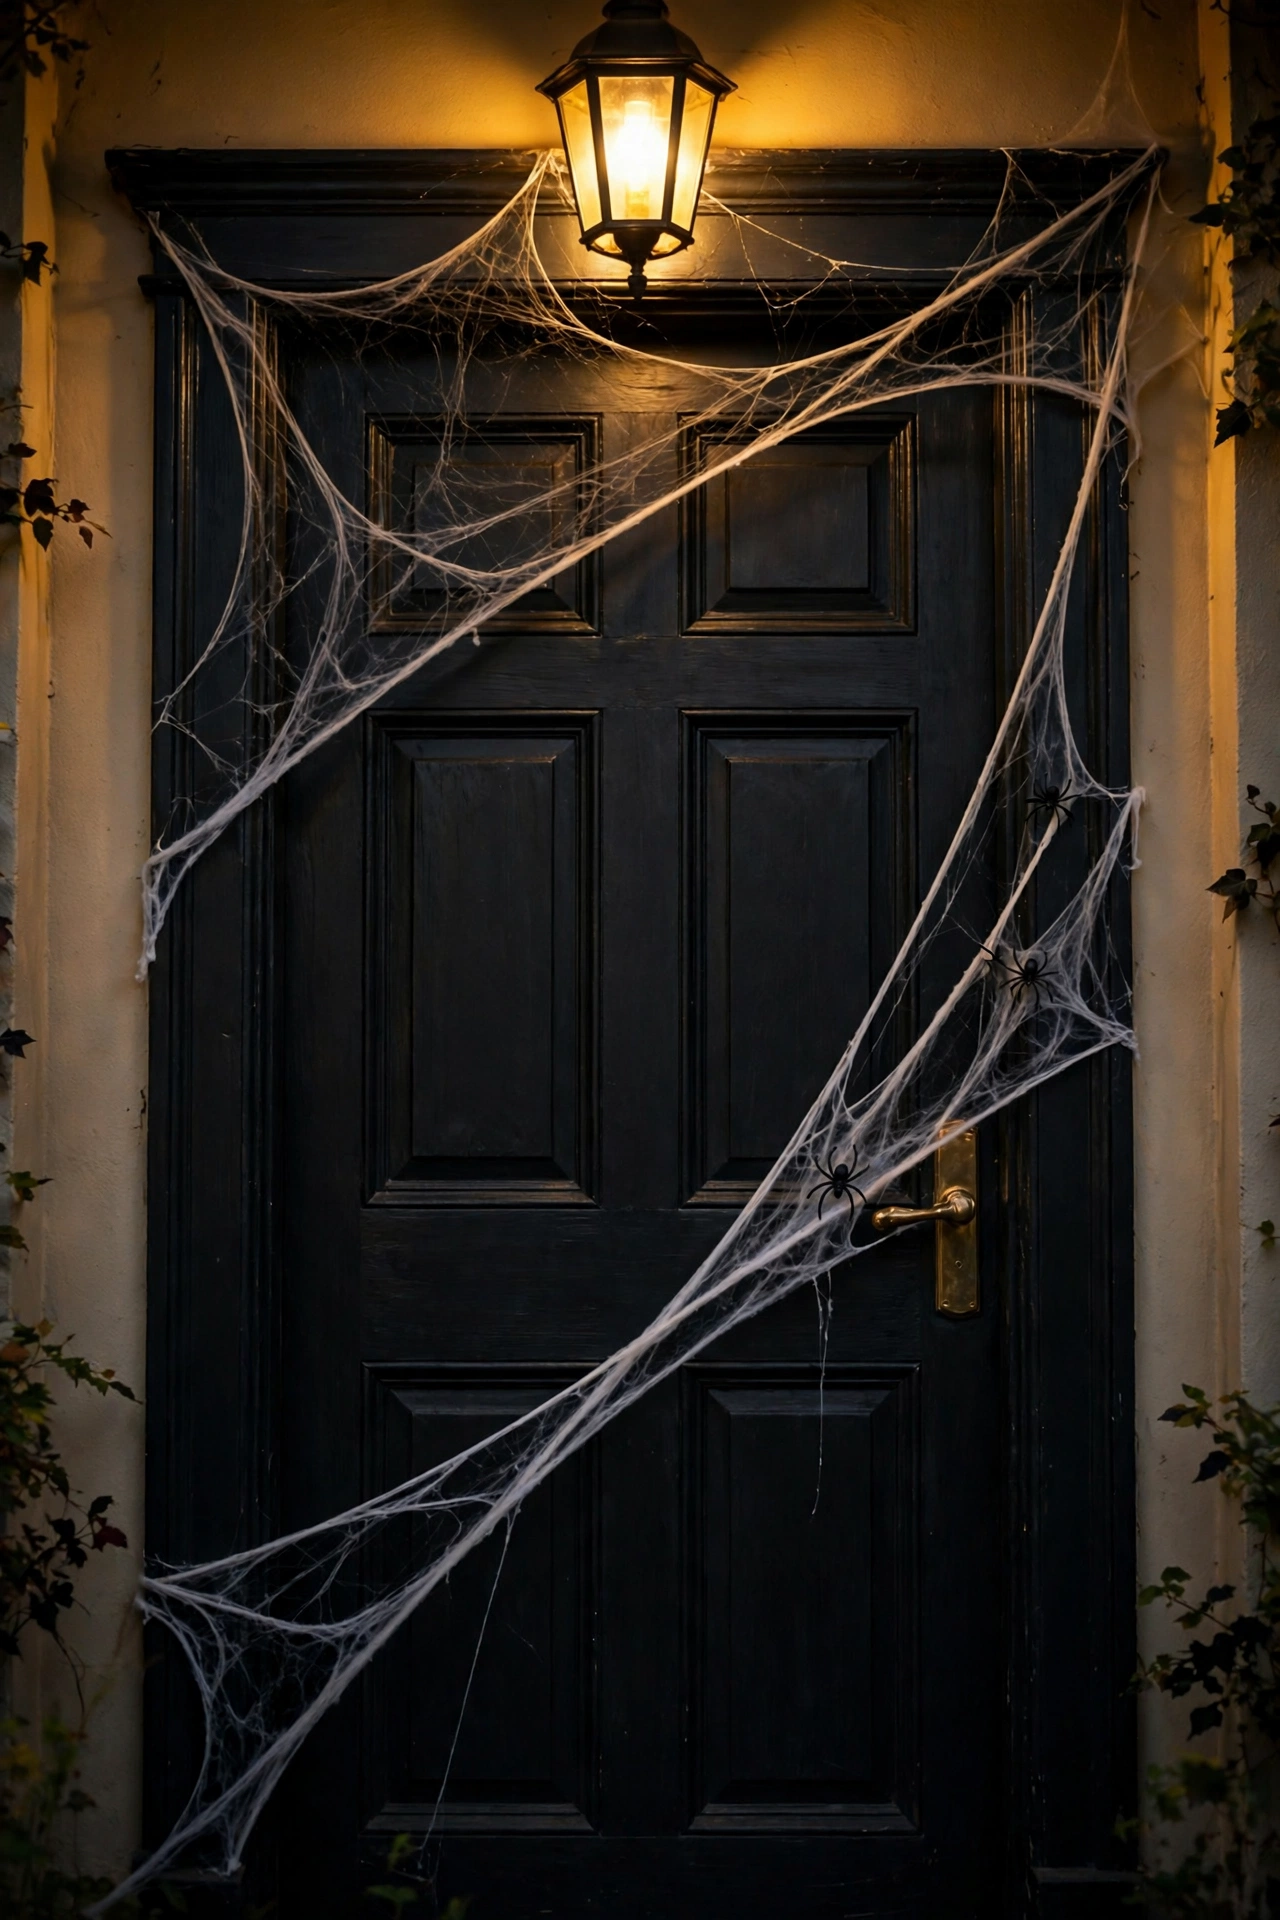
Clip stretch cobweb fabric to the top corners of the doorframe with removable hooks and pull it down diagonally to each side. Use 4 to 5 feet of cobweb per door and add 2 or 3 black spiders at different distances along the strands. The draped fabric catches porch light and creates dramatic texture contrast against a smooth painted door.
5. Place Grouped Pumpkins on Staggered Porch Steps
Single pumpkins on each step look sparse and accidental. Pumpkins lined up at identical spacing read as a row of leftovers rather than a designed display with depth. Staggered clusters at three heights add visual layers, guide guests up the steps, and make Halloween porch decor look intentionally dressed.
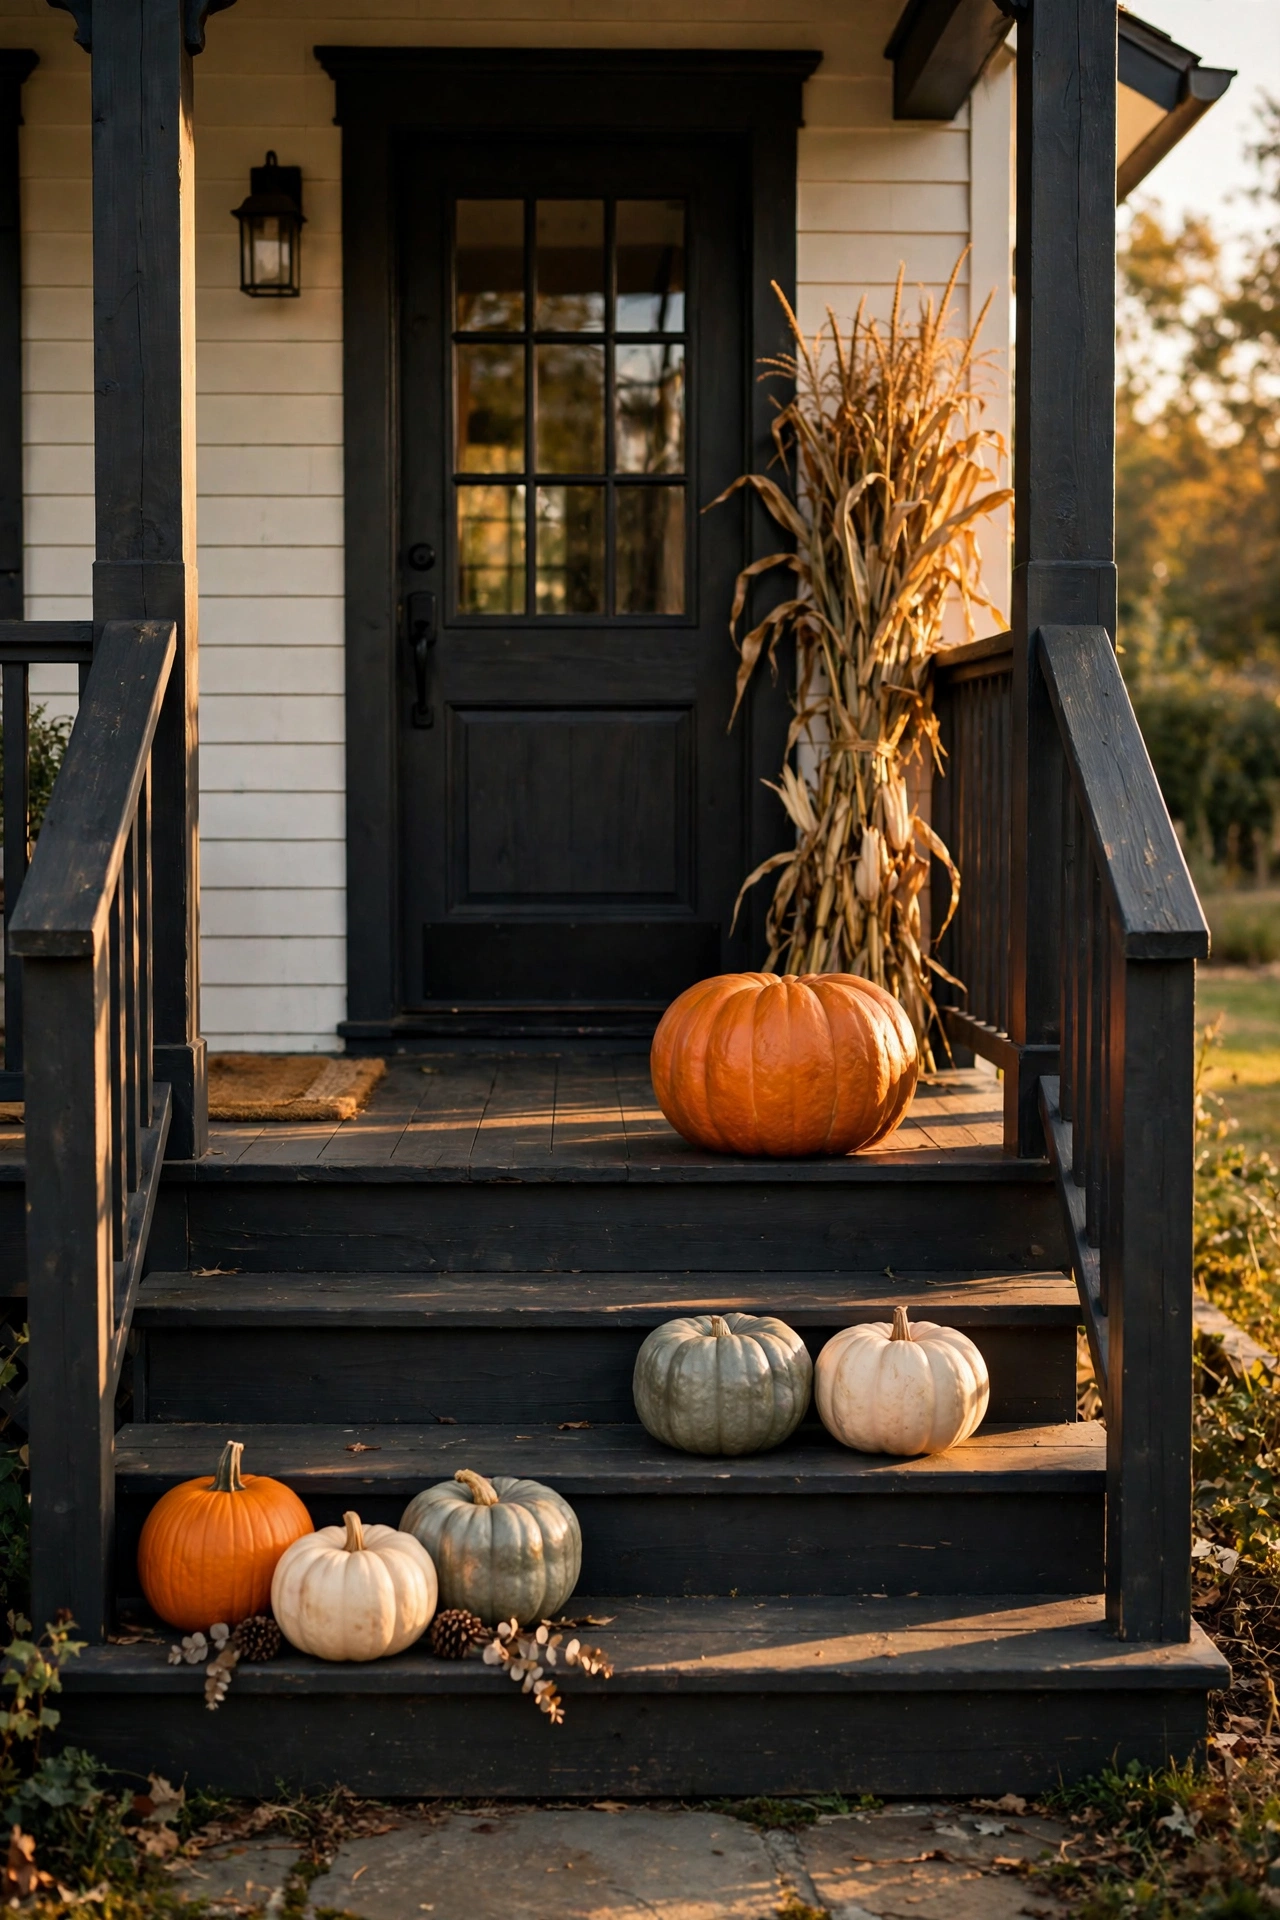
Place three pumpkins on the first step, two on the middle step, and one large pumpkin on the top step. Mix sizes from 6 inches to 18 inches and keep each cluster to odd numbers, because odd groupings read as collected. Add a bundle of cornstalks behind the group to give the arrangement a backdrop and extra height.
6. Mount a Welcome Sign With Spooky Lettering
A sign tells guests where the party begins. Without clear signage, guests wander around the house looking for the entrance, and your porch loses its focal point. A large lettered sign at eye level becomes the centerpiece of your entry and carries the theme in a single glance.
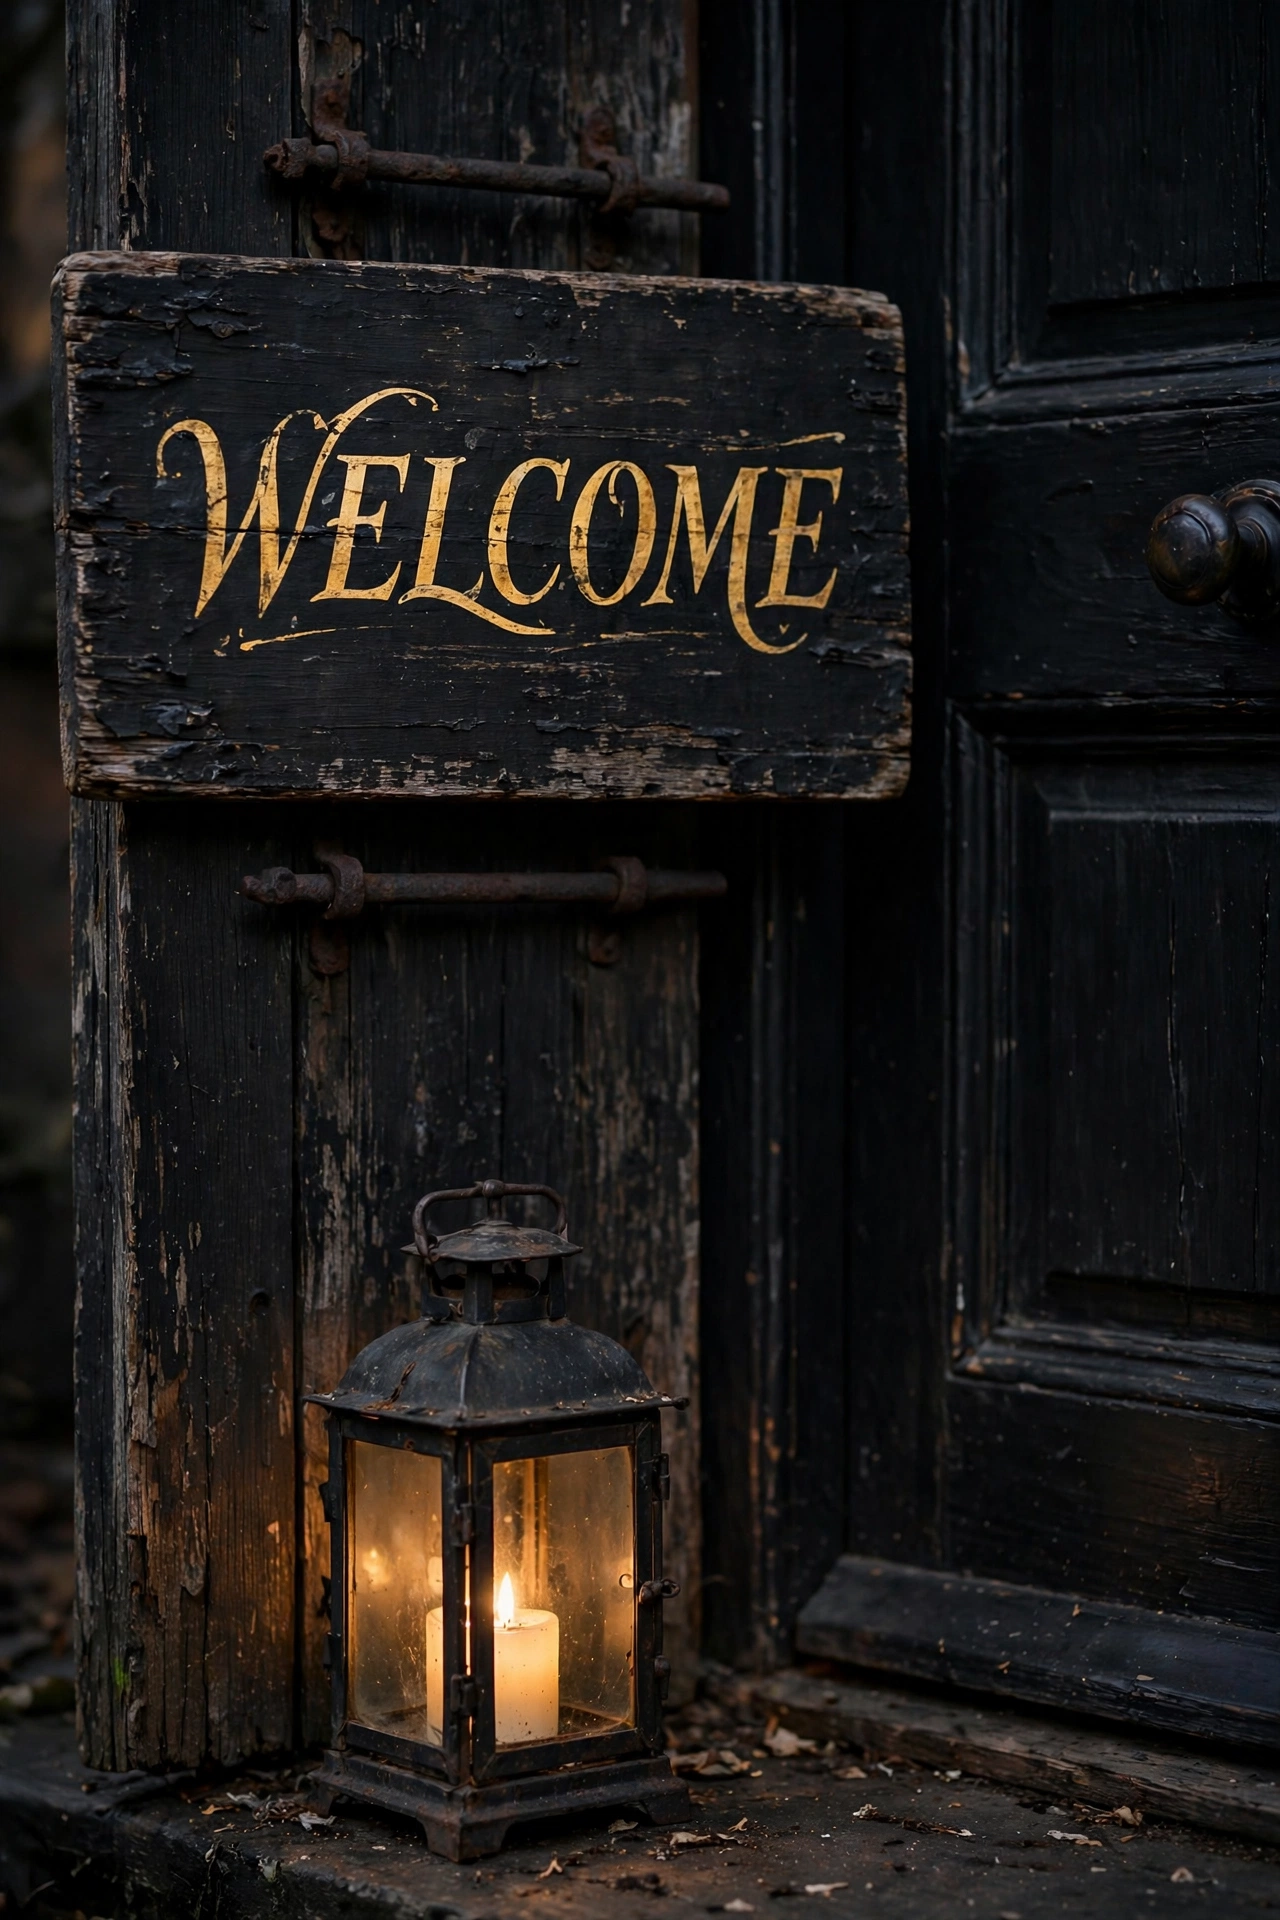
Mount the sign 60 inches from the floor, centered on the door or offset to the right of it. Choose lettering at least 2 inches tall in white or antique gold so it stays readable from 10 feet away at dusk. Pair the sign with a lantern on the ground to anchor it and light it from below.
7. Replace Your Doormat With a Themed Welcome Mat
Your everyday doormat breaks the spell at the door. A plain mat sends guests mixed signals right at the threshold, after all the porch styling above it. A themed mat finishes the entry layer by layer, ties the floor to the door, and sets the tone from the first step.
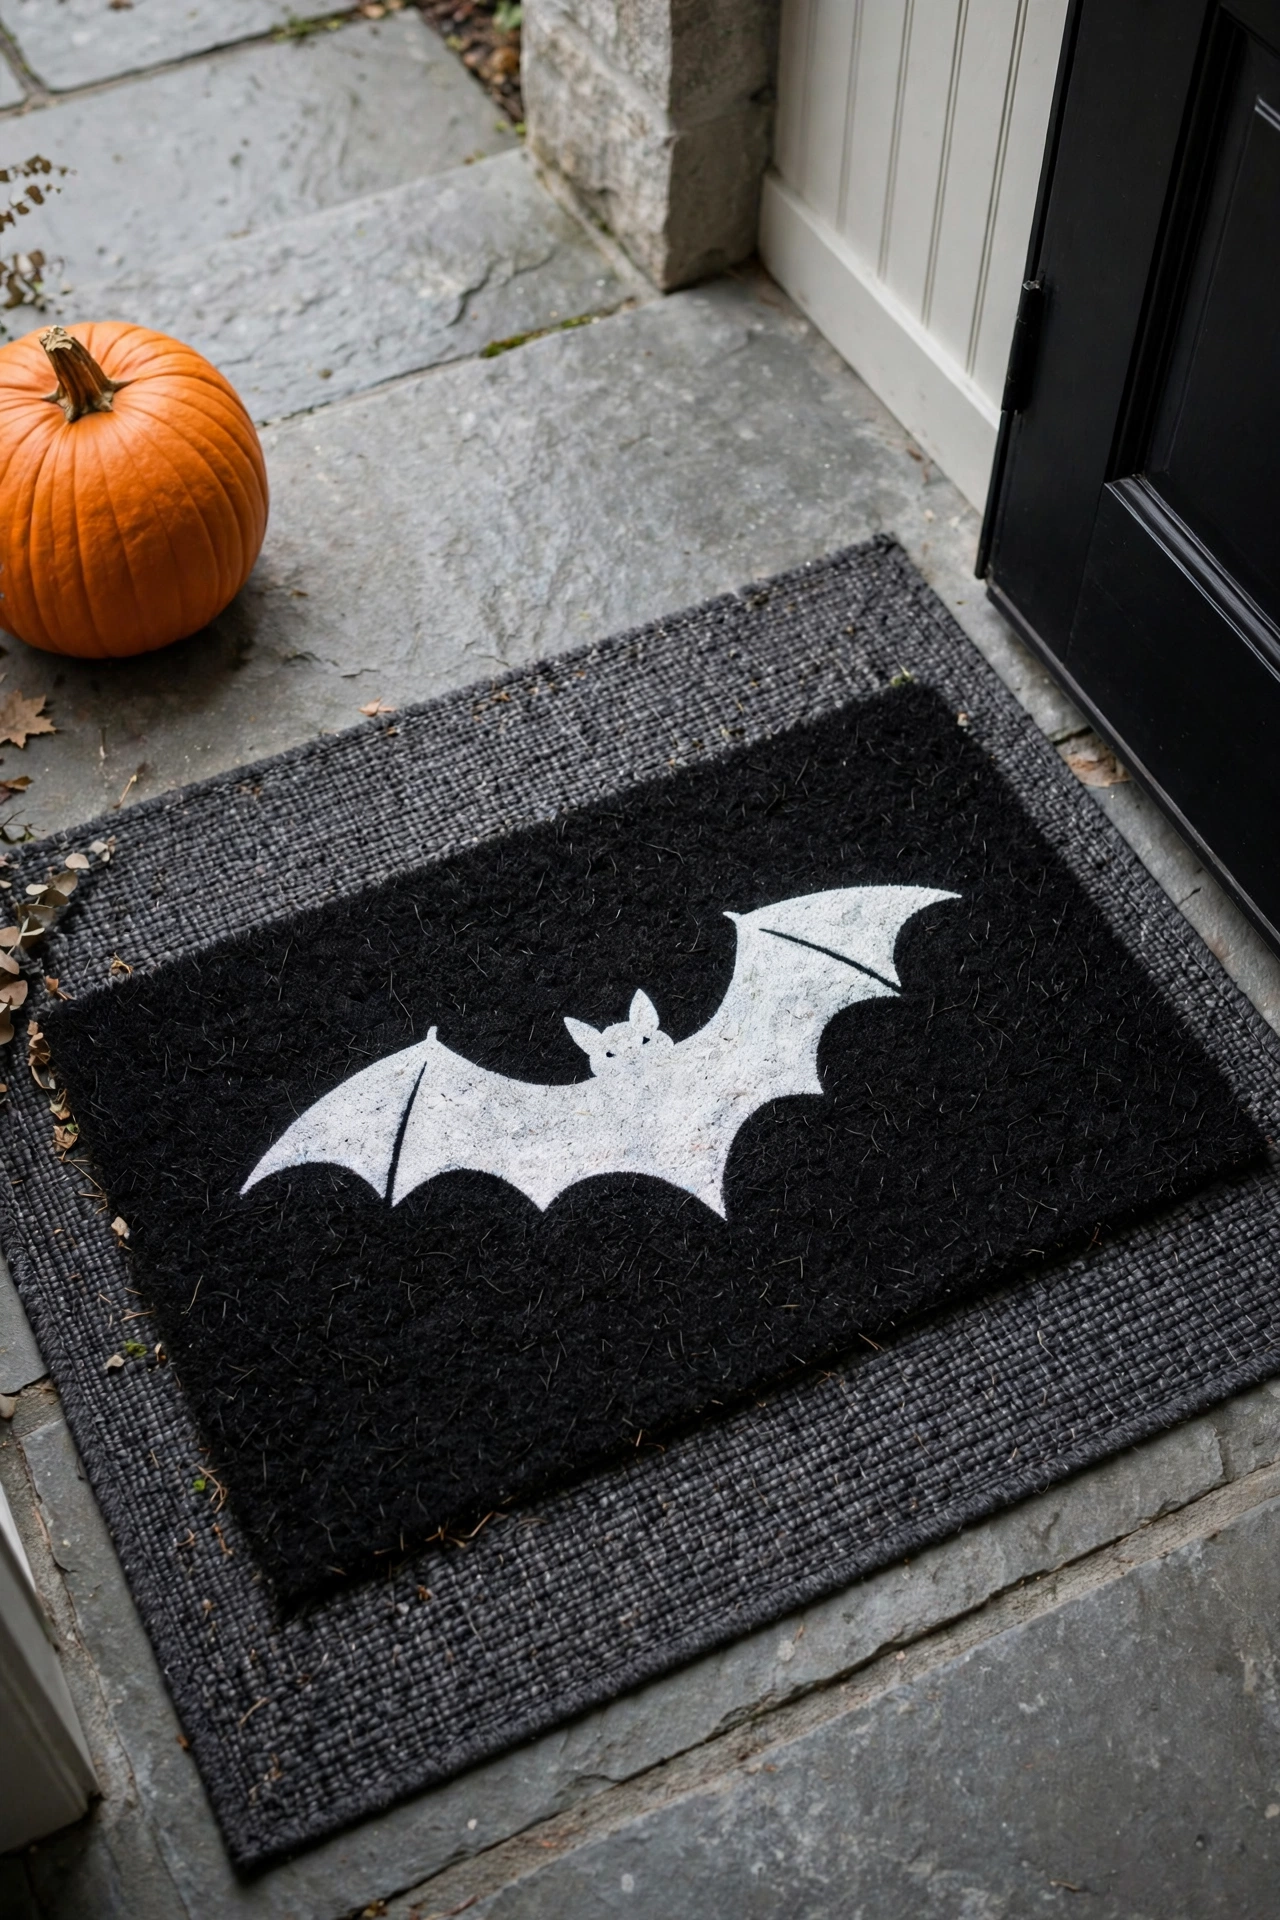
Swap in a black coir mat measuring 24×36 inches or larger, with bold white lettering or a simple bat silhouette. Layer a smaller 17×29 inch mat on top when you want more depth, using non-slip rubber backing underneath. The layered mat also traps dirt from arriving shoes, which keeps your entryway cleaner through the night.
Spooky Halloween Party Lighting Ideas for Every Room
8. Switch Overhead Bulbs to Orange or Purple LEDs
Bright white light kills Halloween atmosphere instantly. A standard white bulb flattens every prop, erases shadows, and makes the room look like an ordinary weeknight. Colored LED bulbs at lower brightness add depth, hide imperfections, and make every decoration look richer and more dramatic.
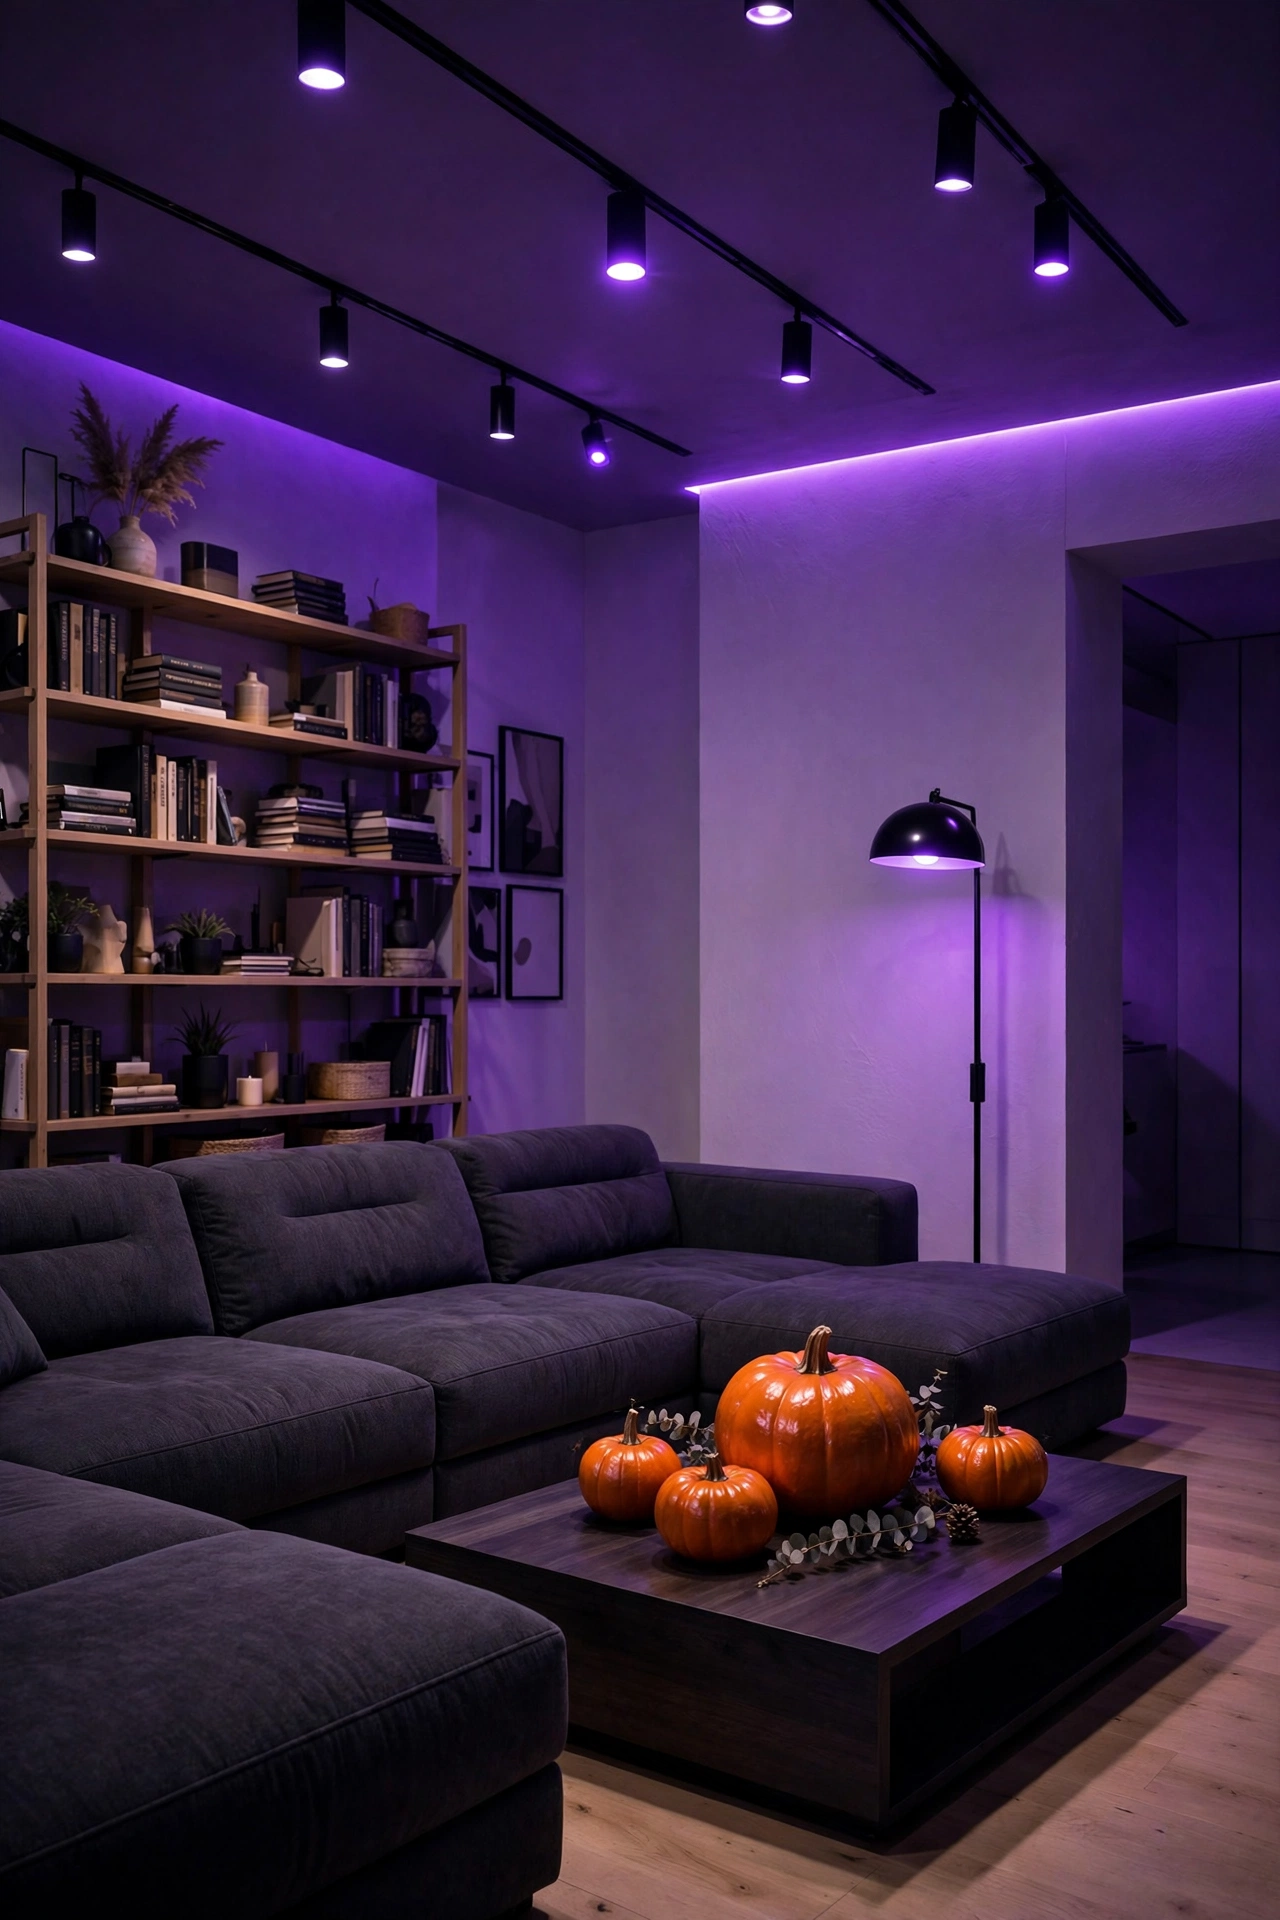
Replace overhead bulbs in the living room and hallway with 40-watt equivalent orange or purple LED bulbs rated for indoor use. Keep the kitchen at warm white so guests read food labels, and color only the rooms where people mingle. Colored bulbs also lower glare, which makes the whole house feel moodier without adding a single prop.
9. Add Flickering LED Candles in Grouped Clusters
Single candles disappear in a crowded room. One candle on a shelf gives almost no glow, and it reads as an afterthought instead of a deliberate layer of light. Grouped flickering LED candles in odd numbers create a warm pool of light and a convincing flame effect with no fire risk.
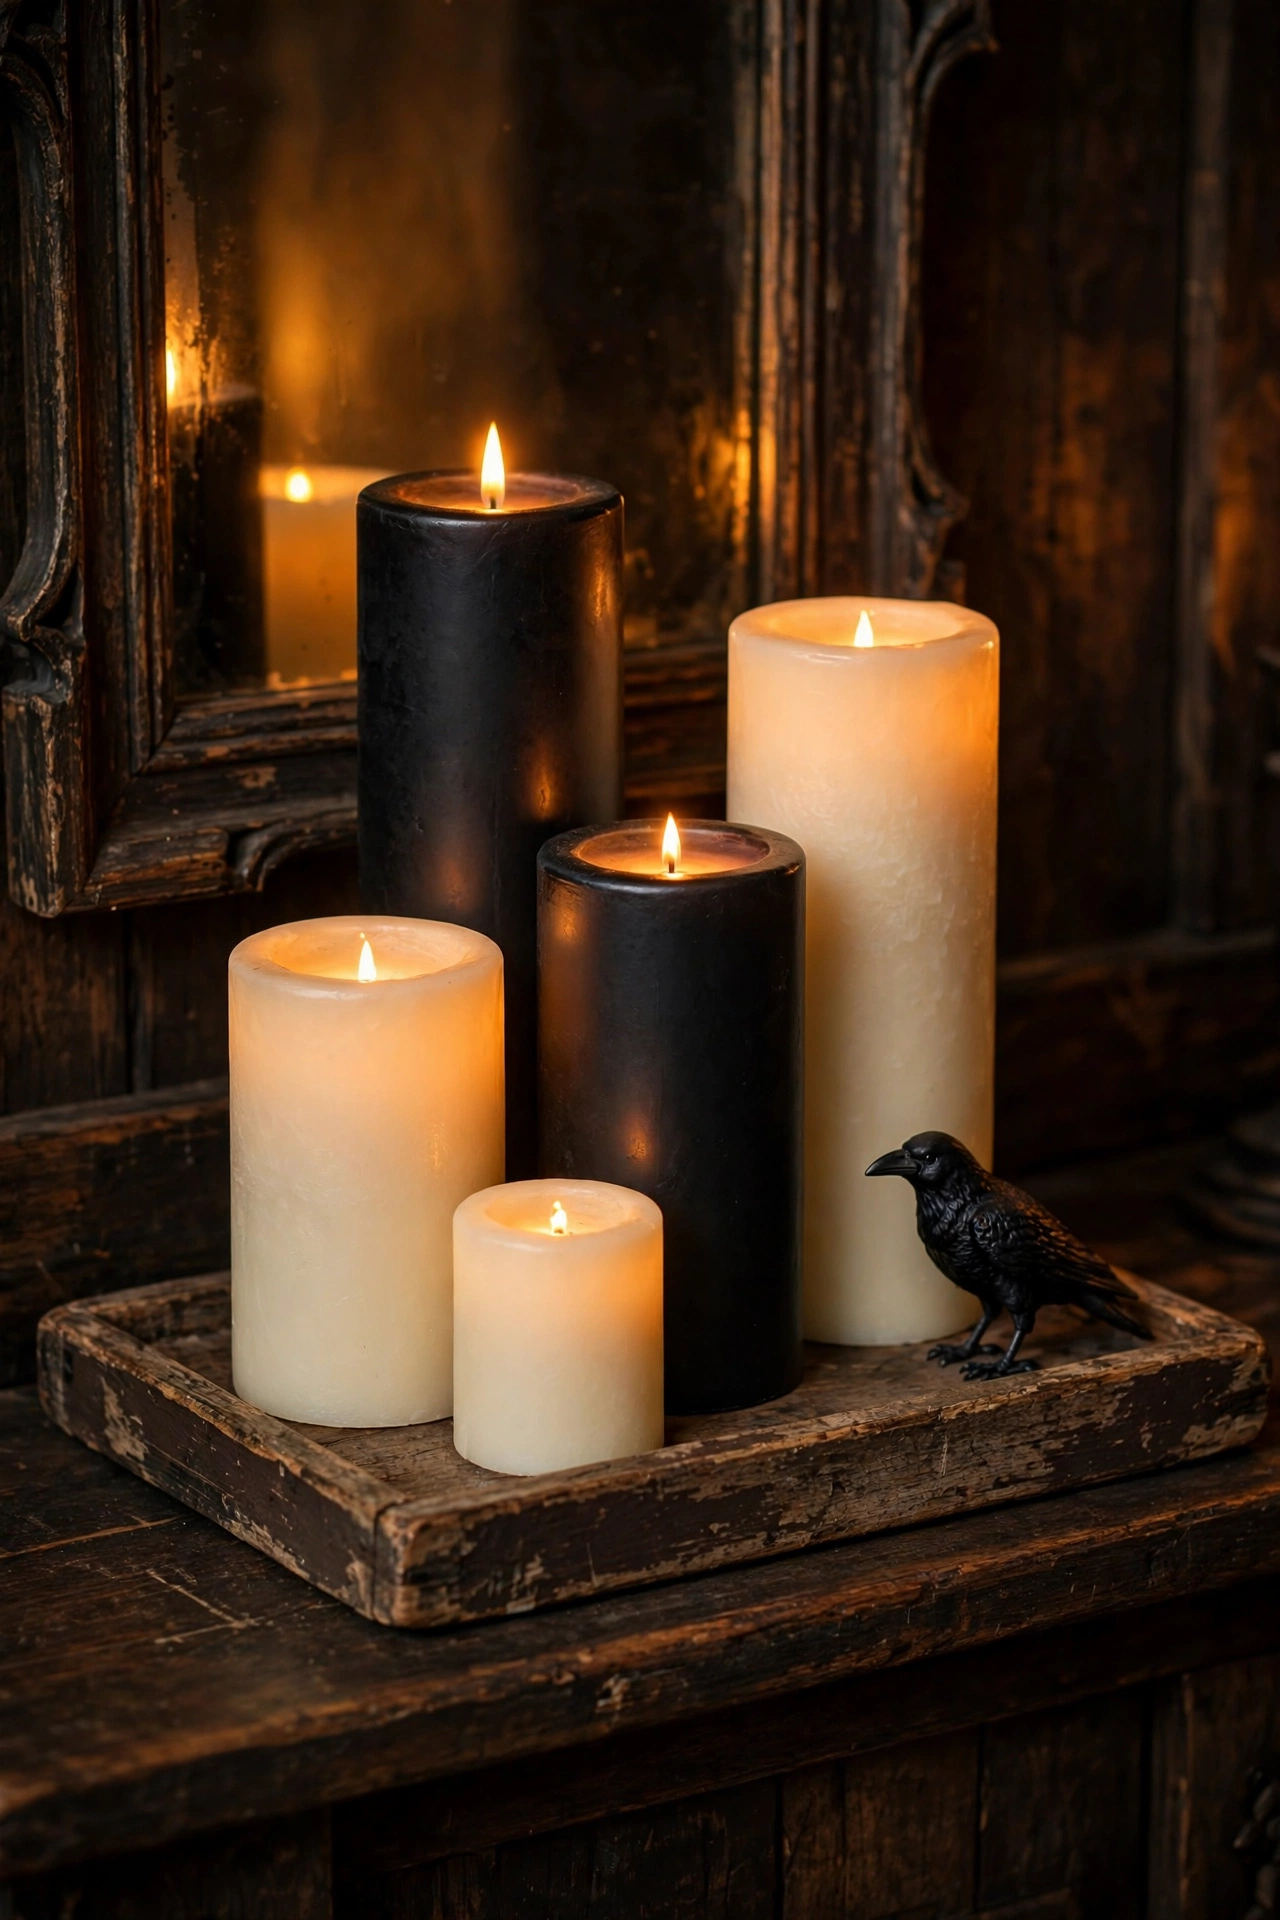
Cluster three to five flameless pillar candles at heights of 6, 9, and 12 inches on trays, cake stands, or stacked books. Choose candles with a warm amber flicker and a built-in timer, and avoid cool white LEDs that look flat. The clustered glow reflects off nearby glass and metal, which doubles the visual impact of every grouping.
10. Install Battery Fairy Lights Inside Glass Jars
Small lights in glass add glow at low cost. Bare string lights create harsh dots and visible wires, and they look like leftover holiday decor instead of Halloween lighting. Fairy lights inside jars diffuse into soft orbs that look like captured spirits and fit any surface at any height.
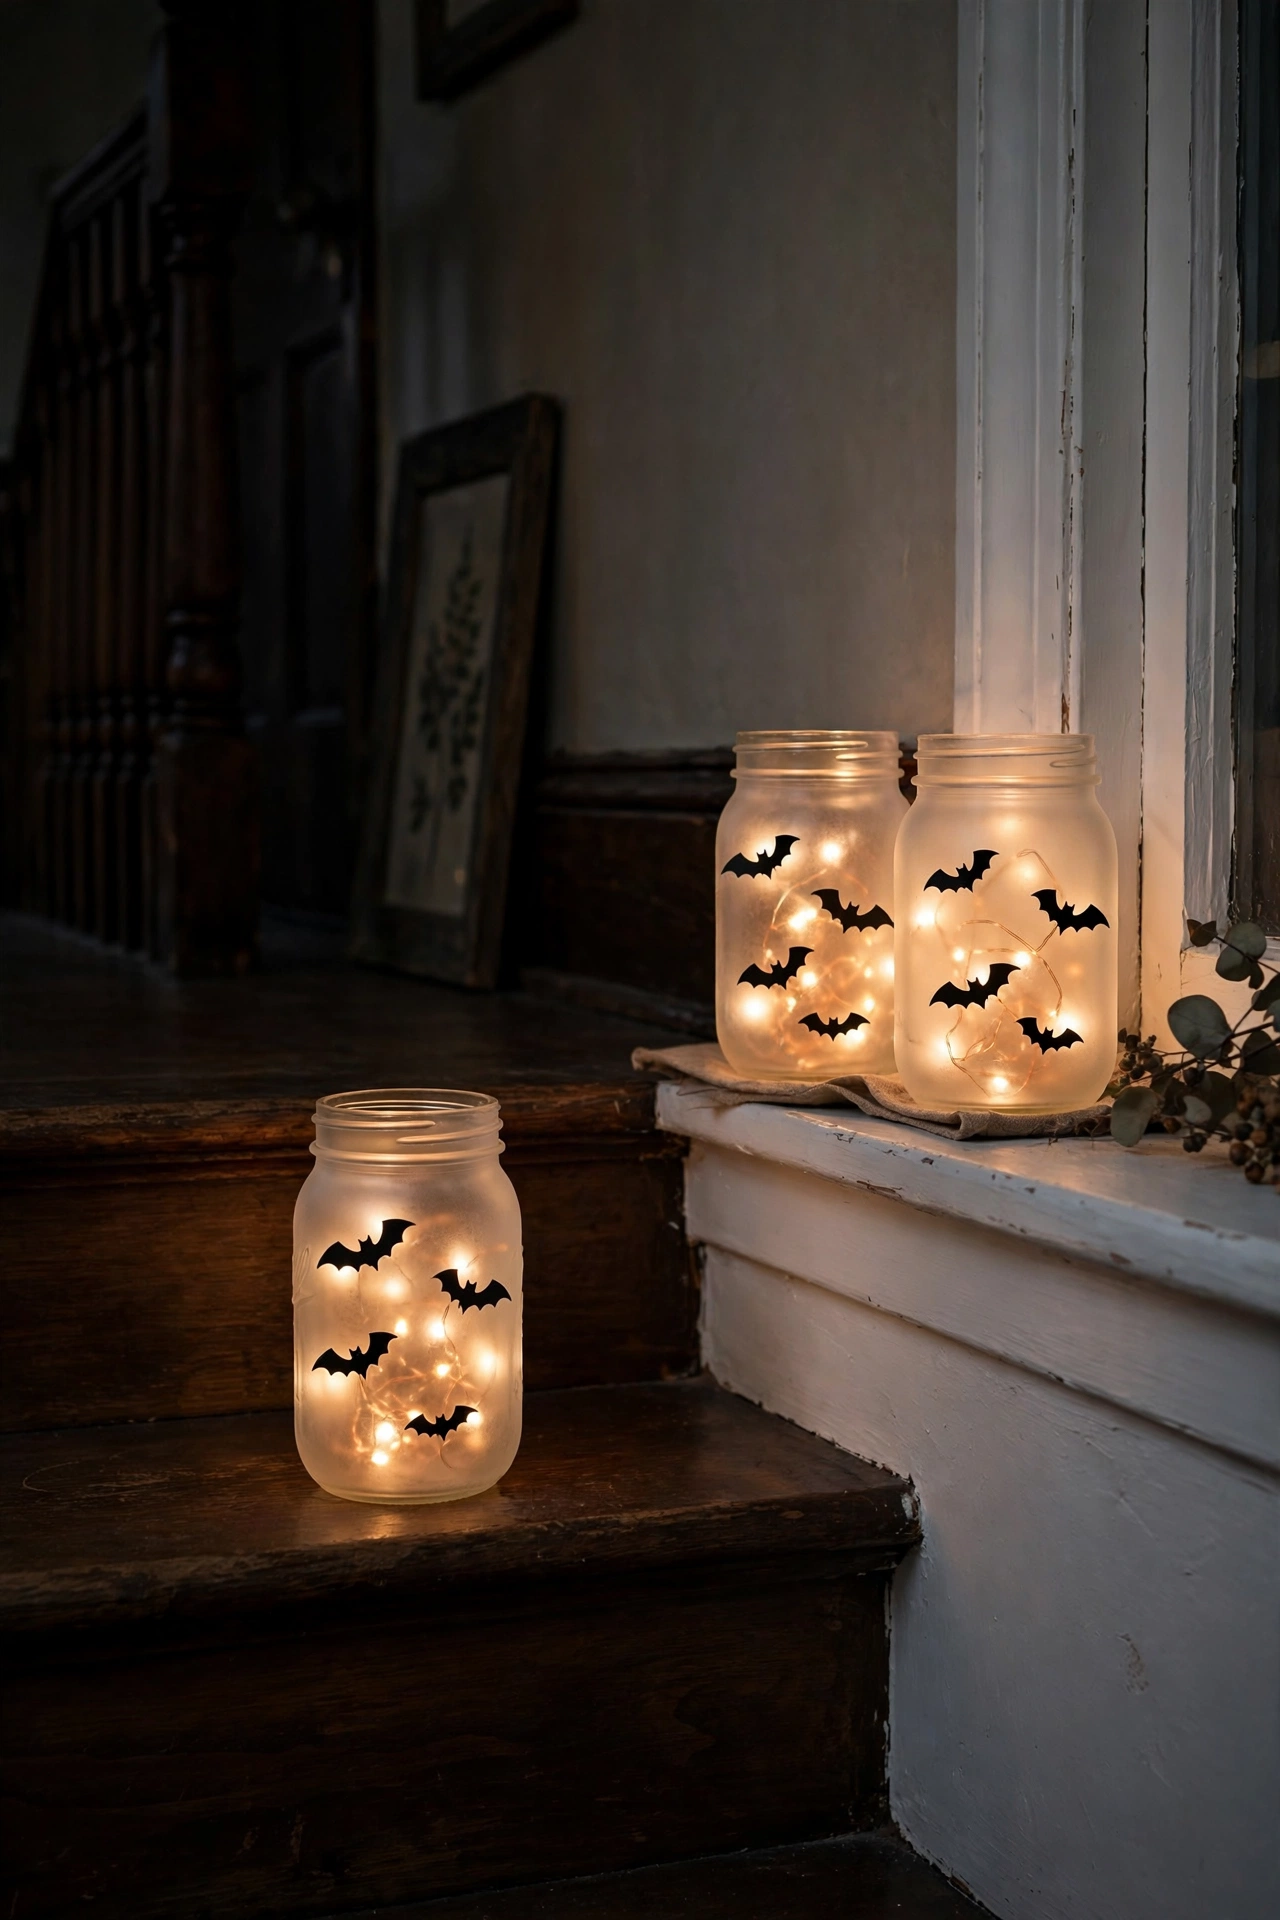
Drop a 20-bulb battery string into a 16-ounce mason jar and coil the wire loosely so the bulbs fill the base. Use frosted or tinted glass, and place jars in groups of three on the floor, stairs, and window ledges. The jars give you cordless light anywhere in the house, even in rooms with no outlet.
11. Layer Uplighting Behind Furniture for Long Shadows
Light from below changes how a room feels. Overhead light shows faces and furniture evenly, which keeps the room friendly instead of eerie and eliminates every shadow you want. Low uplighting behind furniture throws tall, dramatic shadows up the wall and turns ordinary pieces into haunted-house silhouettes.
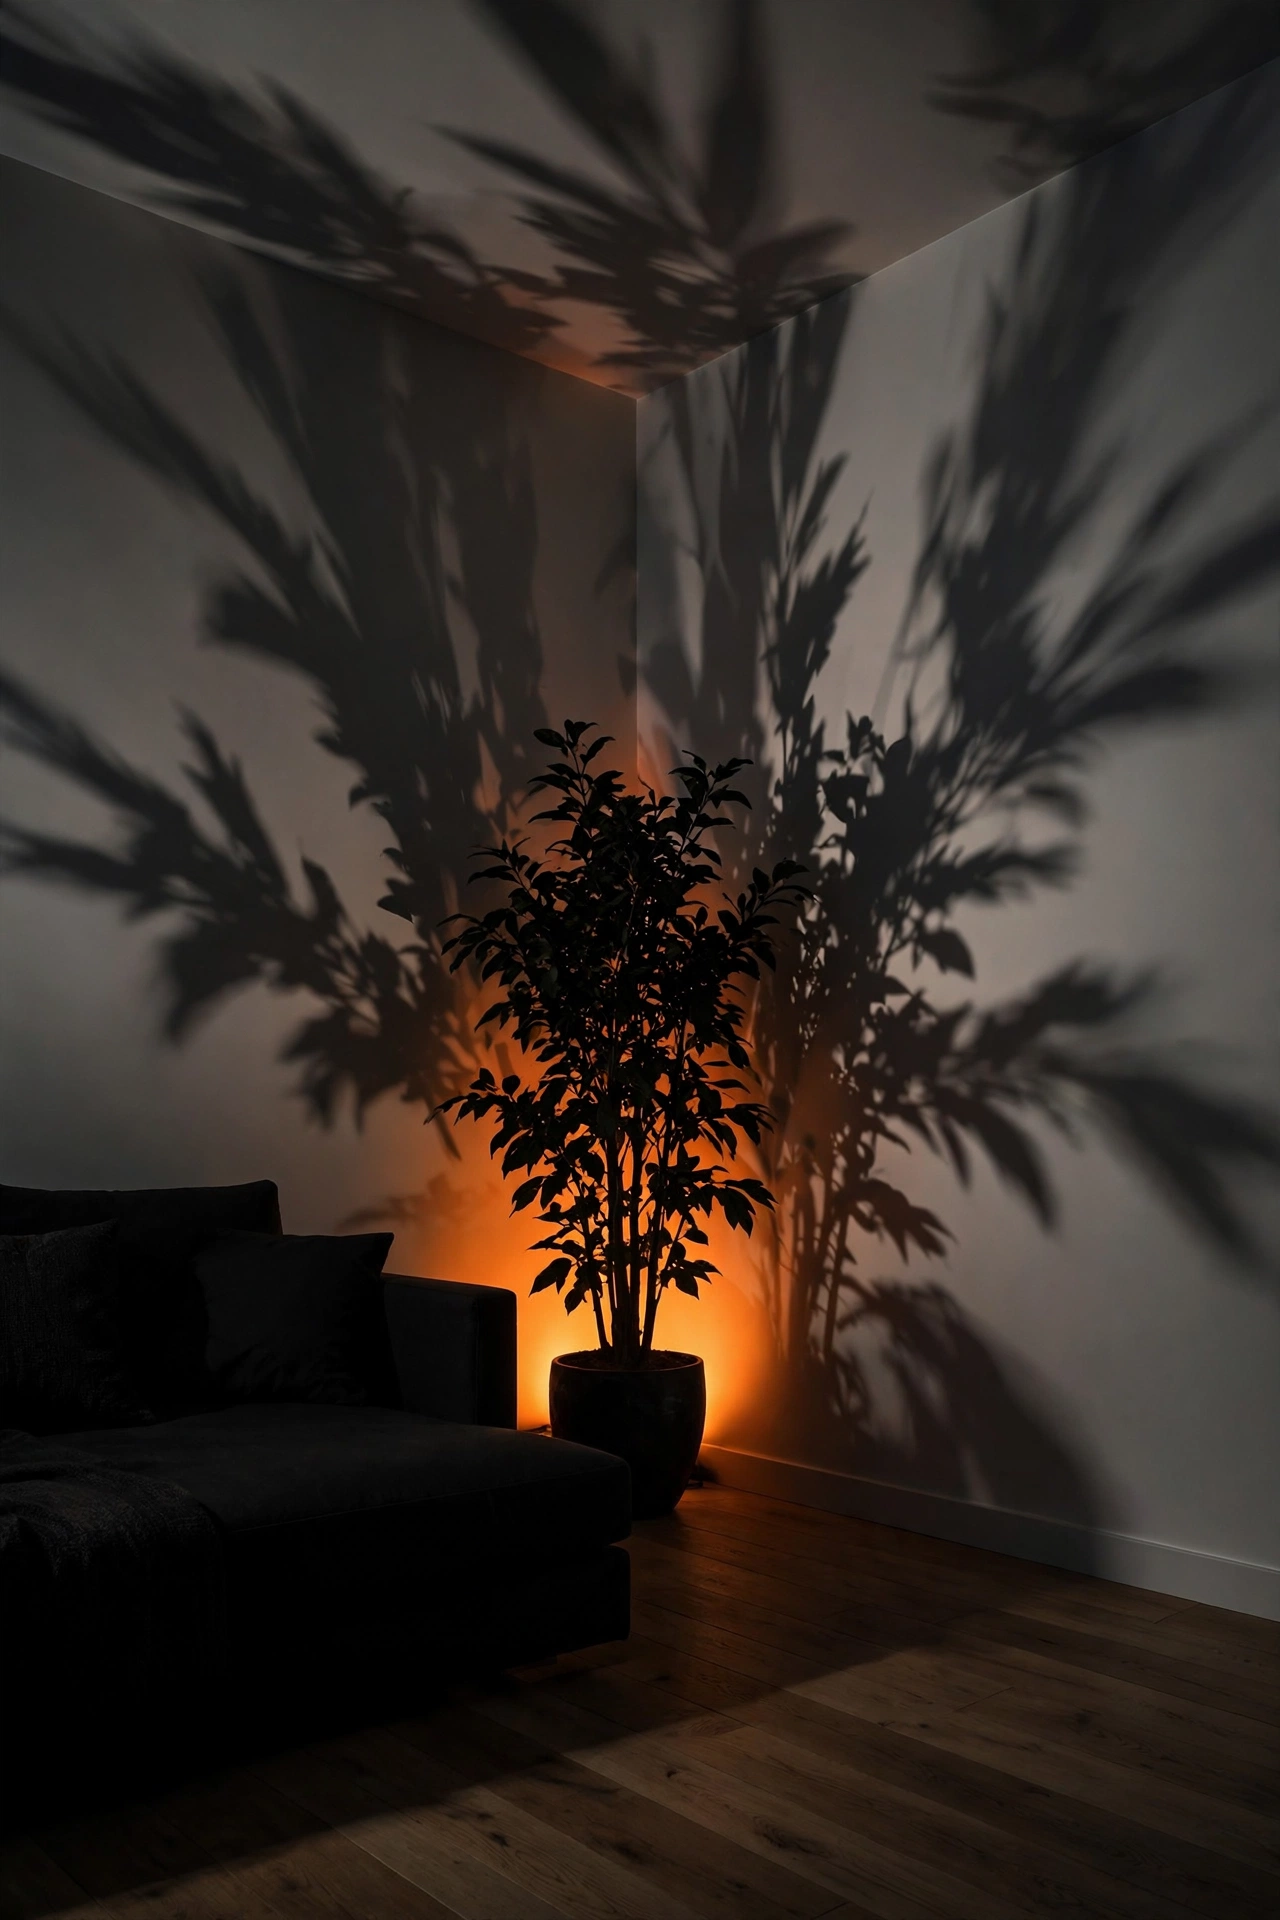
Place a small battery spotlight on the floor 6 to 12 inches behind a sofa or plant, aimed straight up the wall. Use orange, purple, or green gels over the lens, and keep the beam angle narrow at 30 degrees or less. The shadows add height to a low ceiling and give the room instant depth in photos.
Halloween Table Decor and Food Display Ideas
12. Build a Tiered Food Display Using Risers
Flat food tables look like a pile of platters. When every dish sits at the same height, the table loses its focal point and guests cannot see what is available. Tiered risers create three visual levels, show off every dish, and turn a plain buffet into a layered Halloween display.
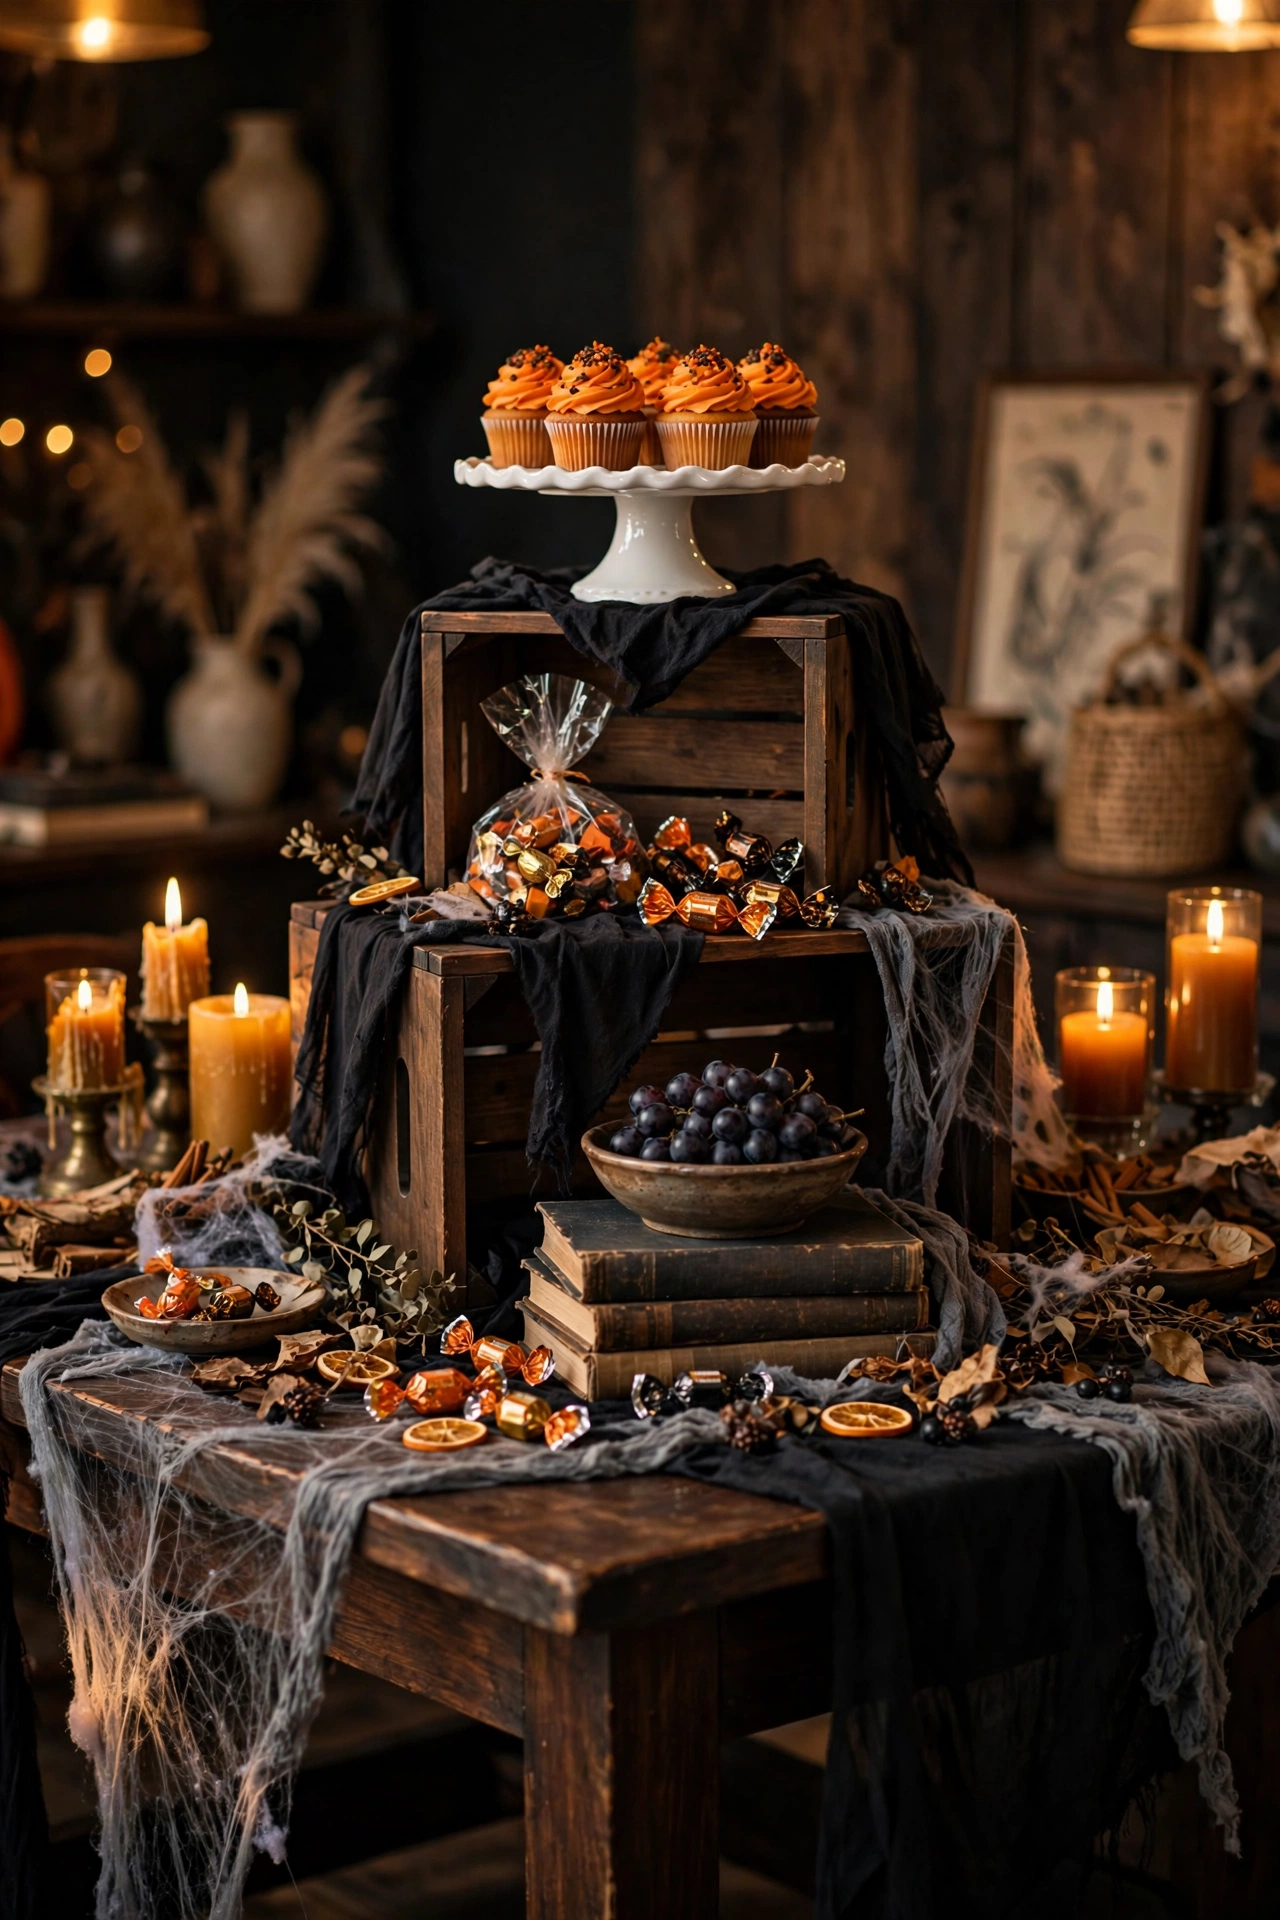
Stack inverted wooden crates, cake stands, and books to create three levels at 3, 6, and 12 inches above the table. Place the tallest item at the back or center, and keep the front row at 3 inches so every dish stays visible. Cover the risers with black cloth or cheesecloth so the structure disappears and only the food stands out.
13. Use a Black Table Runner as the Base Layer
Your table needs a dark foundation first. A bare wood or white table clashes with orange and purple decor and makes props look like they float without context. A black runner creates contrast that makes every color pop, and it hides spills that show on a pale surface.
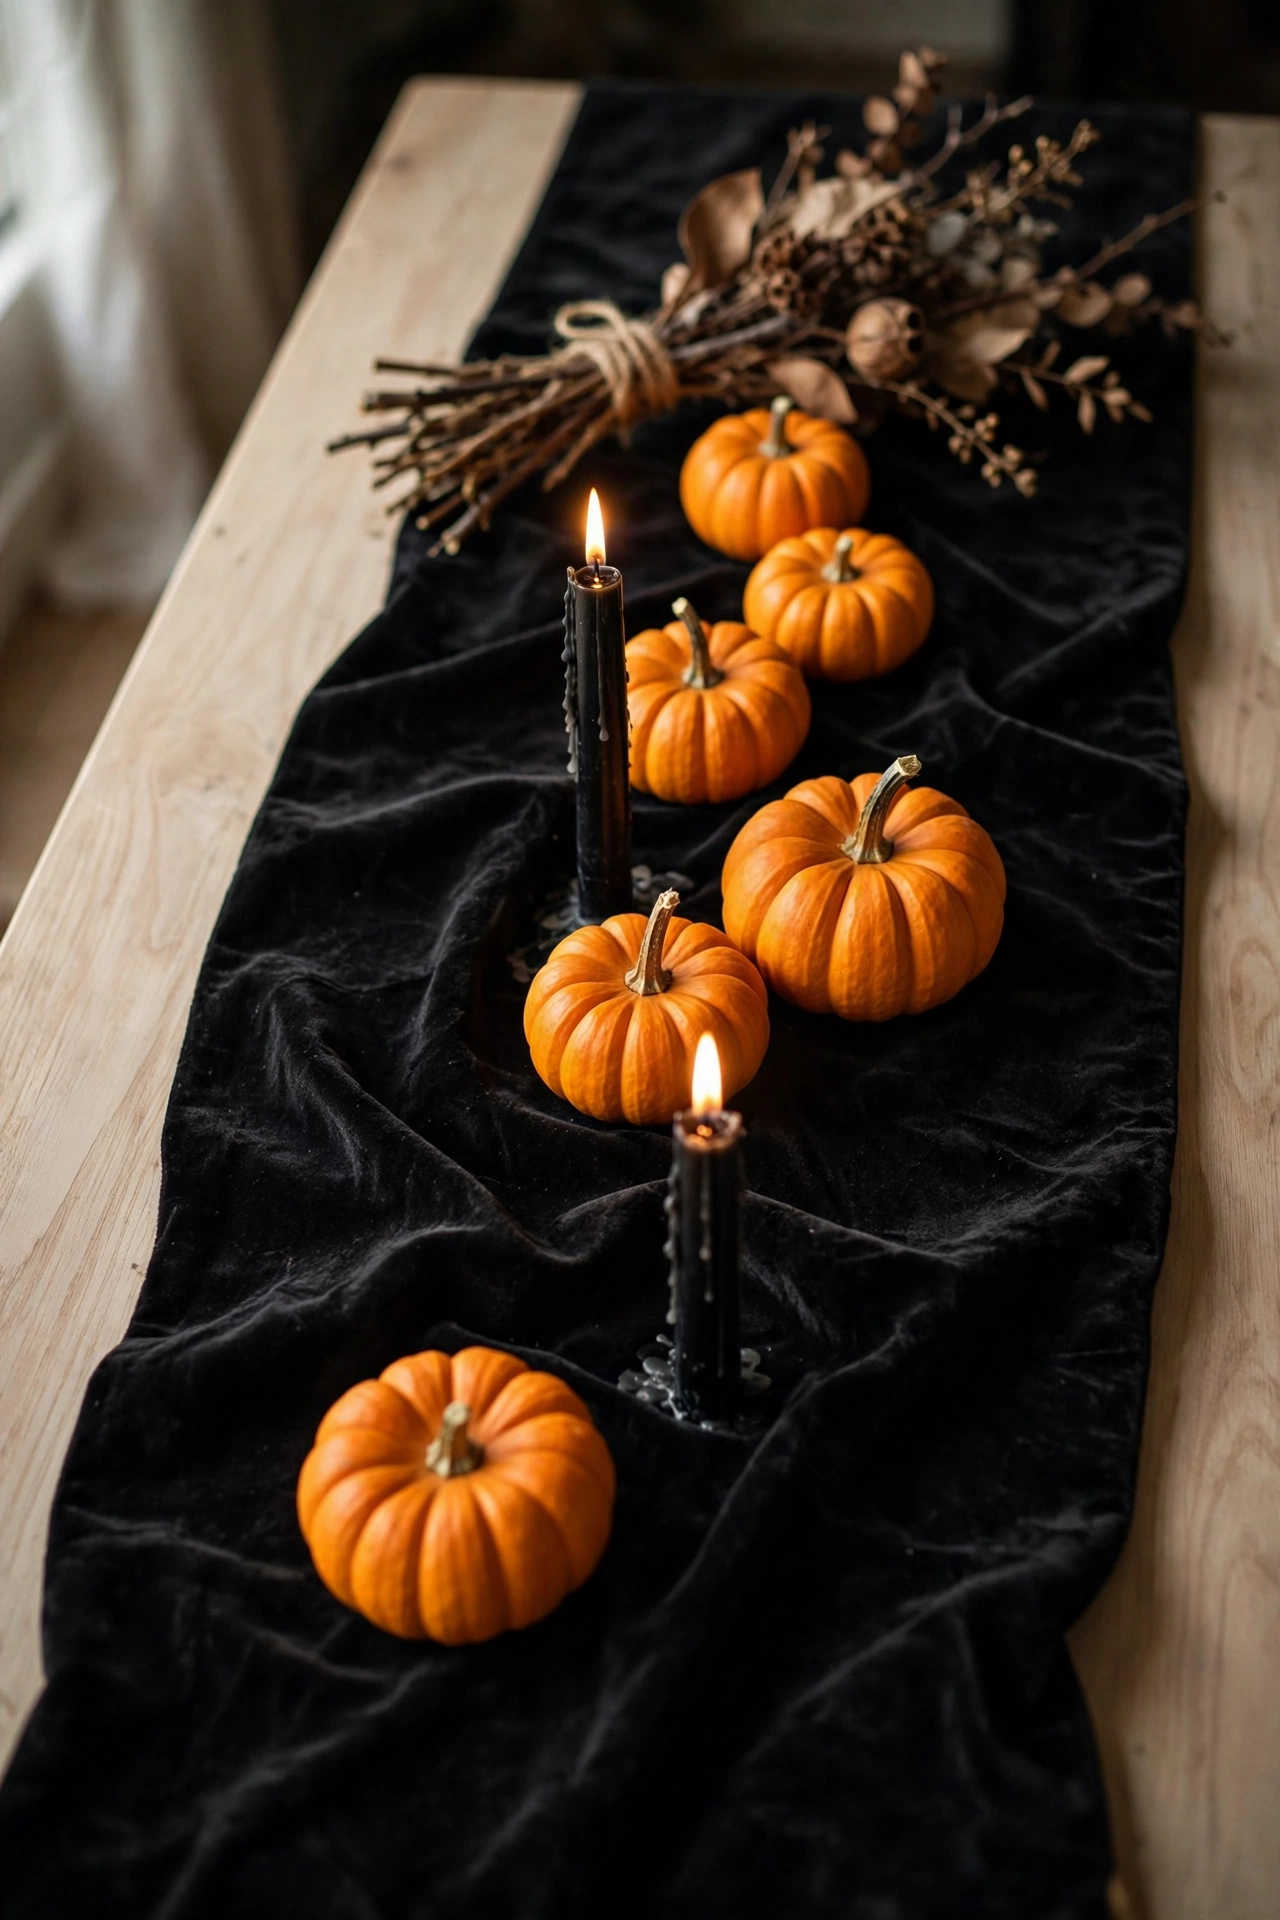
Roll out a black or charcoal runner 14 to 16 inches wide down the center, letting 6 to 10 inches hang off each end. Choose velvet, cotton, or burlap for texture, and skip shiny plastic that wrinkles and reflects light harshly. The runner gives you a clear zone for props, so every item on the table has a defined place.
14. Arrange Mismatched Apothecary Jars as Drink Stations
Plain drink tables break the theme. Plastic pitchers and store-bought bottles look generic, and they interrupt the spooky look you built across the rest of the room. Apothecary jars with handwritten labels turn drinks into potions and give your bar a collected, cohesive look.
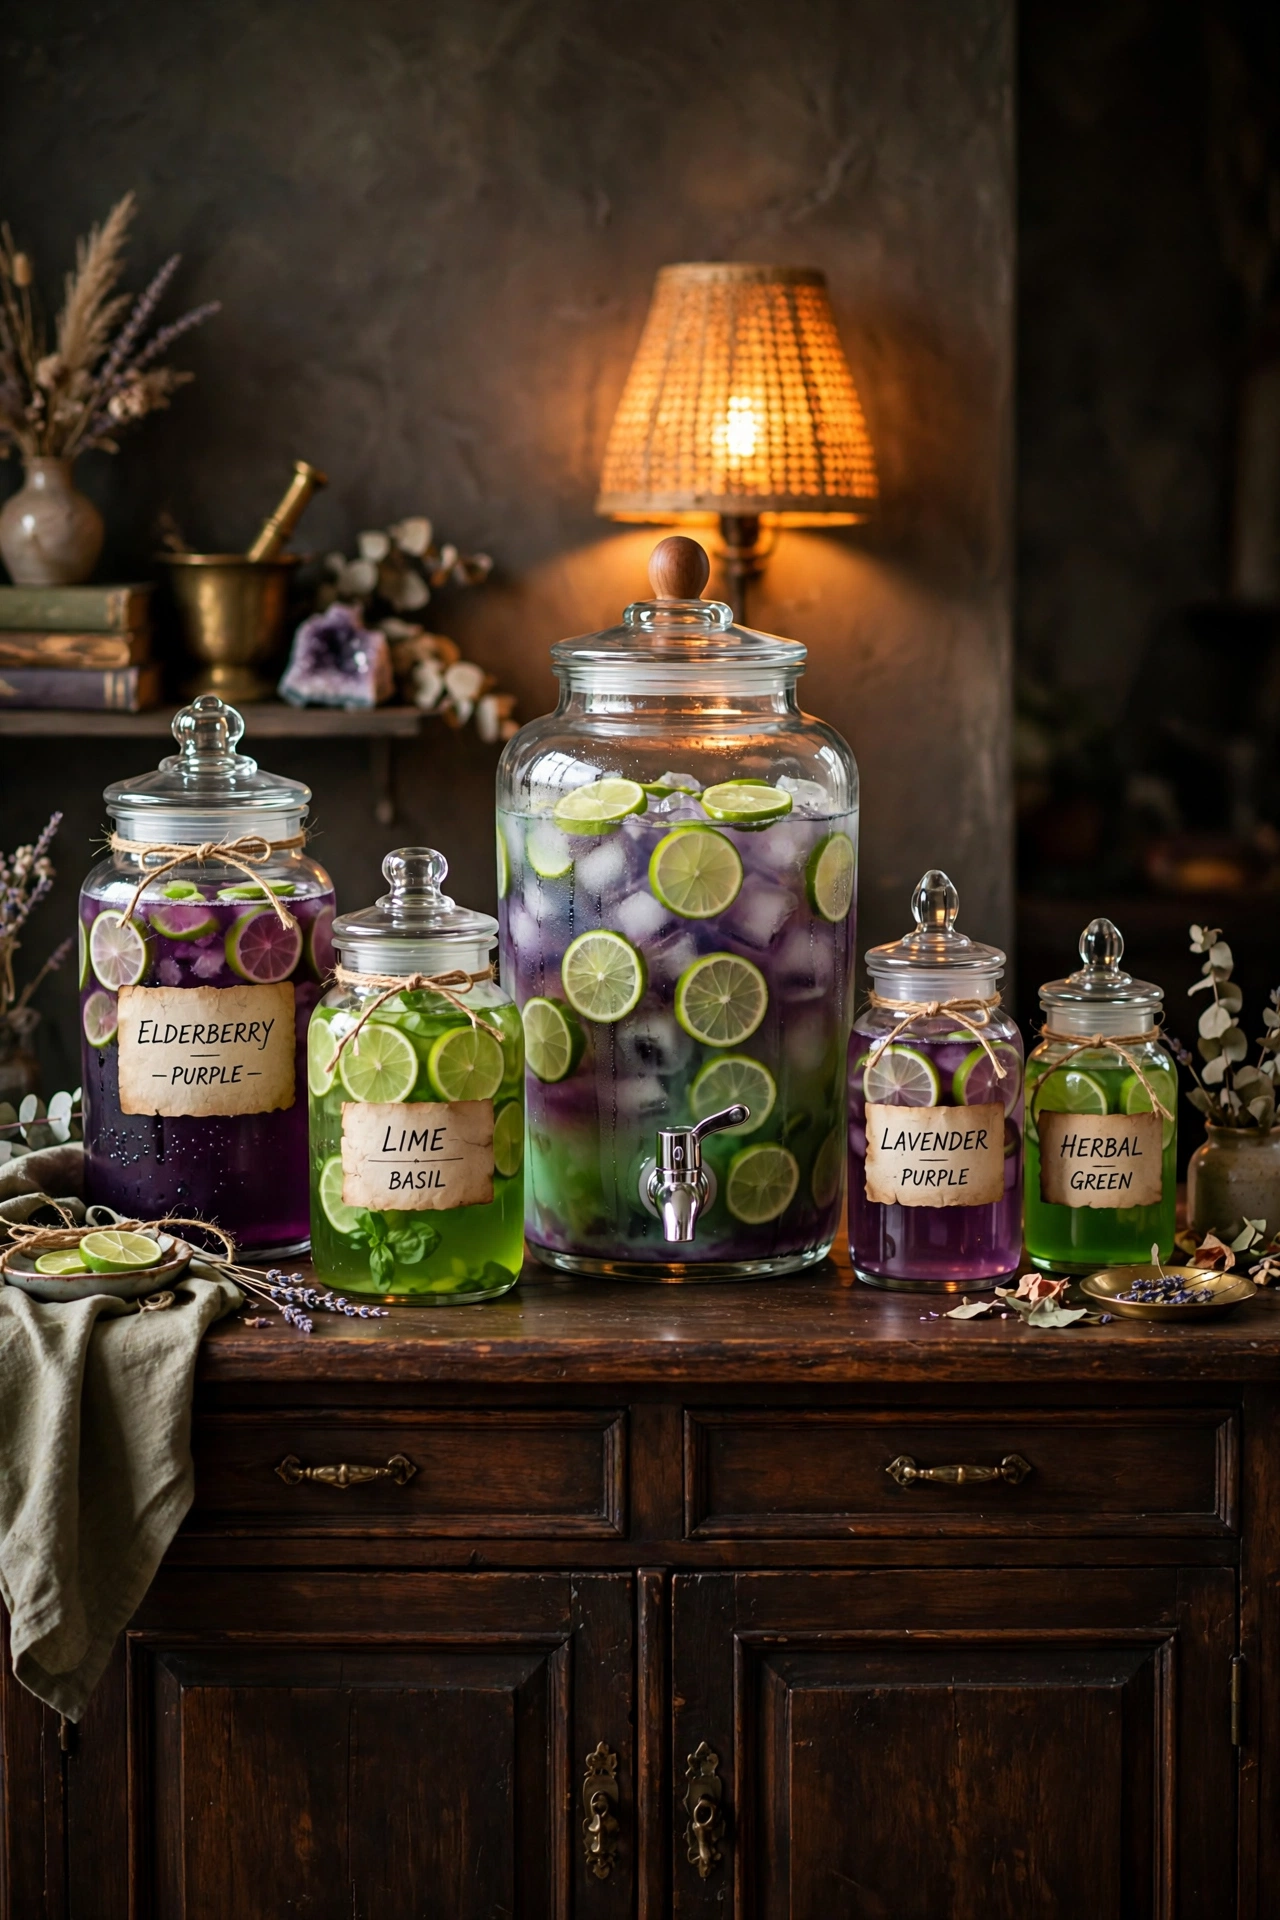
Fill a 1.5-gallon glass dispenser and three or four smaller 32-ounce jars, then tie a parchment label around each neck. Write names like Witch’s Brew or Vampire Blood in black ink, and match the lettering style to your welcome sign. The matching labels link the bar to the entry, which makes the whole party look planned down to the cups.
15. Style Centerpieces at Three Different Heights
Same-height centerpieces make a table look flat. Equal heights create a straight line across the table that blocks sightlines and gives the eye no place to travel. Three distinct heights build a triangle of interest, guide the eye across the table, and keep guests able to see each other.
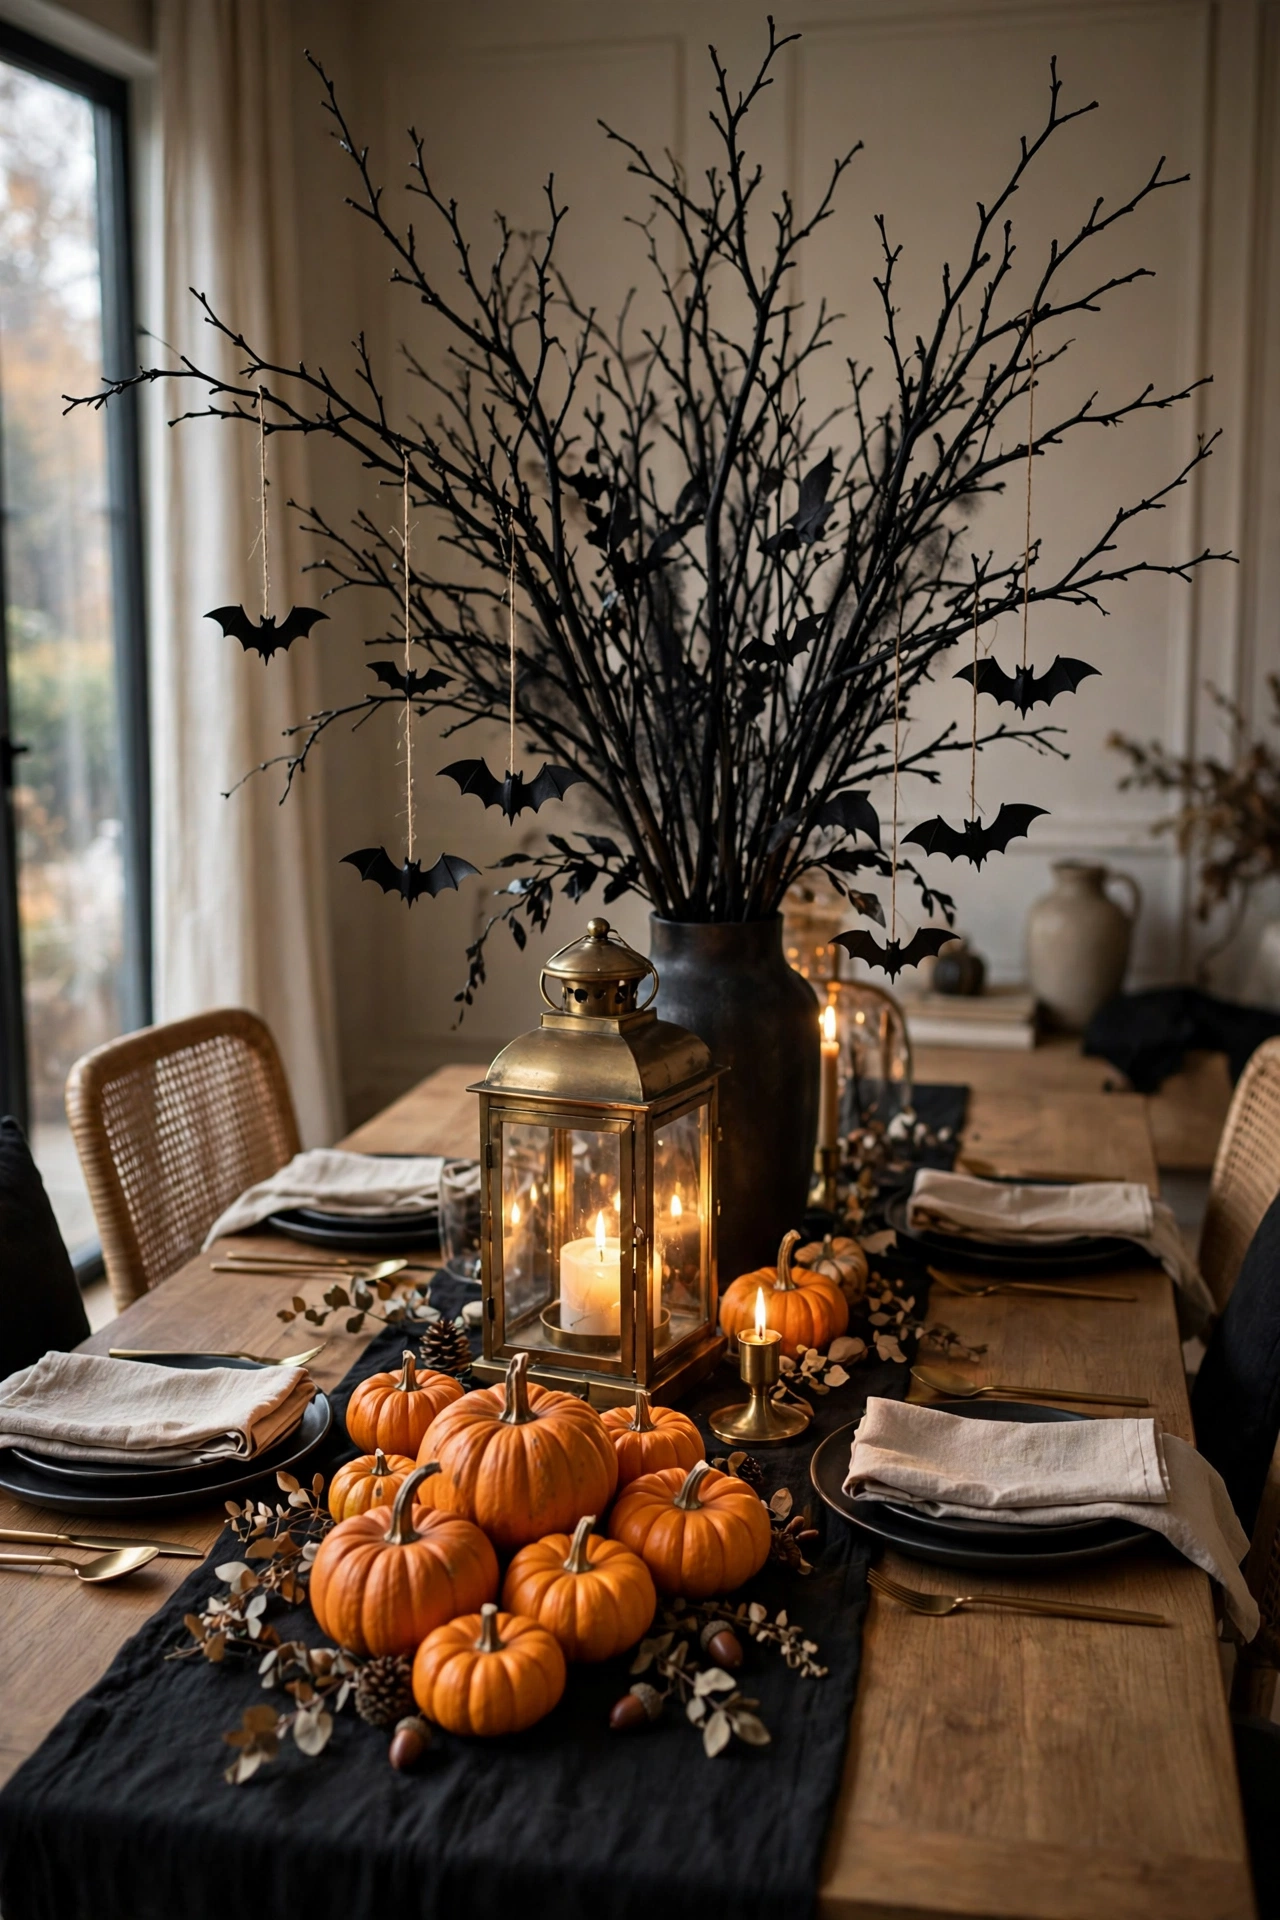
Place a 20-inch branch arrangement at the back, a 12-inch lantern in the middle, and a cluster of 4-inch pumpkins in front. Keep every centerpiece below 14 inches on tables where guests sit facing each other, so conversation stays open. Spray-painted black branches with a few hanging bats cost almost nothing and look like designer pieces.
Halloween Party Styling and Finishing Touches
16. Anchor the Room With One Oversized Statement Piece
One big piece beats ten small ones. Many small props scatter attention and read as clutter, so guests remember none of them after the party ends. A single oversized statement piece becomes the room’s focal point, gives photos a backdrop, and makes everything around it look intentional.
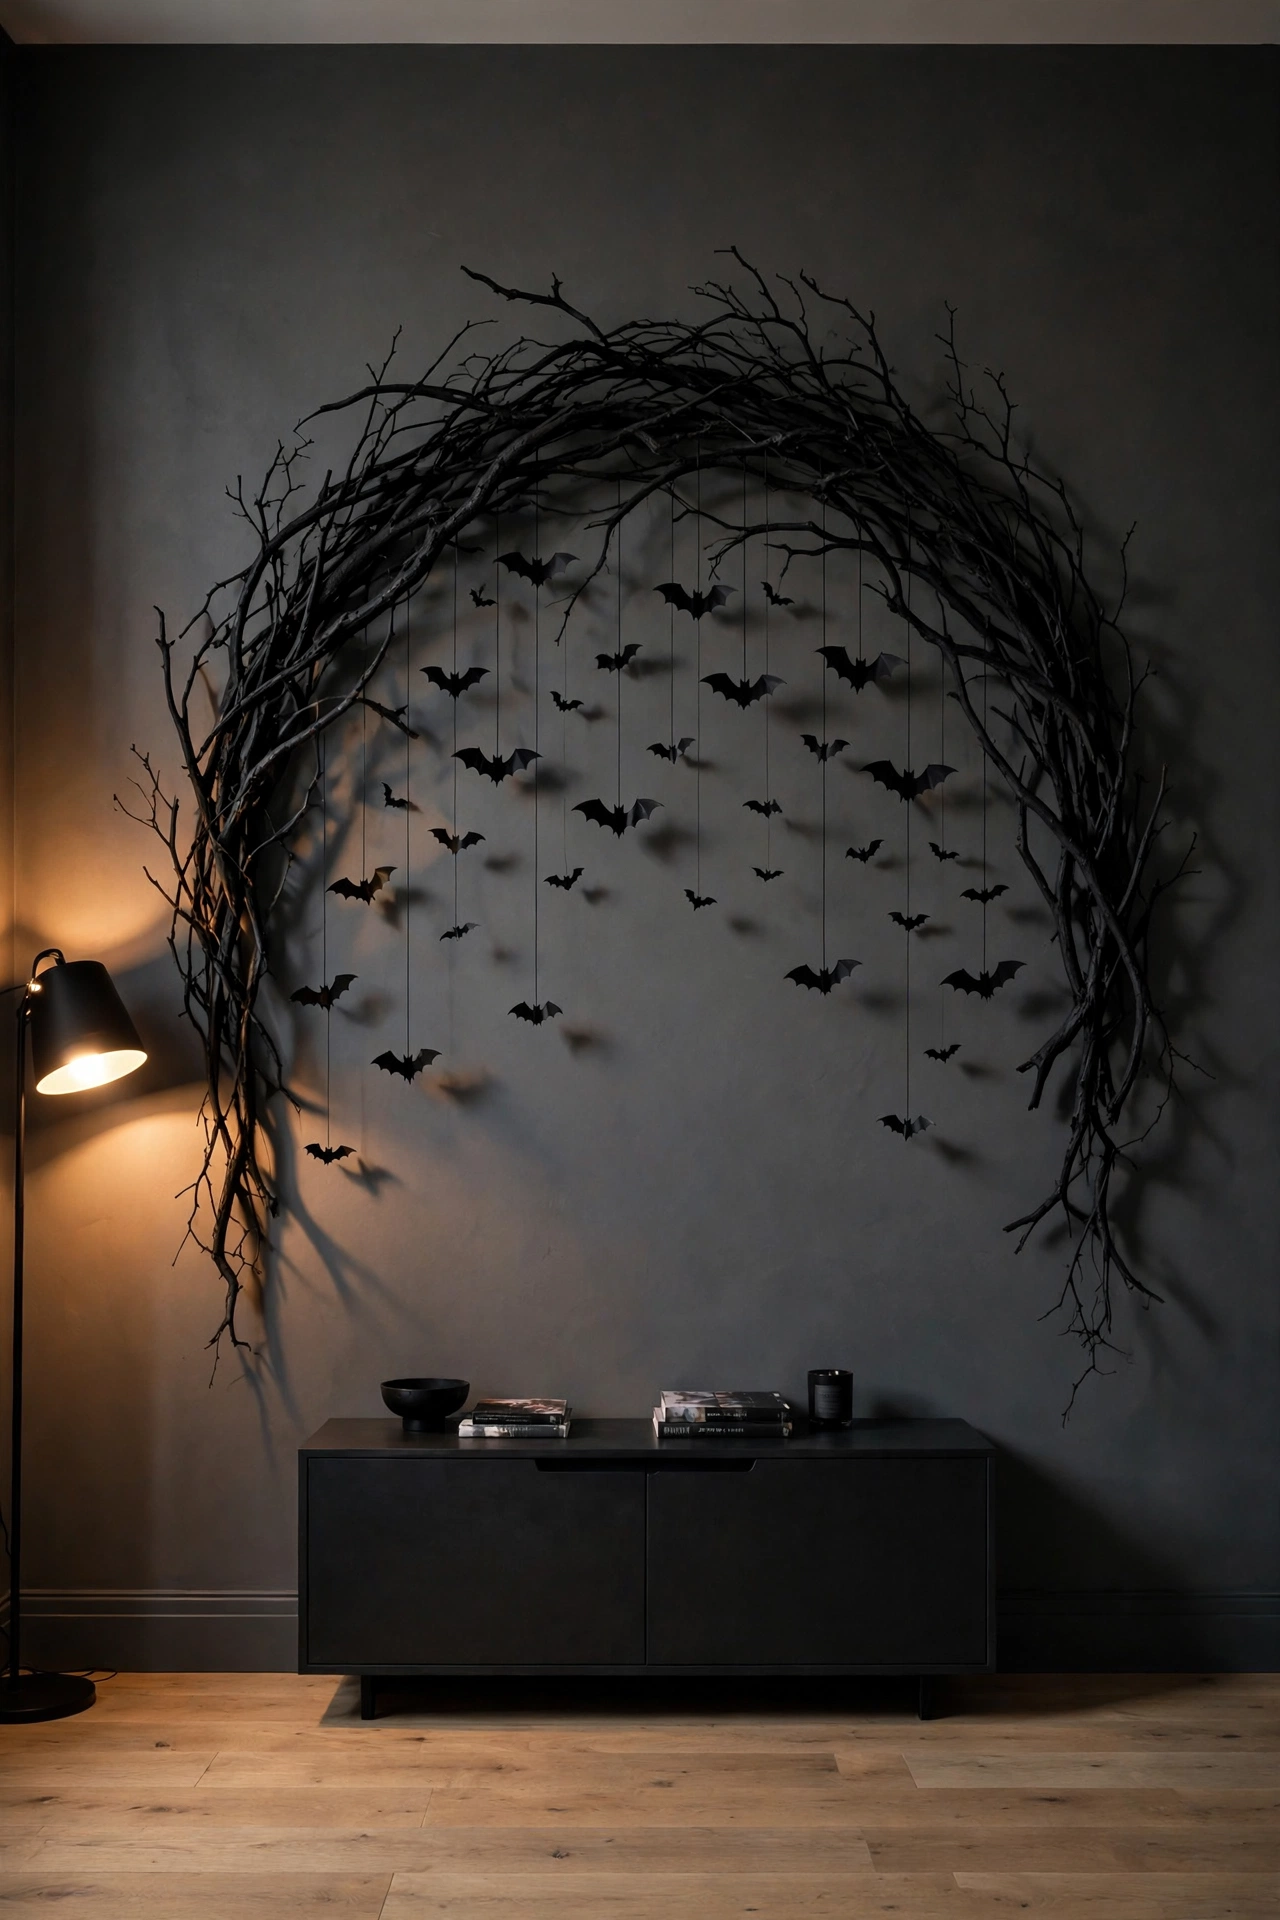
Choose one item at least 5 feet tall, such as a giant skeleton, a black branch arch, or a floor-to-ceiling cobweb corner. Place it on the wall opposite the main entry so it appears the moment guests walk in. Keep the surrounding 3 feet clear of other props to give it room to dominate.
17. Group Props in Odd-Numbered Clusters of Three or Five
Even groupings look staged, odd groupings look collected. Pairs and sets of four line up too neatly, and that symmetry makes props look like store display items. Odd-numbered clusters at different heights create a vignette that feels natural and keeps the eye moving across the arrangement.
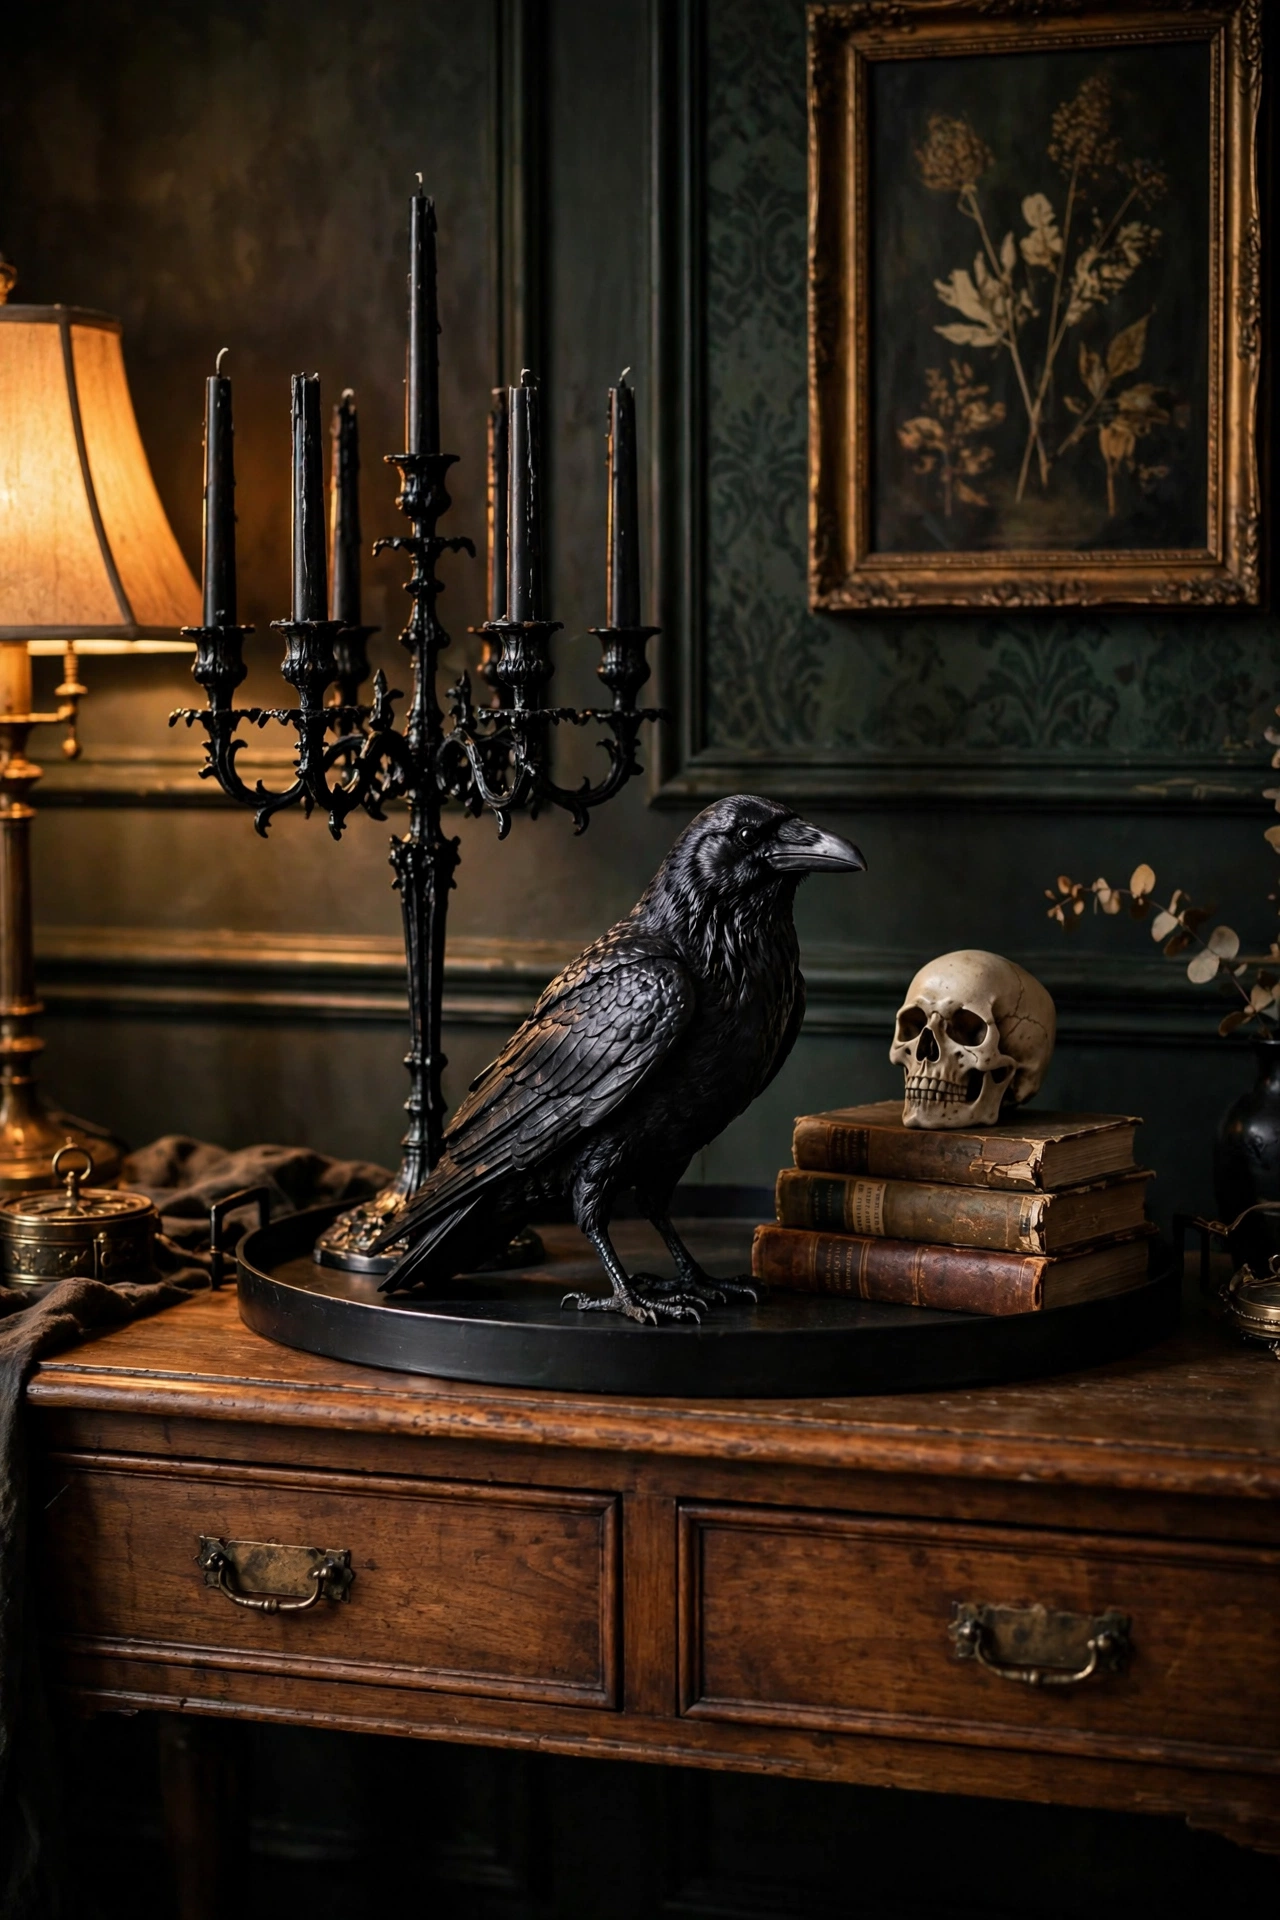
Cluster three props on a shelf, with the tallest at the back, the medium at the side, and the smallest in front. Use a tray or cake stand beneath the group to define the vignette and make each grouping read as one unit. The tray also makes cleanup faster, because you lift each vignette in a single movement.
18. Apply Window Silhouettes Using Black Adhesive Paper
Windows are free decor space. Bare windows show only the dark night outside, and they waste the chance to put the theme where passersby can see it. Black silhouettes on lit windows create sharp, graphic shapes that read from the street and add layered depth to the interior.
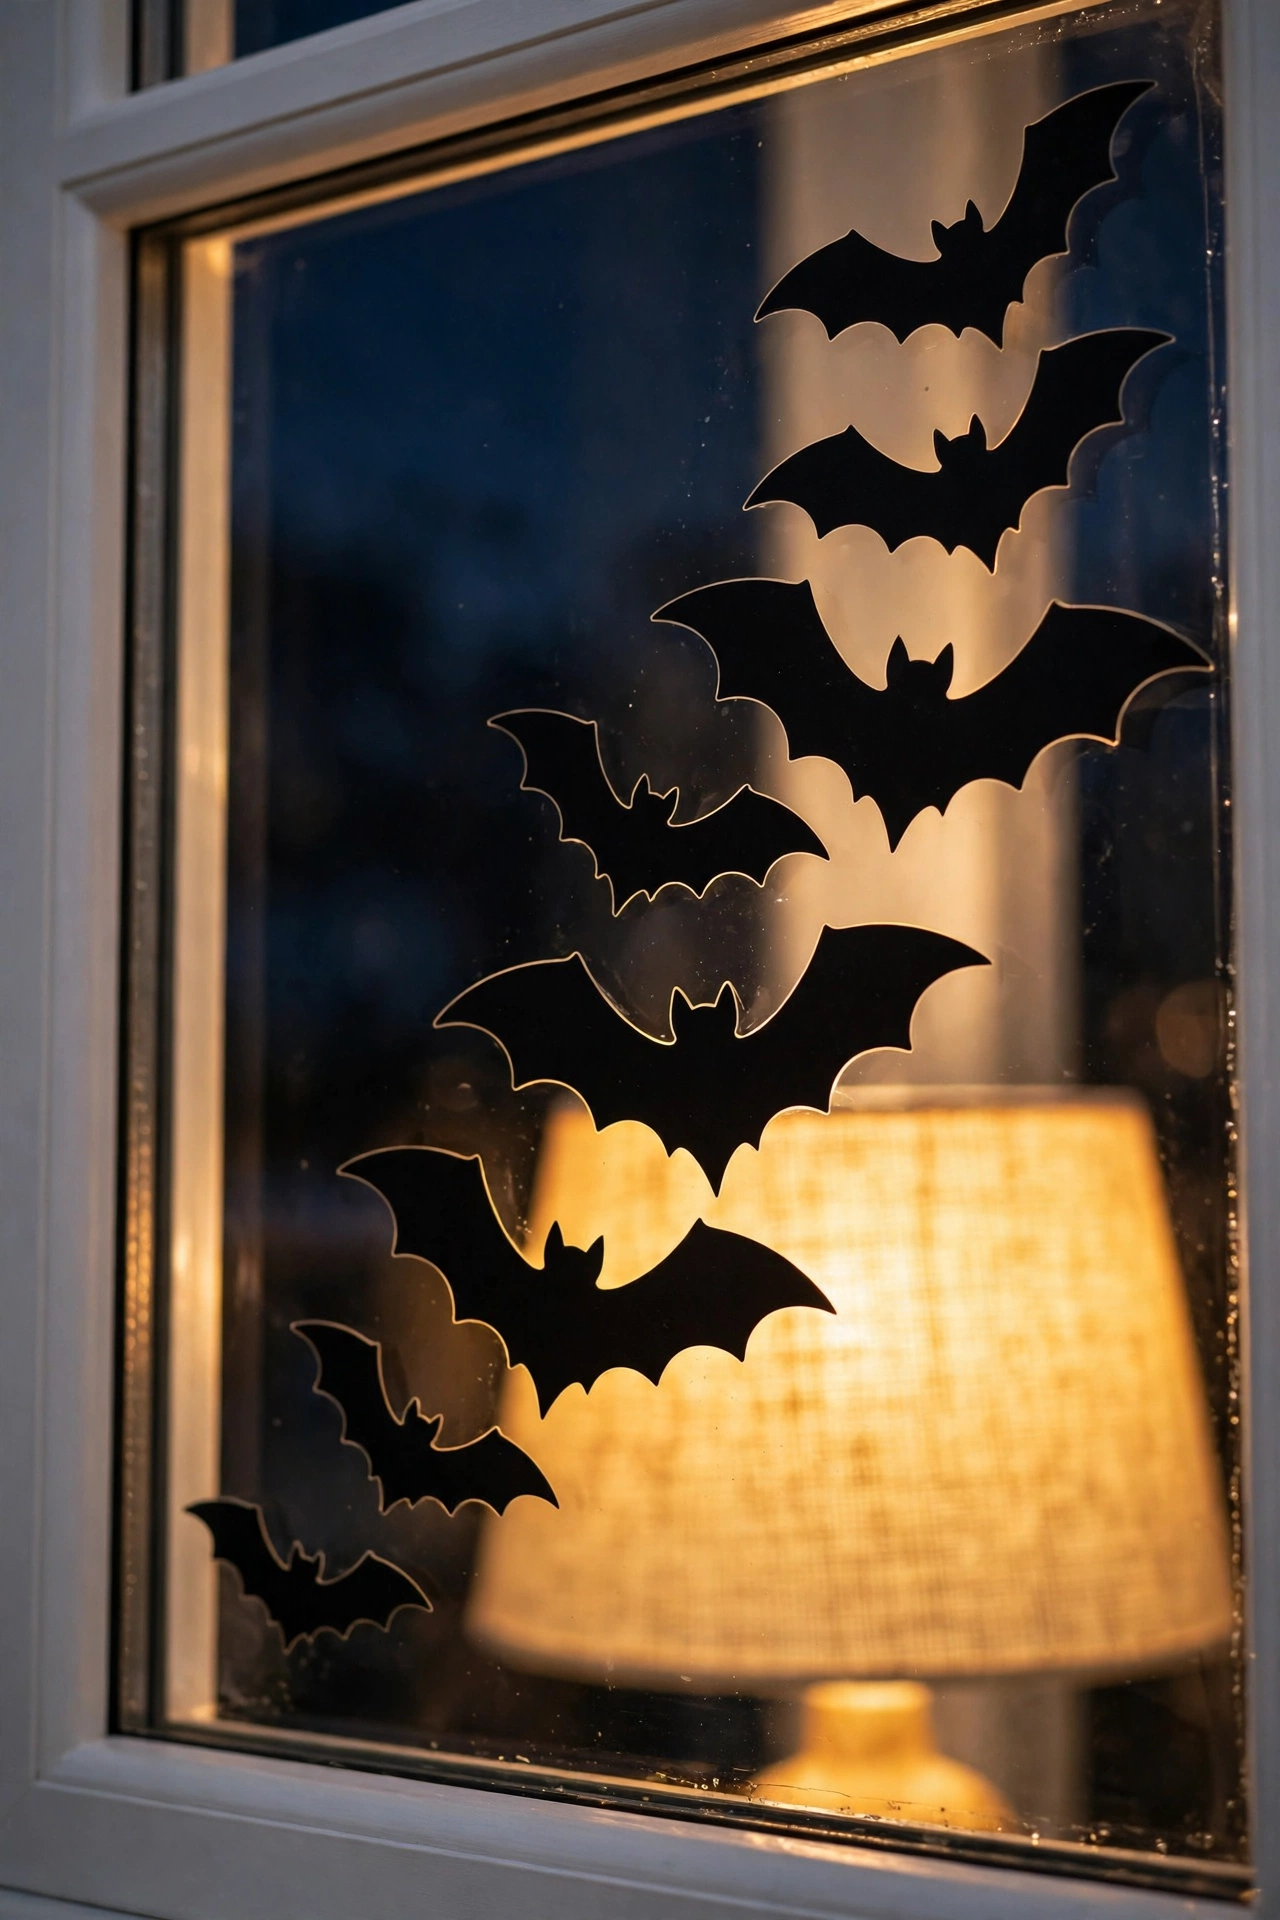
Cut shapes from black matte adhesive vinyl or removable window cling and press them onto clean glass. Place bats in groups of five or seven rising diagonally, and size them from 4 inches to 12 inches for perspective. Back-light the window with a lamp and the silhouettes glow, which gives the room a movie-poster look.
19. Add Scent Layers With Cinnamon and Clove Simmer Pots
Scent finishes a room that sight alone cannot. A decorated room with no scent feels like a set, and guests register it as staged instead of lived in. Warm spiced scents like cinnamon, clove, and orange peel add a seasonal layer that makes the whole house feel complete.
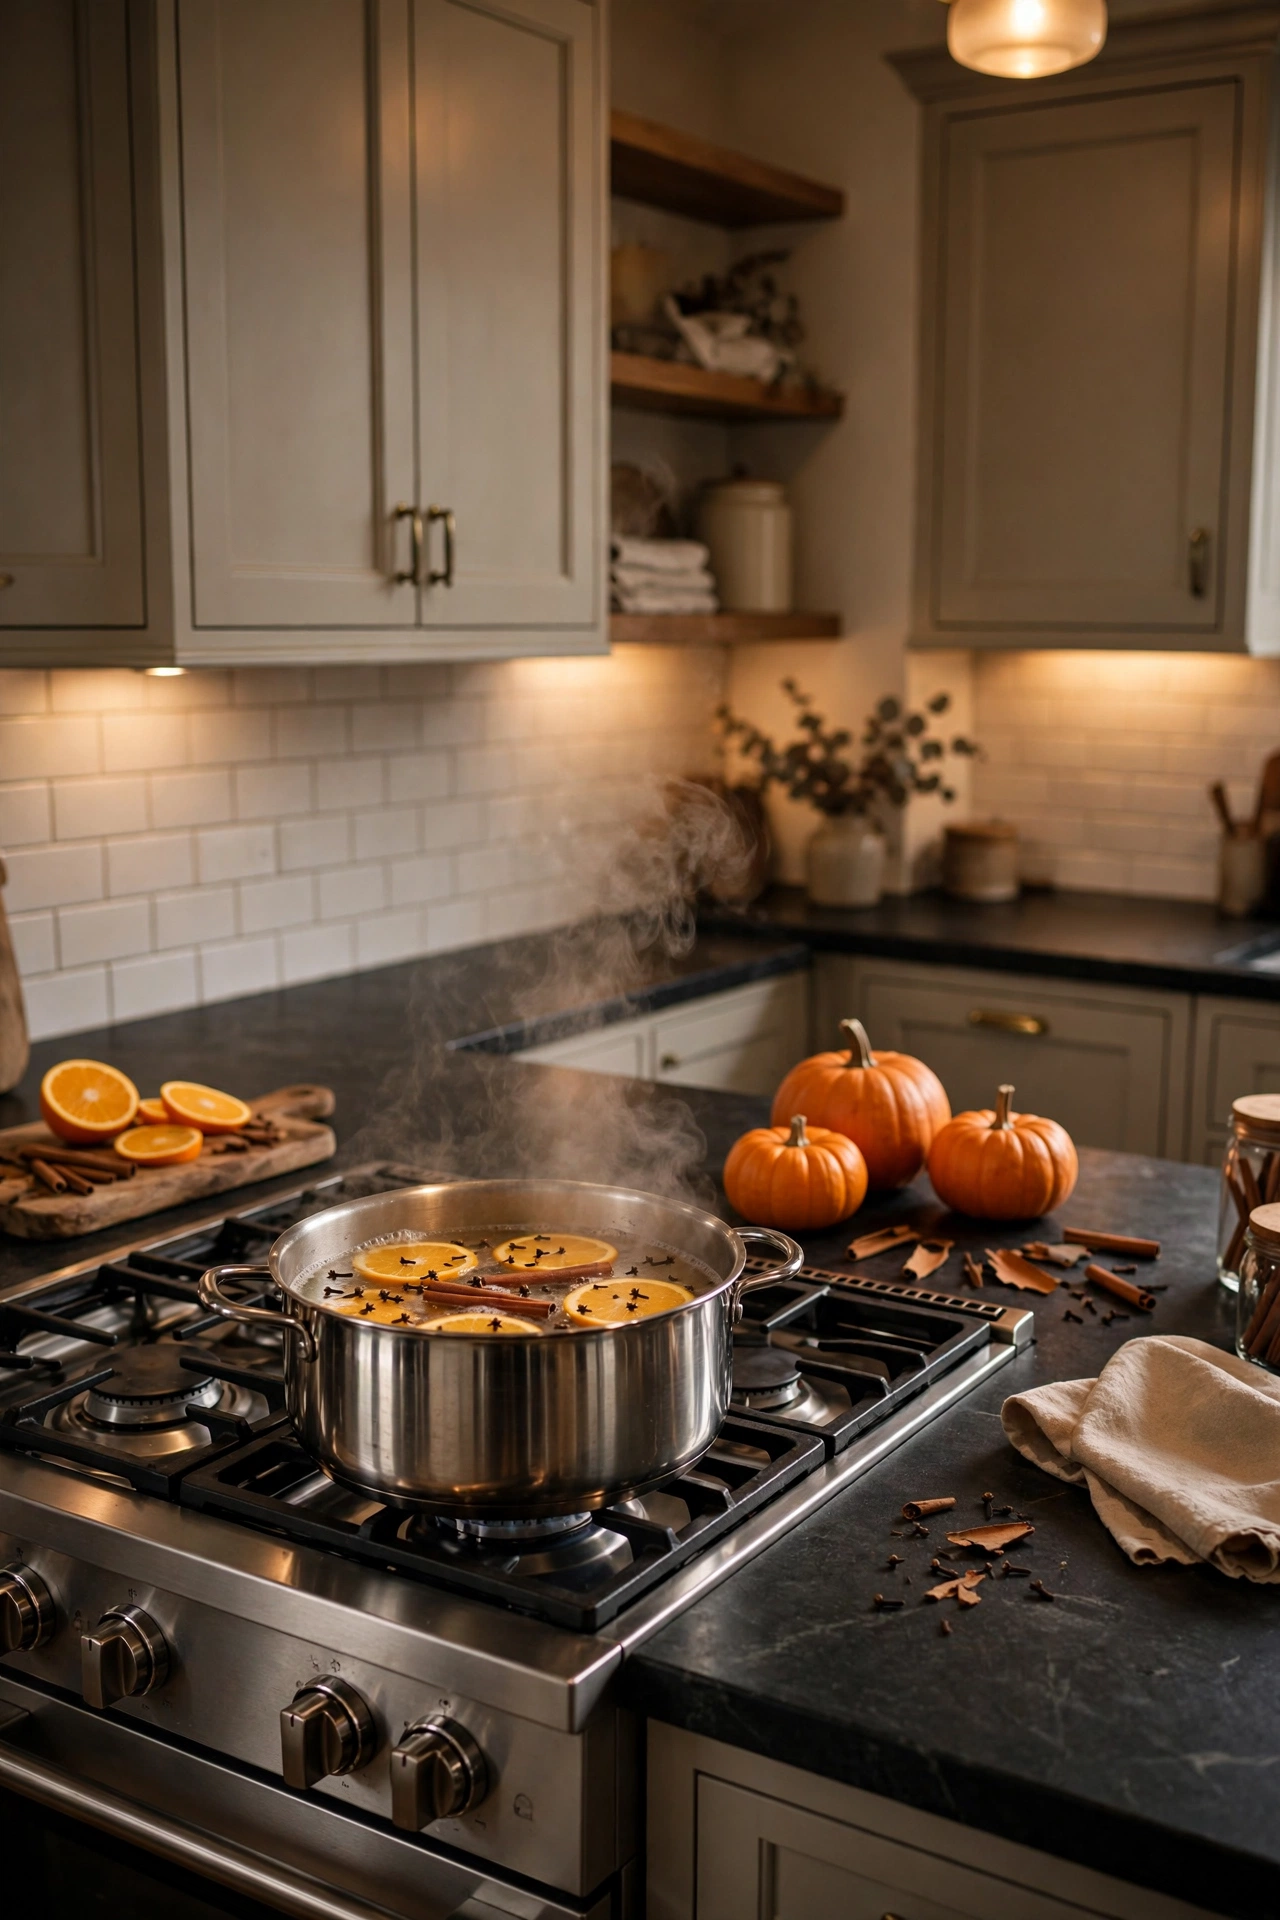
Simmer two cinnamon sticks, five whole cloves, and a sliced orange in a pot of water on low for the full party. Place the pot in the kitchen, and set a second one near the entry using a slow cooker on its low setting. Real spices smell fresher than artificial candle fragrance and never overpower the food you serve.
Halloween Party Decor Storage and Cleanup Habits
20. Remove Wax and Fog Residue the Same Night
Residue left overnight becomes permanent. Wax drips, fog fluid, and sticky adhesive harden within hours and then require scraping that damages paint and finishes. A fast same-night wipe-down takes 15 minutes and protects your surfaces, so next year’s setup starts clean instead of damaged.
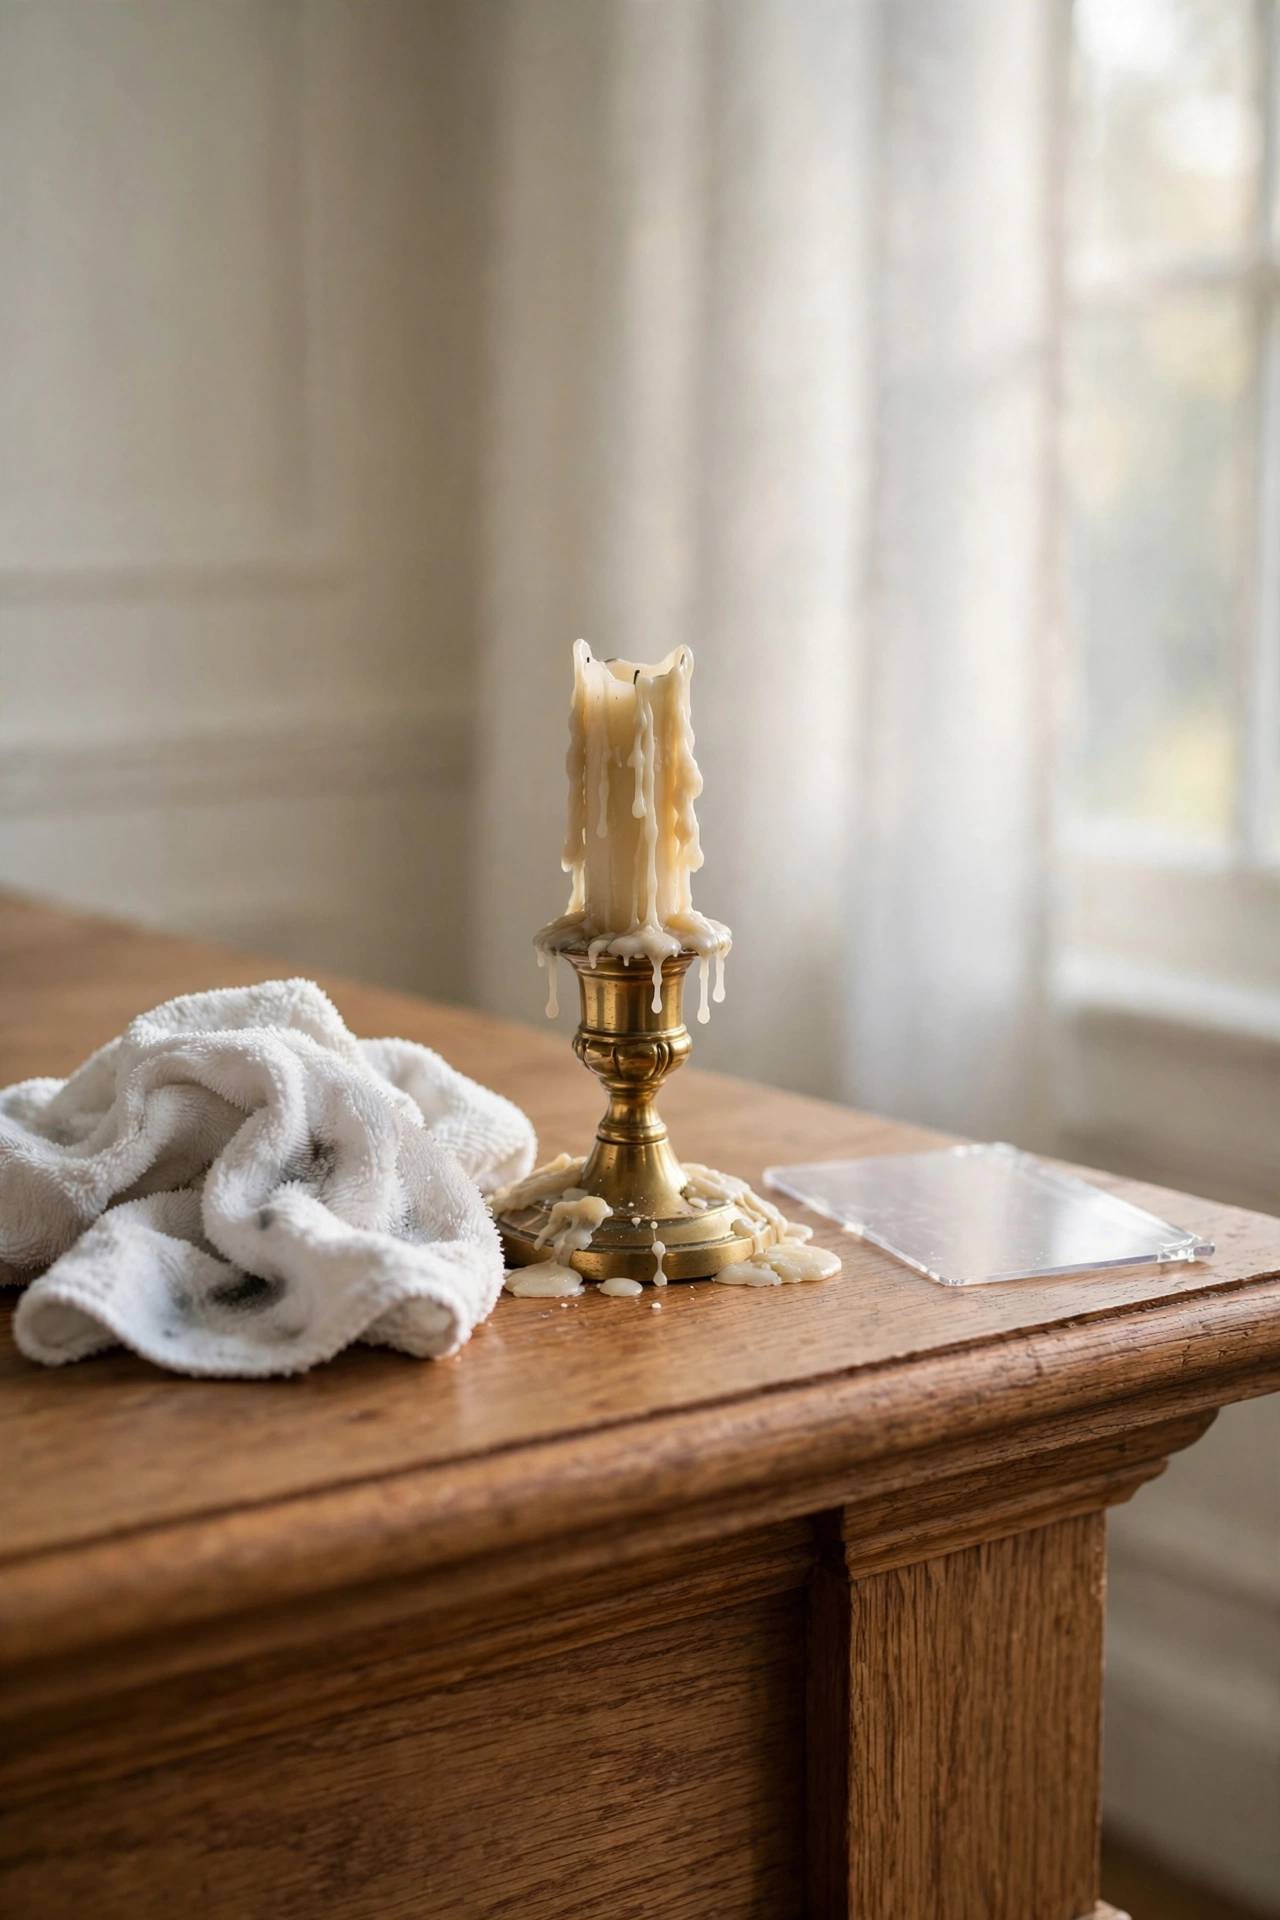
Wipe hard surfaces with a damp microfiber cloth and a mix of one part white vinegar to one part warm water. Freeze wax drips with an ice pack for 5 minutes, then lift them off with a plastic card instead of a knife. Peel adhesive vinyl and cobweb stuffing off walls before bed, because overnight heat sets the glue.
21. Establish a Labeled Storage System by Zone
Unlabeled storage guarantees a slow setup next year. Mixed boxes force you to open every container to find one prop, and you waste an hour before decorating even starts. Zone-labeled bins let you pull exactly what each area needs, cut setup time in half, and keep fragile pieces separate.
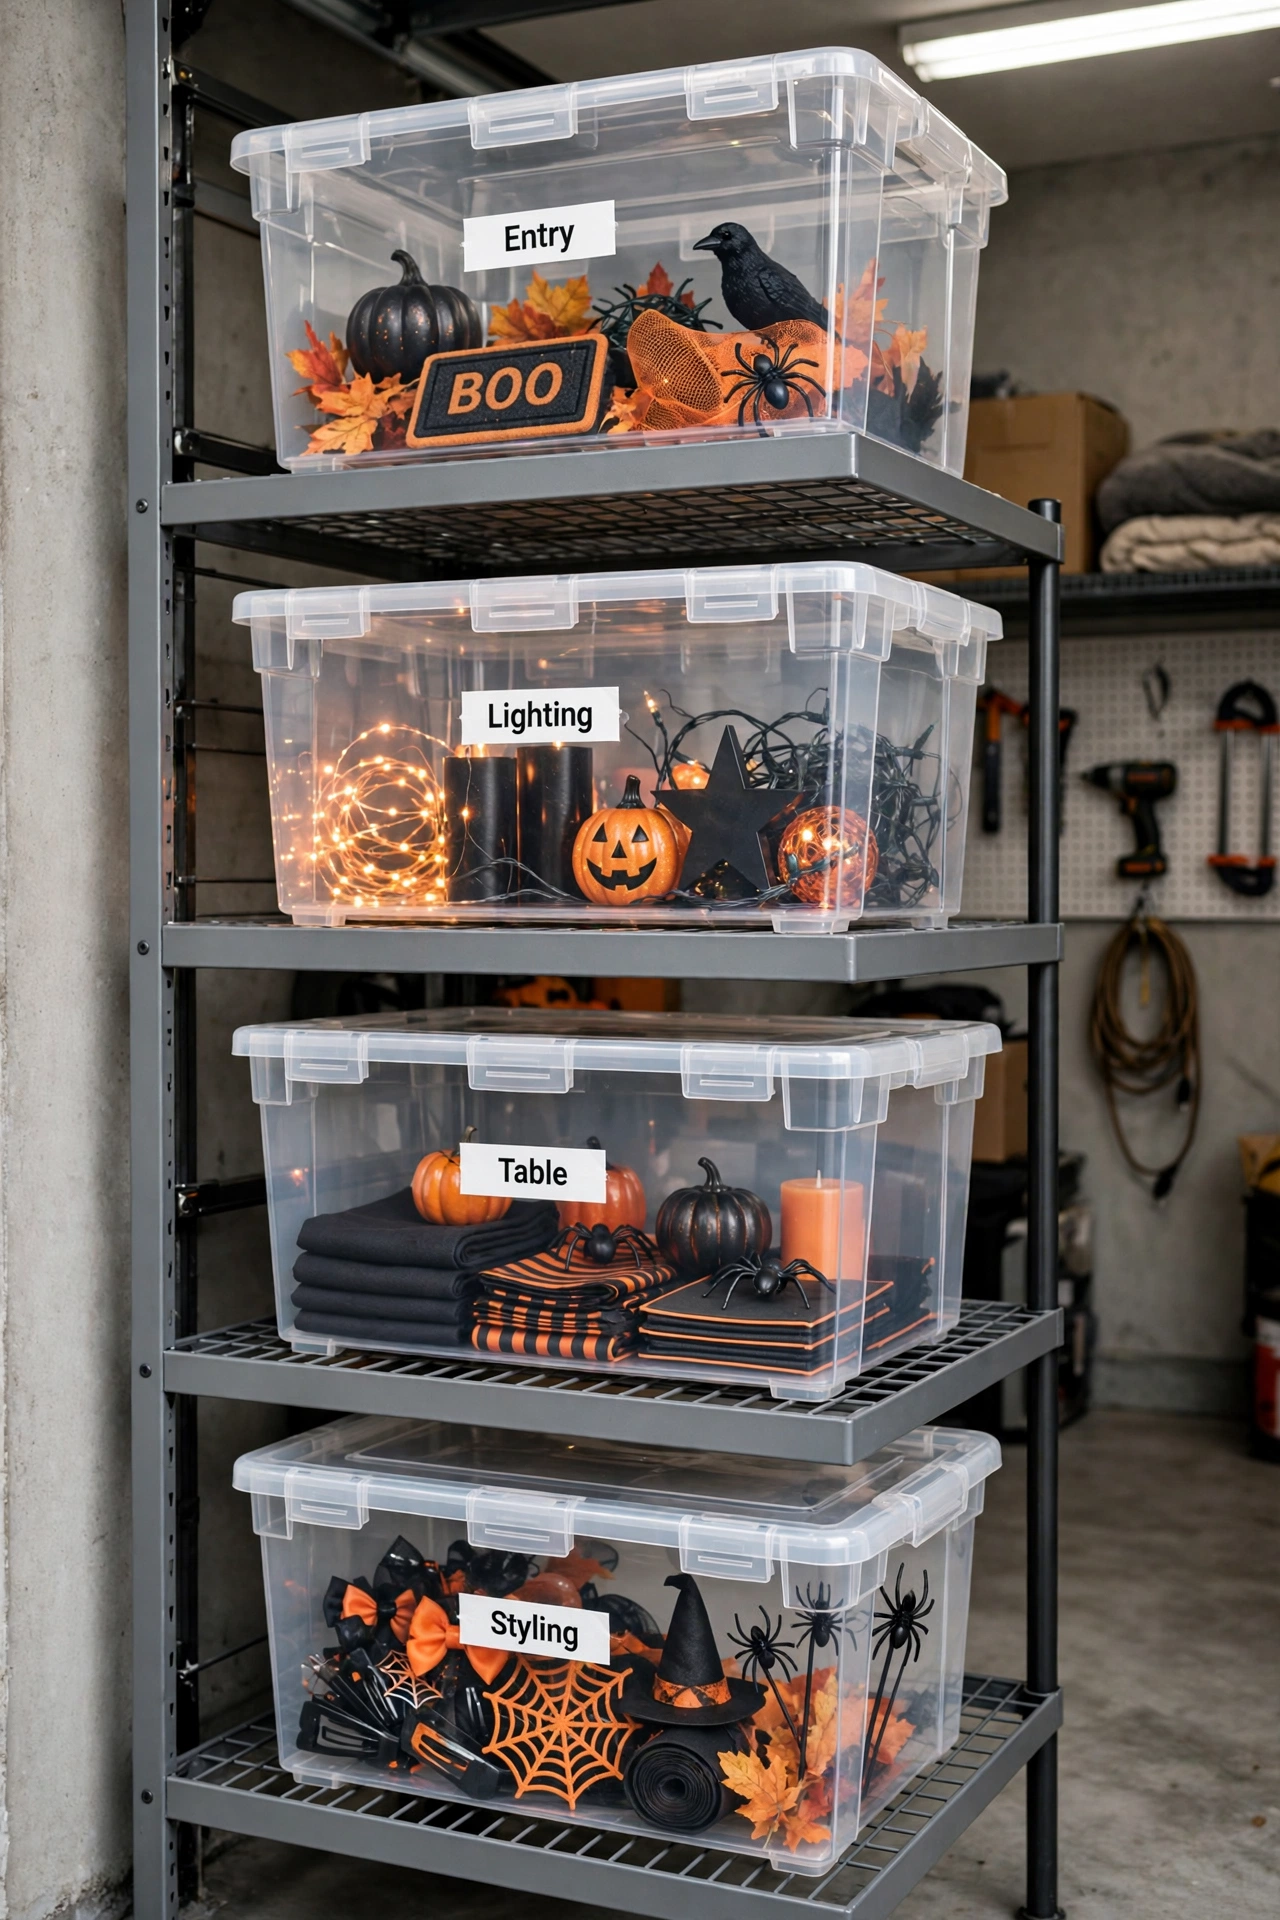
Buy four clear lidded bins, and label each one on two sides with the zone name: Entry, Lighting, Table, and Styling. Store fragile items in their original packaging or wrap each in tissue paper, and place heavy props on the bottom. Clear bins also let you spot damaged items at a glance when you open them next year.
22. Replace Batteries and Test Lights Before Storing
Dead batteries ruin next year’s setup. Batteries left inside stored lights and candles leak and corrode the contacts, and every ruined fixture costs you a replacement. A five-minute test before packing removes every failed strand now, so next year’s decorations work the moment you plug them in.
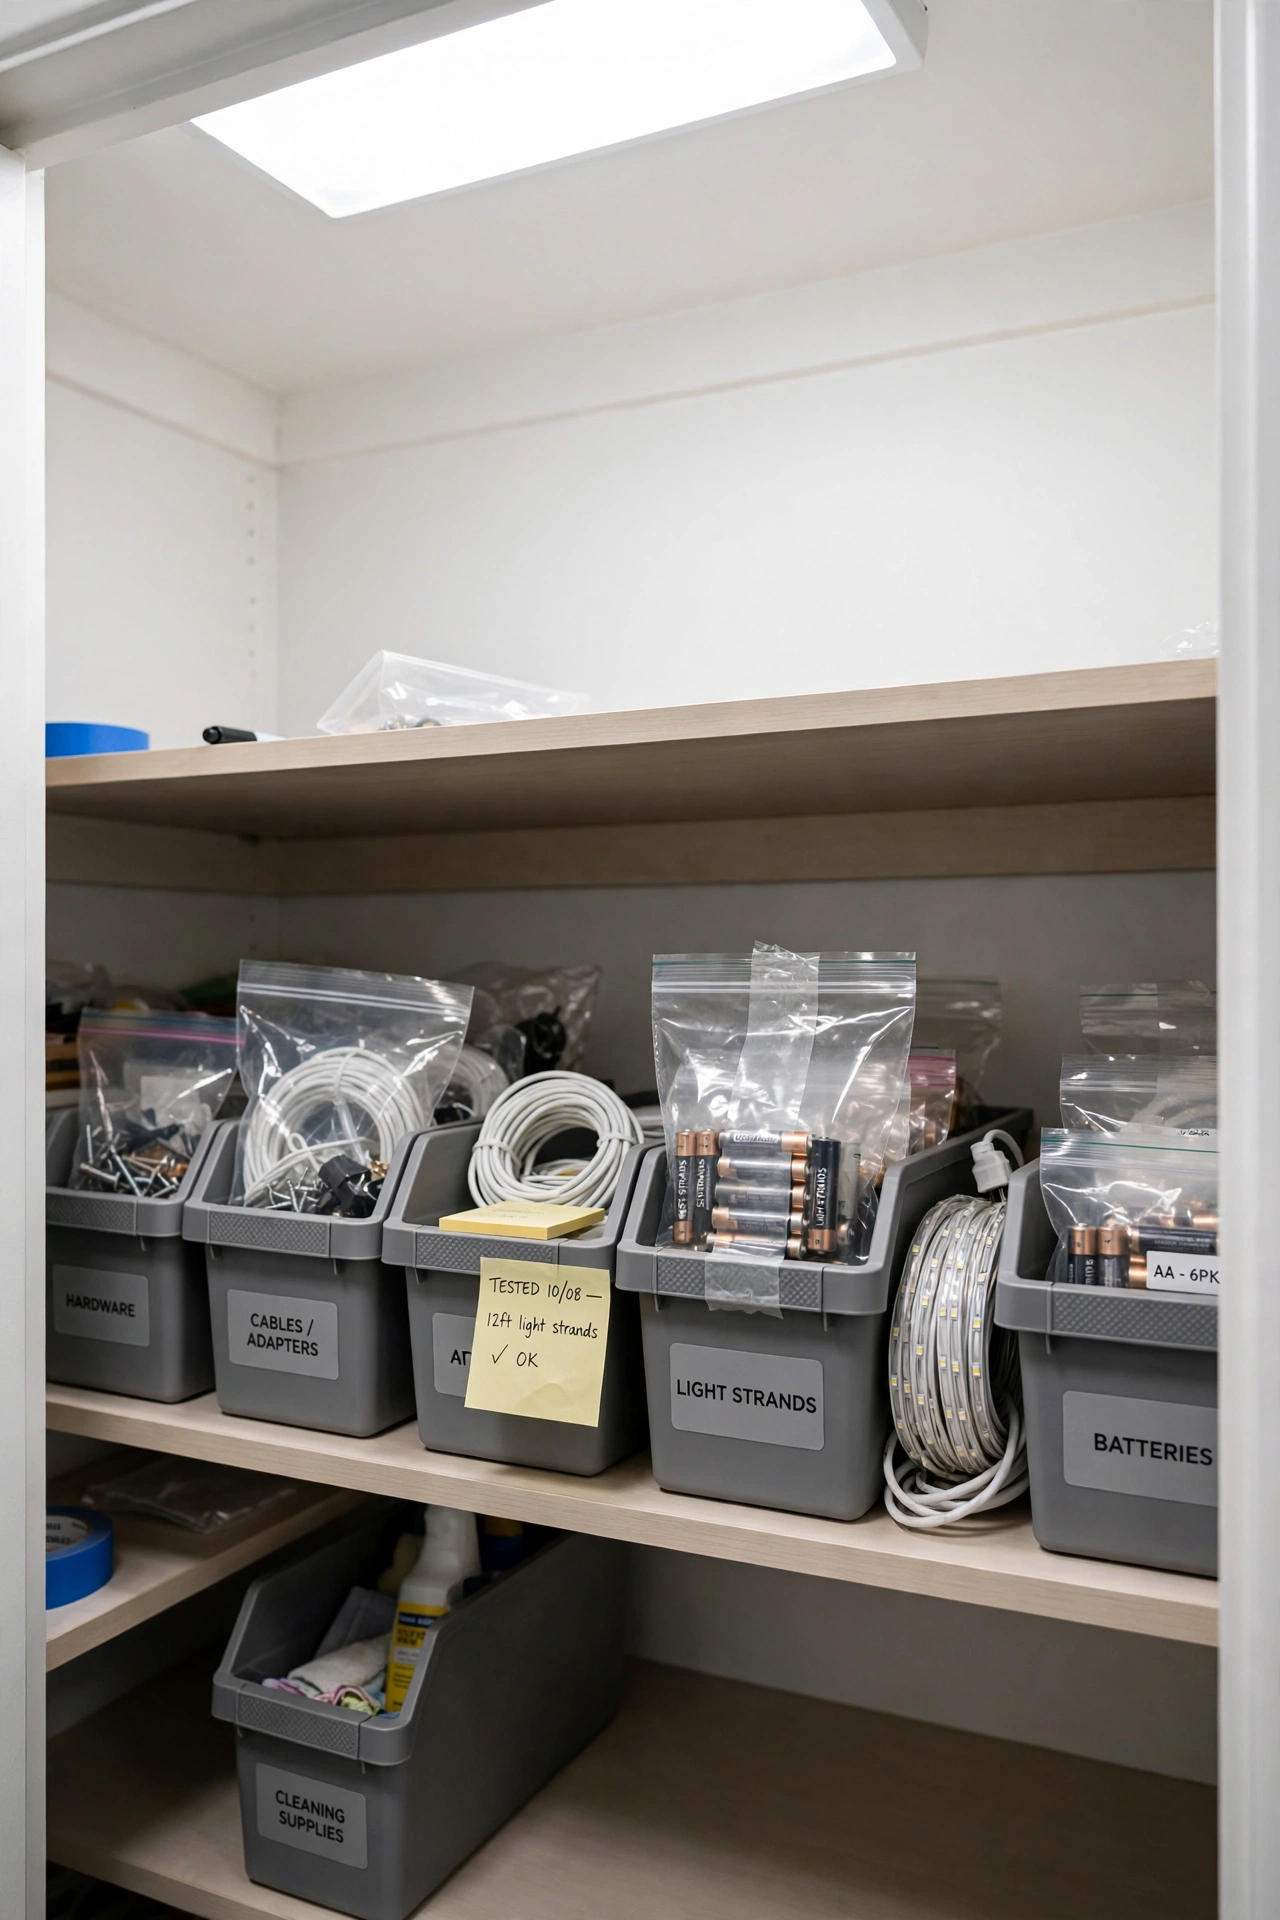
Pull all batteries from candles, fairy lights, and spotlights, and place them in a labeled zip bag taped to the bin lid. Test every plug-in strand once before storing, and discard any section with more than 10 percent of bulbs out. Writing the replacement list on a sticky note inside the lid lets you shop sales right after Halloween.
Common Halloween Party Decor Mistakes That Ruin the Mood
Halloween Party Decor by Space and Situation
Small Apartments With Limited Floor Space
Go vertical. Hang cobweb and ceiling spiders, apply window silhouettes, and limit floor props to two pieces so you keep a 36-inch walkway clear. Concentrate decor in two zones, the entry and the food table, and skip the third. Small rooms look dramatic with one strong focal point instead of five competing ones.
Rentals Where You Cannot Damage Walls
Use removable hooks rated for 3 to 5 pounds, adhesive strips, and window cling instead of nails or staples. A freestanding branch arch, a tension-rod curtain of cobweb, and tabletop vignettes need no wall contact at all. Test every adhesive on a hidden spot 24 hours before the party, and peel it slowly at a low angle.
Kid-Friendly Parties With Safety Concerns
Keep every flame out of the room and use flameless LED candles only. Place delicate props above 48 inches, and avoid loose pieces smaller than 1.25 inches that create a choking risk. Keep cobweb fabric off walkways and away from doorways kids run through, and choose bright orange and green over dark scenes for a friendly mood.
Outdoor and Backyard Parties in Wind and Rain
Choose weatherproof lights rated IP44 or higher, and weigh down inflatables and signs with sandbags. Stake lawn props at least 12 inches into the ground, and skip paper and cotton decor that collapses in moisture. Use lanterns with battery LEDs along paths at 6-foot spacing to guide guests safely in the dark.
Frequently Asked Questions
What do you need to decorate for a Halloween party?
You need a three-color palette, colored LED bulbs, cobweb fabric, 5 to 7 pumpkins, flameless candles, a black table runner, and one 5-foot statement piece. Start with the entry and the food table, because those two zones create the strongest impression with the fewest items.
What are the biggest Halloween party decorating mistakes?
The most common mistake is bright white overhead light, followed by evenly scattered props with no focal point. Even-numbered groupings, flat food tables, and real flames near cobweb fabric complete the list. Fix your lighting first because it changes how every other element in the room looks.
How do you decorate for a Halloween party on a budget?
Spend on lighting and cobweb fabric first, then build the rest with DIY Halloween decorations from items you already own. Spray-paint branches black, fill mason jars with fairy lights, and cut bats from black paper. Cheap Halloween decor in a strict three-color palette looks more expensive than pricier items in mixed colors.
How do you choose a Halloween party color scheme?
Choose black as the base, then pick one supporting color and one accent. Black, burnt orange, and antique gold create a classic look, while black, deep plum, and silver create a modern one. Apply the 60-30-10 rule in every room.
How early should you decorate for a Halloween party?
Decorate the exterior and entry 3 to 5 days early, and finish food tables, candles, and lighting on party day. Place uncarved pumpkins up to a week ahead, and carve them the day of the party so they stay fresh.
Does Halloween decor work for adult-only parties?
Yes. Adult parties suit darker palettes, candlelight, and apothecary-style bars. Swap bright orange and cartoon props for black, plum, and gold, and use moody lighting instead of novelty pieces.
How much does Halloween party decor cost?
Budget by zone, and spend the most on the entry and the food table. Price-check LED bulbs, cobweb fabric, and flameless candles first, because those three items deliver the most visible change per dollar. Reuse anything from last year’s storage bins before buying new.
How do you store Halloween decorations so they last?
Use four clear lidded bins labeled by zone, remove all batteries first, and wrap fragile props in tissue paper. Keep the bins in a dry, climate-stable space, and avoid attics and basements where heat and moisture destroy adhesive, fabric, and wiring.
Conclusion
Halloween party decor works when you commit to one palette, three zones, and one focal point per zone. Start today with the foundation steps, then move through the entry, lighting, and table in order. Each step builds on the last, so the room looks cohesive instead of crowded. Finish with styling touches, and store everything by zone so next year takes half the time.