
Halloween wall decor transforms a blank, forgettable wall into the centerpiece of your entire seasonal display. The right combination of silhouettes, lighting, and texture creates a room that feels intentionally spooky instead of randomly decorated. This guide delivers 21 specific, actionable strategies covering foundation planning, statement pieces, lighting, budget options, and long-term maintenance. Start with a clear color story before you buy a single item.
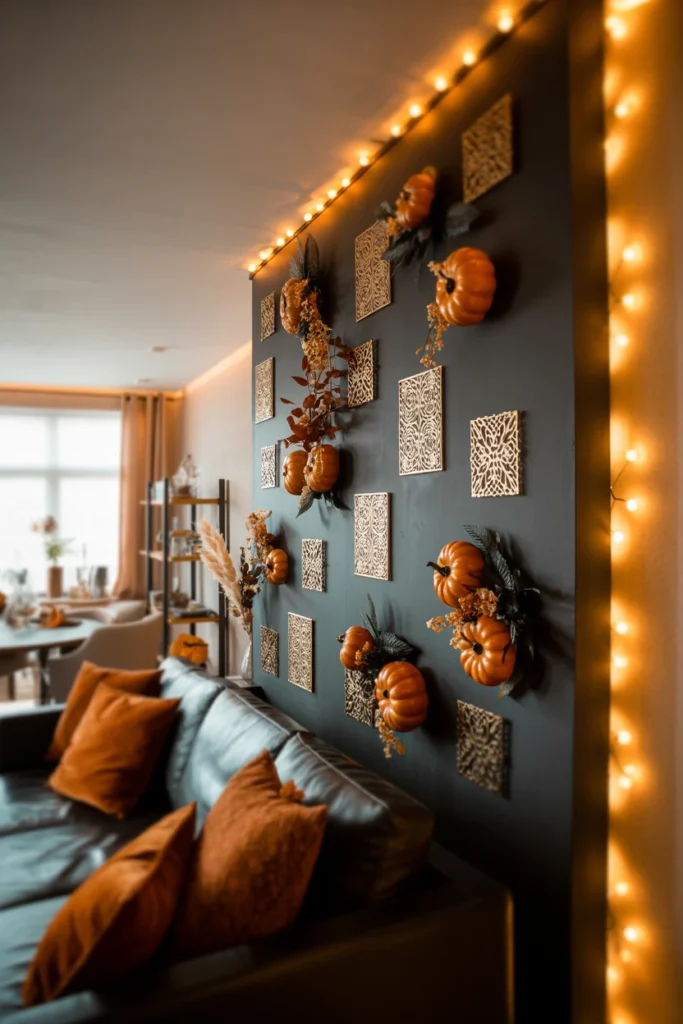
Before You Begin: 3 Foundation Steps for Halloween Wall Decor
Every successful Halloween wall starts before the first decoration goes up. These three steps prevent the single biggest failure in seasonal decorating: a wall that looks cluttered instead of curated.
1. Choose a Halloween Color Story Before Buying Decor
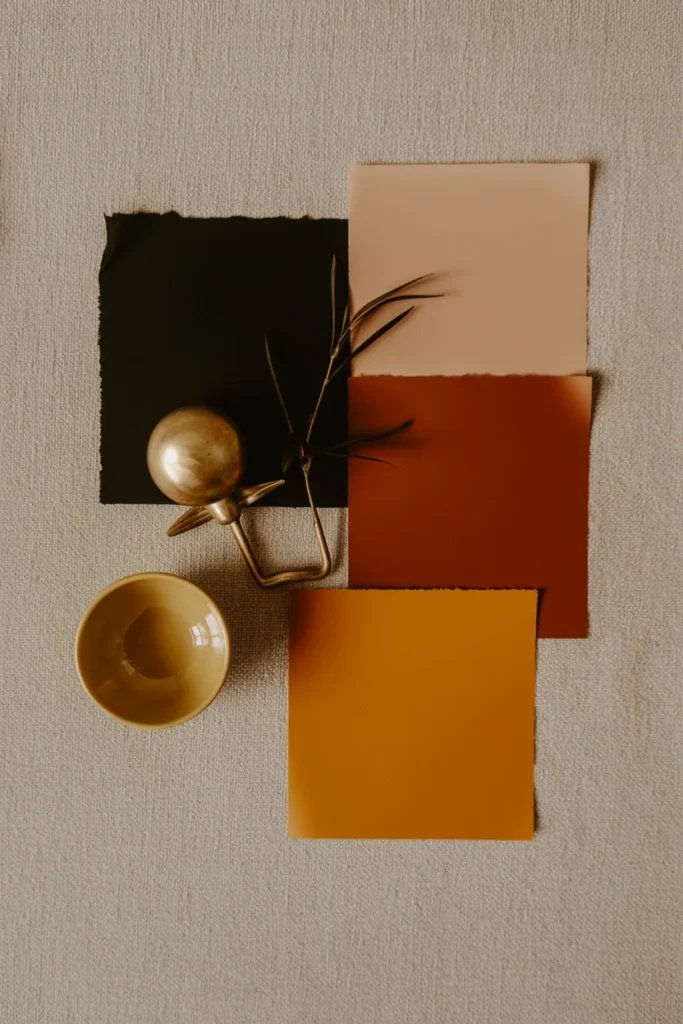
A mismatched color palette is the fastest way to make Halloween decor look cheap. Buying pieces one at a time without a plan leaves you with orange, purple, green, and black items competing for attention on the same wall.
Start by picking exactly three colors: one dominant, one accent, and one metallic. A dominant black with a burnt-orange accent and antique gold metallic creates a cohesive story across every piece you add. This three-color limit forces every future purchase to work with what you already own instead of against it.
| Color Story | Best For |
| Black, burnt orange, antique gold | Traditional, moody entryways |
| Charcoal, sage green, brass | Modern, understated living rooms |
| Deep purple, black, silver | Dramatic, gothic-style walls |
| Cream, black, copper | Minimalist or rental-friendly spaces |
2. Map Your Wall’s Focal Point First
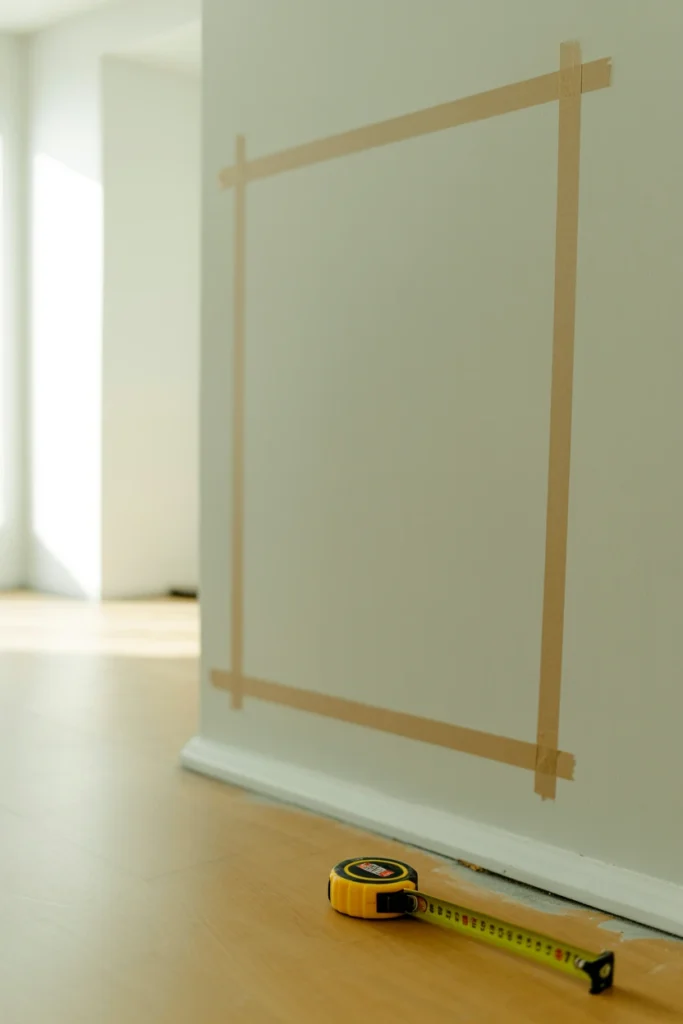
Decorating without a focal point results in decor scattered evenly across the wall with no clear starting point for the eye. This forces a viewer to scan the entire wall before understanding what they are looking at, which reads as visually unresolved.
Pick one focal point before adding anything else — typically the center of the wall or a spot directly above furniture. Anchor this point with your largest single piece, sized at roughly one-third the width of the wall. Every smaller item you add afterward should visually support this anchor rather than compete with it.
| Wall Width | Focal Piece Width |
| 4 feet | 14–16 inches |
| 6 feet | 20–24 inches |
| 8 feet | 28–32 inches |
| 10+ feet | 36–40 inches |
3. Measure Your Wall Space Before Ordering Decor
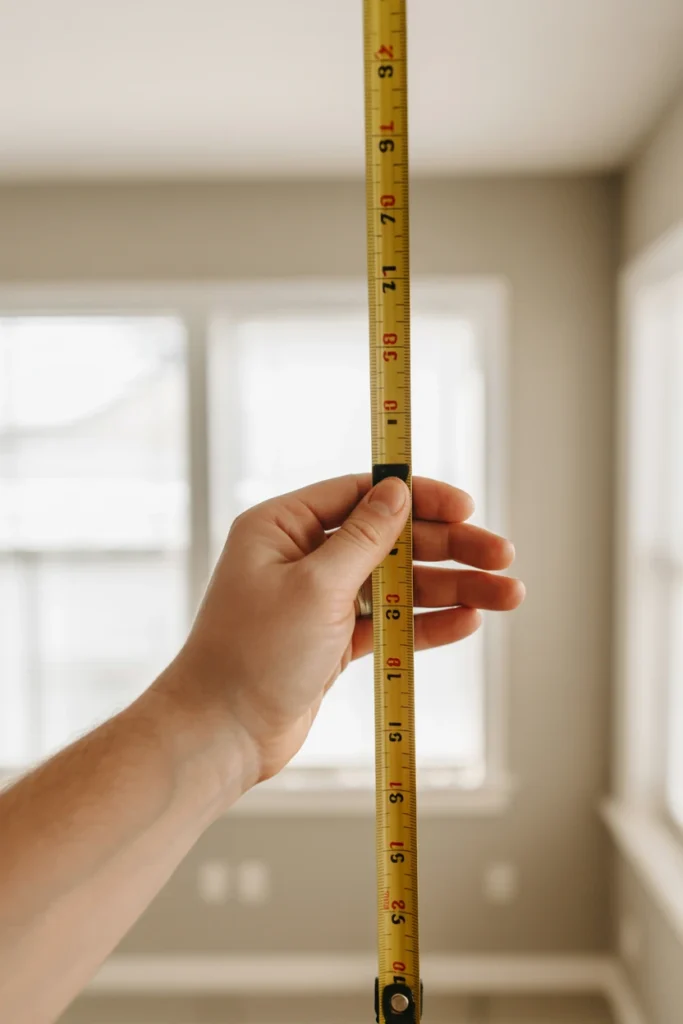
Ordering decor sized by guesswork is the single most common reason Halloween displays look either sparse or overcrowded. A wall hanging that measures fine online can swallow a narrow hallway or disappear on an open living room wall.
Measure your wall’s height and width in inches before adding anything to your cart. As a rule of thumb, fill 60–75% of the available wall space between furniture and ceiling, leaving the remaining 25–40% as breathing room. This single measurement step eliminates almost every return and re-decorating redo later in the season.
| Wall Type | Fill Percentage Target |
| Above sofa or console | 60–65% of furniture width |
| Empty accent wall | 70–75% of total wall |
| Staircase wall | 50–60% (leaves sightline room) |
| Entryway wall | 65–70% of wall between trim |
Classic Spooky Silhouettes and Statement Pieces
Silhouettes and statement pieces establish the Halloween identity of a wall before any smaller accents get added. These pieces carry the visual weight of the entire display and should always go up first.
4. Hang a Large Bat Silhouette Cluster
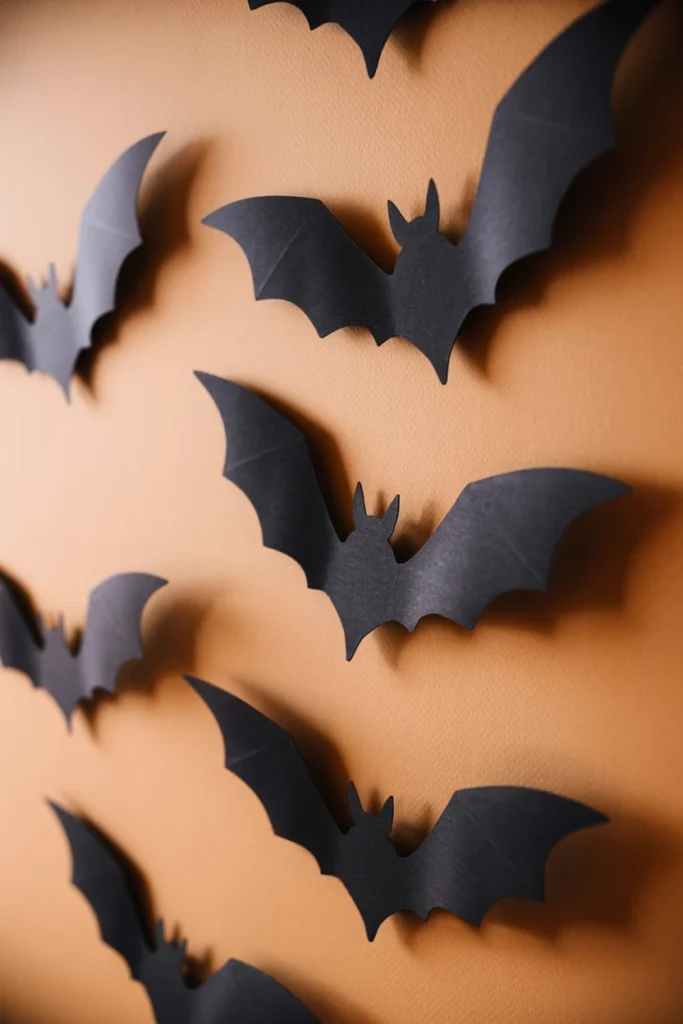
A single small bat decal reads as an afterthought rather than a design choice. Isolated Halloween pieces get visually lost against a full wall and fail to register as intentional decor from across the room.
Cut or buy matte black bat silhouettes in three sizes: 6, 9, and 12 inches. Arrange them in a diagonal flight path across 3–4 feet of wall, spacing each bat 4–6 inches apart with the largest bats closest to the focal point. This diagonal arrangement creates implied motion that a straight, evenly spaced row never achieves.
| Bat Size | Quantity | Placement |
| 6 inches | 8–10 | Trailing edge, spread wide |
| 9 inches | 5–6 | Middle of the flight path |
| 12 inches | 2–3 | Closest to the focal anchor |
5. Install an Oversized Spider Web Decal
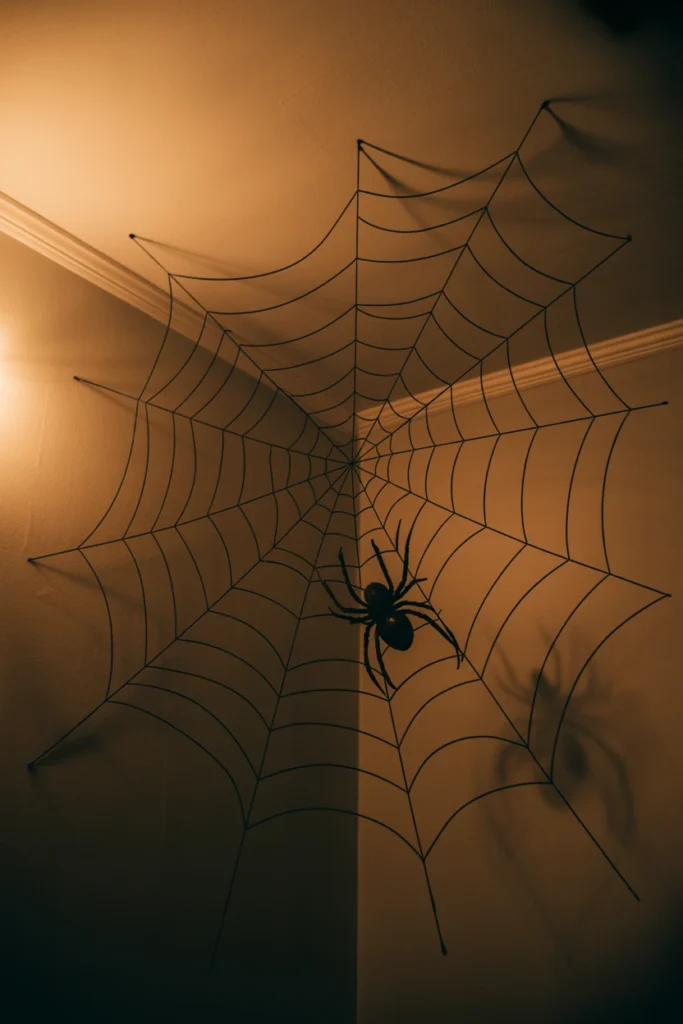
A small spider web sticker reads as a last-minute add rather than a designed feature. Undersized web decor gets visually absorbed by the wall around it instead of standing out as a statement.
Choose a stretch-cotton or vinyl web decal that spans at least 3 feet corner to corner, and mount it across an actual wall corner rather than flat on open drywall. Anchor one large spider (4–6 inches) off-center on the web rather than dead center, since dead-center placement reads as staged rather than natural. The corner placement also hides mounting hardware completely, keeping the illusion intact.
| Web Size | Best Wall Placement |
| 2 feet | Above a doorframe corner |
| 3 feet | Living room wall corner |
| 4+ feet | Entryway or staircase corner |
6. Mount a Statement Witch Hat Wall Grouping
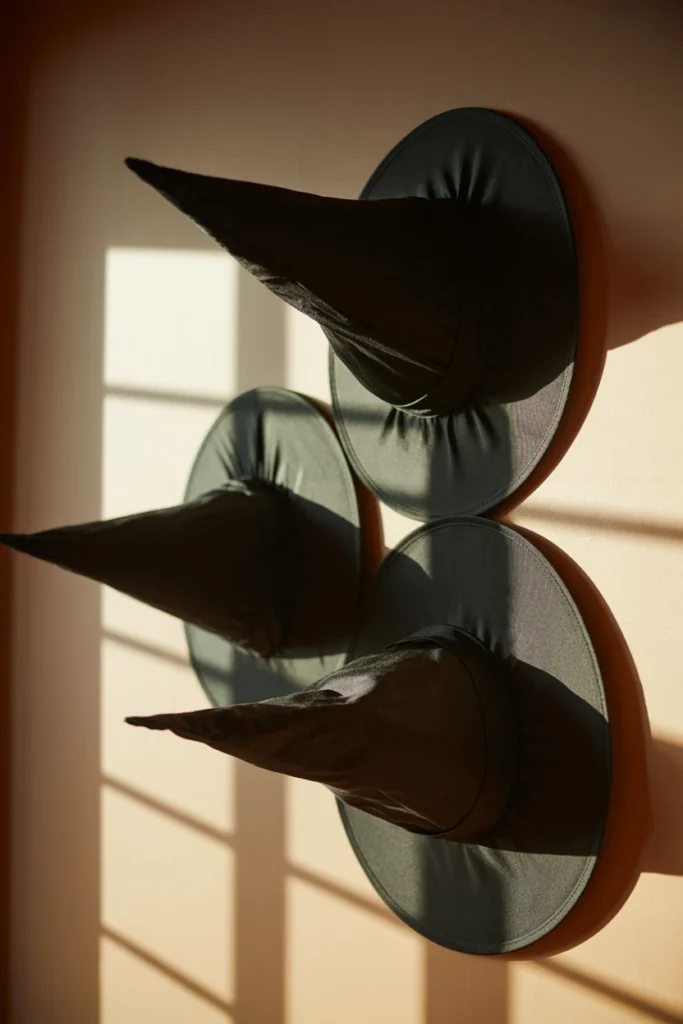
A single witch hat on a wall looks like leftover costume storage, not decor. One isolated object lacks the repetition that makes a display read as deliberate.
Mount three witch hats of varying heights (10, 14, and 18 inches) in a triangular arrangement, spacing them 6–8 inches apart at staggered heights rather than a single horizontal line. Use command strip hooks rated for at least 2 pounds so the fabric brims stay flat against the wall instead of curling forward. The staggered heights create the same visual rhythm designers use for gallery-wall frame groupings.
| Hat Height | Hook Weight Rating Needed |
| 10 inches | 1–2 lbs |
| 14 inches | 2–3 lbs |
| 18 inches | 3–4 lbs |
7. Anchor the Wall With a Skeleton Centerpiece
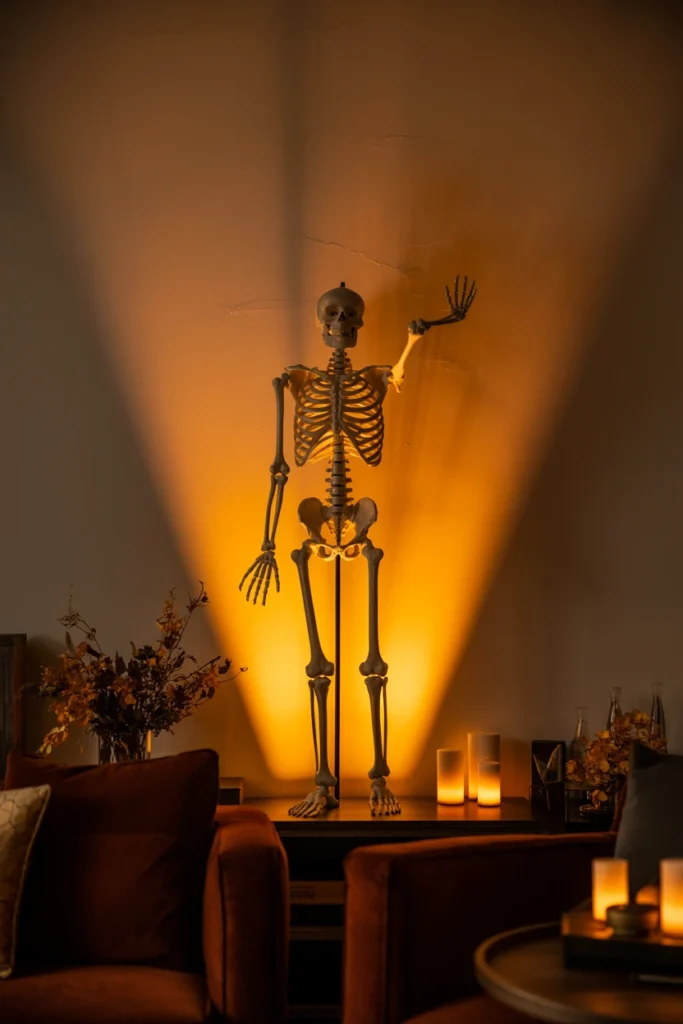
A wall without a central “hero” piece leaves every smaller item competing for the same visual attention. This creates a flat display with no clear hierarchy for the eye to follow.
Choose an articulated skeleton decor piece between 3 and 5 feet tall and mount it directly at your pre-mapped focal point, positioned so its head sits at or slightly above average eye level (roughly 60–65 inches from the floor). Pose the arms in an asymmetrical gesture rather than a straight T-pose, since asymmetry reads as more lifelike and less like a stiff prop. This single anchor piece gives every other item on the wall a reason to exist around it.
| Skeleton Height | Eye-Level Head Placement |
| 3 feet | 55–60 inches from floor |
| 4 feet | 60–65 inches from floor |
| 5 feet | 65–70 inches from floor |
Color, Texture and Layered Wall Displays
Flat, single-material displays read as cheap even with good silhouette choices. Layering texture and depth is what separates a styled wall from a store display.
8. Layer Matte and Metallic Black Textures

An all-matte black wall display flattens into a single dark shape from across the room. Without texture contrast, individual pieces lose their outlines and blur together into one dark mass.
Combine matte-black paper or fabric pieces with at least one metallic-black or gunmetal item, such as a metallic pumpkin or foil garland, placed within 12 inches of the matte pieces. The reflective surface catches ambient or string light and creates visual separation the matte pieces alone cannot achieve. This contrast is the difference between a wall that reads as “black shapes” and one that reads as “styled.”
| Material Pairing | Visual Effect |
| Matte paper + metallic foil | High contrast, defined edges |
| Matte fabric + brushed gold | Subtle, warm contrast |
| Matte vinyl + mirrored acrylic | Sharp, modern contrast |
9. Build a Gallery Wall of Vintage Halloween Prints
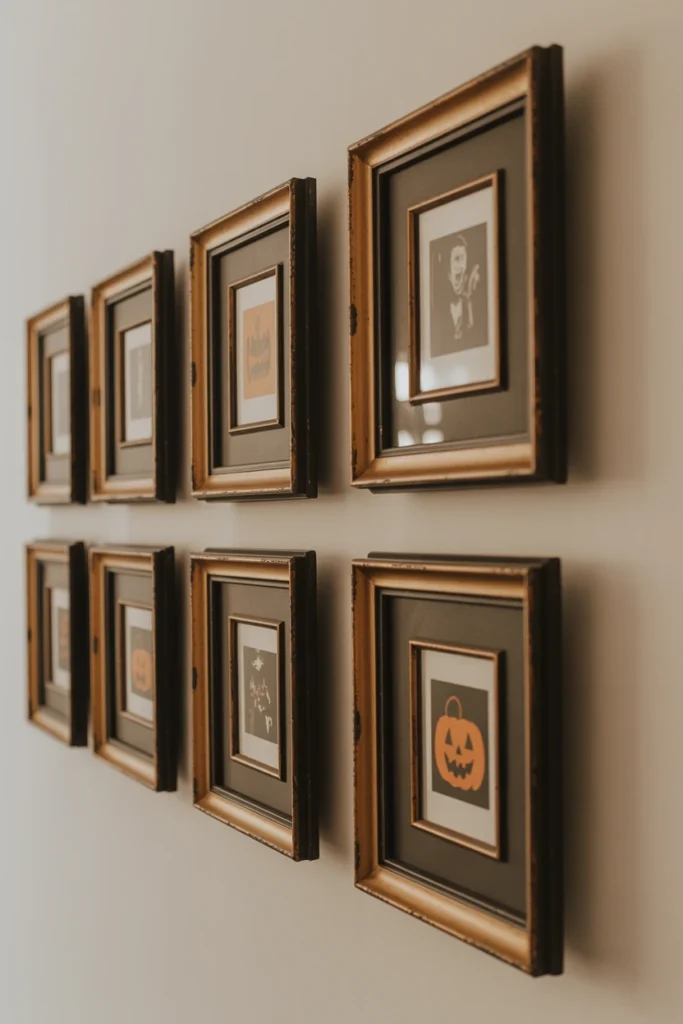
A single Halloween print on an otherwise empty wall looks under-decorated rather than curated. One piece cannot carry the visual weight of an entire gallery-style display.
Frame 5–7 vintage-style Halloween prints in matching black or antique-gold frames, sized between 8×10 and 11×14 inches, and arrange them with exactly 2–3 inches between each frame edge. Keep every frame’s top edge within 2 inches of a shared horizontal line rather than scattering heights randomly. This consistent spacing rule is what museum galleries use to keep mixed content looking unified.
| Frame Count | Layout Grid |
| 5 frames | 2 rows: 3 top, 2 bottom |
| 6 frames | 2 rows of 3 |
| 7 frames | 3 rows: 3, 2, 2 |
10. Group Pumpkins in Odd-Numbered Wall Clusters
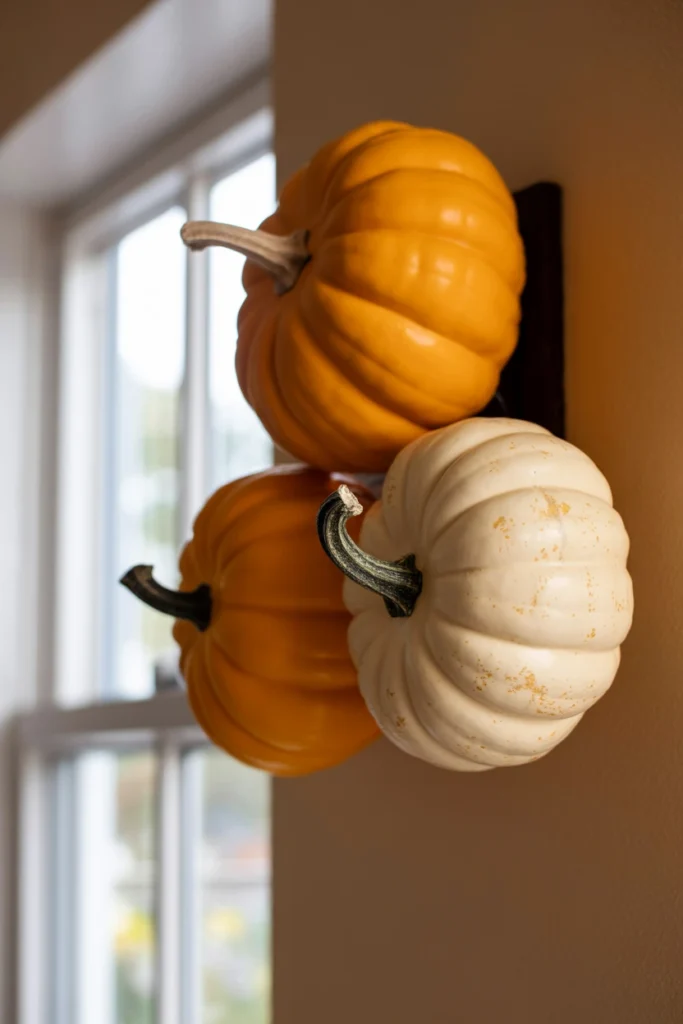
Even-numbered pumpkin groupings on a wall create visual symmetry that reads as staged rather than gathered. Symmetrical spacing removes the sense of natural arrangement viewers associate with intentional styling.
Mount wall-safe faux pumpkins in groups of 3 or 5, mixing at least two different sizes within each cluster, spaced 3–5 inches apart at slightly varied heights. Use removable wall hooks rated for at least 1 pound per pumpkin to prevent sagging over the display period. Odd numbers combined with size variation is the single rule that separates a “collected” look from a “purchased in bulk” look.
| Cluster Size | Size Mix |
| 3 pumpkins | 1 large, 2 small |
| 5 pumpkins | 1 large, 2 medium, 2 small |
11. Add Dried Botanicals for Organic Contrast
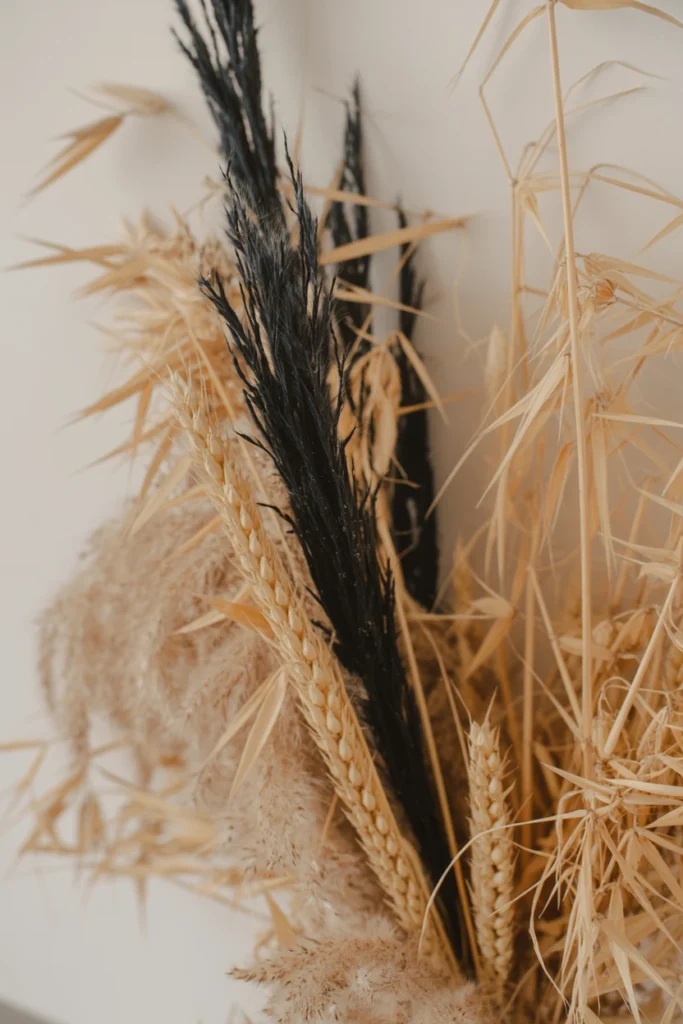
An all-synthetic Halloween wall display can look plastic and flat under indoor lighting. Without any organic material, the entire display reads as mass-produced rather than styled.
Tuck dried wheat stems, dried eucalyptus, or preserved black-dyed pampas grass into the base of your skeleton or pumpkin cluster, using 2–3 stems per grouping at varying lengths. The irregular, organic shapes break up the uniform edges of manufactured decor and add real dimension under both daylight and string lighting. This one texture layer is the detail interior stylists use to keep a themed display from looking like a costume-shop aisle.
| Botanical Type | Best Paired With |
| Dried wheat | Pumpkin clusters |
| Black pampas grass | Skeleton centerpiece |
| Preserved eucalyptus | Vintage print gallery wall |
Lighting and Atmosphere for Halloween Walls
Daytime-only decor loses most of its impact once the sun goes down. Lighting is what turns a flat display into an atmospheric one after dark.
12. Install Warm Amber String Lights Along the Wall
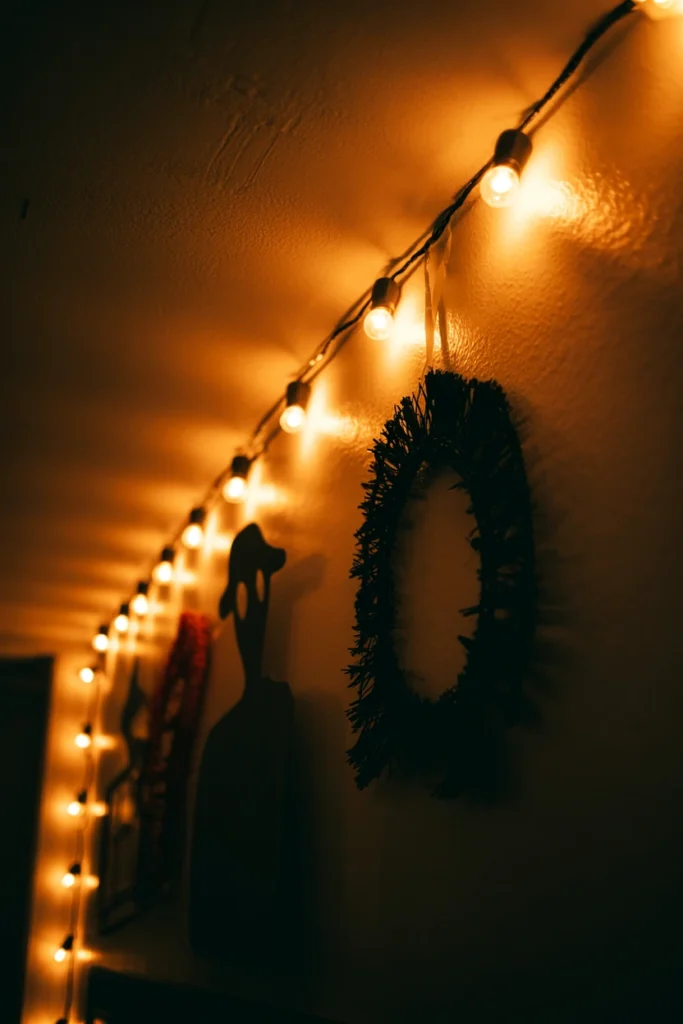
Cool white string lights wash out the mood of a Halloween display and make black decor look flat instead of dramatic. Standard white LED tones fight against the warm, moody palette most Halloween decor relies on.
Install amber or “warm white” (2200K–2700K) string lights along the top edge of your display, using at least one bulb per 4–6 inches of wall length for even coverage. Route the wire behind your largest anchor piece so the light source stays hidden and only the glow is visible. This single color-temperature swap changes the entire mood of a display without adding a single new decoration.
| Light Color Temp | Mood Created |
| 6000K (daylight) | Clinical, avoid for Halloween |
| 4000K (cool white) | Neutral, flat |
| 2700K (warm white) | Cozy, traditional spooky |
| 2200K (amber) | Dramatic, candlelit |
13. Use Uplighting to Cast Dramatic Shadows
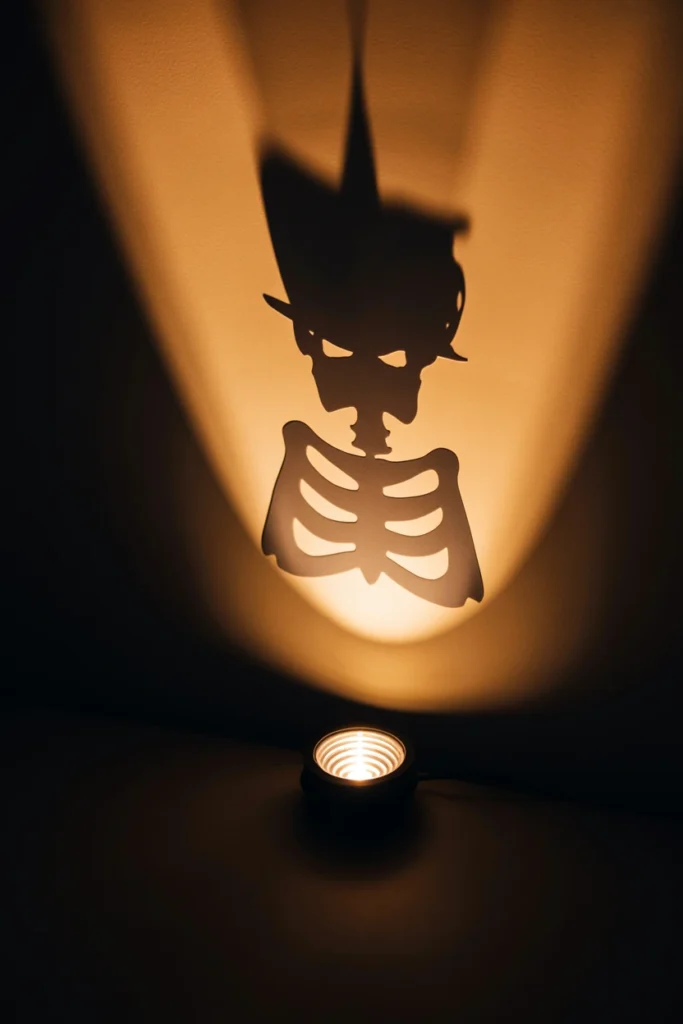
Overhead lighting alone flattens silhouettes and removes the shadow depth that makes cutout decor look three-dimensional. Flat lighting is the single biggest reason paper silhouettes look like paper instead of props.
Place a small battery or plug-in uplight 8–12 inches below your skeleton or witch hat grouping, angled upward at roughly 45 degrees. This casts an elongated shadow onto the wall above the piece, doubling its visual height without adding any additional decor. Test the angle before final placement — a lower angle produces a longer, more dramatic shadow than a light placed directly beneath the object.
| Uplight Distance From Piece | Shadow Length Produced |
| 6 inches | Short, subtle shadow |
| 8–12 inches | Elongated, dramatic shadow |
| 14+ inches | Diffuse, faint shadow |
14. Hang a Flickering LED Candle Sconce Set
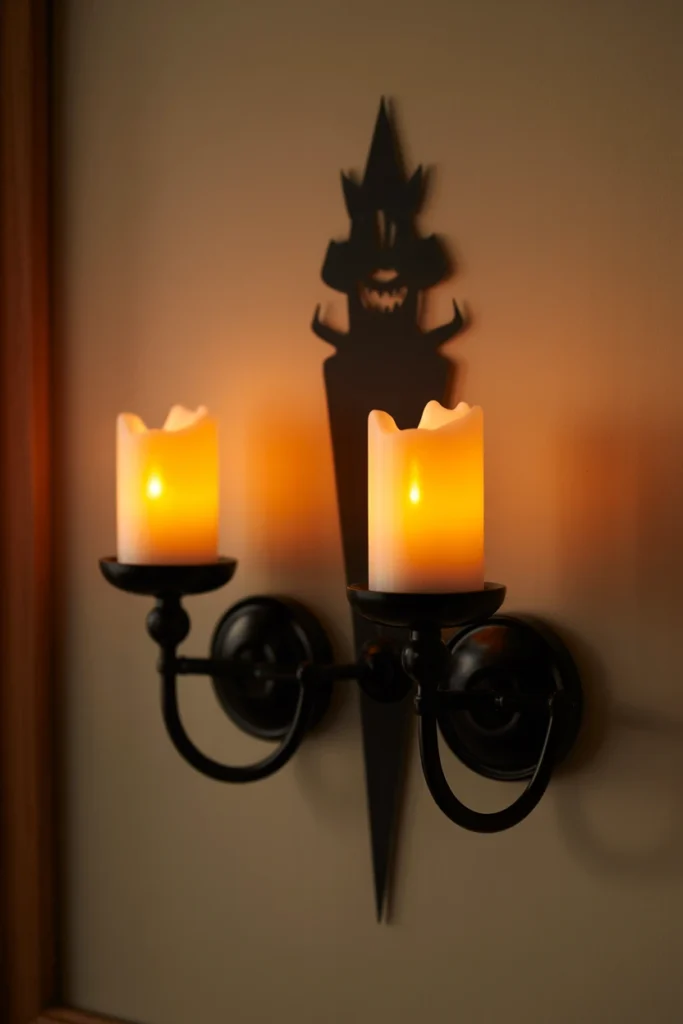
A static, single-brightness light source makes a Halloween wall feel decorated but not atmospheric. Constant, unwavering light removes the sense of movement that makes candlelight feel alive.
Mount a pair of battery-operated flickering LED candle sconces 18–24 inches on either side of your focal anchor piece, matched in a black or aged-bronze finish to your existing metal accents. Set the flicker speed to the slowest available setting, since fast flicker settings read as a malfunctioning bulb rather than authentic candlelight. This slow, uneven glow does more to sell the “haunted” mood than any single decoration on the wall.
| Sconce Placement | Distance From Focal Point |
| Narrow wall (under 5 ft) | 12–16 inches each side |
| Standard wall (5–8 ft) | 18–24 inches each side |
| Wide wall (8+ ft) | 28–34 inches each side |
15. Layer a Fog-Effect Wall Projector
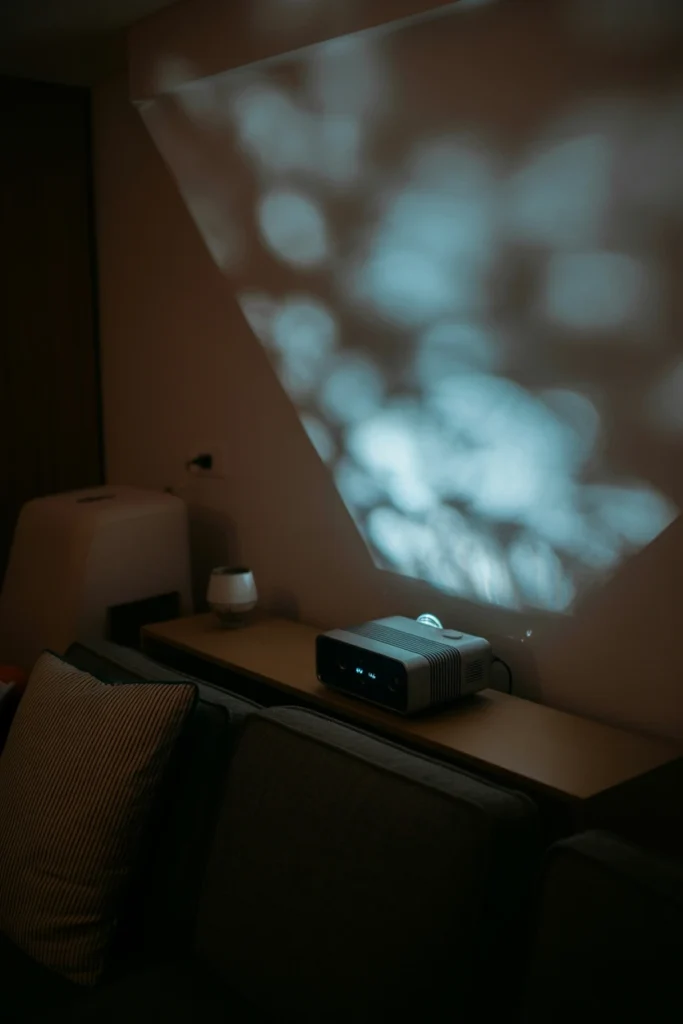
A wall display without any motion or atmospheric effect can look static compared to neighboring decorated homes or rooms. Completely still decor loses impact once viewers have looked at it for more than a few seconds.
Position a small LED fog or shadow-motion projector 4–6 feet from the wall, aimed directly at your empty space above or beside the main display rather than over your existing pieces. Run the projector only during evening hours to avoid washing out the effect in daylight, and keep the beam confined to roughly a 3×3 foot area so it reads as a deliberate effect rather than a stray light leak. This is the single addition that most consistently gets a Halloween wall noticed on video or in person.
| Projector Distance From Wall | Effect Size |
| 3 feet | 2×2 foot coverage |
| 5 feet | 3×3 foot coverage |
| 7+ feet | 4×4 foot coverage, softer edges |
Renter-Friendly and Budget Halloween Wall Decor
Permanent hardware and paint are not options in every home. These strategies deliver the same visual impact without a single nail hole or wall modification.
16. Apply Removable Fabric Wall Decals
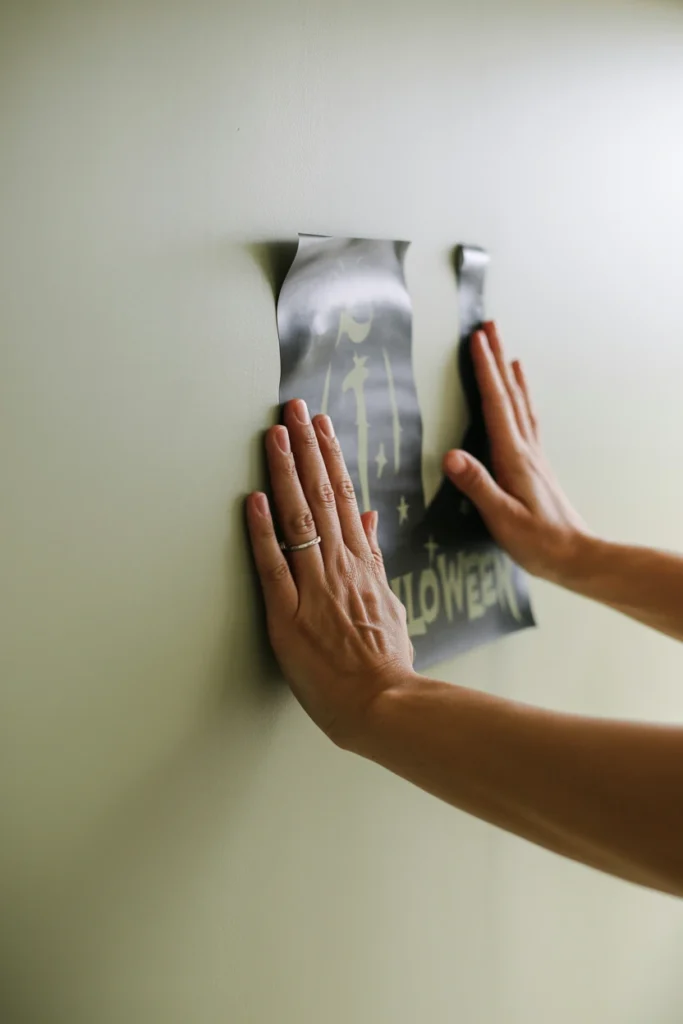
Standard vinyl decals frequently peel wall paint on removal, turning temporary decor into a permanent repair job. This damage risk is the single biggest reason renters avoid wall decor entirely.
Choose fabric-backed, static-cling or low-tack removable decals rated specifically for painted drywall, and test a small corner on your actual wall 24 hours before full installation. Press decals from the center outward to avoid trapped air bubbles, which create visible bumps under indoor lighting. These fabric-backed options remove cleanly even after the full six-to-eight week Halloween display period.
| Decal Type | Wall Safety Rating |
| Static-cling fabric | Safest, zero adhesive residue |
| Low-tack removable vinyl | Safe on cured paint (30+ days) |
| Standard adhesive vinyl | Risk of paint peel, avoid on rentals |
17. Create a No-Nail Command Strip Gallery
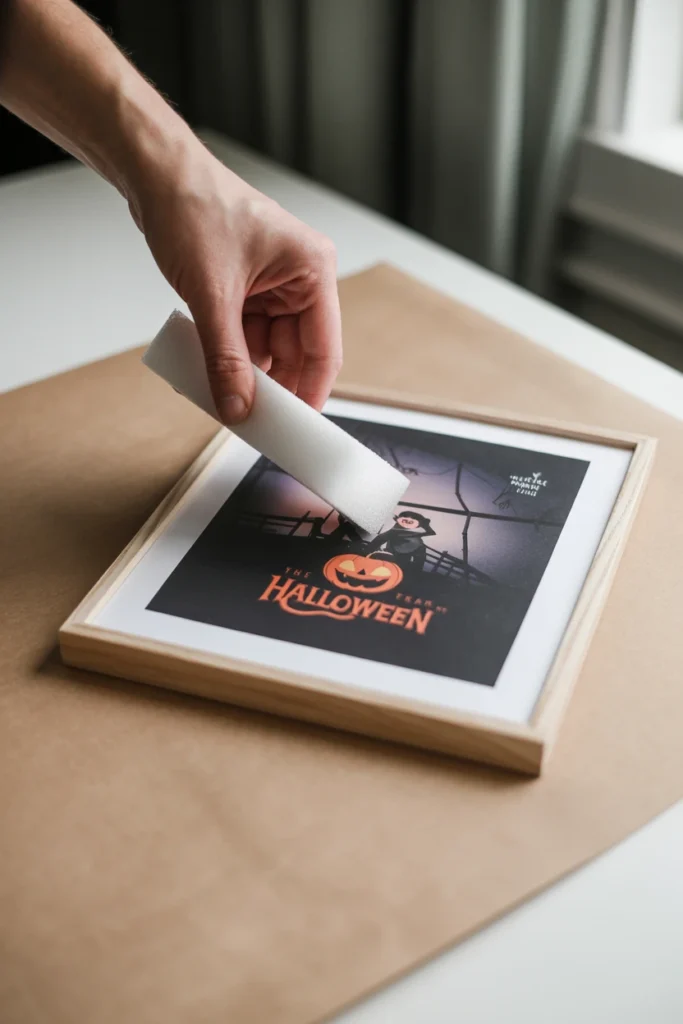
Skipping wall-safe hanging hardware in favor of nails or standard adhesive strips risks both wall damage and dropped decor mid-season. A single failed hook can bring down an entire grouping overnight.
Use Command-brand or equivalent foam-mounting strips rated for at least double the weight of each individual piece, and press each strip firmly for 30 seconds before releasing. Wait a full hour before hanging anything, since the adhesive needs that time to reach full bonding strength. This single waiting period is the most commonly skipped step and the leading cause of decor falling off rental walls.
| Item Weight | Strip Size Needed |
| Under 1 lb | Small strips (2 per item) |
| 1–3 lbs | Medium strips (2–3 per item) |
| 3–5 lbs | Large strips (4 per item) |
18. Repurpose Thrifted Frames for Spooky Art
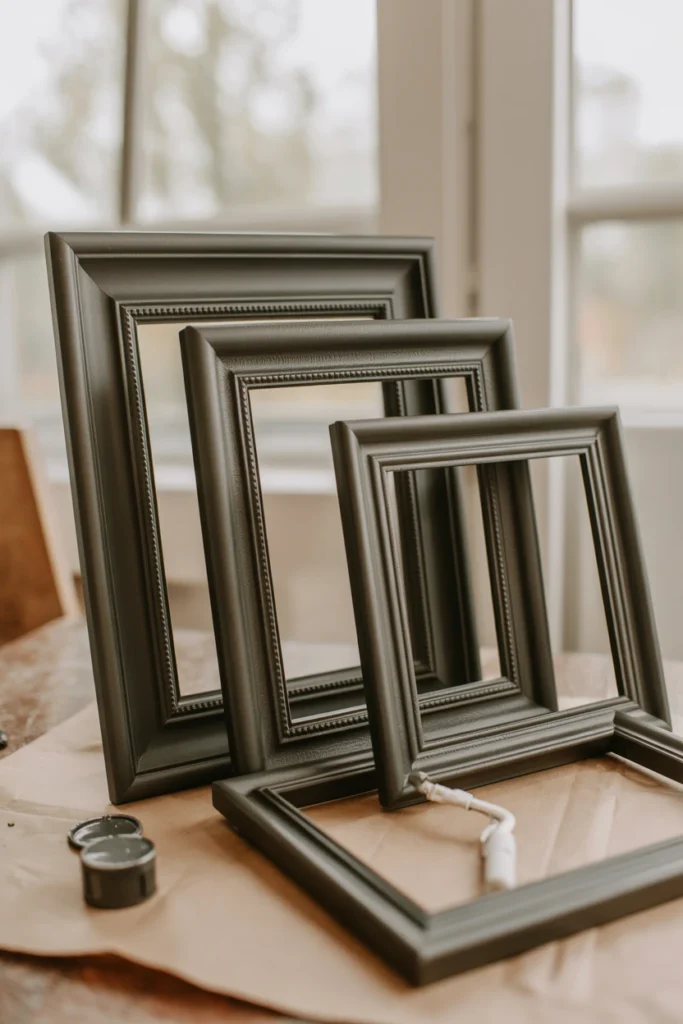
Buying new frames for a temporary seasonal display adds unnecessary cost to a decor plan that only needs to last six to eight weeks. New frame purchases rarely get reused outside of Halloween.
Source empty frames from thrift stores in sizes between 8×10 and 16×20 inches, then spray-paint mismatched frames in a single matte black to unify them instantly. Insert free printable vintage Halloween art or botanical illustrations sized to fit each frame exactly, trimming paper edges rather than leaving visible white borders. This single paint step turns a mismatched thrift haul into a cohesive gallery wall for a fraction of retail framed art cost.
| Frame Source | Typical Cost Range |
| Thrift store | $1–5 per frame |
| Spray paint (one can) | Covers 8–10 frames |
| Printable art | Free–$3 per print |
Styling and Finishing Touches
The final layer of a Halloween wall is what separates a good display from a professionally styled one. These finishing details take minutes but define the entire visual outcome.
19. Balance Scale Between Large and Small Pieces
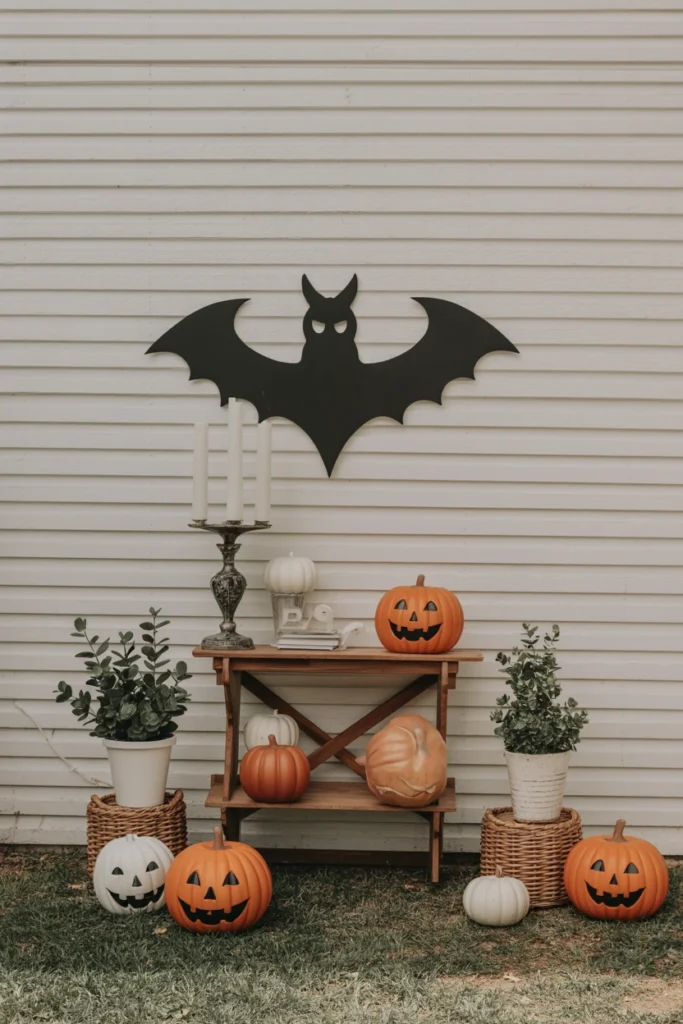
A wall filled entirely with same-sized decor pieces creates a flat, monotonous visual rhythm. Uniform scale removes the sense of depth a varied display naturally creates.
Step back at least 8 feet from the finished wall and confirm at least three distinct size tiers are visible: one large anchor, two to three medium pieces, and several small accents. If every piece reads as roughly the same size from that distance, remove one medium piece entirely rather than adding more small ones. This scale check is the single fastest fix for a wall that “looks fine but not quite right.”
| Distance From Wall | What to Check For |
| 3 feet | Texture and detail quality |
| 8 feet | Overall size balance and hierarchy |
| 15+ feet | Focal point clarity from across a room |
20. Style a Halloween Mantel-to-Wall Vignette
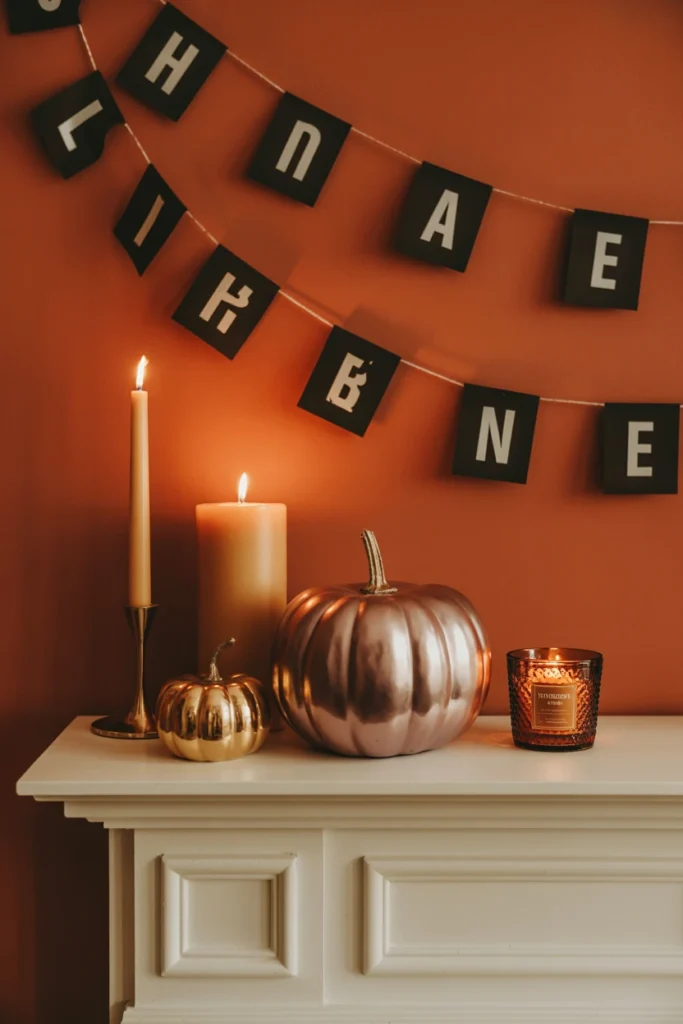
A wall display that ignores the furniture or mantel directly beneath it reads as two disconnected decorating decisions. This visual disconnect breaks the display into unrelated top and bottom halves.
Extend your wall’s color story down onto the mantel or console below with one to two matching pieces, such as a metallic pumpkin echoing your wall’s metallic accent or a candle in the same amber tone as your string lights. Keep the mantel grouping to no more than 40% of the mantel’s width, leaving the remaining 60% open so the wall display above stays the clear visual priority. This connection between wall and surface is what makes a display read as one designed vignette instead of two separate afterthoughts.
| Mantel Width | Vignette Object Width |
| 3 feet | 10–12 inches |
| 5 feet | 18–20 inches |
| 7+ feet | 26–28 inches |
Halloween Wall Decor Maintenance and Long-Term Habits
A Halloween wall display is not a one-time install. Small ongoing habits keep it looking fresh across the full six-to-eight week season instead of tired by mid-October.
21. Rotate Decor Every Two Weeks Through October
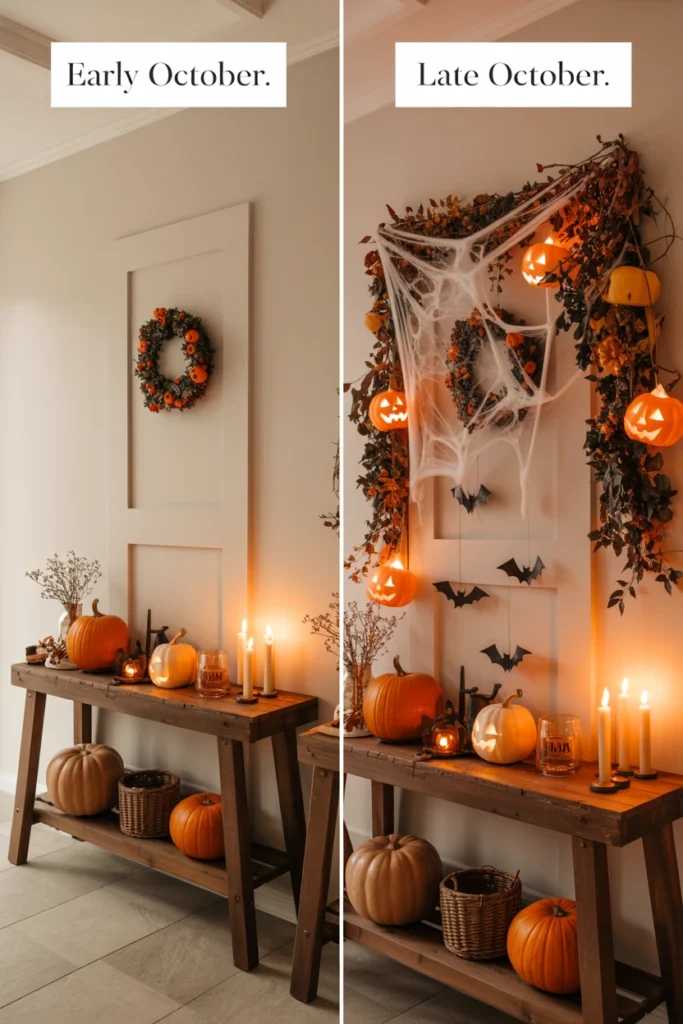
A Halloween wall left completely static from October 1st through the 31st starts to blend into the background of your own home by the second week. Familiarity causes even a well-styled display to stop registering as decor at all.
Every two weeks, swap or reposition at least two smaller accent pieces — move a pumpkin cluster, replace one print, or shift a botanical stem to a new spot — while keeping your anchor piece and lighting fixed. Photograph the display after each rotation so you can track which combinations worked best before repeating the layout next season. This small, low-effort habit keeps the wall feeling current for the entire season instead of just the first week.
| Week of October | Suggested Rotation Focus |
| Week 1–2 | Initial full install |
| Week 3 | Swap small accents and botanicals |
| Week 4 | Swap prints or pumpkin cluster positions |
| Final week | Add extra lighting for peak visibility |
Common Halloween Wall Decor Mistakes That Ruin the Look
These mistakes account for most Halloween walls that look cluttered, cheap, or unfinished. Avoid every one of them from the initial planning stage.
| Mistake | Why It Hurts the Space | Better Alternative |
| Mixing more than three colors | Creates visual chaos with no clear palette | Limit to one dominant, one accent, one metallic |
| Hanging decor at random heights | Breaks visual flow and hierarchy | Anchor to a mapped focal point first |
| Using only same-size pieces | Flattens the display, removes depth | Mix large, medium, and small tiers |
| Skipping evening lighting | Loses all impact after dark | Add warm string lights or uplighting |
| Overcrowding the entire wall | Reads as cluttered, not curated | Fill only 60–75% of available space |
| Using cool white bulbs | Washes out the spooky, warm mood | Swap to 2200K–2700K amber lighting |
| Skipping the adhesive cure time | Causes decor to fall off mid-season | Wait a full hour after pressing strips |
| Leaving decor untouched all month | Becomes visually invisible by week 3 | Rotate small accents every two weeks |
Halloween Wall Decor by Room and Situation
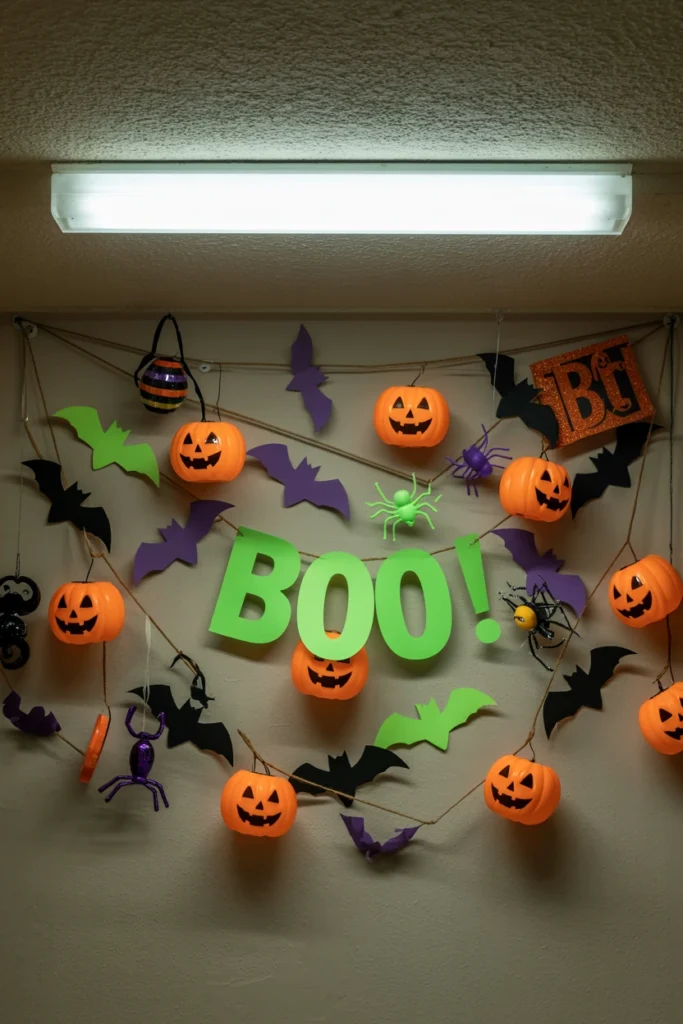
Every space comes with its own constraints. These segment-specific strategies apply directly to your exact situation.
Small Apartment Walls
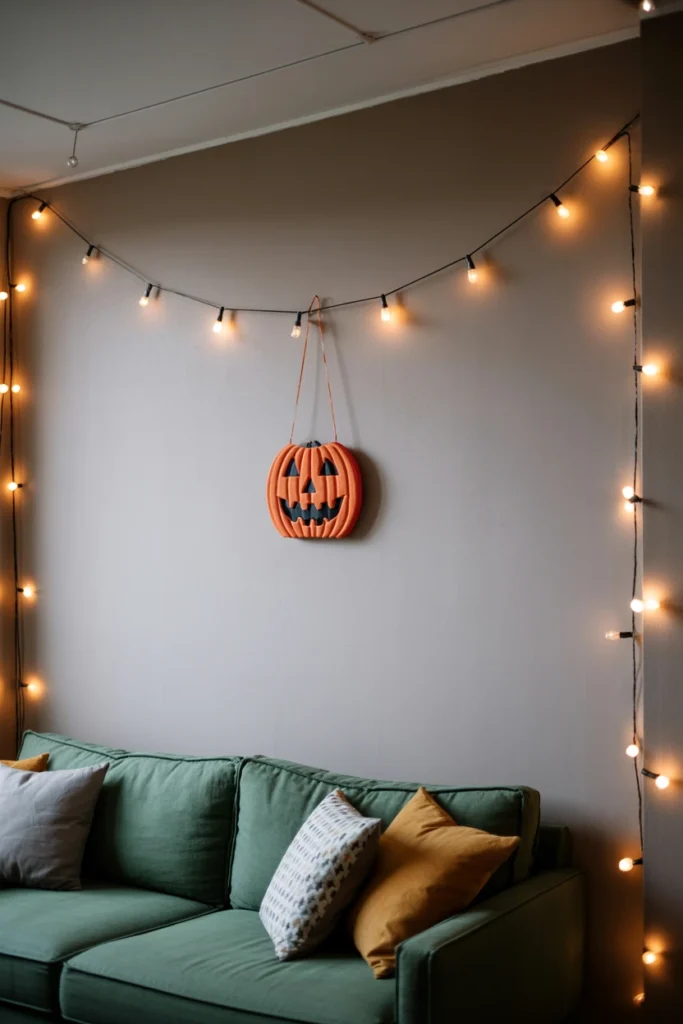
Small apartment walls have limited square footage and often share sightlines with kitchens or entryways. The core constraint here is scale — oversized pieces overwhelm a compact room instantly.
Key strategies for small apartment walls:
- Choose one focal piece under 20 inches wide instead of multiple large items
- Limit the color palette to two tones instead of three to reduce visual noise
- Mount decor vertically to draw the eye upward in a tight space
- Skip floor-based props entirely and keep all decor wall-mounted
- Use string lights instead of a projector, since projectors need throw distance
Rental-Friendly Walls
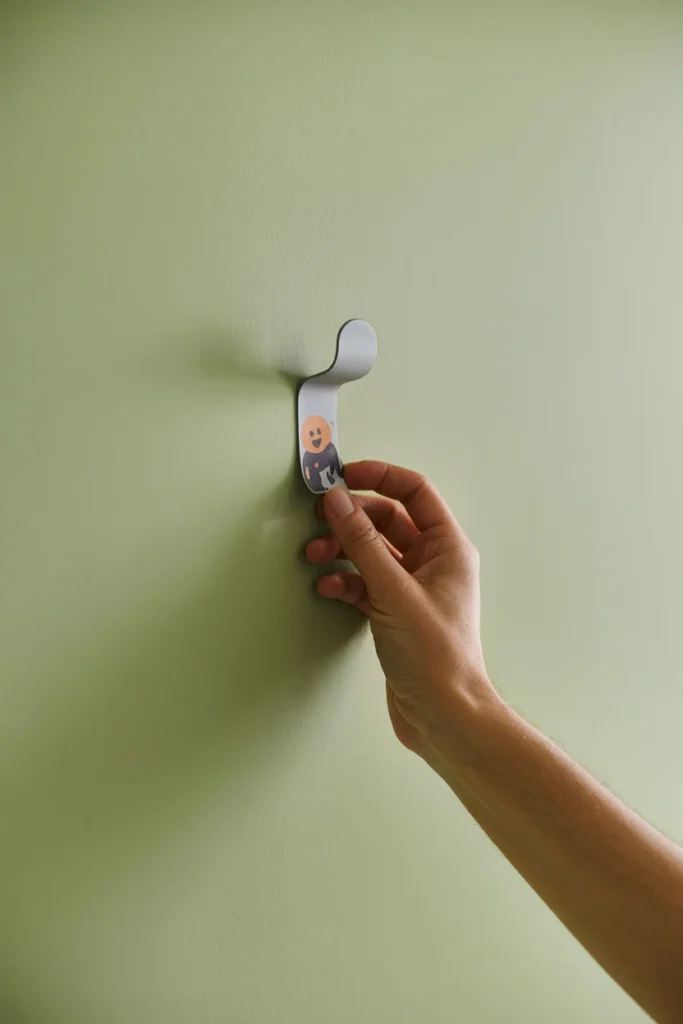
Rental walls come with lease restrictions on nails, paint, and adhesives. The core constraint is reversibility — every choice must leave zero trace on move-out.
Key strategies for rental walls:
- Test every adhesive product on an inconspicuous wall spot first
- Choose command-strip weight ratings that exceed your item’s actual weight
- Avoid spray-painting anything that touches the wall directly
- Keep a written inventory of hook and strip locations for full removal later
- Remove decor slowly at a 90-degree angle to avoid paint damage
Entryway and Staircase Walls

Entryway and staircase walls get viewed from multiple angles and distances throughout the day. The core constraint is scale variation, since a display must read correctly from both close and far distances.
Key strategies for entryway and staircase walls:
- Anchor the largest piece at the top of a staircase sightline
- Use uplighting near the base to catch guests walking past at night
- Avoid delicate hanging pieces near high-traffic pinch points
- Choose secure mounting hardware rated above standard weight needs
- Layer smaller accents along the stair rail line for continuity
Kids’ Room Walls
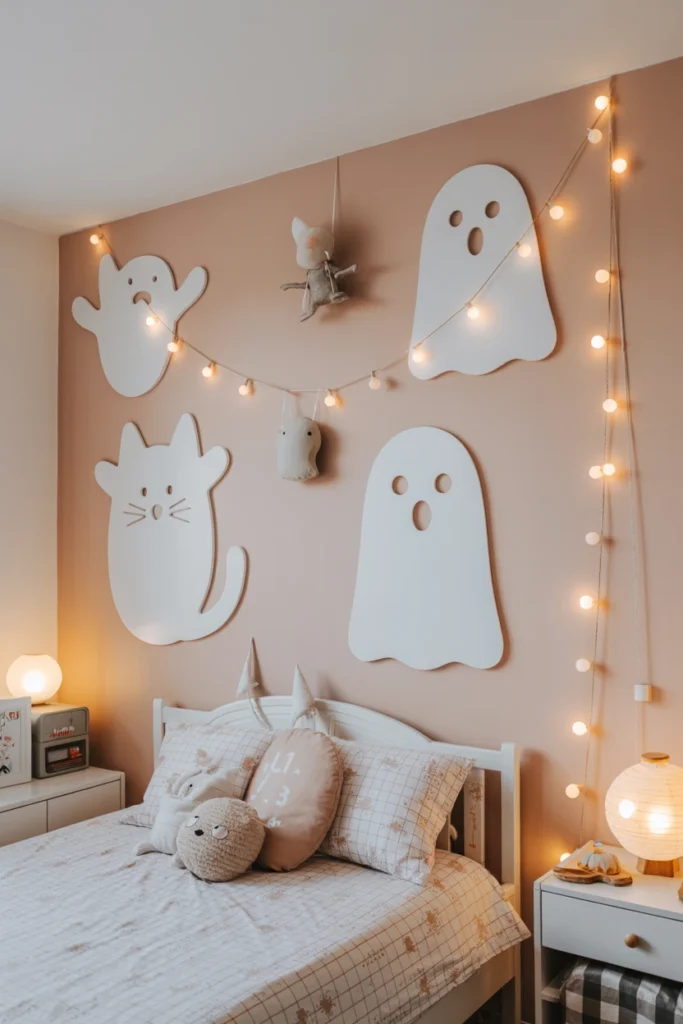
Kids’ room walls need a spooky-but-not-scary tone and decor that survives incidental contact. The core constraint is safety combined with a lighter visual mood.
Key strategies for kids’ room walls:
- Choose friendly silhouettes like cats or ghosts over skeletons or gore
- Mount everything with soft foam strips instead of pins or nails
- Keep string lights on a low-heat LED setting rated for kids’ rooms
- Avoid small detachable pieces that could become a choking hazard
- Use pastel-adjacent tones like lavender or sage instead of stark black
Frequently Asked Questions
How do you decorate a wall for Halloween?
Start with a three-color palette and one mapped focal point before adding any pieces. Anchor a large statement item like a skeleton or witch hat grouping at that focal point, then layer smaller accents like bats, pumpkins, and botanicals around it. Finish with warm string lighting so the display reads correctly after dark.
What are common Halloween wall decor mistakes?
The most common mistake is mixing too many colors without a defined palette, which makes a wall look cluttered instead of styled. A close second is skipping evening lighting entirely, since most Halloween wall decor loses its impact once the sun goes down. Overcrowding the full wall instead of leaving 25–40% breathing room is the third most frequent issue.
How do I decorate a Halloween wall on a budget?
Start with thrifted frames spray-painted a single matte black to create an instant cohesive gallery wall for a few dollars. Print free vintage Halloween or botanical art instead of buying framed pieces, and use dried botanicals from your yard instead of purchased florals. A full themed wall is achievable for under $30 using these three swaps.
How do you decorate a small apartment wall for Halloween?
Choose one focal piece under 20 inches wide instead of several large items competing for the same space. Limit your color palette to two tones and mount everything vertically to draw the eye upward. Skip floor-based props entirely, since small apartment walls read best with everything mounted directly to the surface.
How do I choose between different Halloween wall decor styles?
Match your decor style to your existing furniture finishes rather than choosing decor in isolation. A black and gold palette pairs naturally with traditional or moody furniture, while sage green and brass fits modern, understated rooms. If your existing decor already leans minimalist, a cream, black, and copper palette keeps the wall from feeling out of place once November arrives.
How often should you refresh Halloween wall decor?
Rotate two or three smaller accent pieces every two weeks throughout October while keeping your anchor piece and lighting fixed. This keeps the display visually fresh without requiring a full re-install. A wall left completely static for the full month tends to blend into the background by the third week.
Does Halloween wall decor work for a kids’ room?
Yes, as long as you swap skeletons and gore-heavy pieces for friendlier silhouettes like cats, ghosts, or pumpkins. Mount everything with foam adhesive strips instead of nails or pins to keep the display safe around kids. Choose lower-heat LED lighting and avoid small detachable pieces that could pose a choking hazard.
How much does Halloween wall decor cost?
A budget-conscious wall using thrifted frames, free printable art, and dried botanicals typically costs between $20 and $40 total. A mid-range wall with purchased silhouettes, string lights, and a skeleton centerpiece generally runs $60 to $120. Renter-friendly adhesive products add a small additional cost but prevent far more expensive wall repairs later.
How long does Halloween wall decor last before it needs replacing?
Fabric silhouettes, faux pumpkins, and LED lighting typically last three to five Halloween seasons with proper storage in a dry, flat container. Paper-based decals and prints usually need replacing after one to two seasons due to fading and edge wear. Dried botanicals are the shortest-lived element and are best replaced fresh each year.
Conclusion
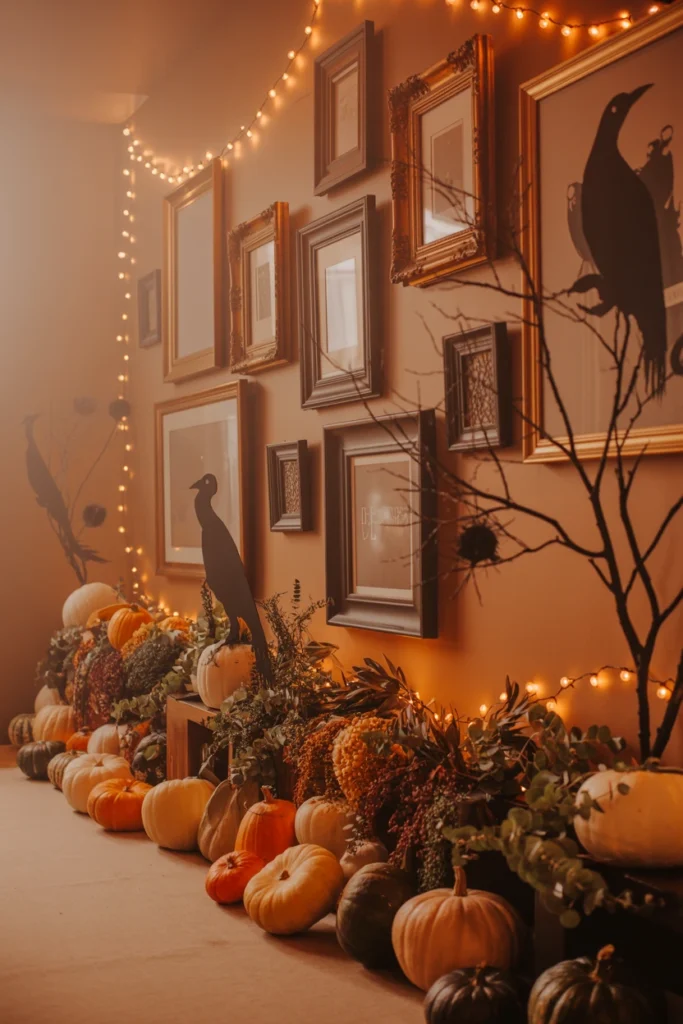
A styled Halloween wall starts with a defined color story and a single, clearly mapped focal point. Begin tonight by measuring your wall and choosing your three colors before buying a single new item. From there, layer in one statement anchor piece, warm lighting, and smaller accents in odd-numbered groupings.
Results come from the two-week rotation habit, not a single install-and-forget effort. A wall built on scale, color discipline, and consistent small updates stays the most visually effective decor in the entire house through every week of October.