
Outdoor Halloween decor turns a plain front yard into the display neighbors slow down to see. The right combination of lighting, focal points, and porch styling creates a cohesive scene instead of a scattered pile of props. This guide delivers 20 specific, actionable strategies covering lighting, yard displays, porch decor, styling, and maintenance. Start with your foundation steps before buying a single prop.
[INTERNAL LINK: Halloween party planning checklist]
Before You Begin: 3 Foundation Steps for Outdoor Halloween Decor
Outdoor Halloween decorating fails most often when props get bought before a plan exists. These three foundation steps prevent wasted money and a display that looks cluttered instead of intentional.
1. Establish One Theme Before Buying Any Props
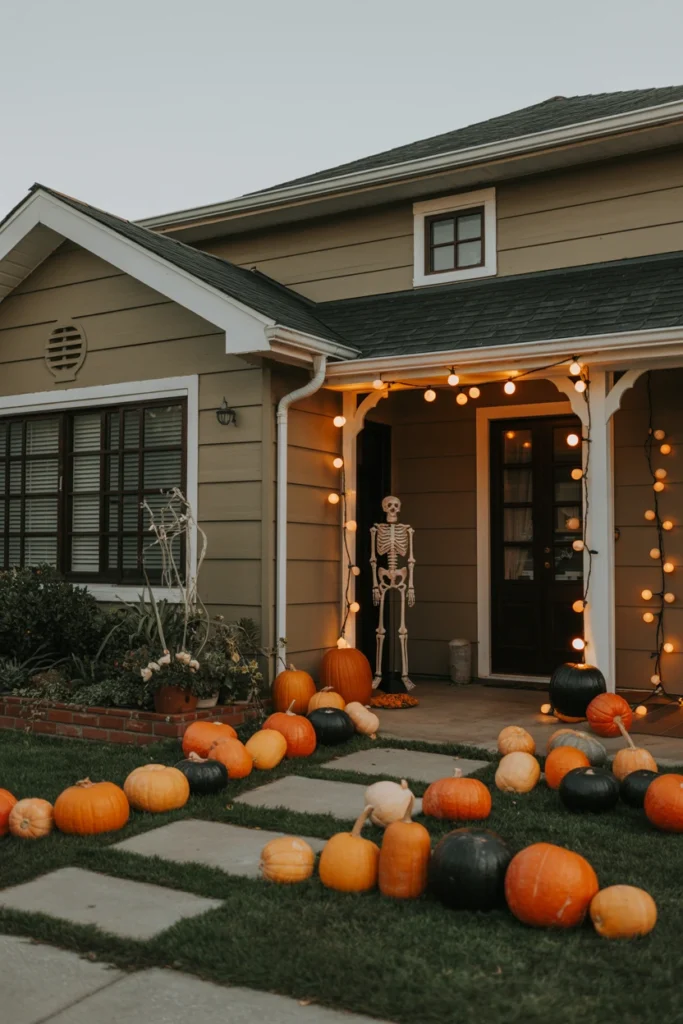
A yard with five competing Halloween themes reads as cluttered, not festive. Mixing a cartoonish inflatable theme with a gothic Victorian theme in the same 20-foot space creates visual noise instead of a cohesive scene. Every prop needs to support one consistent theme, whether that’s classic spooky, elegant black-and-white, or family-friendly cartoon.
Start by picking one of three broad theme categories: classic spooky, elegant gothic, or playful family-friendly. Write the theme down and check every future purchase against it before adding it to your cart. This single filter cuts impulse purchases by roughly half and keeps the final display visually unified.
| Theme Category | Core Color Palette | Best For |
| Classic spooky | Orange, black, purple | Most yards, trick-or-treat routes |
| Elegant gothic | Black, white, deep burgundy | Front porches, formal entries |
| Playful family-friendly | Orange, green, bright purple | Yards with young children |
| Harvest-Halloween blend | Orange, cream, natural wood tones | Farmhouse-style homes |
2. Measure Your Yard’s Key Sightlines First
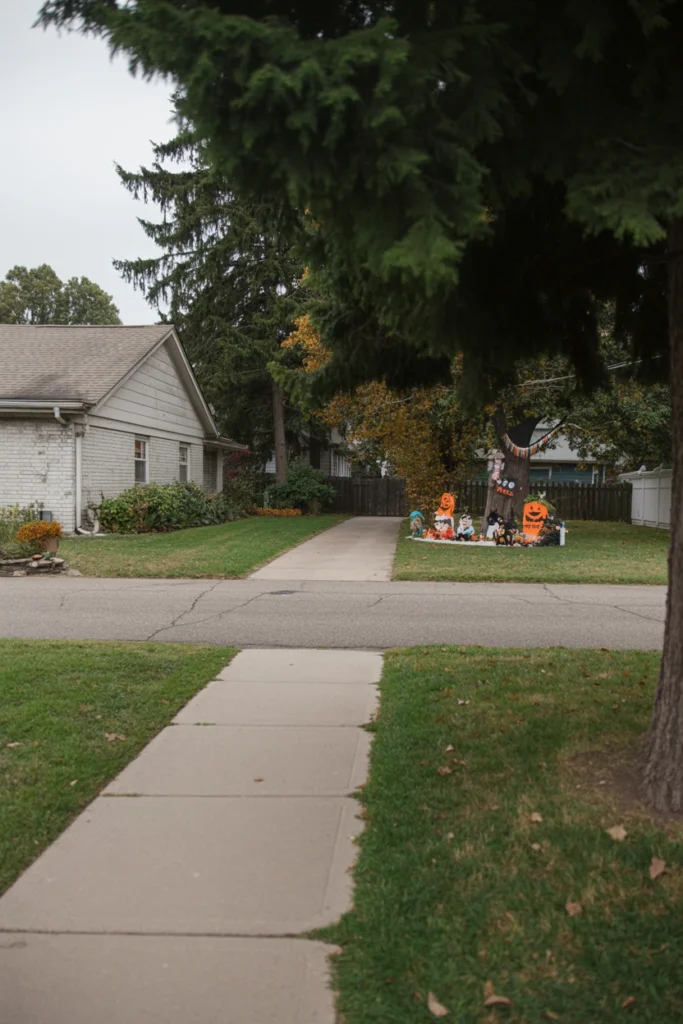
Decorations placed without checking sightlines end up hidden behind trees, cars, or hedges from the street. A skeleton tucked six feet behind a parked car loses 100% of its visual impact to anyone driving past. The fix costs nothing and takes ten minutes with a notepad.
Walk to the edge of your street or sidewalk and photograph your yard from that exact vantage point. Mark the three clearest, most unobstructed spots in that photo — these become your focal-point locations, not the spots that are simply easiest to reach. This step alone prevents the most common outdoor decorating mistake: expensive props nobody can actually see.
| Vantage Point | What to Check | Fix If Blocked |
| Street level, directly in front | Main focal point visibility | Move prop 3–5 feet forward |
| Sidewalk, both directions | Side-angle visibility | Add smaller props at yard edges |
| Driveway entrance | Path lighting visibility | Raise light height to 18+ inches |
| Neighbor’s yard angle | Overlap or blocked view | Shift display 2 feet toward center |
3. Set a Decoration Budget by Zone
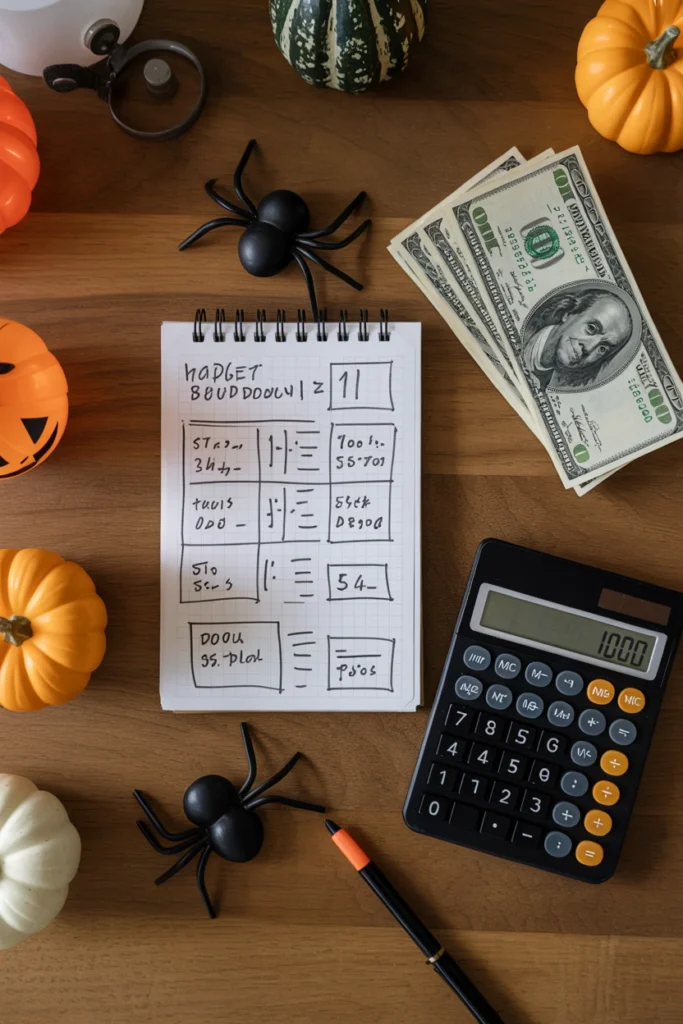
An unplanned Halloween budget gets spent entirely on the first appealing prop at the store, leaving nothing for lighting or the porch. Splitting a total budget across zones — porch, lawn, pathway, lighting — prevents one area from swallowing the entire budget. A $200 total budget with no zone split often results in $180 spent on one large inflatable and $20 left for everything else.
Divide your total budget into four zones: 40% lighting, 30% one focal point, 20% porch styling, 10% small accent props. Stick to these percentages even when a single item looks tempting outside its zone. This allocation guarantees every part of the display gets funded instead of one oversized centerpiece draining the rest.
| Total Budget | Lighting (40%) | Focal Point (30%) | Porch (20%) | Accents (10%) |
| $100 | $40 | $30 | $20 | $10 |
| $200 | $80 | $60 | $40 | $20 |
| $350 | $140 | $105 | $70 | $35 |
| $500 | $200 | $150 | $100 | $50 |
Halloween Lighting Ideas That Set the Right Mood
Lighting defines whether outdoor Halloween decor reads as spooky or simply dark and hard to see. The right layers of light make every other prop visible and add atmosphere on their own.
4. Install Layered Lighting at Three Heights
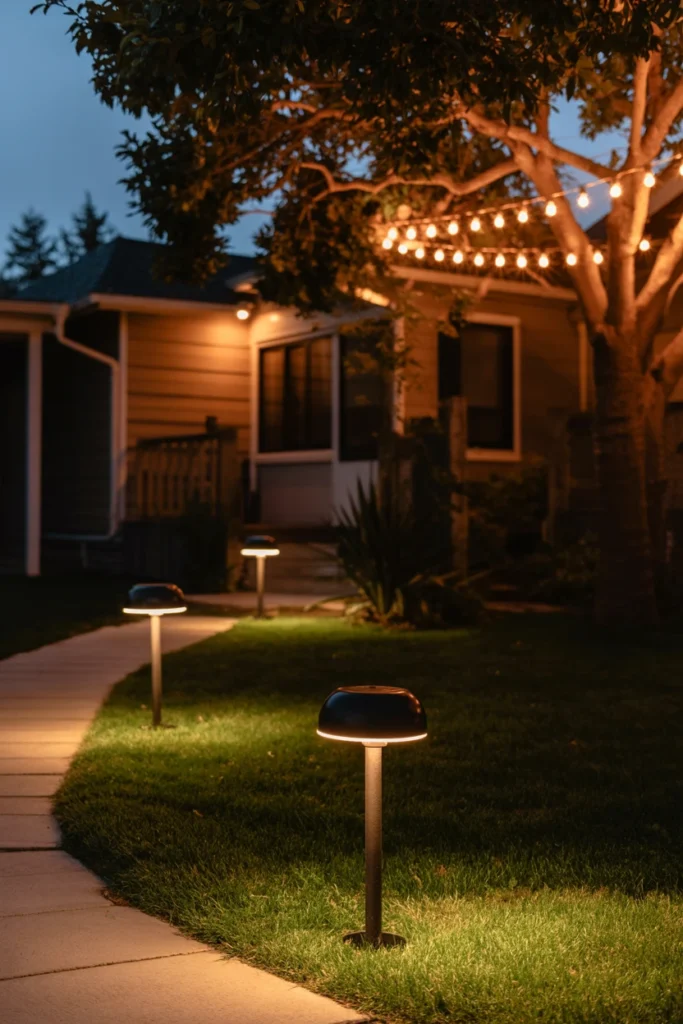
Single-height lighting flattens a display and leaves half the yard in shadow. A yard lit only at ground level hides anything taller than three feet, wasting the impact of hanging or standing props. Three lighting heights fix this instantly.
Place one light source at ground level (path lights), one at 3–4 feet (stake lights near props), and one overhead (string lights in trees or eaves). This layered approach eliminates flat shadows and makes every prop, at every height, visible after dark. The unexpected bonus: layered lighting also improves nighttime safety for trick-or-treaters navigating your walkway.
| Lighting Height | Fixture Type | Placement Distance |
| Ground (0–1 ft) | Solar path lights | Every 3–4 feet along path |
| Mid (3–4 ft) | Stake spotlights | Beside each major prop |
| Overhead (6+ ft) | String lights | Along eaves, porch, or tree branches |
| Accent (variable) | LED candles/lanterns | Windowsills, porch steps |
5. Switch to Warm-White and Orange String Lights
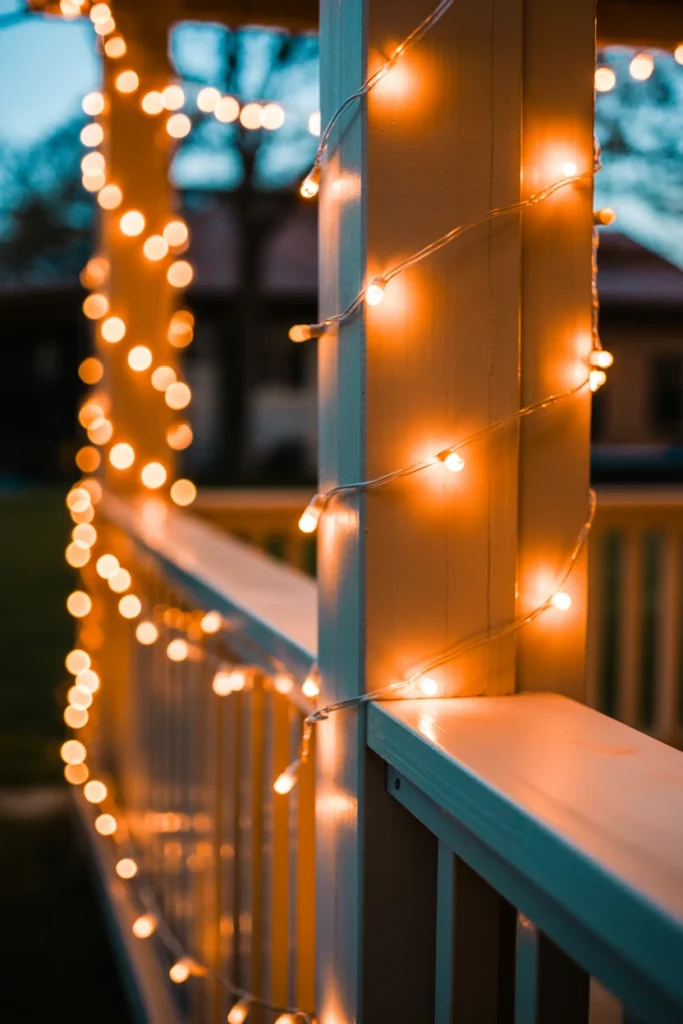
Cool-white or multicolor string lights left over from winter clash with a Halloween color story. Blue-toned LED lights make orange pumpkins and purple accents look washed out and mismatched with the rest of the theme. Swapping the bulb color changes the entire mood in minutes.
Replace any cool-white or multicolor strand with warm-white (2700K) or dedicated orange LED string lights. Wrap them around railings, porch columns, or tree trunks using 100 lights per 25 linear feet for even coverage. This single swap creates the warm, flickering-candle atmosphere that generic white lights can never achieve.
| Light Color | Kelvin/Type | Best Use |
| Warm white | 2700K | Porch railings, windows |
| Orange LED | Dedicated Halloween strand | Bushes, tree wrapping |
| Purple LED | Dedicated Halloween strand | Accent lighting near entry |
| Avoid: cool white | 5000K+ | Clashes with orange/black palette |
6. Add Motion-Sensor Spotlights Near Entry Points
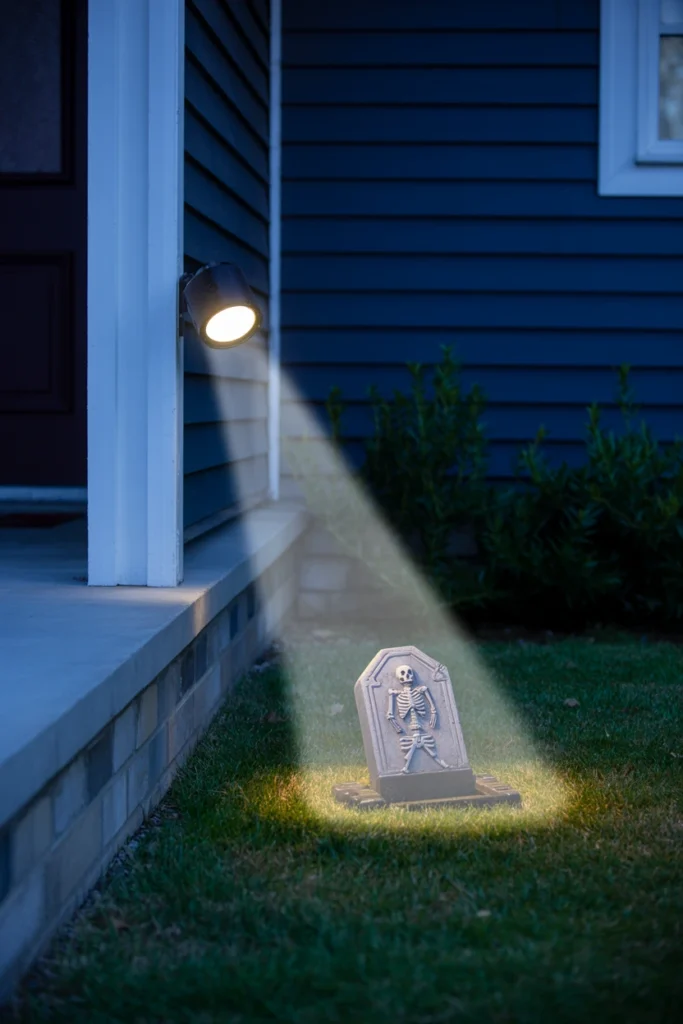
Static lighting near the front door misses the jump-scare moment that makes Halloween memorable for trick-or-treaters. A porch lit the same way all night gives away every prop before guests get close enough to be surprised. Motion sensors solve this without any manual triggering.
Install a motion-sensor spotlight aimed at your main focal prop, positioned 6–8 feet from the walkway trigger zone. Set the sensor’s detection range to 15–20 feet so it activates as guests approach, not from across the street. The pro result: motion lighting also saves energy compared to keeping every light running for four straight hours.
| Sensor Range | Best Placement | Trigger Distance |
| 15–20 ft | Main walkway | Activates as guest reaches driveway |
| 10–15 ft | Porch steps | Activates on final approach |
| 20–30 ft | Long driveways | Activates at street edge |
| Under 10 ft | Small entryways/apartments | Activates at door |
7. Place Flickering LED Candles in Weatherproof Lanterns
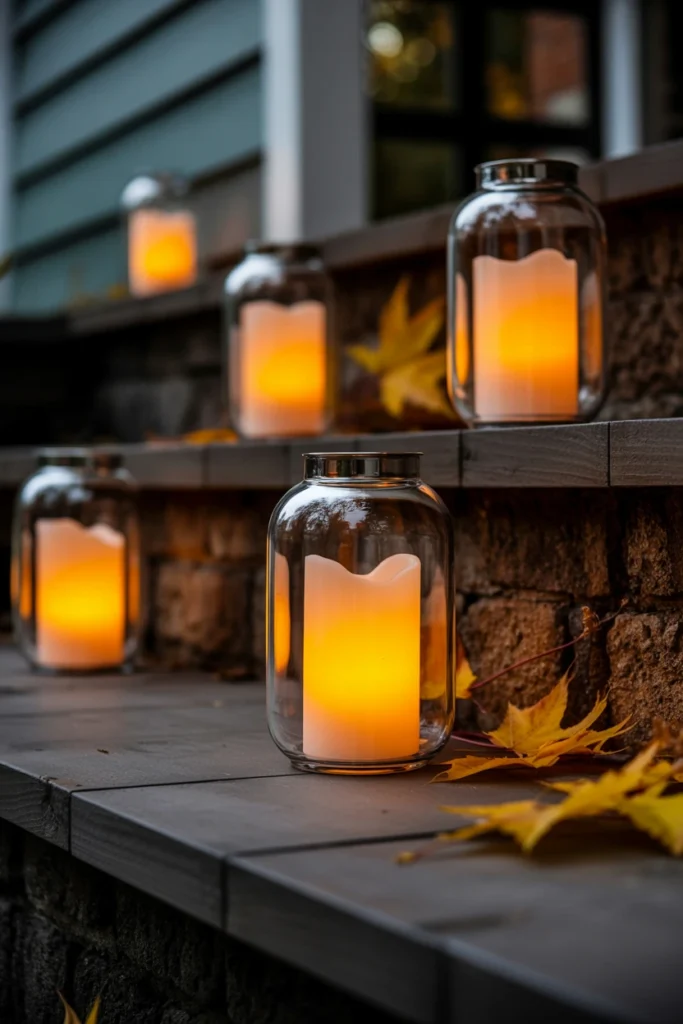
Real candles outdoors on Halloween night create a fire hazard around paper decorations and costumes. An open flame near a fabric ghost or paper lantern is one gust of wind away from a real problem. Flickering LED candles remove the risk without sacrificing the flame effect.
Fill weatherproof glass or plastic lanterns with battery-powered flickering LED candles rated for outdoor use. Space them 18–24 inches apart along porch steps or a pathway for consistent ambient light. This swap gives you the same warm flicker as real flame with zero fire risk near costumed trick-or-treaters.
| Lantern Placement | Spacing | Candle Type |
| Porch steps | 18–24 inches apart | Flameless LED taper |
| Pathway edges | 3–4 feet apart | Flameless LED pillar |
| Windowsills | One per window | Flameless LED votive |
| Tablescapes (covered porch) | Clustered groups of 3 | Flameless LED tea lights |
Yard Displays and Focal Points That Anchor the Scene
A yard needs one dominant focal point and supporting props arranged around it. Without a clear anchor, the eye has nowhere to land and the whole display reads as scattered.
8. Anchor the Yard With One Oversized Focal Piece
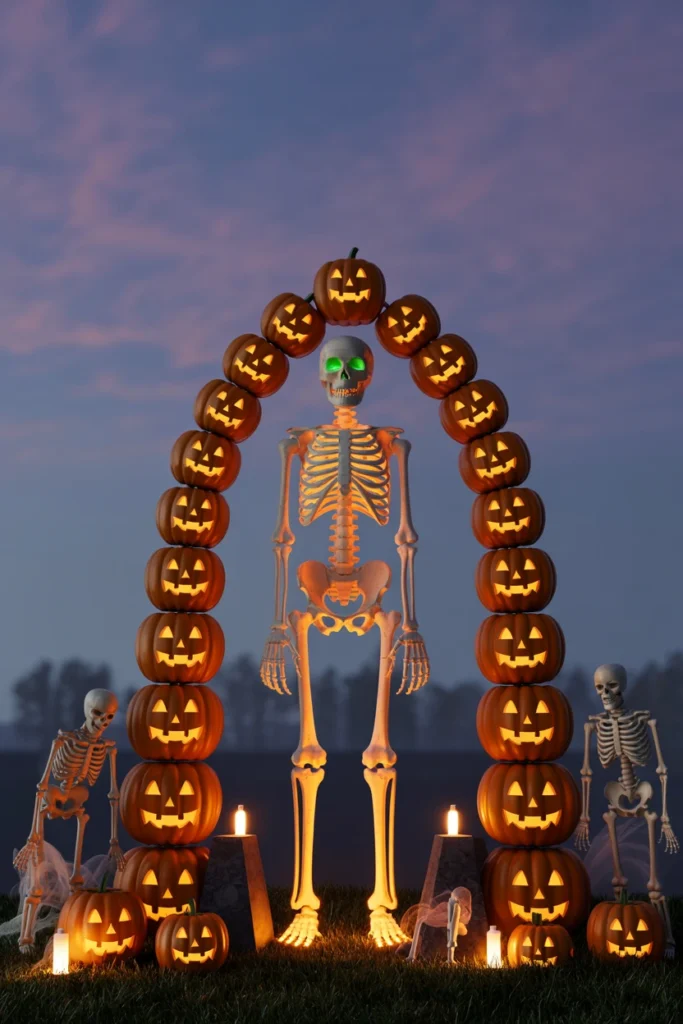
A yard with ten small, same-size props has no visual hierarchy for the eye to follow. When every item competes for attention at the same scale, none of them actually stand out. One oversized piece fixes this immediately.
Choose one large-scale piece — a 6-foot skeleton, a lit pumpkin arch, or a large inflatable — and place it at your strongest sightline from Step 2. Keep every other prop under half its height so the hierarchy stays clear. The pro result: one strong focal point makes even a handful of budget accent props look intentional instead of sparse.
| Focal Piece Type | Approx. Height | Approx. Cost Range |
| Skeleton figure | 5–7 feet | $40–$120 |
| Lit pumpkin archway | 6–8 feet wide | $60–$150 |
| Inflatable character | 6–9 feet | $50–$200 |
| DIY scarecrow display | 5–6 feet | $15–$40 |
9. Group Pumpkins in Odd-Numbered Clusters
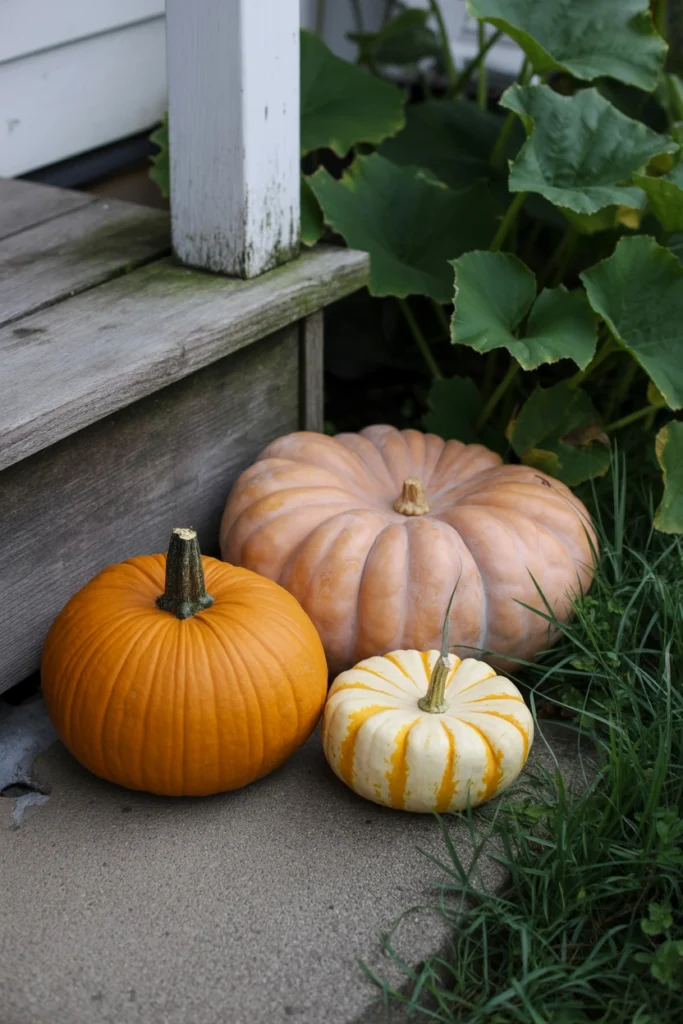
A row of pumpkins lined up in perfectly even spacing reads as staged rather than naturally collected. Even-numbered, evenly spaced groupings create a symmetry that feels artificial next to organic elements like hay bales or branches. Odd-numbered clusters solve this instantly.
Group pumpkins in sets of 3 or 5, mixing at least two different sizes within each cluster. Place the tallest pumpkin slightly behind and to one side rather than centered, breaking any accidental symmetry. This arrangement reads as gathered and intentional instead of mass-produced and mechanical.
| Cluster Size | Pumpkin Count | Size Mix |
| Small accent | 3 pumpkins | 1 large, 2 small |
| Medium display | 5 pumpkins | 1 large, 2 medium, 2 small |
| Porch step grouping | 3 pumpkins per step | Descending size down steps |
| Pathway marker | 3 pumpkins | Equal small size, 6 ft apart |
10. Build a Mini Graveyard Scene Along the Front Bed
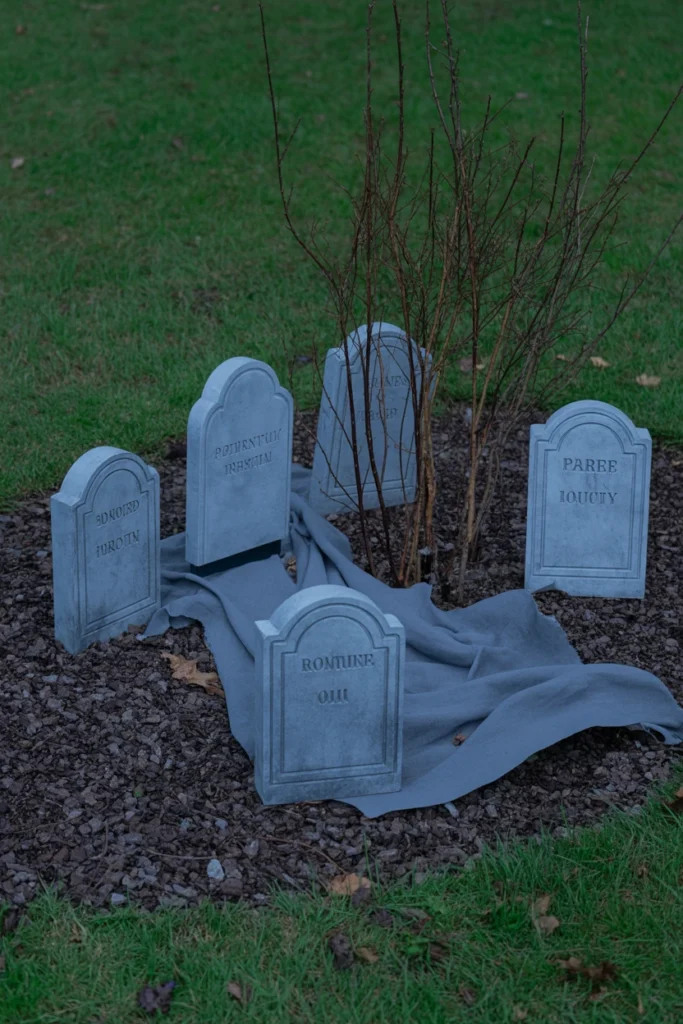
A single tombstone prop placed alone in the middle of the lawn looks like an afterthought rather than a scene. Isolated props without supporting context read as random rather than deliberate. A grouped graveyard vignette changes that entirely.
Arrange 4–6 foam tombstones at varying heights and slight angles along an existing garden bed, rather than the open lawn. Add a layer of gray landscape fabric or fake spiderweb beneath them to ground the scene visually. The unexpected bonus: using an existing bed means zero additional lawn maintenance after the display comes down.
| Graveyard Element | Quantity | Placement Detail |
| Foam tombstones | 4–6 pieces | Angled 5–10 degrees, varied heights |
| Ground cover | 1 roll gray fabric | Beneath tombstone cluster |
| Fog effect (optional) | 1 small fogger | Low placement, evening use only |
| Accent branches | 2–3 bare branches | Inserted between tombstones |
11. Hang Fabric Ghosts From Branches at Varying Heights
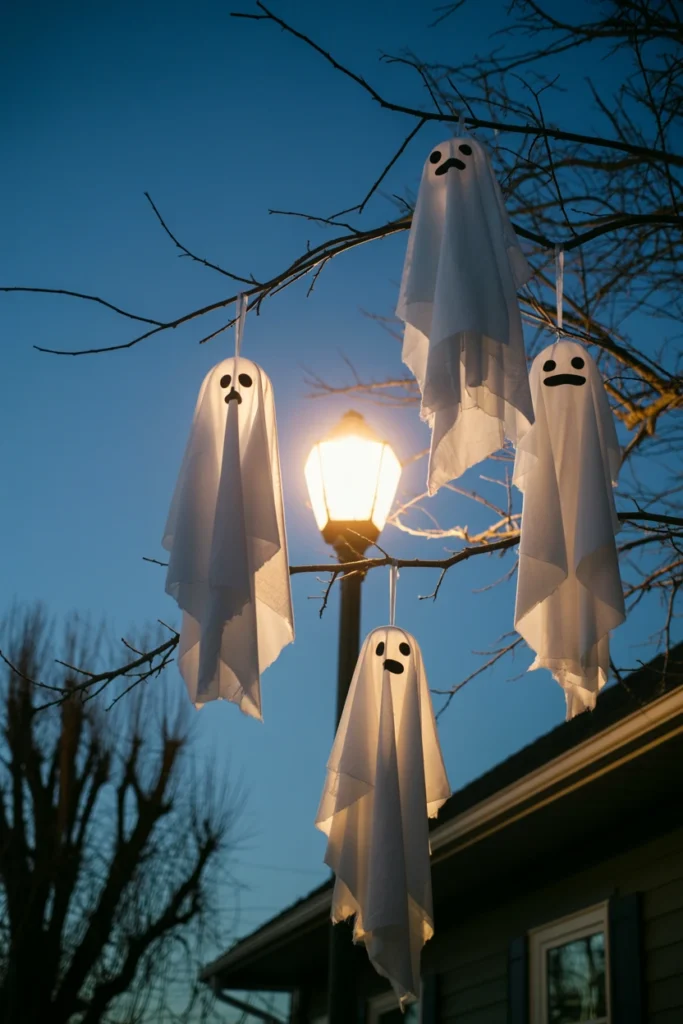
Ghosts hung at identical heights from every branch create a flat, repetitive line instead of a floating effect. Uniform height placement makes fabric ghosts look like they’re pinned to a clothesline rather than drifting. Varying the height solves this in under five minutes.
Hang 3–5 white fabric or cheesecloth ghosts from tree branches, staggering each one 12–18 inches higher or lower than its neighbor. Use fishing line instead of visible string so the ghosts appear to float unsupported after dark. This staggered height creates genuine movement in a breeze, instead of ghosts swinging in a flat, uniform row.
| Ghost Count | Height Variation | Line Type |
| 3 ghosts | 12–18 inches between each | Clear fishing line |
| 5 ghosts | 12–24 inches between each | Clear fishing line |
| Single statement ghost | N/A, place at 7–8 ft | Fishing line or thin wire |
| Ghost cluster (porch) | 6–12 inches between each | Fishing line, covered area only |
Halloween Porch Decorations for a Standout Entryway
The front porch is the closest, most-photographed part of any outdoor Halloween display. It needs a different level of detail than the open lawn because guests see it up close.
12. Layer Cobwebs Across Railings and Pillars
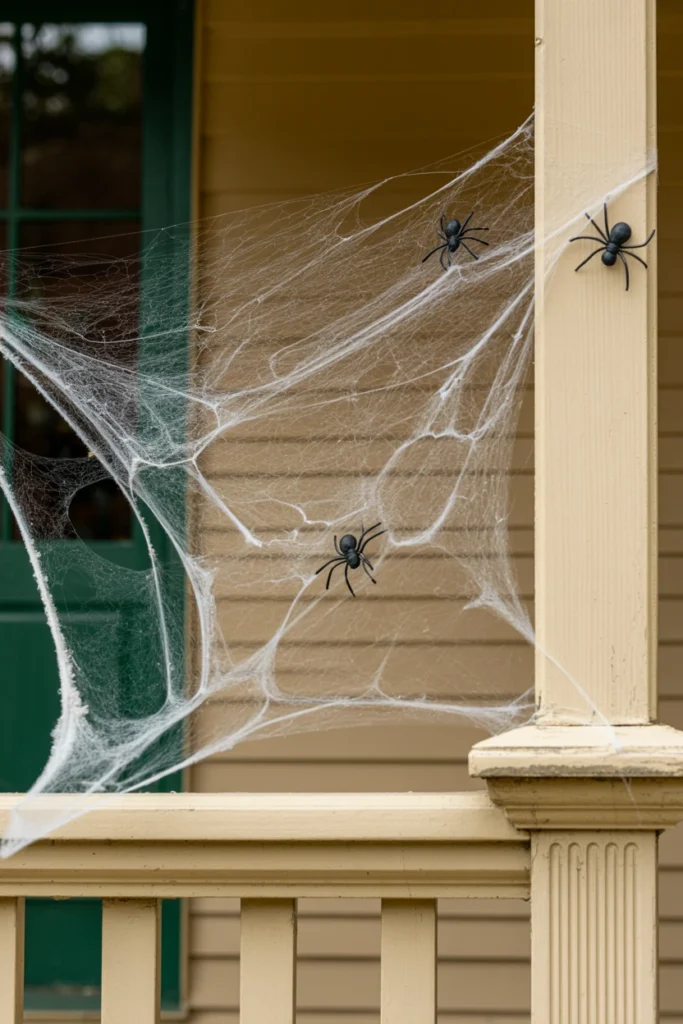
A single sheet of stretched cobweb material looks thin and obviously synthetic under porch lighting. Cobwebs applied in one flat layer lack the depth of a real, undisturbed web. Layering fixes the artificial look completely.
Apply two to three layers of stretchy cobweb material across railings and pillar corners, pulling each layer to a different tautness. Add a few plastic spiders at the densest layer intersections for realistic detail. This layered technique adds visible depth that a single flat sheet of webbing can never replicate.
| Cobweb Layers | Coverage Area | Spider Placement |
| 2 layers | Small railing sections | 2–3 spiders per section |
| 3 layers | Pillars and corners | 3–5 spiders at intersections |
| 1 layer (accent only) | Window frames | 1 spider per window |
| Full porch coverage | Railing + pillars + corners | 8–10 spiders total |
13. Mount a Mixed-Texture Wreath on the Front Door
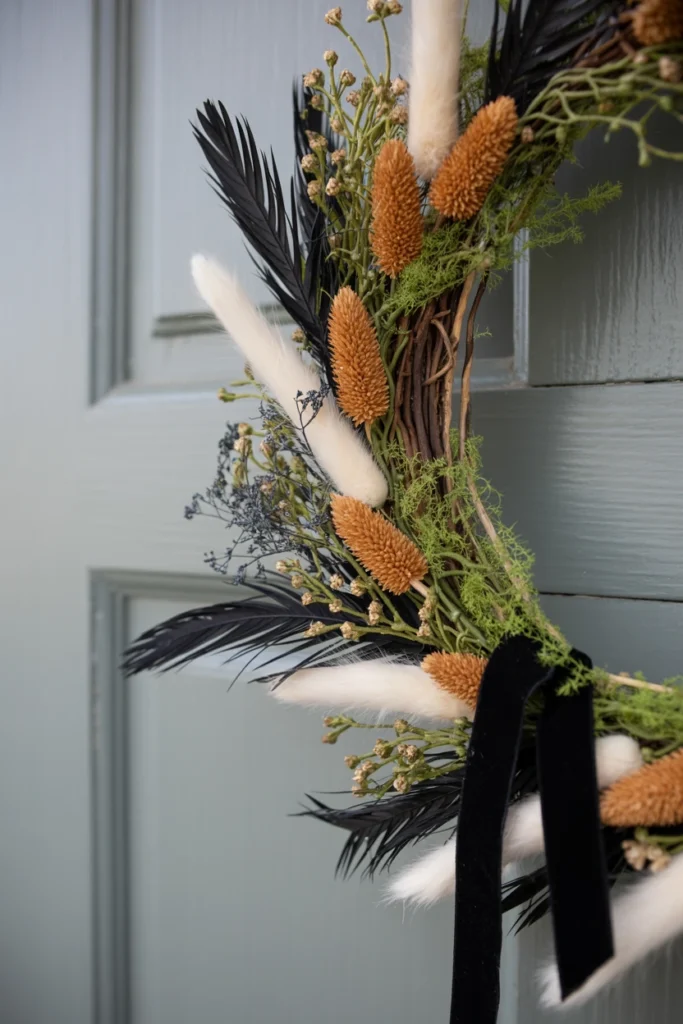
A plastic-only wreath under porch light looks flat and obviously mass-produced. Uniform materials in a single texture reflect light identically across the whole piece, killing depth. Mixing textures creates dimension instead.
Choose a wreath combining at least three textures — dried florals, black ribbon, and faux feathers or moss — mounted at eye level on the front door. Anchor the color story to your Step 1 theme so it doesn’t clash with the rest of the display. The pro result: a textured wreath photographs noticeably better in porch lighting than a single-material version.
| Wreath Texture | Material Example | Placement |
| Dried floral | Wheat, dried hydrangea | Base layer |
| Ribbon accent | Black or burgundy velvet | Wrapped through base |
| Dimensional element | Faux feathers, moss, or bats | Top accent layer |
| Size guideline | 20–24 inch diameter | Standard front door |
14. Arrange a Pumpkin Staircase on Porch Steps
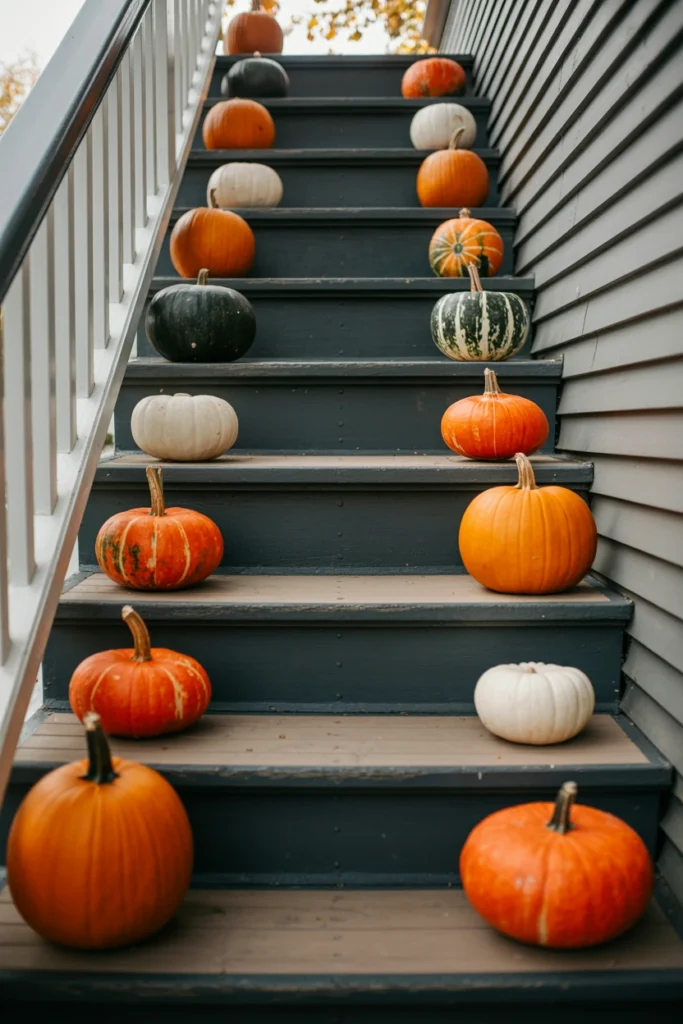
Pumpkins placed only at the top or bottom step waste the visual real estate of the entire staircase. A porch with five steps and pumpkins on just one step leaves 80% of that surface unused. A full staircase arrangement uses the space correctly.
Place one pumpkin per step, decreasing in size as you move up the staircase, with the largest pumpkin at the bottom. Alternate orange and painted-black or white pumpkins every other step to reinforce your color theme. This descending-size technique draws the eye upward toward your front door, guiding guests exactly where you want them to look.
| Step Position | Pumpkin Size | Color Alternation |
| Bottom step | Largest (12–14 in) | Orange |
| Middle step(s) | Medium (8–10 in) | Black or white |
| Top step | Smallest (5–6 in) | Orange |
| 3-step porch | Large-Medium-Small | Alternating every step |
15. Frame the Doorway With Matching Urns or Planters
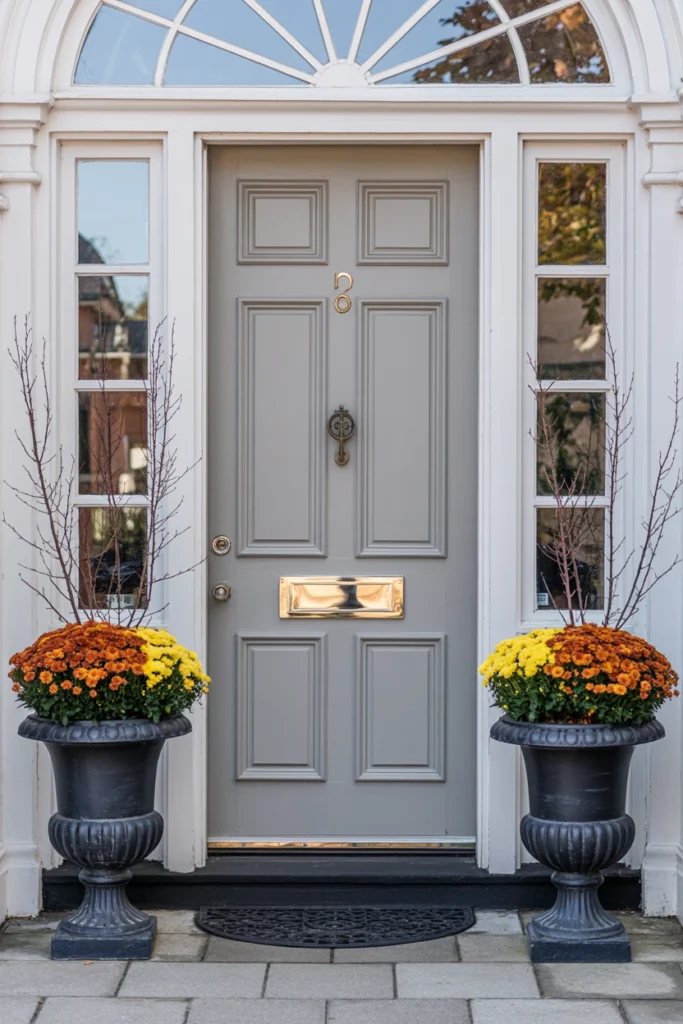
Mismatched pots on either side of a front door break the symmetry that makes an entryway feel finished. Two different planter styles pull the eye in two directions instead of framing the door as a single unit. Matching urns correct this immediately.
Place two identical urns or planters, each 18–24 inches tall, on either side of the front door at equal distance from the frame. Fill each with matching stems — orange mums, black-painted branches, or ornamental kale — so both sides mirror each other exactly. The unexpected bonus: matching urns work year-round with a simple stem swap, extending their value well past Halloween.
| Urn Height | Distance From Door | Fill Material |
| 18 inches | 12–18 inches from frame | Mums, kale |
| 24 inches | 18–24 inches from frame | Branches, tall grasses |
| Matched pair | Identical on both sides | Same fill on each side |
| Budget option | Painted terracotta, 12 in | Single mum plus filler |
Styling and Finishing Touches for a Cohesive Look
Individual props can each look good and still fail to form a cohesive scene. These finishing touches tie every previous section together into one unified display.
16. Apply One Consistent Color Story to All Props
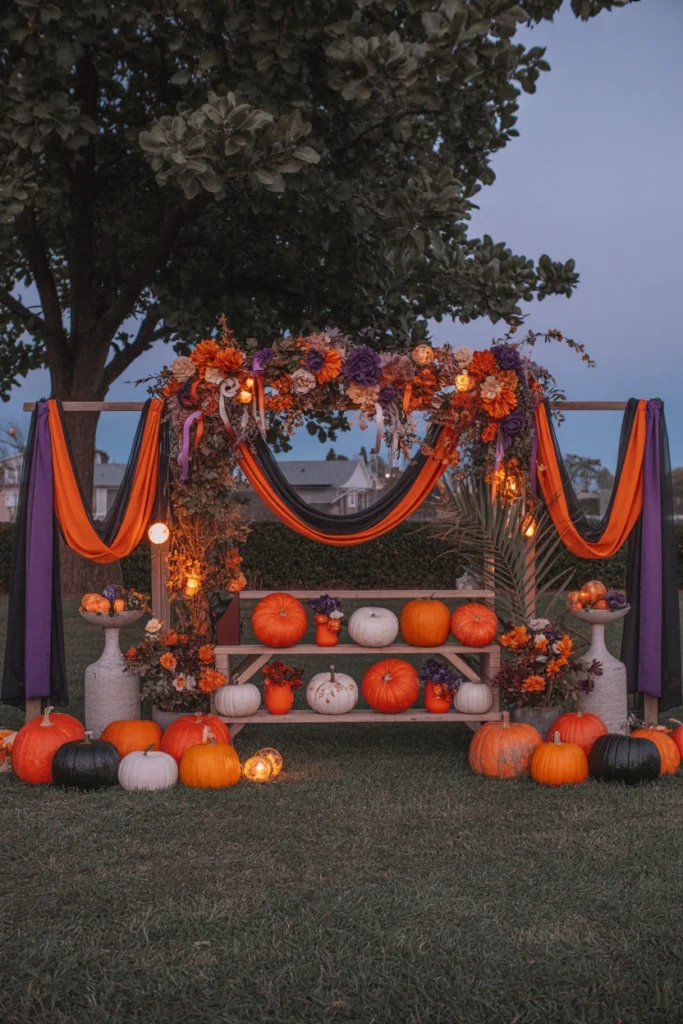
Props purchased across different stores and seasons rarely share the same shade of orange or black. Slightly mismatched shades scattered across a yard read as visually chaotic even when every individual piece looks fine alone. One consistent color story fixes this.
Pick two dominant colors and one accent color from your Step 1 theme, then check every prop against that exact palette before placing it. Repaint or replace any item that clashes noticeably, especially faded plastic pumpkins from previous years. This consistency is what separates a curated display from a random collection of Halloween-adjacent objects.
| Color Role | Example Palette | Application |
| Dominant 1 | Pumpkin orange | Focal point, pumpkins |
| Dominant 2 | Matte black | Tombstones, urns, ribbon |
| Accent | Deep purple | String lights, small props |
| Neutral base | Warm gray, cream | Fabric, cobweb material |
17. Style Pathway Markers to Guide Foot Traffic
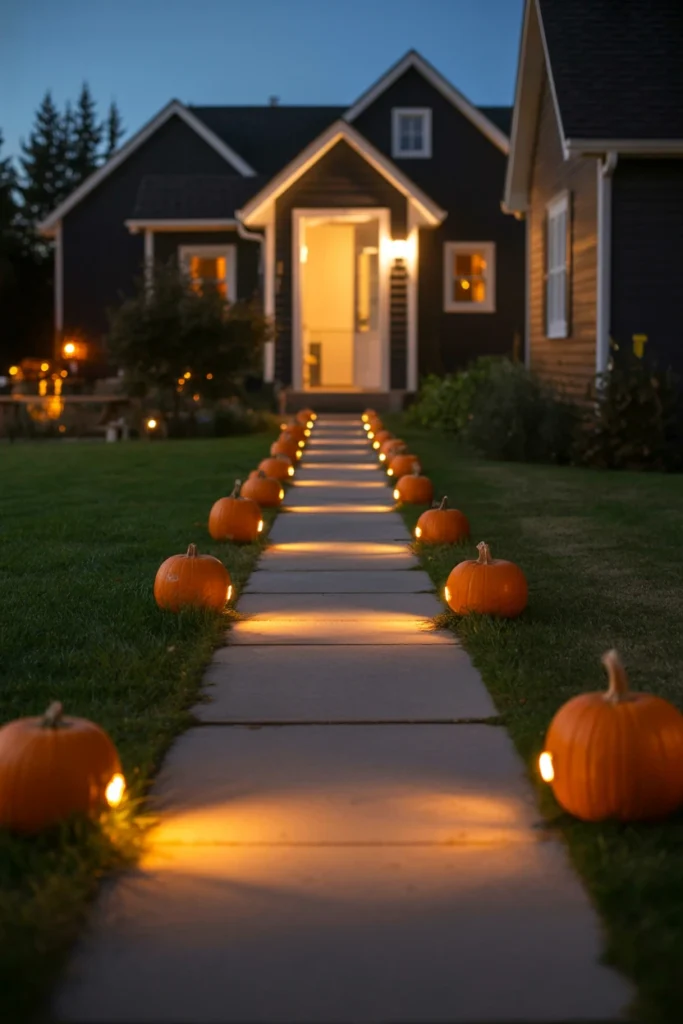
An unlit or unmarked pathway forces trick-or-treaters to guess where to walk, creating bottlenecks and safety issues. A dark or ambiguous walking path is the single biggest complaint from Halloween-night visitors. Clear pathway markers solve both the safety and style problem together.
Place a themed marker — a small pumpkin, lit stake, or mini tombstone — every 3–4 feet along the exact route you want guests to walk. Keep the path at least 30 inches wide so two trick-or-treaters can pass comfortably. This spacing removes any guesswork about where to walk while reinforcing your theme the entire way to the door.
| Marker Spacing | Path Width | Marker Type |
| 3 feet | 30–36 inches | Small lit pumpkins |
| 4 feet | 36–42 inches | Mini tombstone stakes |
| 2 feet (short paths) | 24–30 inches | LED path lights |
| Wide walkway (2+ guests) | 42+ inches | Alternating markers, both sides |
18. Replace Mismatched Props With Weatherproof Versions
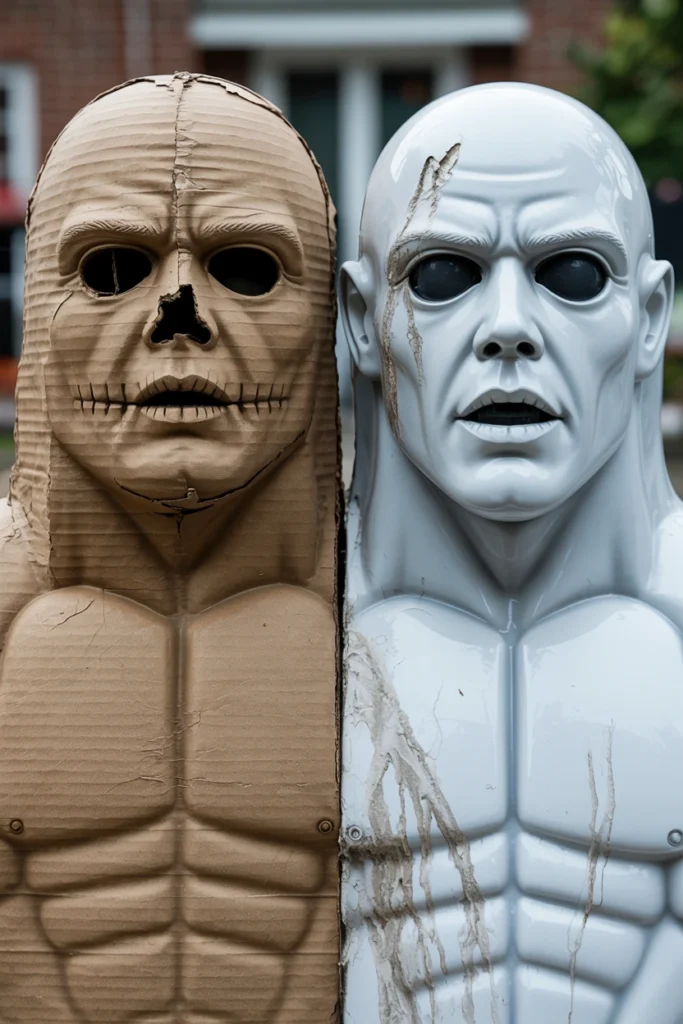
Paper or cardboard decorations left outside for several weeks warp, fade, and tear within days of rain or heavy dew. Indoor-rated decorations placed outdoors typically fail before Halloween night even arrives. Swapping to weatherproof materials fixes the problem for the whole season, not just one night.
Replace any paper, cardboard, or unfinished-wood prop with a plastic, resin, or outdoor-rated fabric equivalent before the display goes up. Check each product label specifically for “outdoor use” or “UV-resistant” rating before purchase. This one-time swap means the entire display survives an entire month of exposure instead of needing replacement mid-season.
| Material | Outdoor Durability | Typical Lifespan |
| Paper/cardboard | Poor | 1–3 days in wet weather |
| Untreated wood | Fair | 1–2 seasons |
| Weatherproof plastic/resin | Excellent | 3–5+ seasons |
| Outdoor-rated fabric | Good | 1–2 seasons |
Maintenance Habits That Keep Outdoor Halloween Decor Looking Fresh
A display set up correctly on day one still needs upkeep across a multi-week Halloween season. These two habits protect the investment already made in lighting and props.
19. Check Battery-Powered Lights Every Three Days
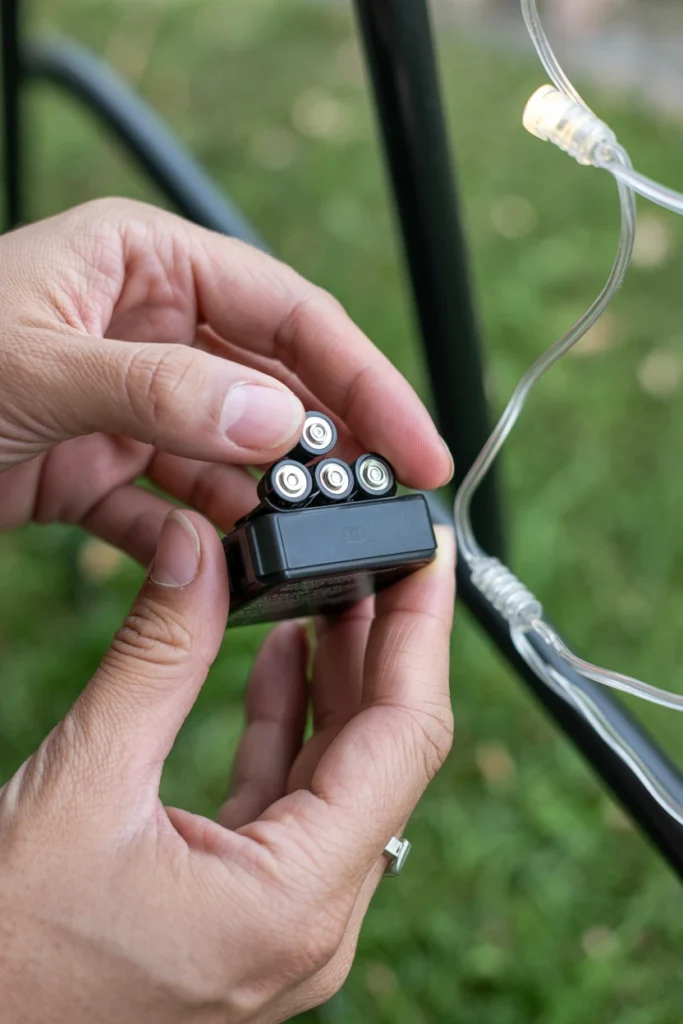
Battery-powered LED lights left unchecked for two weeks often die exactly on Halloween night itself. Cold outdoor temperatures drain batteries roughly twice as fast as typical indoor use. A simple three-day check prevents the worst-timed failure of the season.
Set a recurring reminder every three days to test every battery-powered light fixture in the display. Keep a stock of spare batteries in a labeled bin near your front door for quick swaps. This habit guarantees full lighting coverage on October 31st instead of discovering dead batteries after dark that night.
| Battery Type | Check Frequency | Backup Stock |
| AA/AAA (small lights) | Every 3 days | 12–20 spares |
| C/D (larger fixtures) | Every 5 days | 6–8 spares |
| Rechargeable | Every 4 days, recharge overnight | 2 charging sets |
| Solar-powered | Weekly, check panel exposure | N/A |
20. Remove and Store Fragile Props Before Storms
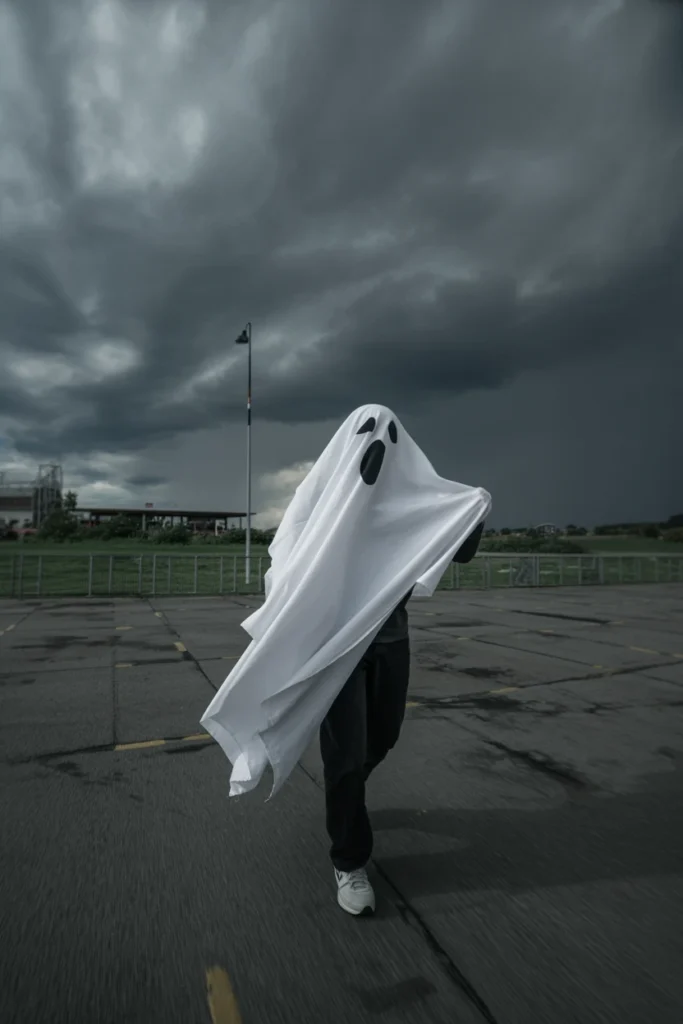
Fabric ghosts and inflatable props left out during high wind or heavy rain routinely tear, deflate, or blow into the street. A single storm can undo three weeks of careful styling in under an hour. Removing fragile items ahead of forecasted weather protects the entire investment.
Check the weather forecast every morning during Halloween season and bring in fabric, paper, and inflatable props whenever wind exceeds 25 mph or rain is expected. Store removed items in a labeled bin so they go back outside in the same arrangement afterward. The unexpected bonus: rotating props in and out for weather also keeps the display looking slightly refreshed throughout the season.
| Weather Condition | Action | Props at Risk |
| Wind over 25 mph | Remove and store | Fabric ghosts, inflatables |
| Heavy rain forecast | Remove or cover | Paper, cardboard items |
| Light rain | Leave weatherproof items out | Plastic, resin props only |
| Clear/calm | Full display outside | All props |
Common Outdoor Halloween Decor Mistakes That Ruin Curb Appeal
These eight mistakes account for most of the disappointing outdoor Halloween displays seen on any given block. Avoiding them costs nothing beyond a slightly different placement or material choice.
| Mistake | Why It Hurts the Space | Better Alternative |
| Mixing 4+ unrelated themes | Reads as cluttered, not festive | Pick one theme from Step 1 |
| Decorating without checking sightlines | Props hidden from the street | Photograph from street level first |
| Using only ground-level lighting | Leaves upper display in shadow | Layer lighting at 3 heights |
| Cool-white leftover holiday lights | Clashes with orange/black palette | Swap to warm-white or orange LED |
| Even-numbered, evenly spaced props | Looks staged and artificial | Group in odd numbers, varied spacing |
| Paper or cardboard decorations outside | Warps and tears within days | Use weatherproof plastic or resin |
| No pathway lighting or markers | Creates safety hazard, guest confusion | Add markers every 3–4 feet |
| Ignoring battery/weather maintenance | Display fails mid-season or on the night itself | Check lights every 3 days, monitor forecasts |
Outdoor Halloween Decor by Yard Type and Situation
Small Yards and Apartment Balconies
Small outdoor spaces need decorations that maximize visual impact without requiring floor space. The core constraint here is square footage, not budget.
Key strategies for small yards and balconies:
- Hang a single fabric ghost or bat cluster from a balcony railing instead of a floor prop.
- Use a compact 12–18 inch lit pumpkin as the sole focal point near the door.
- Mount string lights vertically along a railing to add height without width.
- Choose a door wreath over a floor-standing display for zero footprint impact.
- Group three mini pumpkins on a windowsill instead of a lawn cluster.
Wide Suburban Lawns
Wide lawns risk looking sparse if props are placed only near the house. The core constraint is filling depth without the display looking scattered.
Key strategies for wide suburban lawns:
- Create two focal points — one near the house, one at the yard’s midpoint — connected by pathway lighting.
- Use taller props (6+ feet) near the street to hold visual weight across distance.
- Add a second, smaller graveyard vignette near a side yard tree for depth.
- Extend string lighting along the full driveway edge, not just the porch.
- Space pathway markers slightly wider (4–5 feet) to match the larger scale.
- Reserve your largest inflatable for the yard’s true center, not the edge.
Rentals (No Permanent Installs)
Rental properties restrict anything requiring drilling, staking into shared lawns, or permanent attachment. The core constraint is reversibility.
Key strategies for rentals:
- Use weighted planters and freestanding props instead of ground stakes.
- Attach lights with removable adhesive clips rather than nails or staples.
- Choose a door wreath with a hanger, never adhesive directly on paint or wood.
- Opt for battery-powered lights to avoid running extension cords through shared spaces.
- Keep all props on your own patio or stoop footprint, not shared lawn areas.
Families With Young Trick-or-Treaters
Households with young children need decor that avoids startling toddlers while still reading as festive to older kids. The core constraint is intensity level.
Key strategies for families with young children:
- Choose cartoon-style or friendly-faced pumpkins over realistic gore props.
- Keep fog machines and jump-scare motion props off the main walking path.
- Use warm lighting rather than strobing or flickering red effects near the door.
- Place any skeleton or tombstone props off to the side, not directly blocking the path.
- Add a clearly visible, well-lit candy station so kids see it from the sidewalk.
Frequently Asked Questions
How do you decorate outdoor for Halloween on a budget?
Start with lighting, since warm-white or orange string lights transform a yard for under $30 and create the biggest visible change per dollar. Add one focal point prop next, then fill remaining budget with pumpkins and small accents. Splitting a small budget across the four zones from Step 3 stretches it further than one large purchase.
What Halloween decorations should you avoid outside?
Avoid paper or cardboard props, since outdoor moisture warps and tears them within days. Also avoid real open-flame candles near fabric decorations or costumes due to fire risk. Cool-white leftover holiday lights clash with a Halloween orange-and-black palette and should be swapped for warm-white or orange strands.
How do I start outdoor Halloween decorating from scratch?
Start with the three foundation steps: pick one theme, check your yard’s sightlines from the street, and set a budget split across lighting, focal point, porch, and accents. Buy lighting first, since it has the biggest visual impact for the lowest cost. Add your single focal point next, then build outward with pumpkins and porch styling.
What are good Halloween decorations for a small yard or apartment?
Vertical elements work best in small outdoor spaces, including hanging ghosts, a door wreath, and railing-mounted string lights. A single 12–18 inch lit pumpkin near the entry creates a focal point without needing floor space. Balconies and small porches benefit most from lighting and door decor rather than large standing props.
How do you choose between DIY and store-bought Halloween decor?
DIY works best for graveyard scenes, pathway markers, and pumpkin arrangements, since these rely on placement more than manufacturing quality. Store-bought makes more sense for large inflatables, motion-activated props, and weatherproof lighting, which require engineering DIY can’t easily replicate. A mixed approach — DIY styling around one store-bought focal piece — usually delivers the best cost-to-impact ratio.
How often should you update outdoor Halloween decorations?
Check battery-powered lights every three days and inspect fabric or paper props for weather damage after any storm. A full display refresh once mid-season, around two weeks in, keeps the arrangement looking intentional rather than static. Swapping faded or damaged pieces during this refresh maintains the same visual impact through October 31st.
Does outdoor Halloween decor work for rental homes?
Outdoor Halloween decor works for rentals when props use weighted bases, adhesive clips, and battery power instead of stakes, nails, or extension cords through shared areas. A wreath, potted mums, and freestanding lit pumpkins create a full display without any permanent alteration. Checking with a property manager about porch and railing decor before installing anything avoids lease conflicts.
How much does outdoor Halloween decor cost on average?
A basic outdoor Halloween display costs $100–$200 when split across lighting, one focal point, and porch accents, per the budget breakdown in Step 3. A more elaborate display with a large inflatable and full pathway lighting typically runs $350–$500. Reusable weatherproof props reduce this cost significantly in following seasons since only accents need replacing.
How do you keep outdoor Halloween decorations from getting ruined?
Swap paper and cardboard props for weatherproof plastic or resin versions before the season starts, since they survive rain and wind without damage. Bring in fabric ghosts and inflatables whenever wind exceeds 25 mph or rain is forecast. Checking the weather each morning during Halloween season and storing fragile items proactively prevents most seasonal damage.
Conclusion
A cohesive outdoor Halloween display comes from one consistent theme, layered lighting, and a single strong focal point rather than a random collection of props. Start with the three foundation steps — pick a theme, check your sightlines, and split your budget by zone — before buying anything else. Installing layered lighting at three heights is the single fastest change that makes every other prop look intentional after dark.
Outdoor Halloween decor requires ongoing habits, not a one-time setup, to look consistent through the entire season. A display maintained with regular battery checks and weather monitoring looks exactly as sharp on October 31st as it did on October 1st.